
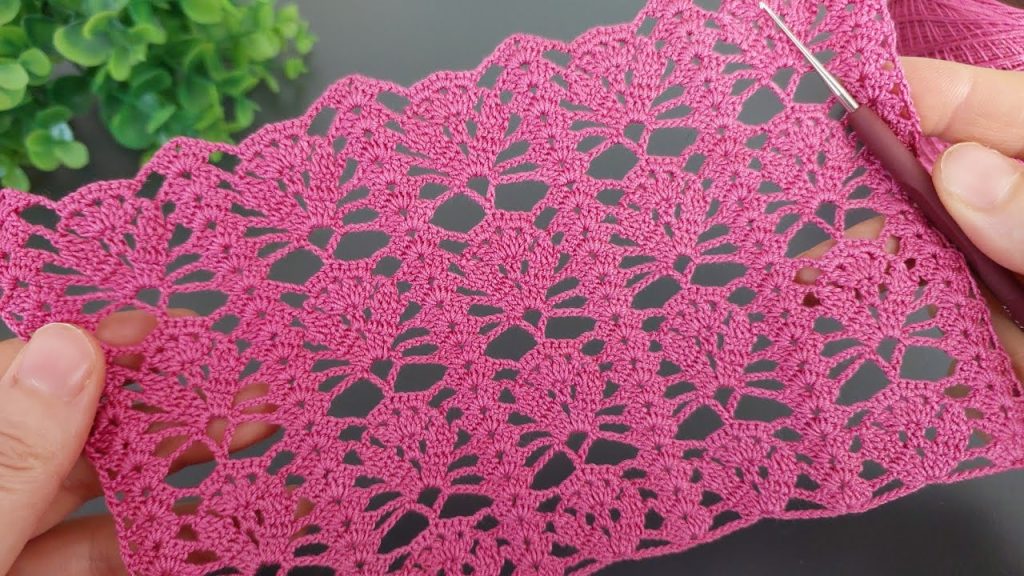
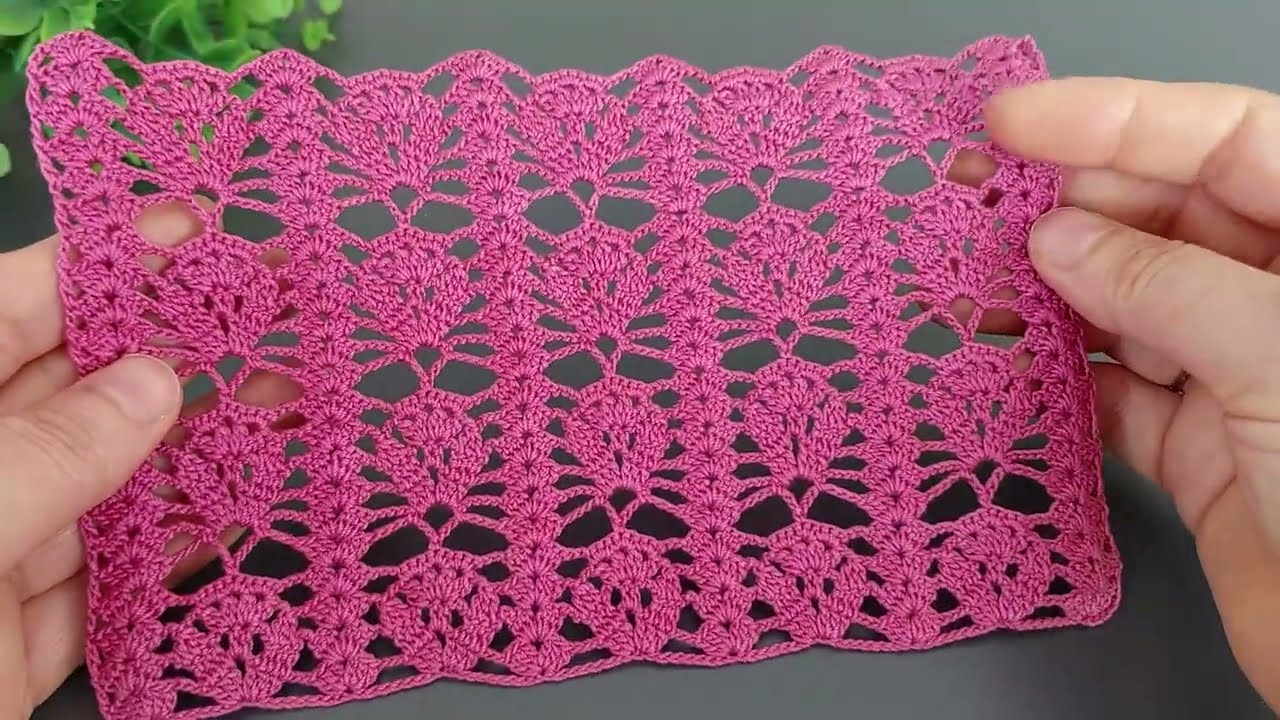
Welcome, fellow crafters! Are you ready to dive into a beautiful project that looks intricate but is surprisingly simple to master? The gorgeous pink lace shown in the photo is a perfect example of a repeatable pattern that builds into a stunning finished piece. This elegant design is inspired by the intricate shape of a pomegranate, with clusters of stitches forming a repeating motif.
This pattern is versatile. You can use it as a standalone scarf, a beautiful lace edging for a shawl or blanket, or even a decorative border on a piece of clothing. Let’s get started!
Materials You’ll Need
Before we begin, gather your supplies. The yarn and hook size will determine the final size and drape of your project.
- Yarn: A sport-weight or fingering-weight yarn is ideal for achieving a delicate, lacy look. Cotton or a cotton blend works well for crisp stitch definition. The color in the photo is a beautiful magenta or fuchsia, but feel free to choose your favorite!
- Crochet Hook: A size 3.0mm (D/3) or 3.5mm (E/4) hook is a great starting point for sport-weight yarn.
- Scissors
- Tapestry Needle: For weaving in your ends.
Key Stitches and Abbreviations
This pattern uses a combination of basic and intermediate stitches. If you’re new to crochet, I recommend practicing these first. All terms are in US crochet terminology.
- ch: chain
- st(s): stitch(es)
- sl st: slip stitch
- sc: single crochet
- dc: double crochet
- tr: treble crochet (also known as a triple crochet)
- V-st: V-stitch (dc, ch 1, dc in the same stitch or space)
- beg-ch: beginning chain
Understanding the Repeat
This pattern is worked in rows and has a repeating stitch count. The pattern repeat is 12 + 1 stitches. This means you’ll chain a multiple of 12, then add one extra chain at the end. For example, if you want a wider piece, you could chain (12 x 5) + 1 = 61.
For this tutorial, let’s start with a sample swatch. Chain 25 (12 x 2 + 1).
Pattern Instructions
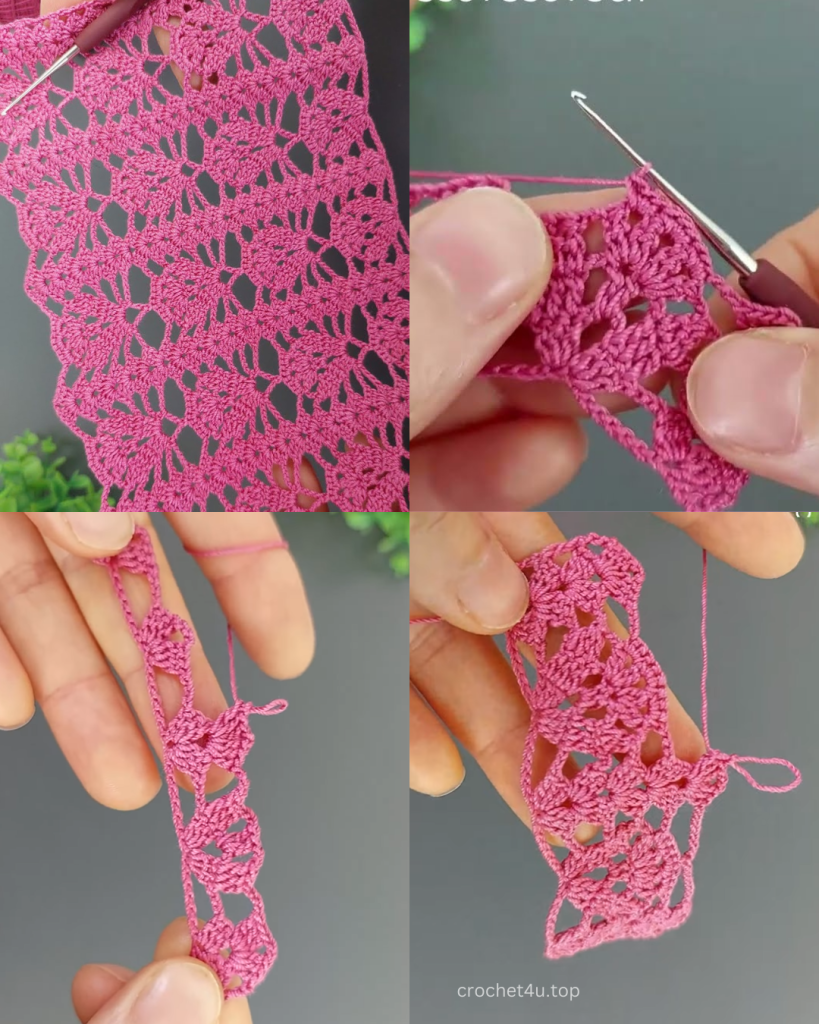
Row 1: Foundation Row
The foundation row sets up the base for your lace pattern.
- Ch 25.
- V-st in the 4th ch from the hook. (The first 3 chains count as your first dc.)
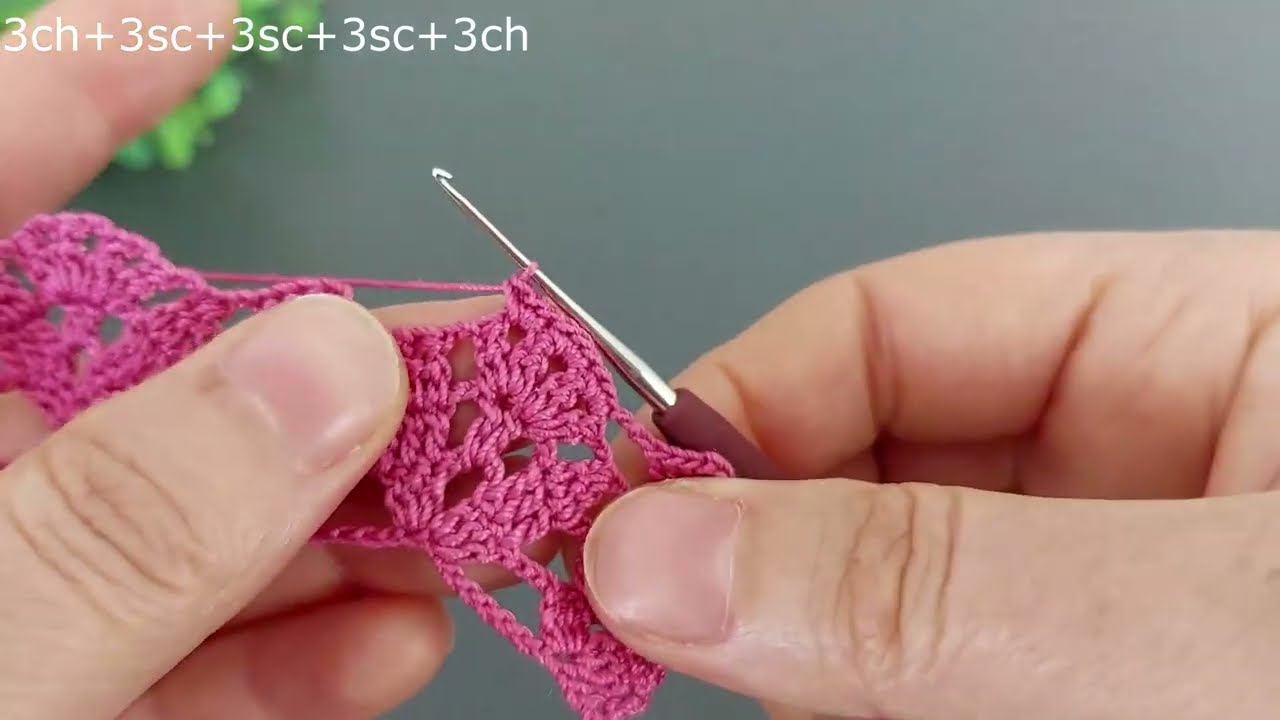
- Skip 3 chs, sc in the next ch, ch 3, sc in the same ch, ch 3. (This creates the “leaf” or “petal” shape.)
- Skip 3 chs, V-st in the next ch, ch 1, V-st in the next ch. (This creates the “pomegranate” cluster.)
- Repeat from * to * across the row until you have 4 chains left.
- Skip 3 chs, V-st in the last ch.
- Ch 4 and turn your work.
Row 2: Creating the Pomegranate Clusters
This is where the beautiful, lacy detail starts to emerge.
- V-st in the V-st from the previous row.
- Ch 3, sc in the middle ch-3 space of the leaf pattern from the previous row. (This anchors your next stitch cluster.)
- Ch 3, skip the ch-1 space between the two V-sts from the previous row, (dc, ch 1, dc, ch 1, dc, ch 1, dc) in the same ch-1 space. (This creates the central “pomegranate” cluster with 4 double crochet stitches and 3 chain-1 spaces between them.)
- Ch 3, sc in the next V-st from the previous row.
- Repeat from * to * across the row.
- After the last sc, ch 3, and then make a V-st in the top of the beg-ch of the previous row.
- Ch 4 and turn your work.
Row 3: Defining the Shape
This row works into the clusters you just created to define the scalloped edge.
- V-st in the first V-st.
- Ch 3, skip the ch-3 space, sc in the next ch-3 space. (This connects your pomegranate motif.)
- Ch 3, in the first ch-1 space of the pomegranate cluster, make a V-st; in the next ch-1 space, make a V-st; and in the third ch-1 space, make a V-st. (You will have 3 V-sts in one cluster.)
- Ch 3, skip the ch-3 space, sc in the next ch-3 space.
- Repeat from * to * across the row.
- After the last sc, ch 3, V-st in the top of the beg-ch of the previous row.
- Ch 4 and turn.
Row 4: The Treble Crochet Row
This row adds a bit of height and drama to the pattern.
- V-st in the first V-st.
- Ch 3, sc in the next ch-3 space.
- Ch 3, skip the next ch-3 space, tr in the next 3 V-sts (one tr in each V-st). Then, tr in the last V-st of the cluster. (This creates 4 treble stitches total across the top of the “pomegranate.”)
- Ch 3, sc in the next ch-3 space, ch 3, skip the next ch-3 space.
- Repeat from * to * across the row.
- After the last sc, ch 3, V-st in the top of the beg-ch of the previous row.
- Ch 4 and turn.
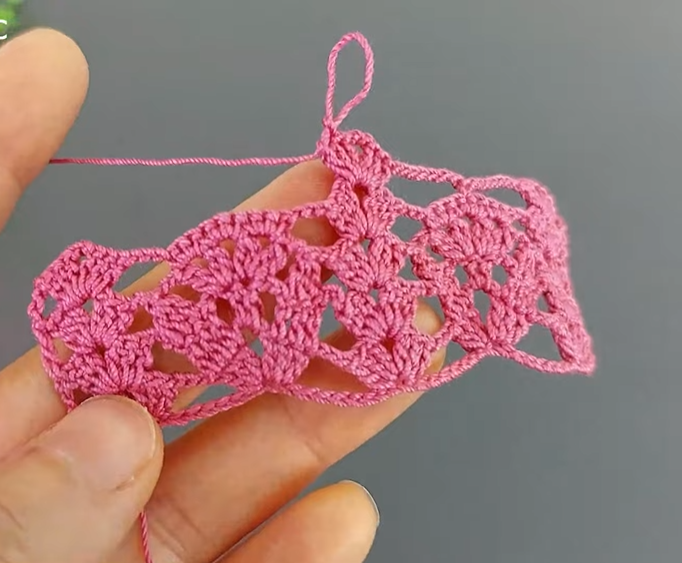
Row 5: The Repeat Row
This is the key row. You will now begin to repeat the pattern from Row 2.
- V-st in the first V-st.
- Ch 3, sc in the ch-3 space, ch 3.
- Skip the treble stitches, sc in the next ch-3 space.
- Ch 3, V-st in the next V-st, ch 1, V-st in the next V-st. (This creates the two V-sts that form the base of the next pomegranate cluster.)
- Repeat from * to * across the row.
- After the last sc, ch 3, V-st in the top of the beg-ch of the previous row.
- Ch 4 and turn.
Video Tutorial:
Finishing Your Piece
Continue repeating Rows 2-5 until your project reaches your desired length.
- For a scarf: Continue until it’s long enough to wrap comfortably around your neck.
- For an edging: Continue until it is long enough to go around the border of your project.
Once you have finished, cut the yarn, leaving a 6-inch tail. Weave in all your ends using a tapestry needle.
You can also block your finished piece to help the stitches lay flat and to really open up that beautiful lace. Simply soak the piece in cool water, gently squeeze out the excess, and lay it flat on a towel. Pin it into a pleasing shape, and let it dry completely.
Happy crocheting! I’d love to see your finished projects in the comments below!


