
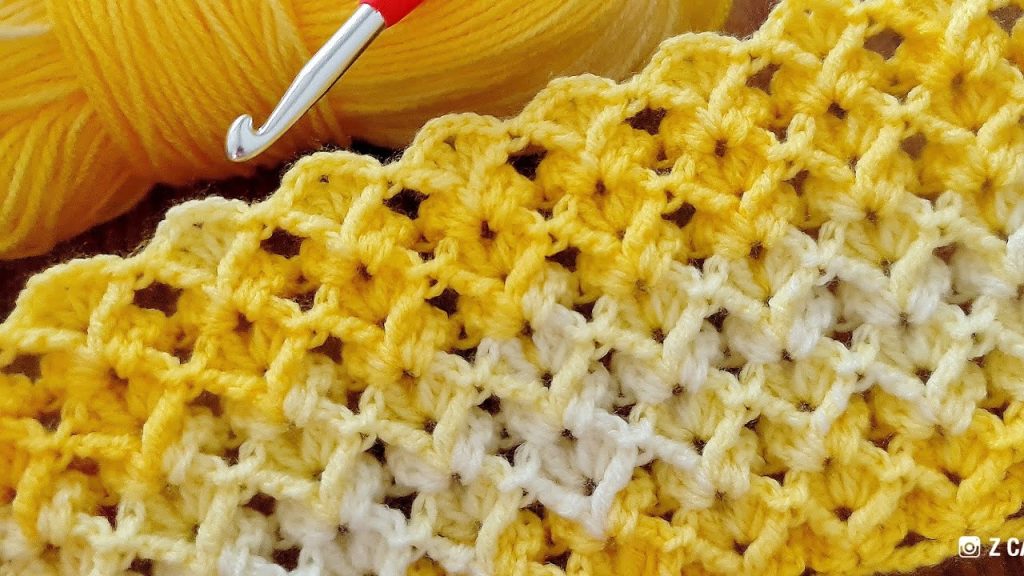
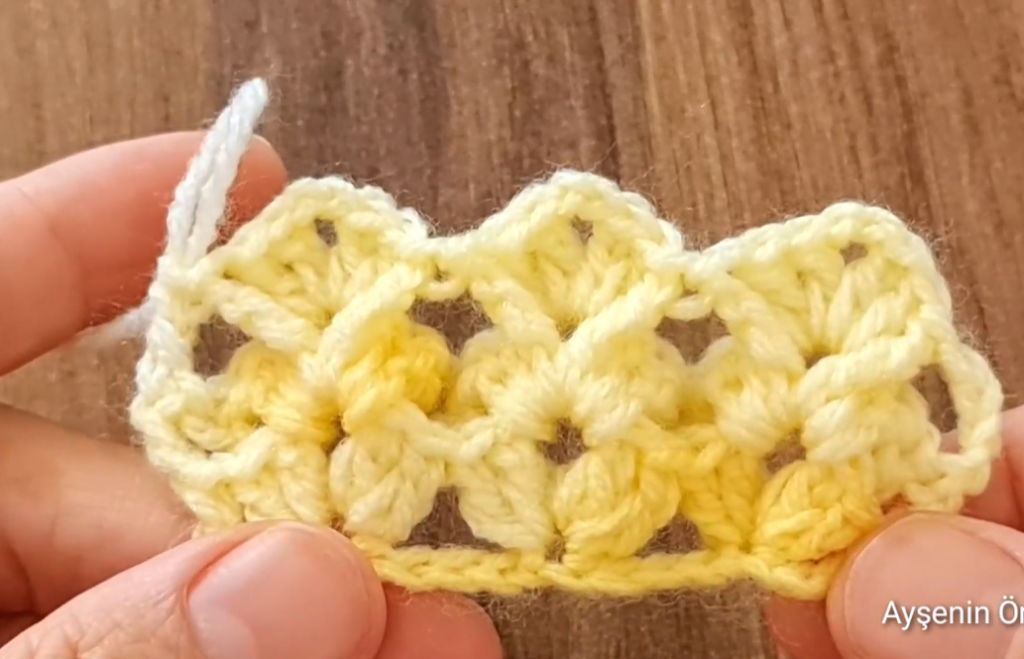
Welcome, sunshine crafters! The stitch we’re tackling today is pure joy. It’s an airy, rhythmic pattern that creates beautiful, interlocking diamond shapes filled with lacy shell clusters. We’ll call it the Open Diamond Shell Stitch. It works up quickly, has a lovely drape, and is perfect for lightweight blankets, summer scarves, and stylish wraps.
Let’s dive into the details and recreate this stunning texture!
🛍️ Materials & Setup
Choosing Your Tools
- Yarn: A DK Weight (8-ply) or Worsted Weight (Aran/10-ply) yarn is ideal.
- Color Choice: To get the gradient effect shown, choose a self-striping yarn, a variegated yarn, or simply use a main color and an accent color that you change every few rows.
- Hook: A crochet hook size appropriate for your yarn, usually one size larger than suggested to ensure the open lace pattern has good drape. A 5.0 mm (H-8 US) or 5.5 mm (I-9 US) hook is a great choice for worsted weight.
- Notions: Scissors and a tapestry needle for weaving in ends.
Gauge and Multiple
- Pattern Multiple: This pattern is worked over a multiple of 4 stitches, plus 3 for the foundation chain.
- Example Chain (for a swatch): Ch 31 (4 x 7 = 28, plus 3 = 31).
📌 Stitch Abbreviations & Technical Definitions (US Terms)
Standard Abbreviations
- ch: Chain
- st(s): Stitch(es)
- sk: Skip
- sc: Single Crochet
- dc: Double Crochet
- sl st: Slip Stitch
- rep: Repeat
The Key Stitches
- V-Stitch (V-st): Defined as (dc, ch 1, dc) all worked into the same stitch or space.
- Shell: Defined as (dc 3) all worked into the same stitch or space.
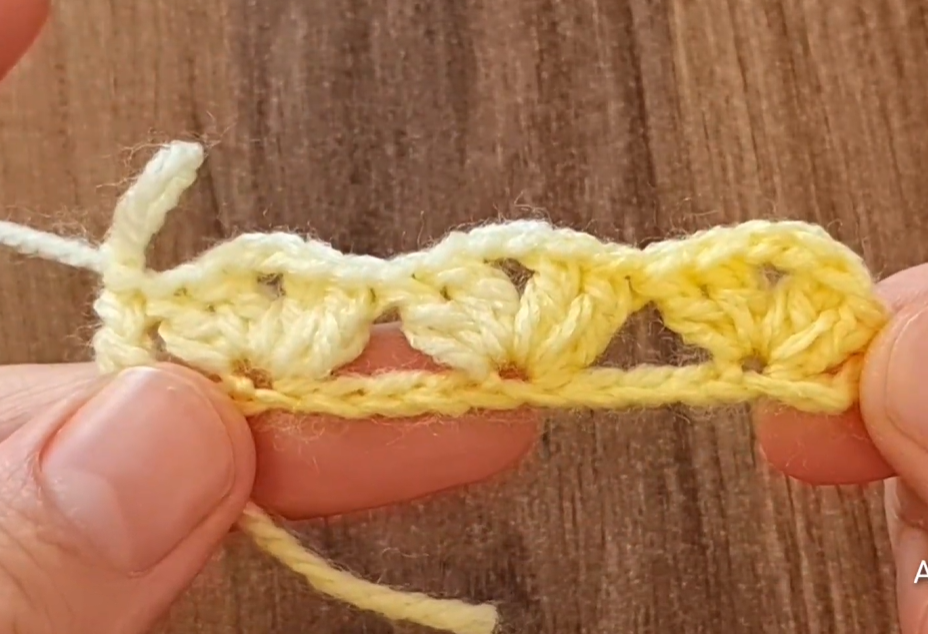
➡️ Phase 1: Establishing the Foundation
The first row sets the exact spacing needed to keep the diamond pattern symmetrical and neat.
Row 1: Foundation Single Crochet
- Ch the required number (multiple of 4, plus 3).
- Sc into the 2nd ch from the hook and in every ch across.
- Ch 3 (counts as first dc). Turn.
Row 2: The V-Stitch Base
This row establishes the first layer of the open pattern.
- Dc into the first st. (This is a half-shell at the edge).
- *Sk 3 sts.
- Work a V-st (dc, ch 1, dc) into the next st.
- Sk 3 sts.
- Work a V-st (dc, ch 1, dc) into the next st.*
- Repeat from * to * across the row.
- End by working dc 2 into the last st.
- Ch 1 (does not count as a stitch). Turn.
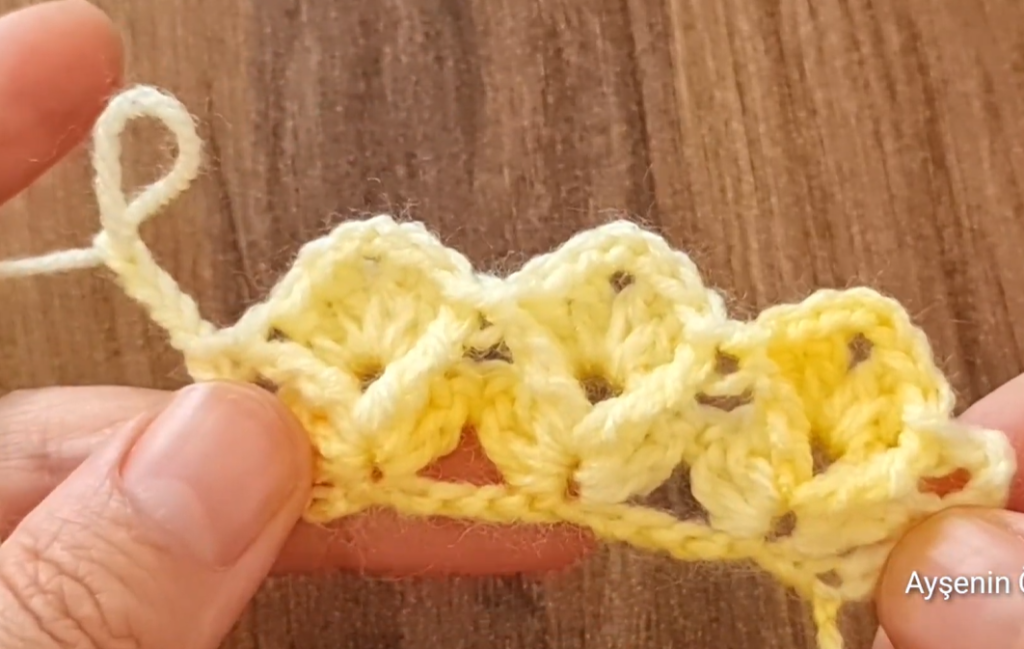
🐚 Phase 2: Building the Shells (Row 3)
This row fills the diamond spaces created by the V-stitches with dense shell clusters.
Row 3: Shell and Sc Row
- Sc into the first dc.
- *Work a Shell (dc 3) into the ch-1 space of the next V-st.
- Sc into the sc space between the next two V-sts.*
- Repeat from * to * across the row.
- End by working a Shell (dc 3) into the ch-1 space of the last V-st.
- Sc into the 3rd ch of the starting Ch 3 from Row 2.
- Ch 3 (counts as first dc). Turn.
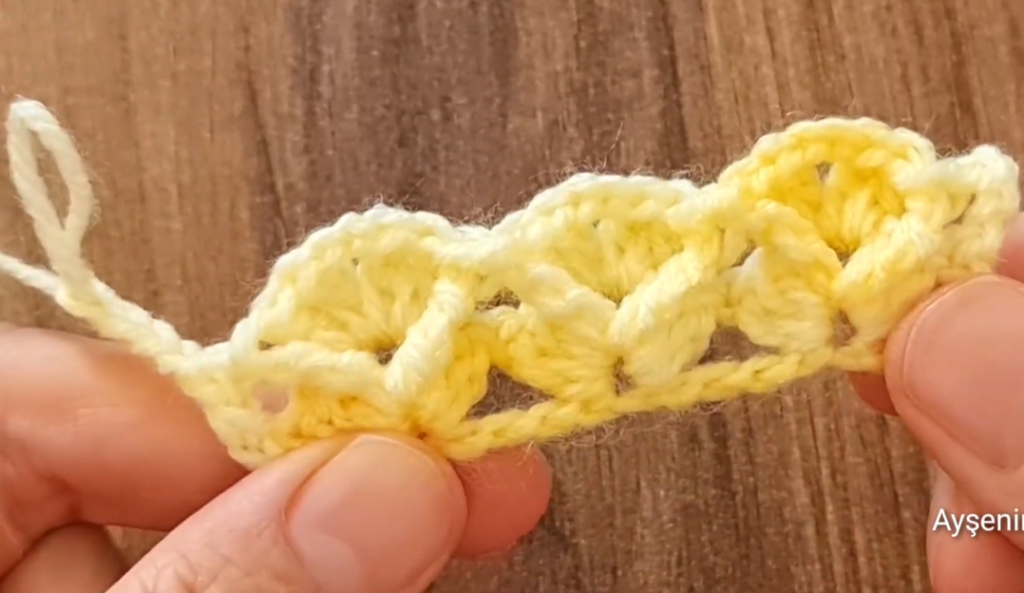
💡 Visual Check: Your shell clusters should now sit neatly inside the V-shapes created by Row 2.
🔄 Phase 3: The Staggered V-Stitch Repeat (Row 4)
To create the beautiful interlocking pattern, the next layer of V-stitches must be offset (staggered), placing them into the middle of the shell clusters.
Row 4: Staggered V-Stitch Base
- Dc into the first sc.
- Sk 1 st (the first dc of the shell).
- *Work a V-st (dc, ch 1, dc) into the center dc of the next Shell cluster.
- Sk 2 sts (the last dc of the shell and the sc between shells).
- V-st into the center dc of the next Shell cluster.*
- Repeat from * to * across the row.
- You will end with 2 stitches remaining. Sk 1 st, then work dc 2 into the last sc.
- Ch 1 (does not count as a stitch). Turn.
🧐 Staggering Tip: The V-stitches in this row are positioned directly above the shells from the previous row, forcing the shells in the next row to fill the new open spaces.
🧶 Phase 4: The Full Pattern Repeat
To continue this gorgeous Diamond Shell texture, you will now alternate between a Shell Row (Row 5) and a Staggered V-Stitch Row (Row 6).
Row 5: Staggered Shell Row (Similar to Row 3)
- Sc into the first dc.
- Sc into the ch-1 space of the first V-st.
- *Work a Shell (dc 3) into the sc between the next two V-sts.
- Sc into the ch-1 space of the next V-st.*
- Repeat from * to * across the row.
- End by working sc into the last dc (the turning Ch 3) from Row 4.
- Ch 3 (counts as first dc). Turn.
Row 6: V-Stitch Base Row (Similar to Row 4)
- Dc into the first st.
- Sk 1 st (the sc you just worked).
- *V-st into the center dc of the next Shell cluster.
- Sk 2 sts (the last dc of the shell and the sc between shells).
- V-st into the center dc of the next Shell cluster.*
- Repeat from * to * across the row.
- End the row by working dc 2 into the last sc.
- Ch 1 (does not count as a stitch). Turn.
The Full Pattern Sequence
To continue your project, simply repeat Rows 5 and 6 until you reach your desired length.
Video Tutorial:
✂️ Finishing and Edging Details
Managing Color
If you are using a self-striping yarn like the one in the photo, you don’t need to worry about color changes! If you want to manually change colors, do so at the end of any row before the turning chain. Change colors every two rows (one shell row, one V-st row) for a defined striped look.
The Final Edge
The edge naturally ends with a gentle scallop after a Shell Row (Row 5) or a slightly straighter edge after a V-Stitch Row (Row 6).
- Finishing Row: To create a clean, straight edge ready for a final border, end after a Shell Row (Row 5). Work one final row:
- Ch 1 (does not count as st). Turn.
- Sc into the first st.
- Sc into the top of every dc and sc, and place 2 sc into the space created by the V-st (the skipped chains) in the row below. This will smooth out the scallops.
- Fasten off and weave in ends.
This Diamond Shell Stitch creates a light, elegant, and sophisticated fabric. Enjoy the beautiful texture you’ve created!


