
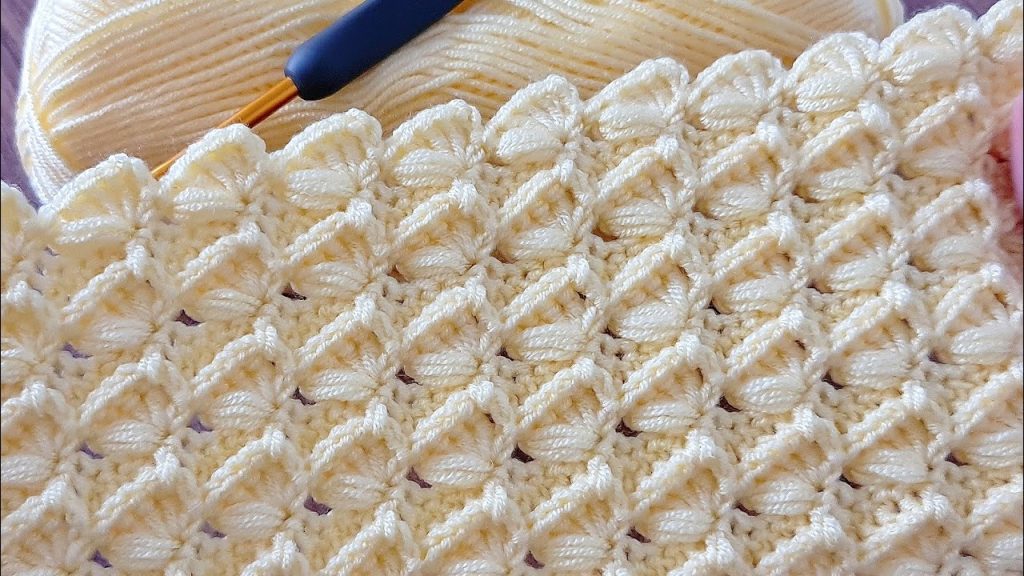
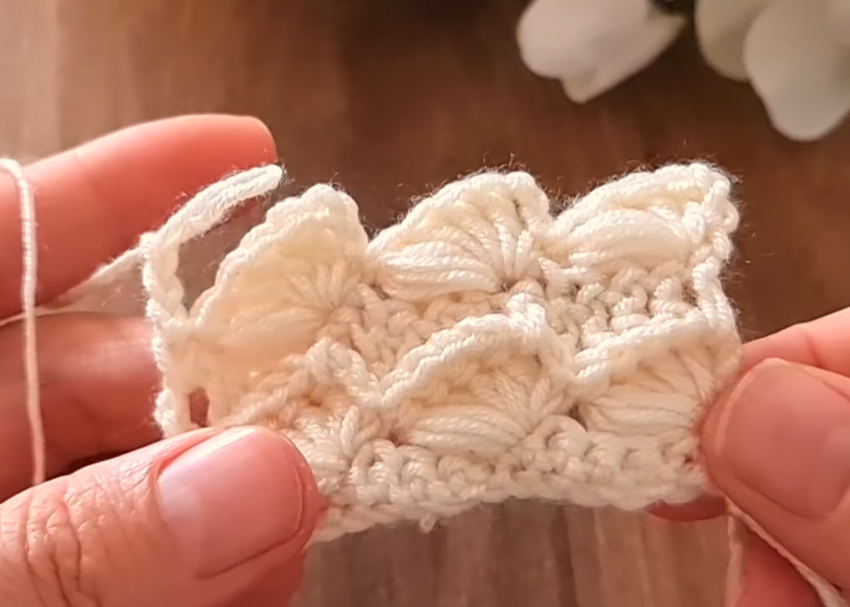
Hello, crochet community! Get ready to fall in love with a stitch that is both visually complex and surprisingly rhythmic to create. The stitch in your photo—the Diamond Lace Stitch—combines delicate lacework with dense, shell-like clusters to form a gorgeous, repeating diamond pattern. Its density makes it warm, yet the open spaces keep it flexible and flowing.
We’ll break down the stitch into its core components, ensuring you master this captivating texture for your next cozy project!
🛍️ Materials & Setup
Choosing Your Tools
- Yarn: A smooth, light-colored Worsted Weight (Aran/10-ply) yarn is ideal (like the cream/pale yellow shown). Smooth yarn helps the shell clusters pop, and the light color highlights the stitch definition. This stitch also looks stunning in DK weight for a lighter feel.
- Hook: A crochet hook size appropriate for your yarn, typically one size larger than suggested for basic stitches to accommodate the clusters. A 5.5 mm (I-9 US) hook is a great starting point for worsted weight.
- Notions: Scissors and a tapestry needle.
Gauge and Multiple
- Pattern Multiple: This pattern is worked over a multiple of 4 stitches, plus 3 for the foundation chain.
- Example Chain (for a swatch): Ch 35 (4 x 8 = 32, plus 3 = 35).
📌 Stitch Abbreviations & Technical Definitions (US Terms)
Standard Abbreviations
- ch: Chain
- st(s): Stitch(es)
- sk: Skip
- sc: Single Crochet
- dc: Double Crochet
- sl st: Slip Stitch
- rep: Repeat
The Key Stitch: Shell Cluster (SC)
This pattern relies on a specialized shell cluster worked into a single stitch or space.
Shell Cluster (SC) Definition:
- Work 3 Double Crochet (dc) stitches into the designated stitch or space.
- Ch 1 (this chain creates the corner of the diamond).
- Work 3 Double Crochet (dc) stitches into the same stitch or space.
Result: (3 dc, ch 1, 3 dc) all in one stitch/space.
➡️ Phase 1: Establishing the Foundation
The first two rows set the base for the intricate diamond pattern.
Row 1: Foundation Single Crochet
- Ch the required number (multiple of 4, plus 3).
- Sc into the 2nd ch from the hook and in every ch across.
- Ch 3 (counts as first dc). Turn.
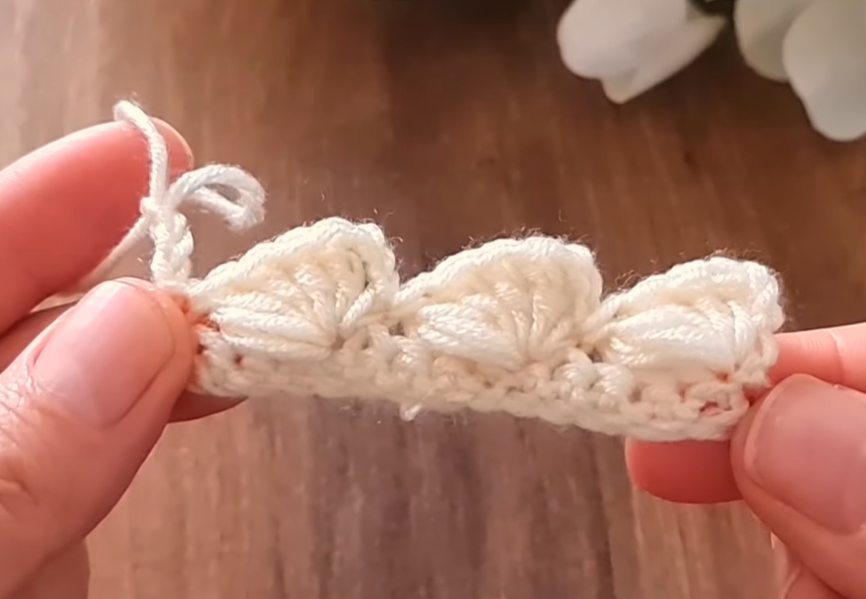
Row 2: The Base Shell Row
This row uses basic shells and single crochet stitches to set the spacing for the clusters.
- Dc into the first st.
- *Sk 2 sts.
- Work (3 dc, ch 1, 3 dc) (a full SC) into the next st.
- Sk 2 sts.
- Sc into the next st.*
- Repeat from * to * across the row.
- End the row by working (2 dc) into the last st.
- Ch 1 (does not count as a stitch). Turn.
🧐 Setup Tip: Your Row 2 should end with a half-shell (2 dc) to keep the edges straight. If you have an odd number of repeats, this should work perfectly.
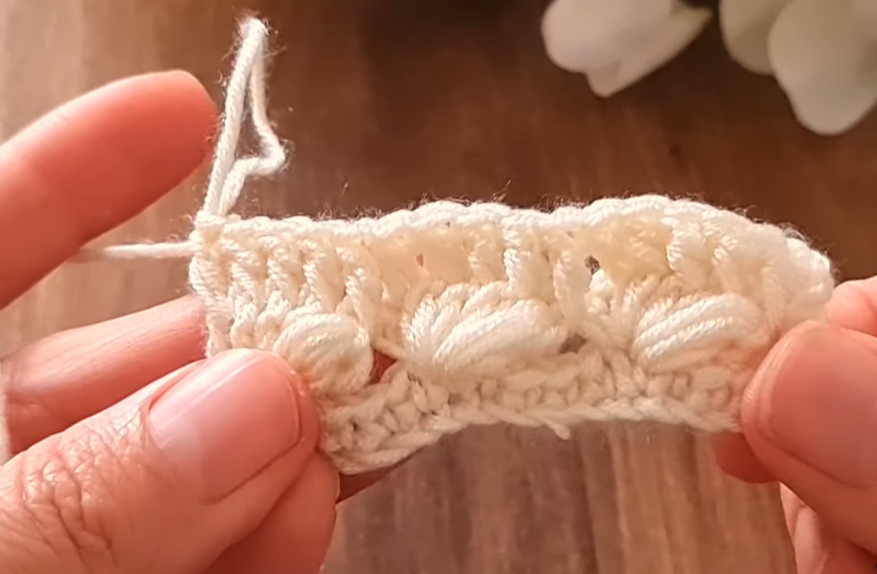
💎 Phase 2: Building the Diamond Centers (Row 3)
This is the row where the cluster stitches are worked, creating the dense, textured points of the diamond pattern.
Row 3: Creating the Clusters
- Sc into the first dc.
- *Ch 3.
- Work a SC (3 dc, ch 1, 3 dc) into the ch-1 space of the next shell from Row 2.
- Ch 3.
- Sc into the sc from Row 2.*
- Repeat from * to * across the row.
- End by working a sc into the 3rd ch of the turning Ch 3 from Row 2.
- Ch 3 (counts as first dc). Turn.
💡 Visual Check: Notice how the SC clusters sit directly above the SC clusters from Row 2. The Ch-3 loops and the single crochet stitches create the open “lace” part of the diamond.
🌿 Phase 3: Joining and Staggering the Pattern (Row 4)
This row uses the Ch-3 spaces from Row 3 to create the new base for the next row of clusters, effectively staggering the diamonds.
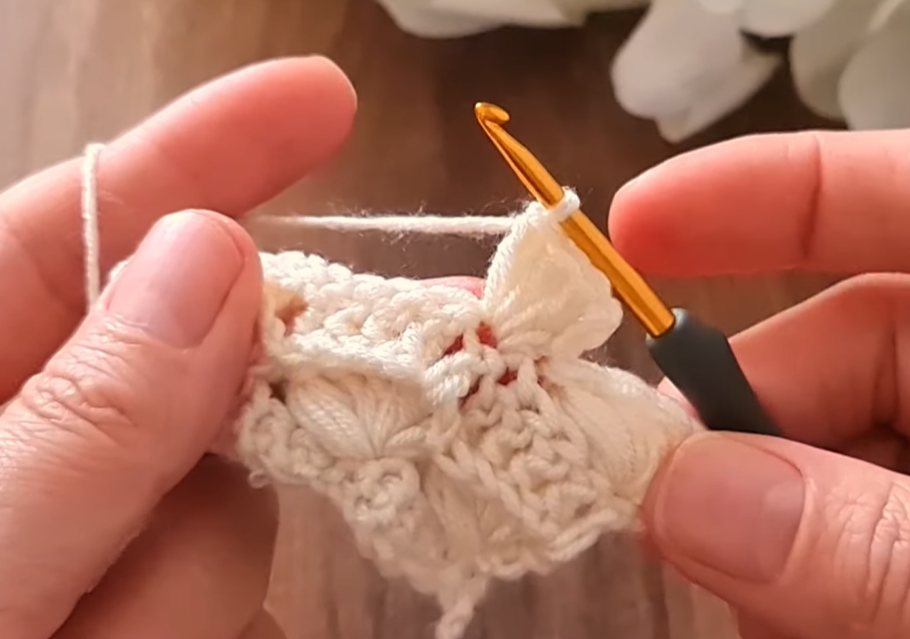
Row 4: The Joining Row
- Dc into the first sc.
- *Sc into the first Ch-3 space of Row 3.
- Ch 3.
- Sc into the ch-1 space at the top center of the cluster (the SC) from Row 3.
- Ch 3.
- Sc into the next Ch-3 space of Row 3.*
- Repeat from * to * across the row.
- End by working dc into the last sc (the 3rd ch of the starting Ch 3 from Row 3).
- Ch 3 (counts as first dc). Turn.
🔄 Phase 4: The Repeat Sequence
To continue the pattern, you will repeat Rows 5 and 6, which are just staggered versions of Rows 3 and 4, respectively.
Row 5: The Staggered Cluster Row (Similar to Row 3)
This row places the new clusters over the chain spaces created in Row 4.
- SC (3 dc, ch 1, 3 dc) into the first Ch-3 space of Row 4.
- *Ch 3.
- Sc into the sc from Row 4 (the one between the Ch-3 spaces).
- Ch 3.
- SC (3 dc, ch 1, 3 dc) into the next Ch-3 space of Row 4.*
- Repeat from * to * across the row.
- End by working dc into the last dc (the turning Ch 3) from Row 4.
- Ch 1 (does not count as a stitch). Turn.
Row 6: The Staggered Joining Row (Similar to Row 4)
This row sets up the new lace and centers the next row’s clusters.
- Sc into the first dc.
- Sc into the ch-1 space at the center of the SC cluster from Row 5.
- *Ch 3.
- Sc into the sc from Row 5.
- Ch 3.
- Sc into the ch-1 space at the center of the next SC cluster from Row 5.*
- Repeat from * to * across the row.
- End by working sc into the last dc (the turning Ch 3) from Row 5.
- Ch 3 (counts as first dc). Turn.
The Full Pattern Sequence
To continue your beautiful Diamond Lace fabric, repeat Rows 5 and 6.
Video Tutorial:
🖼️ Finishing Your Piece
Final Edge Row
Since Row 6 ends with a single crochet row, it creates a relatively neat edge. To ensure a completely uniform look, you can add a final row of Single Crochet (sc) across the entire width of your project.
- Final Row (Optional): Ch 1, work 1 sc into every sc and cluster stitch. Work 3 sc into every Ch-3 space to maintain the stitch count and flatten the edge. Fasten off.
The Look and Feel
This stitch uses a lot of yarn because of the dense clusters, but it results in a thick, luxurious drape. Blocking your finished piece will help open up the lace sections and define the diamond shape perfectly.
This Diamond Lace Stitch creates a timeless, heirloom-quality fabric. Happy crocheting!


