
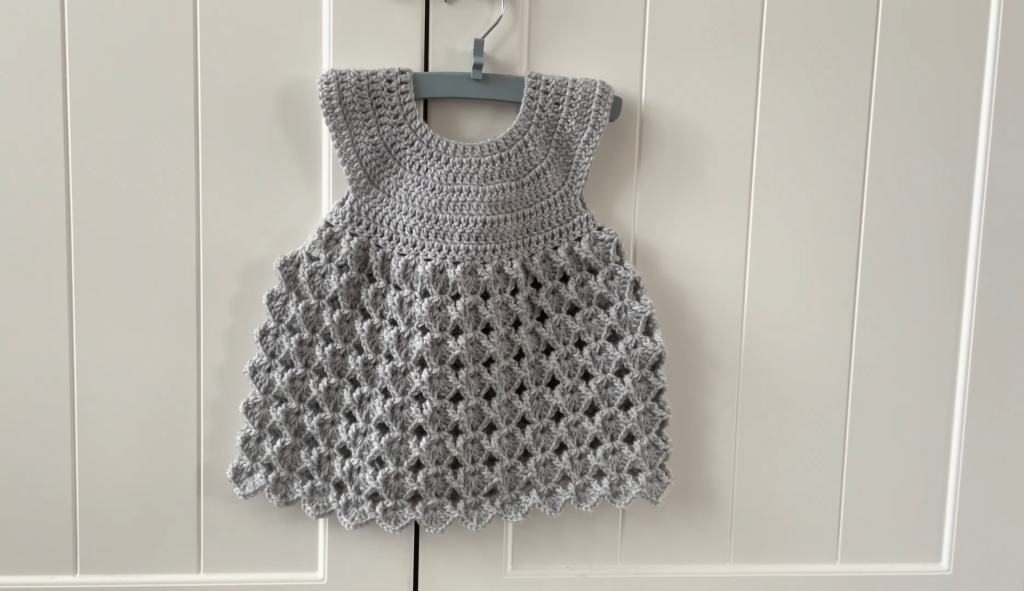
This dress is a stunning example of how a repetitive, textured stitch can elevate a simple garment. The Silver Shell Dress features a smooth, sturdy yoke and a spectacular skirt created by a dense, cascading shell pattern that gives the finished piece wonderful weight and movement. The seamless top-down construction means minimal sewing, making this a rewarding project for an intermediate crocheter.
Materials Needed 🧶
- Yarn: Approximately 350-400 yards of DK Weight (Light Worsted / #3) yarn. A wool blend or acrylic is great for loft, but a cotton blend will give it better drape and definition. The color pictured is a lovely Heather Gray (Main Color – MC).
- Crochet Hook: 4.0 mm (US G-6), or the size needed to obtain gauge.
- Button: One small (1/2 inch) button for the back neck slit.
- Tapestry Needle: For weaving in ends and sewing the button.
- Stitch Markers: 4 markers for the raglan corners.
Skill Level & Notes 💡
- Skill Level: Intermediate. You should be comfortable with raglan shaping, working seamlessly in the round, and maintaining a dense, repeating stitch pattern.
- Construction: The dress is worked top-down. We will start with a small, flat section to create a back neck slit before joining for the round.
- Stitch Count: The skirt requires a stitch count that is a multiple of 6 for the shell pattern. Adjustments are made in the setup round.
- Chains: The starting chain (ch 3) at the beginning of DC rounds always counts as the first DC unless noted otherwise.
Gauge 📏
In Double Crochet (DC) (Yoke section) using a 4.0 mm hook: 14 DC stitches and 8 rows = 4 inches (10 cm) square.
Abbreviations 📚
| Abbreviation | Description |
| ch | chain |
| sl st | slip stitch |
| sc | single crochet |
| dc | double crochet |
| st(s) | stitch(es) |
| rep | repeat |
| PM | Place Marker |
| ch-sp | chain space |
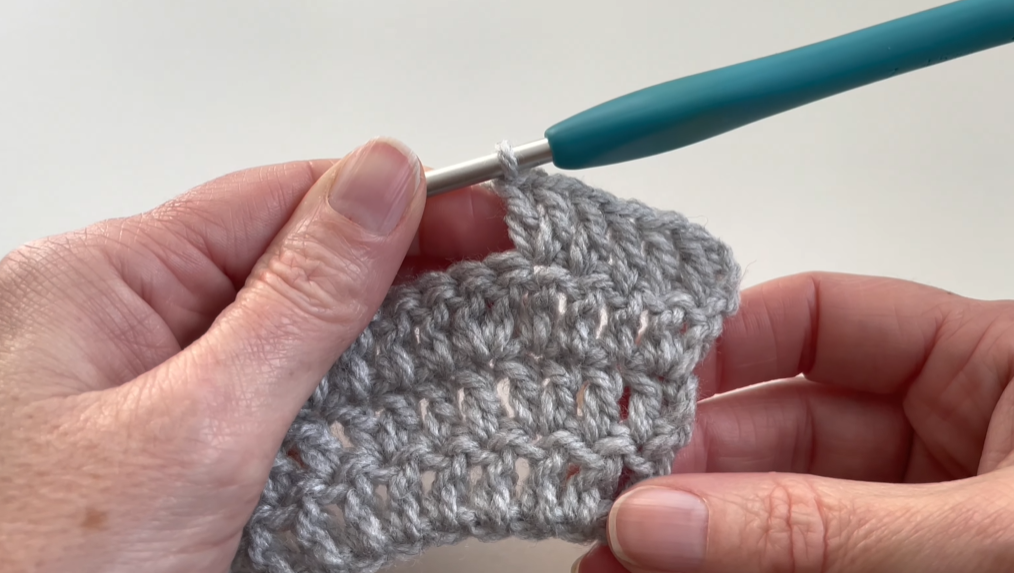
Special Skirt Stitch ✨
Triple-Shell Stitch (TSS)
This stitch creates the cascading, dense shell pattern of the skirt.
- TSS: (3 dc, ch 1, 3 dc) all worked into the same stitch or space.
Part 1: The Yoke (Top-Down Raglan) ⬆️
Size: 6-12 Months. We begin working flat to create the back neck slit.
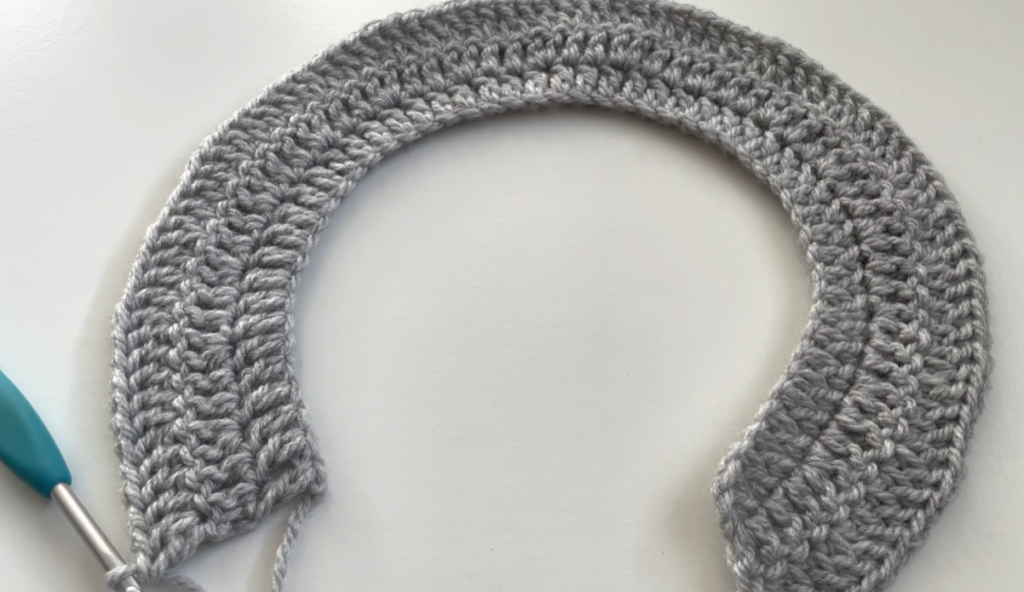
Setup Row (Back Slit): Ch 57. Sl st to the first ch, being careful not to twist. Ch 3 (counts as dc). Dc in the next 47 ch. Leave the remaining 9 ch unworked. (48 dc)
Row 1 (Working Flat): Ch 3 (counts as dc), turn. Dc in the next 5 sts. [Dc, ch 2, dc] in the next st (PM in ch-2 sp). Dc in the next 8 sts (Shoulder). [Dc, ch 2, dc] in the next st (PM). Dc in the next 14 sts (Front). [Dc, ch 2, dc] in the next st (PM). Dc in the next 8 sts (Shoulder). [Dc, ch 2, dc] in the next st (PM). Dc in the last 6 sts. (60 dc, 4 ch-2 sps)
Rows 2-8 (Increase Rows): Ch 3, turn. Dc in each st until the first ch-2 sp. [Dc, ch 2, dc] in the ch-2 sp. Rep [Dc in each st to next ch-2 sp, (dc, ch 2, dc) in ch-2 sp] 3 times. Dc in each remaining st. (Increases by 4 dc each row.)
- End of Row 8 Stitch Count: 172 dc, 4 ch-2 sps.
Row 9 (Joining for Body): Ch 3, turn. Dc in each st until the first ch-2 sp. Dc in the ch-2 sp. Ch 3 (skips the sleeve stitches). Dc in the second ch-2 sp. Dc in each st until the third ch-2 sp. Dc in the ch-2 sp. Ch 3 (skips the second sleeve stitches). Dc in the fourth ch-2 sp. Dc in each remaining st. Sl st to the top of the beg ch-3 to join. (90 dc, 6 ch = 96 sts)
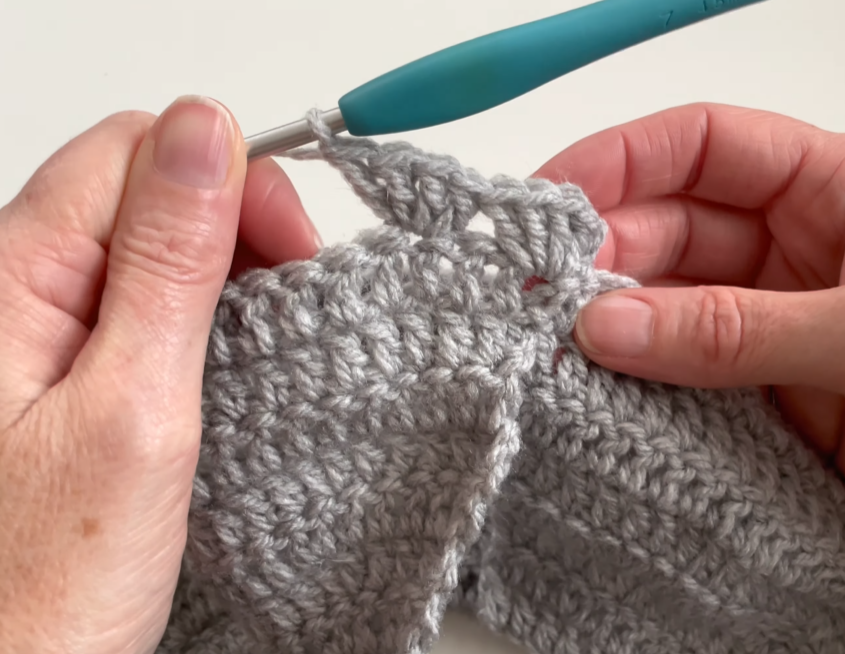
Part 2: The Skirt (Triple-Shell Pattern) 👗
Round 10 (Skirt Setup): Ch 3. Work 3 dc into each ch-3 sp. Dc in each dc around. Sl st to join. (96 dc)
- Note: 96 is a perfect multiple of 6 (96/6 = 16).
Round 11 (Start TSS): Ch 1 (does not count as st). Sc in the first st. [Sk 2 sts, TSS (3 dc, ch 1, 3 dc) in the next st, sk 2 sts, sc in the next st] rep around. Sl st to the beg sc to join. (16 Shells)
Round 12: Ch 3 (counts as dc), 2 dc in the same st (over the previous round’s sc). [Sc in the ch-1 sp of the next shell, 6 dc in the next sc] rep around. After the last sc, work 3 dc into the beg sc of the previous round. Sl st to the top of the beg ch-3 to join.
Round 13: Ch 1. Sc in the first st (over the 3-dc cluster). [TSS (3 dc, ch 1, 3 dc) in the next sc, sc in the 3rd dc of the next 6-dc group] rep around. Sl st to the beg sc to join. (16 Shells)
Round 14: Ch 3, 2 dc in the same st (over the previous round’s sc). [Sc in the ch-1 sp of the next shell, 6 dc in the next sc] rep around. After the last sc, work 3 dc into the beg sc of the previous round. Sl st to the top of the beg ch-3 to join.
Round 15 (Increase Round): Ch 1. Sc in the first st. [TSS in the next sc, sc in the 3rd dc of the next 6-dc group] 8 times. [TSS in the next sc, sc in the 3rd dc of the next 6-dc group] 7 times. TSS in the next sc, sc in the next sc (increase). Sl st to the beg sc to join. (17 Shells)
Round 16: Ch 3, 2 dc in the same st. [Sc in the ch-1 sp of the next shell, 6 dc in the next sc] rep around. After the last sc, work 3 dc into the beg sc of the previous round. Sl st to the top of the beg ch-3 to join.
Rounds 17-26: Continue the 4-round repeat (Rounds 13-16), increasing by one additional shell every three shell rows (approximately every 6 rounds) to maintain the dramatic flare.
Part 3: Finishing and Edging 🧵
- Armhole Edging (Make 2): Attach yarn at the underarm. Work 1 round of sc evenly around the armhole opening. Sl st to join and fasten off.
- Neckline and Back Slit: Attach yarn at the bottom of the back neck slit. Work 1 round of sc evenly around the entire neckline opening and up one side of the back slit. Ch 3 (creates button loop). Sl st back into the last sc. Fasten off.
- Button: Sew the small button onto the neck opening of the opposite back panel, aligning it with the button loop.
Video Tutorial:
The Essential Step: Blocking 🫧
Blocking is critical to open up the shell pattern and allow the skirt to drape beautifully.
- Dampen: Gently soak the dress in water, squeeze out the excess (do not wring), and roll it in a clean towel.
- Pin: Lay the damp dress flat on a blocking mat or foam board. Pin the skirt edge out wide, carefully pinning each scallop point to define the hem. Pin the yoke and neckline to ensure they are flat and neat.
- Dry: Allow the dress to dry completely before unpinning.
Your gorgeous Silver Shell Baby Dress is now complete! It’s a timeless piece you’ll be proud to say you made.


