
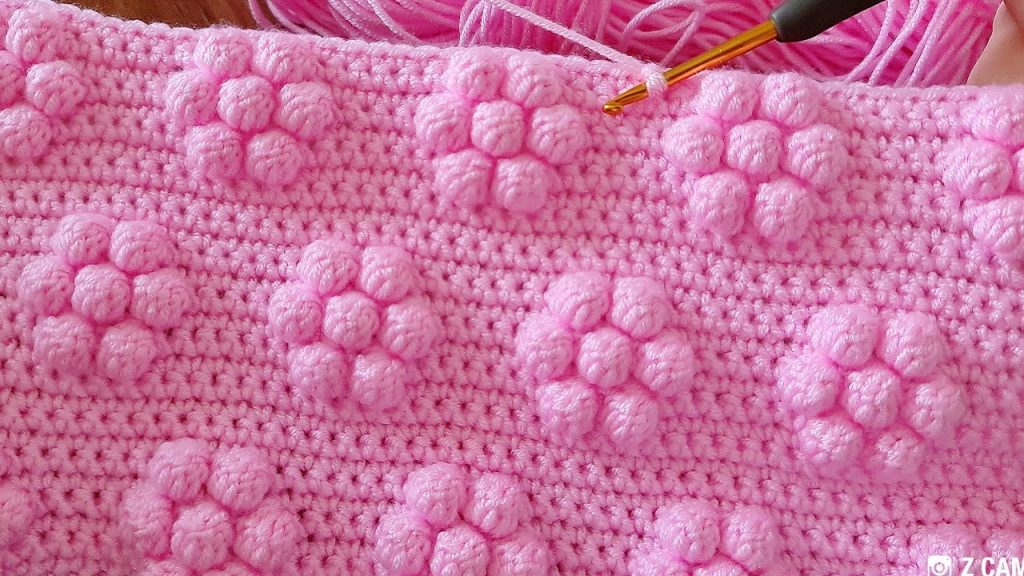
Welcome, bloom-loving crocheters! Today, we’re going to create a garden of texture with a stitch that forms raised, puffy flowers or starbursts against a smooth background. This pattern—which we’ll call the Flower Bobble Stitch—is wonderfully dimensional and adds a playful touch to any project. It’s particularly popular for baby items, but its charm is universal!
The key to this pattern lies in the strategic placement of multiple bobble stitches to form the petals, all centered around a single point. Let’s get started on this delightful floral texture!
🛍️ Materials & Setup
Choosing Your Tools
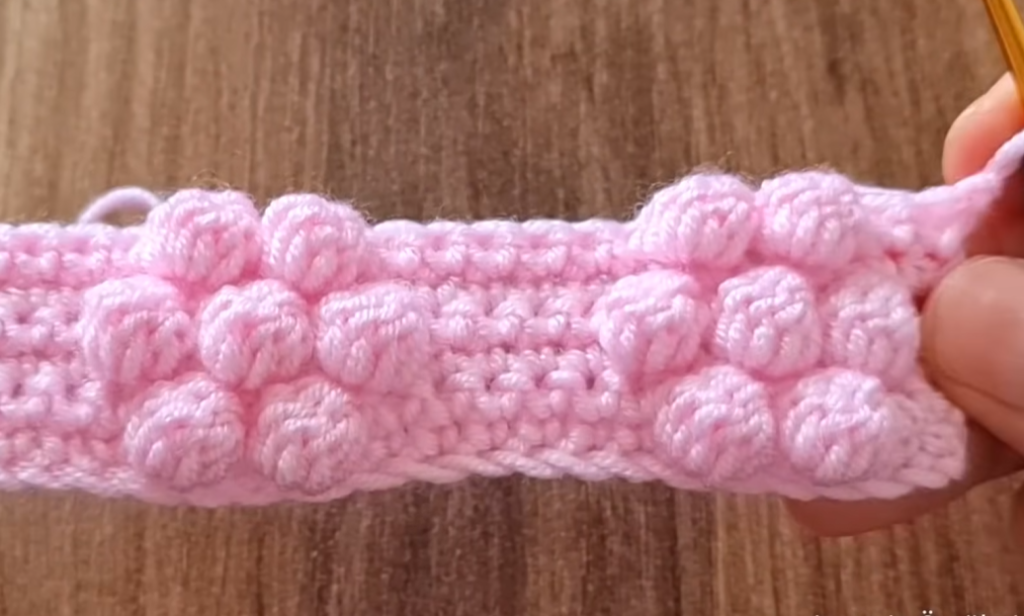
- Yarn: A smooth Worsted Weight (Aran/10-ply) or DK Weight (8-ply) yarn is ideal. A solid, light color like the pink shown will make the flower bobbles pop beautifully.
- Hook: A crochet hook size appropriate for your yarn. A 4.5 mm to 5.0 mm (H-8 US) hook is a good starting point. A slightly smaller hook than usual can help the bobbles stand out more.
- Notions: Scissors and a tapestry needle.
Gauge and Multiple
- Pattern Multiple: This pattern is worked over a multiple of 6 stitches, plus 3 for the foundation chain.
- Example Chain (for a swatch): Ch 33 (6 x 5 = 30, plus 3 = 33).
📌 Stitch Abbreviations & Technical Definitions (US Terms)
Standard Abbreviations
- ch: Chain
- st(s): Stitch(es)
- sc: Single Crochet
- dc: Double Crochet
- sl st: Slip Stitch
- rep: Repeat
The Key Stitch: Bobble Stitch (BO)
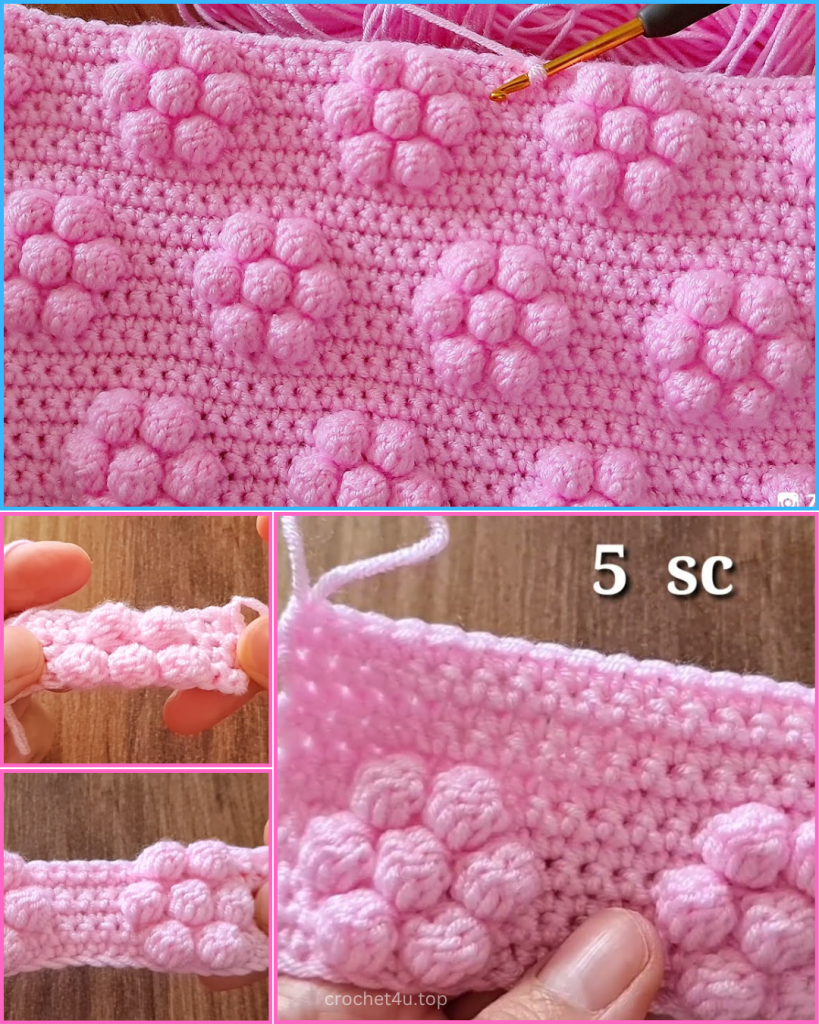
A bobble is a cluster of incomplete double crochet stitches worked into the same stitch, then joined at the top. The number of dc pulls can be adjusted (4 or 5 is common). For this flower, we will use 5 dc pulls for a full bobble.
Bobble Stitch (BO) Definition (5 dc pulls):
- Yo, insert hook into the designated stitch.
- Yo and pull up a loop.
- Yo and pull through 2 loops (2 loops on hook). (This completes one incomplete dc)
- [Yo, insert hook into the same stitch, Yo, pull up a loop, Yo, pull through 2 loops] 4 more times. (6 loops on hook after 5 incomplete dc’s).
- Yo and pull through all 6 loops on the hook to close the bobble.
➡️ Phase 1: Establishing the Foundation
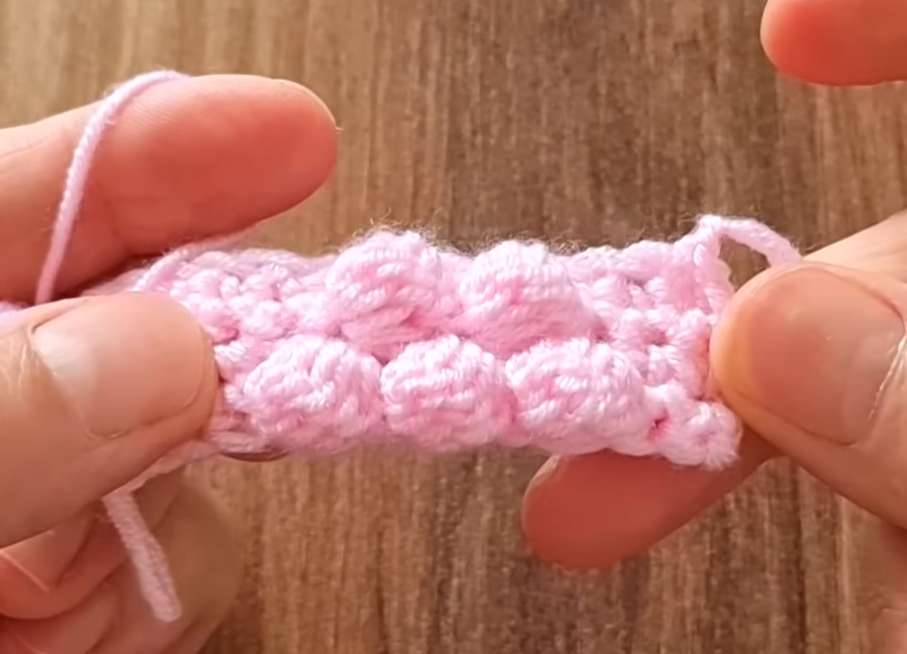
The first two rows create the flat single crochet base that allows the bobble flowers to stand out clearly.
Row 1: Foundation Single Crochet
- Ch the required number (multiple of 6, plus 3).
- Sc into the 2nd ch from the hook and in every ch across.
- Ch 1 (does not count as a stitch). Turn.
Row 2: The SC Base Row
This row builds a solid foundation for the flower placement.
- Sc into the first st and in every st across.
- Ch 1 (does not count as a stitch). Turn.
🌸 Phase 2: Creating the Flower Centers (Row 3)
This row establishes the central bobble of each flower and begins to space them out.
Row 3: Center Bobble Row
- Sc into the first st.
- Sc into the next 2 sts.
- *BO into the next st. (This is your first central bobble).
- Sc into the next 5 sts.*
- Repeat from * to * across the row.
- End by working sc into the last 3 sts.
- Ch 1 (does not count as a stitch). Turn.
💡 Bobble Direction: Bobbles typically pop out on the opposite side of the work from where they are crocheted. Since we want the flowers on the “right side” of the fabric, Row 3 is worked on the “wrong side.”
🌿 Phase 3: Defining the Petals (Row 4)
This row uses single crochet to stabilize the fabric and sets up the spaces for the “petals” around each center bobble.
Row 4: SC Stabilizing Row
- Sc into the first st and in every st across.
- Ch 1 (does not count as a stitch). Turn.
🌼 Phase 4: Completing the Flowers (Row 5)
This row creates the surrounding bobble “petals” for each flower.
Row 5: Petal Bobble Row
- Sc into the first st.
- *BO into the next st.
- Sc into the next st.
- BO into the next st (this bobble will sit to the side of the center bobble).
- Sc into the next 3 sts.*
- Repeat from * to * across the row.
- End by working a BO into the next st.
- Sc into the next st.
- BO into the next st.
- Sc into the last st.
- Ch 1 (does not count as a stitch). Turn.
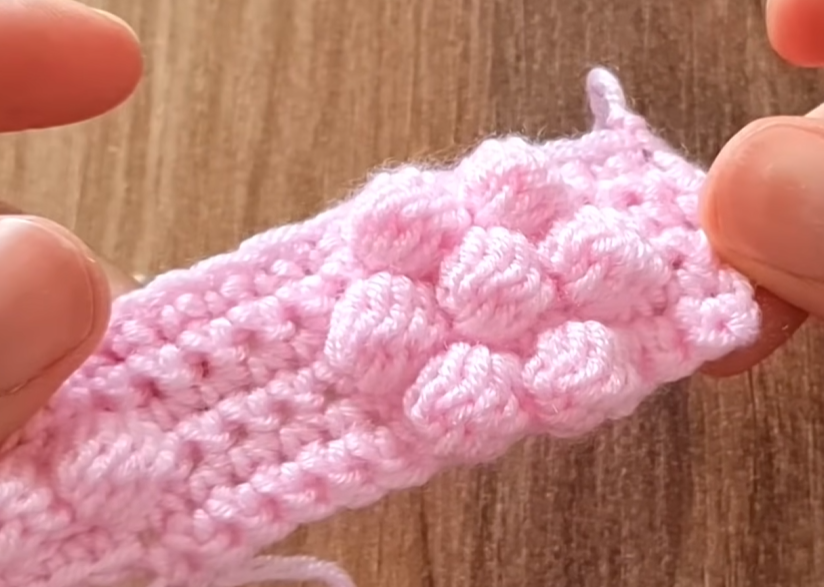
🧐 Petal Placement: Notice how the bobbles are worked into specific stitches, leaving single crochets in between to define the petal shape. You’re effectively creating bobbles on either side of where the central bobble was placed two rows below.
🔀 Phase 5: The Staggered Repeat
To continue the pattern with staggered flowers, you will repeat the defining single crochet row and then a new bobble row.
Row 6: SC Stabilizing Row (Repeat of Row 4)
- Sc into the first st and in every st across.
- Ch 1 (does not count as a stitch). Turn.
Row 7: Staggered Center Bobble Row (Similar to Row 3)
This row starts with more single crochets to offset the flowers.

- Sc into the first st.
- *Sc into the next 2 sts.
- BO into the next st.
- Sc into the next 5 sts.*
- Repeat from * to * across the row.
- End by working sc into the last 3 sts.
- Ch 1 (does not count as a stitch). Turn.
Pattern Repeat Check: Row 7 creates the center bobbles for the next row of flowers, which will be placed in the spaces between the previous flowers.
The Full Pattern Repeat
To continue this beautiful textured fabric, you will repeat these two main blocks of rows:
- Block 1: Rows 3, 4, 5, 6 (Creates a full flower, stabilizes, then places the center of the next flower).
- Block 2: Rows 7, 8, 9, 10 (Similar, but offset).
The full sequence for the fabric is: Rows 1-7, then repeat Rows 4-7 for the remainder of the project.
Video Tutorial:
✂️ Finishing and Edging Details
Fabric Characteristics
This stitch creates a very thick, dense, and soft fabric. It has excellent insulation properties due to the raised bobbles. It also uses more yarn than a simple single crochet stitch.
Creating a Straight Edge
The stitch naturally creates a straight edge, making it easy to add a border or leave as is.
- Final Row: End after any SC Stabilizing Row (Row 4 or 6). This will give you a smooth top edge.
- Border: A simple Single Crochet border (worked 1 sc into each sc and 1 sc into the side of each turning chain or row end) is usually sufficient to clean up the edges and give a polished look.
This Flower Bobble Stitch creates a truly charming and tactile fabric. Enjoy watching your little flowers bloom!


