
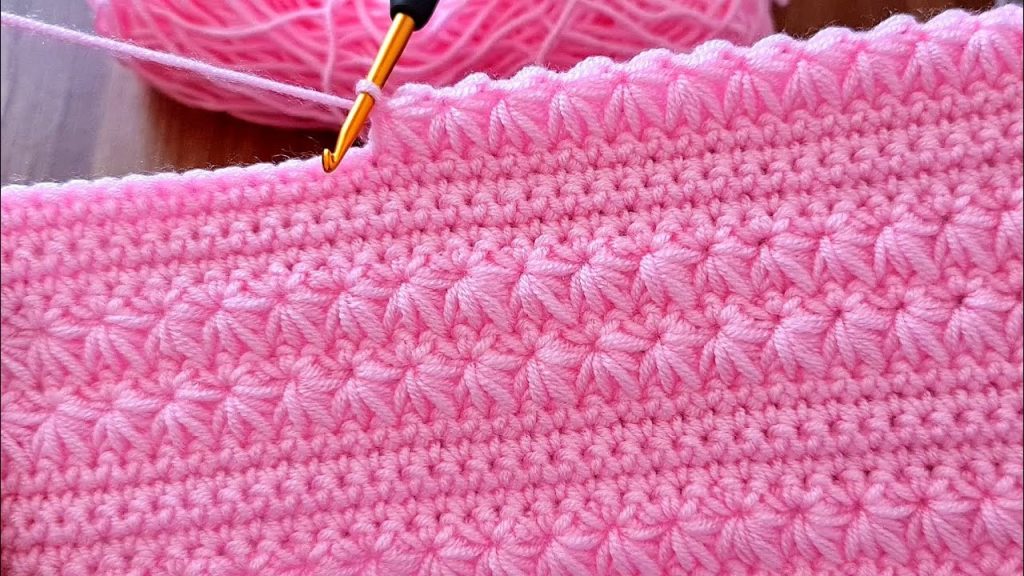
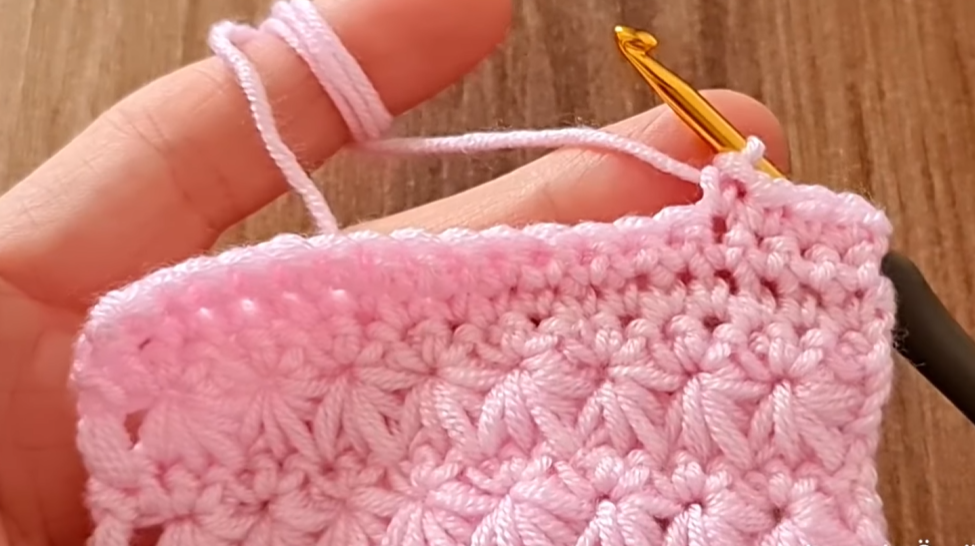
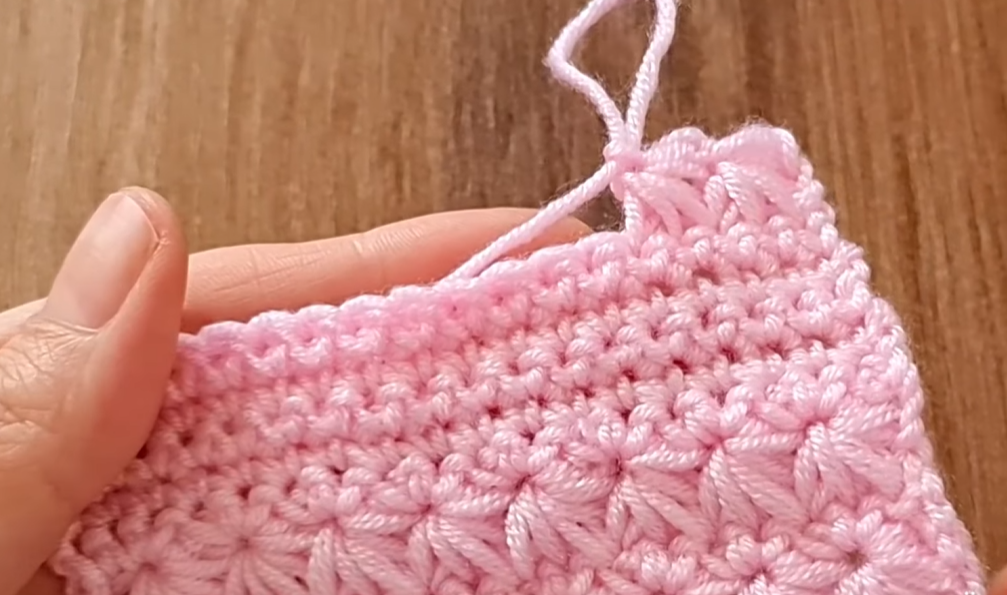
Welcome, texture seekers! The stitch we’re featuring today is a true showstopper: the Star Stitch Band Pattern. It alternates the classic, intricate Star Stitch—which creates a tight, star-like cluster—with simple rows of single crochet. The result is a wonderfully thick, reversible-looking fabric with distinct bands of texture.
This pattern is known for its warmth and its stunning visual appeal, making it a perfect candidate for heirloom projects. Let’s master the technique and create this lovely piece!
🛍️ Materials & Setup
Choosing Your Tools
- Yarn: A smooth Worsted Weight (Aran/10-ply) yarn is highly recommended. The smooth nature of the yarn will help the star clusters form neatly and distinctly. A solid color, like the pink shown, really lets the texture shine.
- Hook: A crochet hook size appropriate for your yarn, typically a 5.0 mm (H-8 US) or 5.5 mm (I-9 US) hook. Using a slightly larger hook for the Star Stitch rows can help prevent the fabric from curling.
- Notions: Scissors and a tapestry needle.
Gauge and Multiple
- Pattern Multiple: The Star Stitch is worked over a multiple of 2 stitches, plus 1 for the foundation chain.
- Example Chain (for a swatch): Ch 27 (2 x 13 = 26, plus 1 = 27).
📌 Stitch Abbreviations & Technical Definitions (US Terms)
Standard Abbreviations
- ch: Chain
- st(s): Stitch(es)
- sc: Single Crochet
- sl st: Slip Stitch
- dc: Double Crochet
- rep: Repeat
The Key Stitch: The Star Stitch (St St)
The Star Stitch is a two-row process. The first row (the setup) creates the star, and the second row (the finish) sets the base for the next row.
Star Stitch (St St) Definition (Row A: The Setup):
- Ch 3.
- Insert hook into the 2nd ch from the hook, yo and pull up a loop (2 loops on hook).
- Insert hook into the 3rd ch from the hook, yo and pull up a loop (3 loops on hook).
- Insert hook into the 1st st of the row, yo and pull up a loop (4 loops on hook).
- Insert hook into the 2nd st of the row, yo and pull up a loop (5 loops on hook).
- Insert hook into the 3rd st of the row, yo and pull up a loop (6 loops on hook).
- Yo and pull through all 6 loops on the hook.
- Ch 1 to close the star (this ch-1 creates the ‘eye’ of the star). (First star made)
Star Stitch (St St) Continuation (Row A):
- Insert hook into the eye of the star just made, yo and pull up a loop (2 loops on hook).
- Insert hook into the last spoke (the same stitch used for step 6 of the previous star), yo and pull up a loop (3 loops on hook).
- Sk 1 st in the row below. Insert hook into the next st, yo and pull up a loop (4 loops on hook).
- Insert hook into the next st, yo and pull up a loop (5 loops on hook).
- Yo and pull through all 5 loops on the hook.
- Ch 1 to close the star (the eye). (Repeat this continuation until the end).
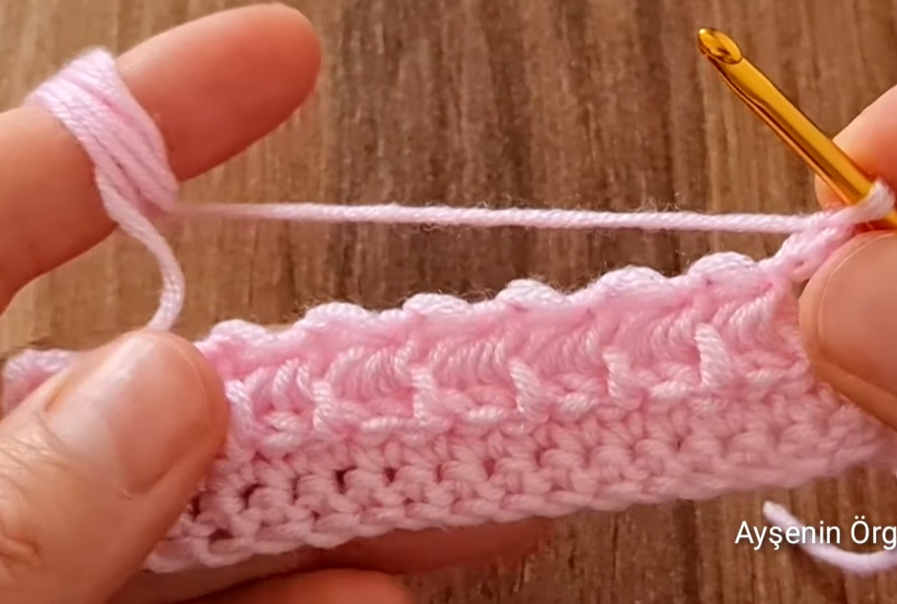
➡️ Phase 1: Establishing the Foundation
The pattern begins with a simple, solid base to give the star stitches a flat surface to build upon.
Row 1: Foundation Single Crochet
- Ch the required number (multiple of 2, plus 1).
- Sc into the 2nd ch from the hook and in every ch across.
- Ch 3 (counts as first dc, but is used for the Star Stitch setup). Turn.
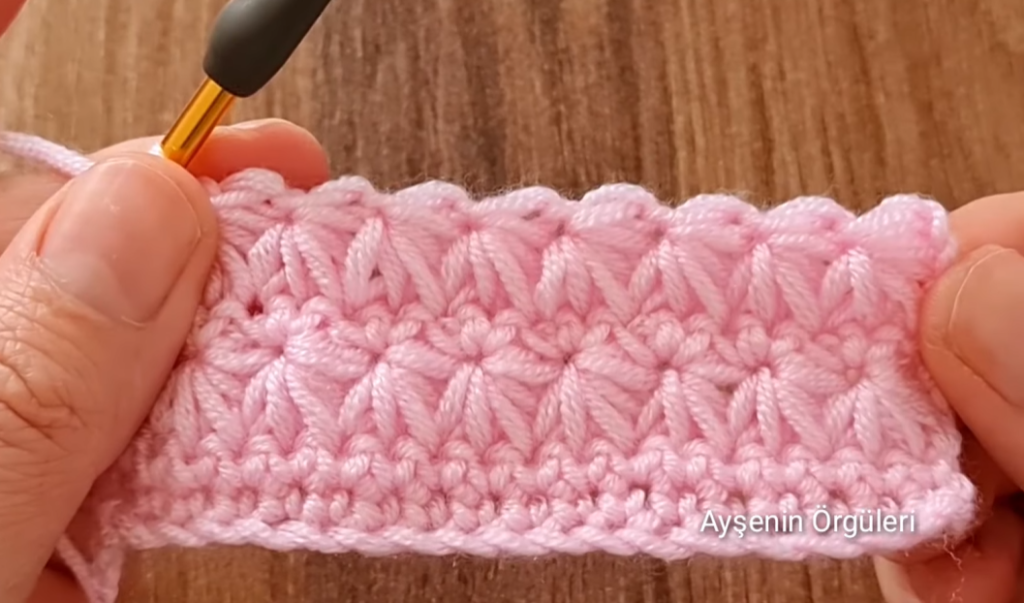
✨ Phase 2: Building the Star Stitch Band
This is the two-row sequence that creates the textured band.
Row 2: Star Stitch Setup (The Stars)
- Work the First Star Stitch as defined above (starting in the 2nd and 3rd chs, then into the first 3 sc of Row 1).
- Work the Star Stitch Continuation across the row.
- You will end the row with one stitch remaining. Dc into the very last st.
- Ch 1 (does not count as a stitch). Turn.
Row 3: Star Stitch Completion (The Base)
This row is crucial. It secures the stars and creates the base for the next smooth band.
- Sc into the first st.
- Sc 2 into the ‘eye’ (the ch-1 space) of the first star.
- *Sc 2 into the ‘eye’ of every subsequent star across the row.*
- End by placing sc 1 into the top of the turning chain (the Ch 3 from Row 1).
- Ch 1 (does not count as a stitch). Turn.
Stitch Count Check: The number of stitches in Row 3 should be exactly the same as your starting chain count (minus the initial turning chain). If you started with 27 sc, you should have 27 sc here.
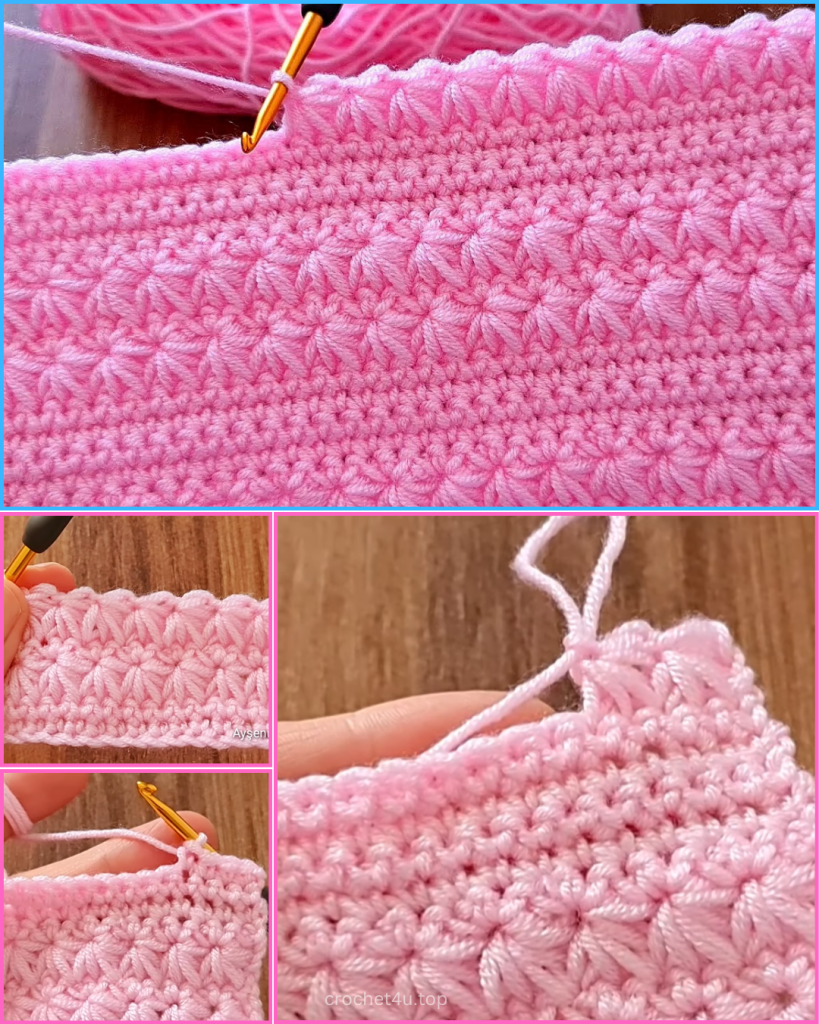
〰️ Phase 3: Creating the Smooth Band
The image shows a distinct band of smooth single crochet between the star texture.
Row 4: SC Band Row
- Sc into the first st and in every st across.
- Ch 1 (does not count as a stitch). Turn.
Row 5: SC Band Row
- Sc into the first st and in every st across.
- Ch 3 (counts as first dc, used for Star Stitch setup). Turn.
🔁 Phase 4: The Repeat Sequence
To continue the pattern, you will repeat the Star Stitch band (Rows 2 and 3) followed by the smooth band (Rows 4 and 5).
Row 6: Next Star Stitch Setup (Repeat of Row 2)
- Work the First Star Stitch as defined above (using the first 3 sc of Row 5).
- Work the Star Stitch Continuation across the row.
- Dc into the very last st.
- Ch 1 (does not count as a stitch). Turn.
Row 7: Star Stitch Completion (Repeat of Row 3)
- Sc into the first st.
- Sc 2 into the ‘eye’ of every star across.
- End with sc 1 into the top of the turning chain.
- Ch 1 (does not count as a stitch). Turn.
The Full Pattern Sequence
To continue the pattern, repeat the four main rows: Rows 4, 5, 6, and 7.
Video Tutorial:
✂️ Finishing and Edging Details
Fabric Characteristics
The Star Stitch is a yarn eater and creates a very dense and warm fabric. The smooth SC rows help stabilize the texture, preventing the natural curl that often happens when Star Stitch is worked alone.
The Final Edge
- Final Row: End after any SC Band Row (Row 4 or 5). This provides a clean, straight edge.
- Border: A simple border of single crochet or crab stitch (reverse single crochet) will clean up the edges beautifully. Ensure your gauge is consistent along the side edges, placing SCs evenly between the rows.
This Star Stitch Band Pattern creates a textured, cozy, and sophisticated textile. Enjoy the shine of your crochet stars!


