
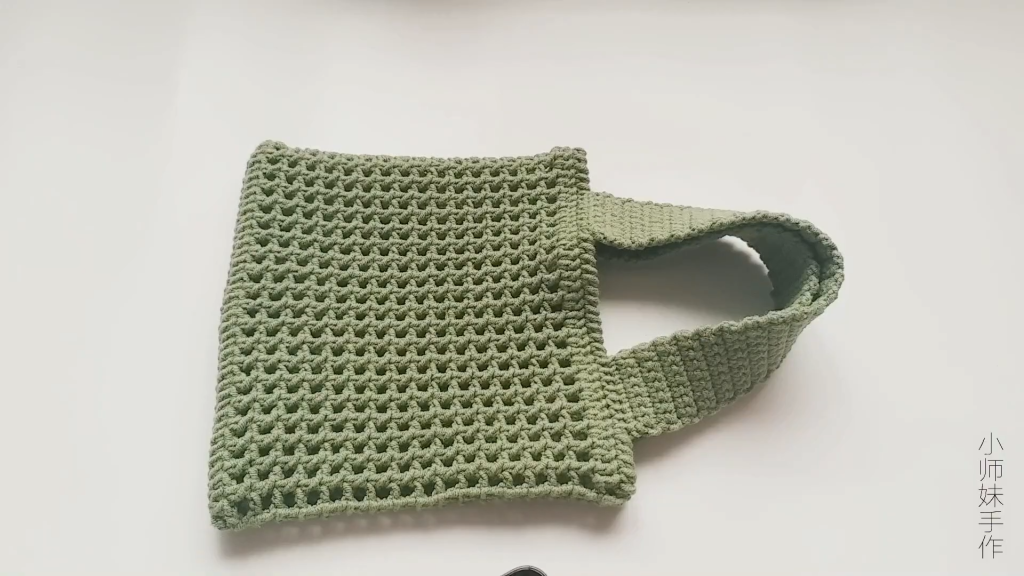
Welcome to your next favorite project! If you’ve been searching for a bag that combines modern geometric aesthetics with everyday utility, this Minimalist Mesh Handbag is the perfect choice. This design features a structured base and a lightweight, breathable mesh body, making it ideal for everything from a quick market run to a stylish lunch date.
In this long-form guide, we will break down the construction into detailed sections, from the solid oval base to the integrated handles. Let’s get started!
🧵 Materials & Tools Needed
To achieve the clean, crisp lines shown in the video, we recommend using a yarn with good stitch definition.
- Yarn: A sturdy 5-ply Milk Cotton or a Cotton Cord (approx. 100g–150g). Natural tones like linen, cream, or soft sage work beautifully for this minimalist look.
- Hook: 3.0 mm or 3.5 mm crochet hook.
- Notions: Tapestry needle for weaving in ends, scissors, and stitch markers (essential for tracking the oval increases).
- Skill Level: Intermediate (familiarity with working in the round and chain spaces).
📐 Section 1: The Foundation Oval Base
The bag starts with a solid, flat oval base. This provides the structure needed to prevent the bag from sagging.
- Foundation: Start by making a slip knot and Ch 22.
- Round 1: * Work 3 Single Crochet (SC) in the 2nd chain from the hook (this creates your first rounded end).
- Work 1 SC in each of the next 19 chains.
- Work 3 SC in the last chain (creating the second rounded end).
- Rotate your work to crochet along the opposite side of the foundation chain.
- Work 1 SC in each of the next 19 stitches. Join with a slip stitch (Sl St) to the first SC.
- Round 2 (Increases): * Ch 1. Work 2 SC in each of the next 3 stitches (the curve).
- Work 1 SC in each of the next 19 stitches.
- Work 2 SC in each of the next 3 stitches (the second curve).
- Work 1 SC in each of the next 19 stitches. Join with a Sl St.
- Round 3: Continue increasing at the ends. Work 1 SC, then 2 SC in the next stitch three times for each curve, maintaining the 19 SC along the straight sides.
- Round 4: Work one final round of SC all the way around without increases to “set” the base shape. Your base should now be a flat, sturdy oval.
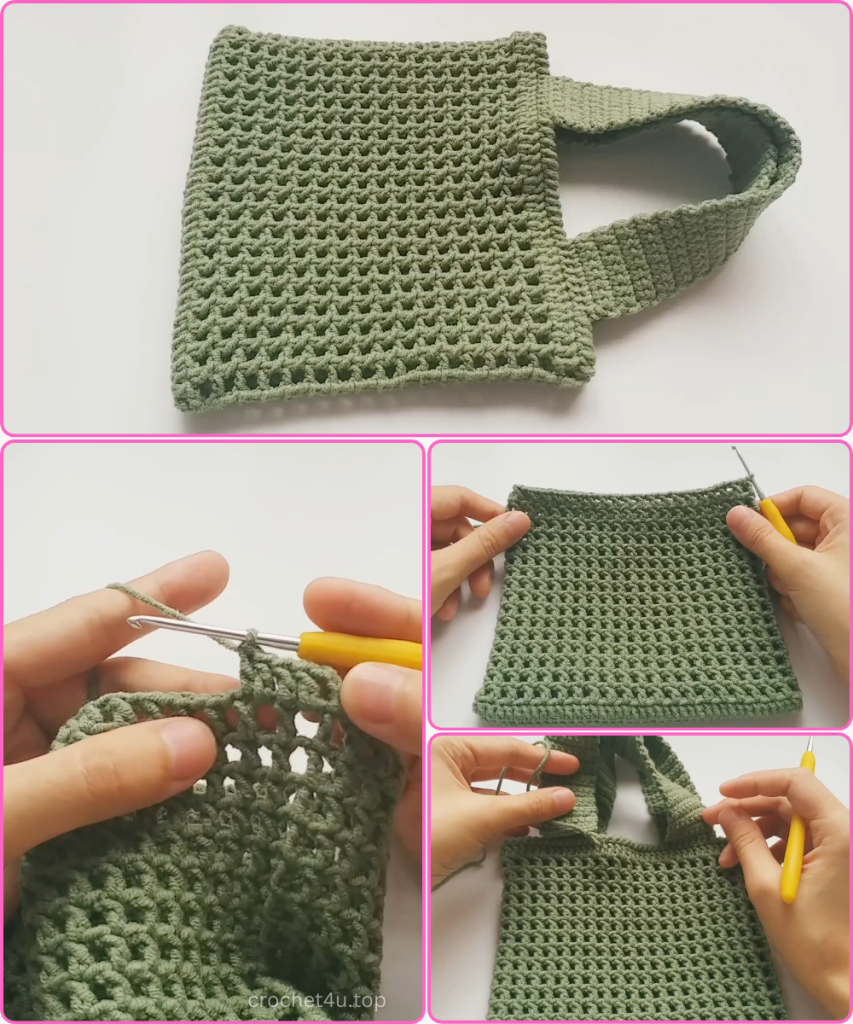
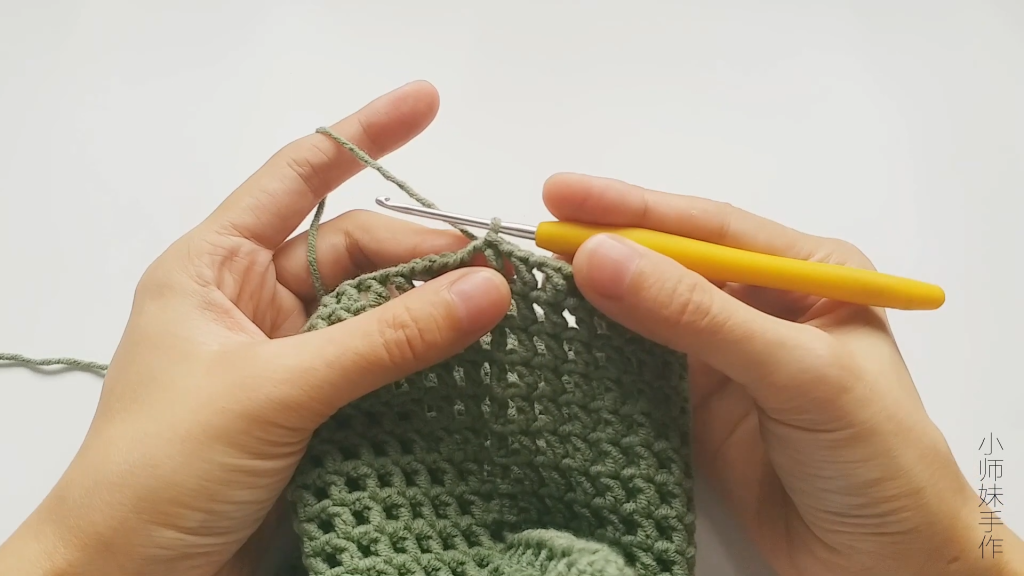
🕸️ Section 2: The Breathable Mesh Body
This is where the bag gets its characteristic “grid” look. We transition from solid SC to a “Double Crochet + Chain” pattern.
- Transition Round: Ch 1. Work 1 SC in the Back Loop Only (BLO) of every stitch around. This creates a sharp “lip” that helps the walls of the bag stand upright.
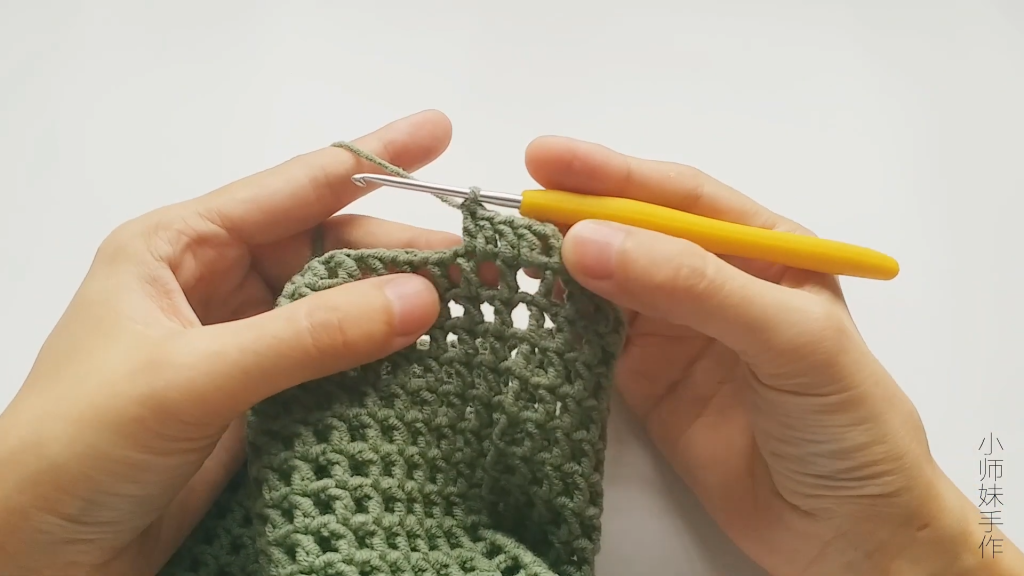
- The Mesh Pattern (Round 1): * Ch 4 (this counts as your first DC + Ch 1).
- Skip 1 stitch, work 1 DC in the next stitch.
- Ch 1, skip 1, 1 DC. Repeat this all the way around.
- Join with a Sl St to the 3rd chain of your starting Ch-4.
- Rounds 2–15: * Ch 4. Work 1 DC directly into the top of the DC from the previous row.
- Ch 1, 1 DC in the next DC. Repeat around.
- This creates a perfectly aligned grid of squares. Continue until the mesh section reaches your desired height (approx. 15–18 cm).
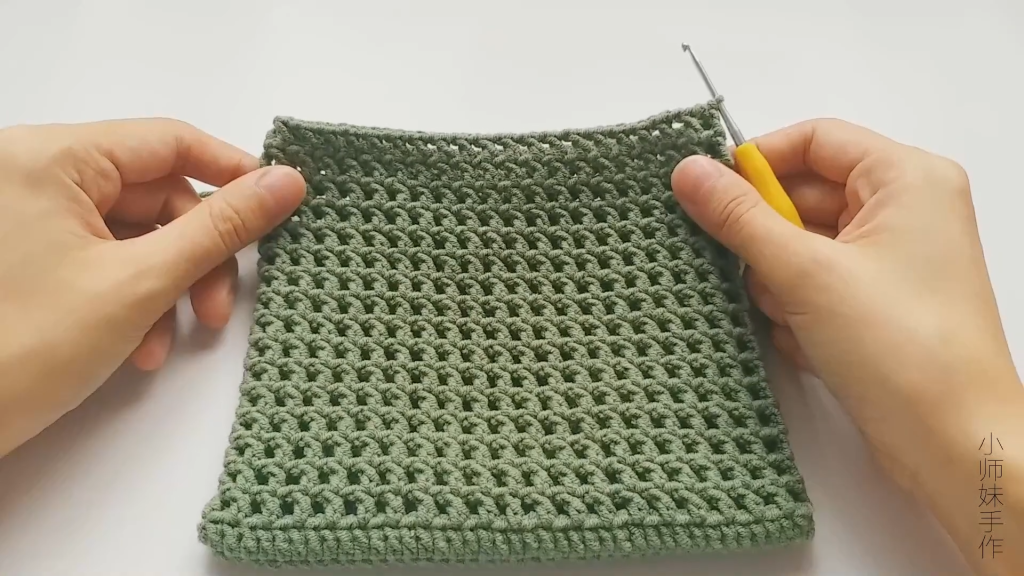
🏛️ Section 3: The Upper Border & Stability Rows
Before adding handles, we need to return to a solid stitch to reinforce the top of the bag.
- Solid Round 1: Ch 1. Work 1 SC in every DC stitch and 1 SC in every Ch-1 space around. This brings the stitch count back to match the base.
- Solid Rounds 2–4: Work 1 SC in every stitch around. This creates a thick, durable band that will support the weight of the handles.
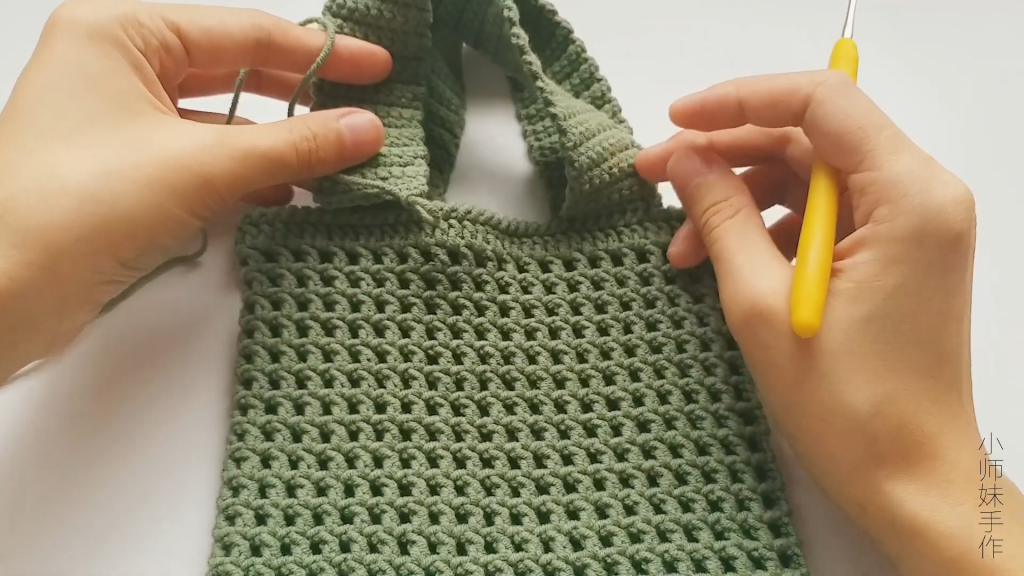
🎗️ Section 4: Integrated Hand-Carry Straps
Instead of sewing on handles, we will crochet them directly into the top border for maximum strength.
- Alignment: Lay your bag flat. Use stitch markers to mark the center 12 stitches on the front and the center 12 stitches on the back.
- Strap Round 1: * SC until you reach your first marker.
- Ch 35 (or more if you prefer a shoulder-length strap).
- Skip the 12 marked stitches and SC into the stitch after the second marker.
- SC across to the back side and repeat for the second strap.
- SC until you reach the start of the round.
- Strap Round 2: Work 1 SC in every SC of the border. When you reach the Ch-35 handles, work 40 SC around the chain (not into the chain loops). This makes the handle rounded, thick, and comfortable to hold.
- Final Round: Work one round of Slip Stitches around the entire top edge and the handles. This prevents the straps from stretching out over time.
Video Tutorial:
🎀 Section 5: Finishing & Pro-Tips
- Fastening Off: Cut the yarn, leaving a 10 cm tail. Use your tapestry needle to create an “invisible join” and weave the end deeply into the solid SC border.
- Blocking: Because mesh can sometimes look “wonky” right off the hook, we highly recommend Steam Blocking. Pin the bag to its desired shape and lightly steam it with an iron (don’t touch the iron to the yarn!). This will open up the mesh squares perfectly.
- Customization: * Lining: If you plan to carry small items like coins or pens, sew a simple linen drawstring pouch to drop inside the mesh bag.
- Style: Add a leather “Handmade” tag or a tassel to one of the handles for a boutique finish.
Congratulations! You’ve completed the Minimalist Mesh Handbag. It’s elegant, sturdy, and entirely handcrafted by you. Happy crocheting!


