
Are you tired of small bags that can barely fit your phone and wallet? Today, we are diving deep into a project that is every busy woman’s dream: a large, spacious, and incredibly sturdy crochet tote. Whether you’re heading to the office, the market, or a weekend getaway, this bag is designed to carry it all with style.
Using macramé cord for that high-end structural look, this pattern is as much about architecture as it is about crochet. Let’s grab our hooks and build something beautiful!
🧶 Materials & Tool Kit
Before we start stitching, let’s make sure your workstation is prepared. For a bag this size, the material choice is crucial to ensure it doesn’t sag under weight.
- Cord: 600 grams (approx. 270 meters) of 3mm Macramé Cord. Polyester or cotton cord works best here for durability.
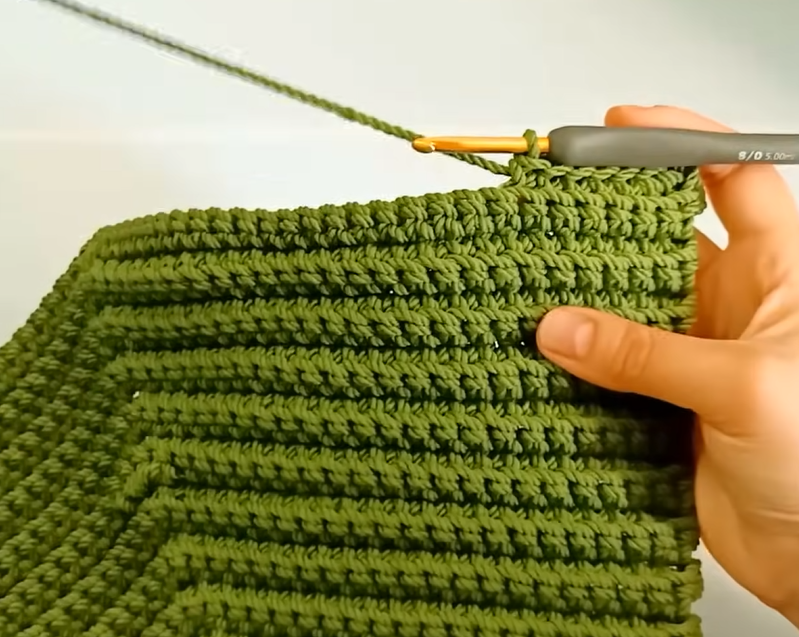
- Hook: A 5mm crochet hook.
- Hardware: A magnetic snap closure or your preferred bag lock.
- Notions: A large-eye tapestry needle, sharp scissors, and stitch markers (very helpful for finding the middle stitch).
📐 Project Dimensions
Once completed, your bag will boast impressive capacity:
- Height: 28 cm
- Top Width: 22 cm
- Bottom Width: 32 cm
- Side Depth: Approximately 20 cm
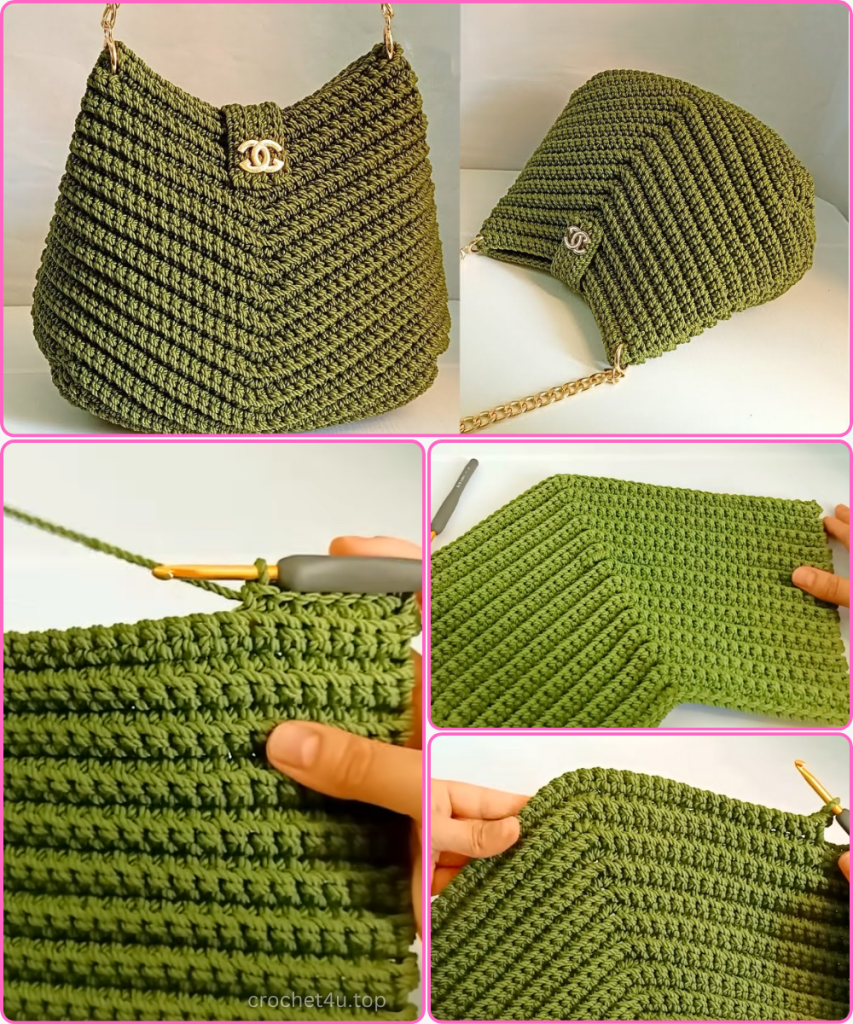
✨ Part 1: The Foundation and the Growth Phase
The bag is constructed of two identical panels. We begin with a foundation chain that forms the width of the bag.
- The Base Row: Create a slip knot and chain 30. Starting from the second chain from your hook, work 29 single crochets (SC) across.
- Row 2 (The First Increase): Chain 1 and turn. Work 14 SC in the back loops only (BLO). In the 15th (middle) stitch, work 3 SC into that same stitch. Finish the row with 14 SC in the BLO. Your stitch count is now 31.
- Row 3 (Rest Row): Every odd-numbered row is a “rest” row. Chain 1 and turn. Work 31 SC in the BLO across with no increases.
- Row 4 (The Second Increase): Chain 1 and turn. Work 15 SC in the BLO. In the middle stitch, work 3 SC. Finish with 15 SC in the BLO. Your count is now 33.
- Continuing the Pattern: Continue this alternating pattern. Even rows will have a 3-SC increase in the exact center, while odd rows are worked straight. Continue until you complete Row 26. At this point, you should have 55 stitches in total.
🏛️ Part 2: Architectural Shaping of the Top
Now that we have reached our maximum width, we need to sculpt the top of the bag to give it a more refined silhouette.
- Row 27: We will use height variance to shape the edge.
- Start the row with 2 half double crochets (HDC).
- Follow with 5 SC.
- Work 3 slip stitches (SLST).
- Now, work 35 SC across the center in the BLO.
- Finish the mirror image: 3 SLST, 5 SC, and 2 HDC.
- Row 28: Repeat the edge shaping (2 HDC, 5 SC, 3 SLST). Then, work 17 SC in the BLO, 3 SC in the middle stitch, and 17 SC in the BLO. Finish with the mirror edge (3 SLST, 5 SC, 2 HDC).
- Finish Off: Cut the yarn and secure your ends.
🌊 Part 3: Creating the Side Depth
This is the “secret sauce” that gives the bag its massive 20cm depth. Instead of working the whole row, we will only work the center section.
- The Middle Panel: Skip the first 10 stitches of Row 28. Attach your yarn to the first SC after those 10 stitches.
- Row 29: Work 37 SC in the BLO, stopping exactly before the last 10 stitches of the previous row.
- Building Height: Continue working this 37-stitch section back and forth for 10 rows (Rows 29 through 38). No increases are needed here. This creates a rectangular “flap” that will become the side and bottom depth of the bag.
- Preparation: Leave a very long tail for sewing before cutting the yarn.
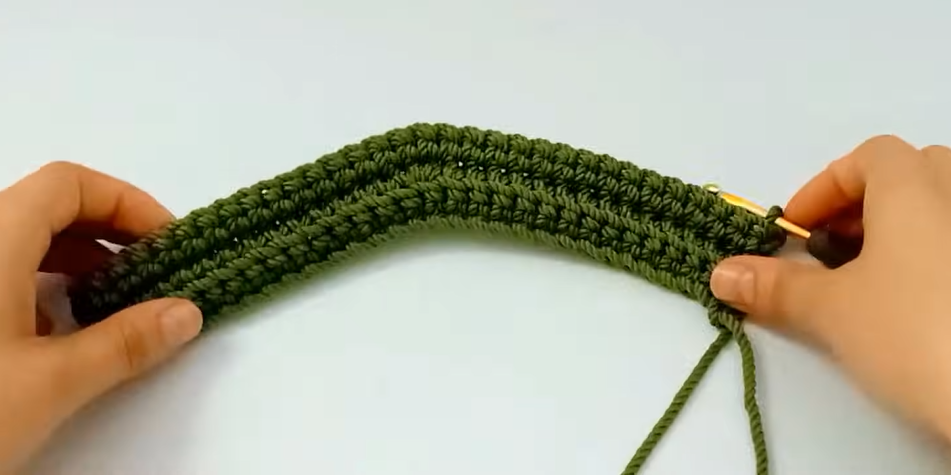
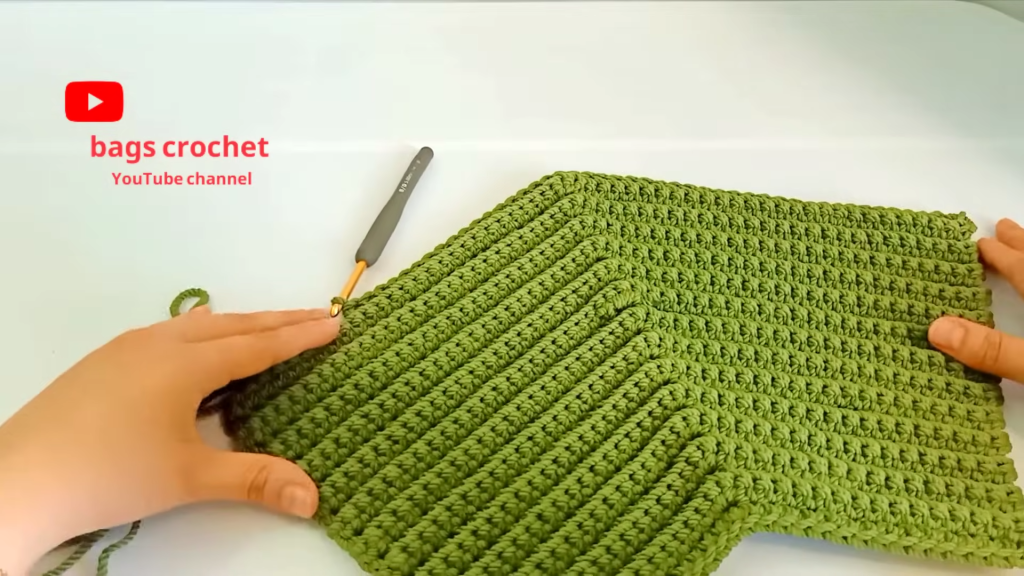
🪡 Part 4: Assembly and Structural Sewing
Now it’s time to turn our flat pieces into a 3D object. You will need to make a second panel exactly like the first one.
- Side Sewing: Take your 10-row depth section and fold it to meet the 10 stitches we skipped at the top edges (the HDC/SC/SLST sections). Using your tapestry needle, sew these edges together. Repeat for both sides of the panel.
- Joining the Panels: Lay your two finished panels together with the wrong sides facing out.
- The Main Seam: Align them row-by-row and stitch-by-stitch. Carefully sew around the perimeter. The 37-stitch bottom section must align perfectly with the 37-stitch section of the opposite panel. Use a sturdy whip stitch or mattress stitch to ensure it can handle heavy loads.
🔒 Part 5: The Flap Closure
A bag this big needs a way to stay shut! We will create a small, thick flap for the lock.
- Foundation: Chain 11. Starting from the second chain, work 10 slip stitches.
- The Texture: Chain 1 and turn. Work 7 rows of slip stitches in the front loops only. This creates a very dense, ribbed fabric that won’t stretch.
- Attachment: Sew this flap to the center-back of the bag’s rim.
- The Lock: Attach your magnetic snap or button to the flap and the corresponding spot on the front of the bag.

🌟 Finishing Touches
- Ends: Weave in all yarn tails securely. Since macramé cord can be slippery, I recommend weaving them in multiple directions.
- Blocking: If your cord is a bit stiff, you can lightly steam the bag (use a press cloth!) to help the seams settle into their 3D shape.
- Handles: You can crochet sturdy cords for handles or attach store-bought leather straps for a mixed-media look.
Video Tutorial:
You now have a massive, beautiful tote that is ready for whatever your day throws at it. Happy crocheting!


