
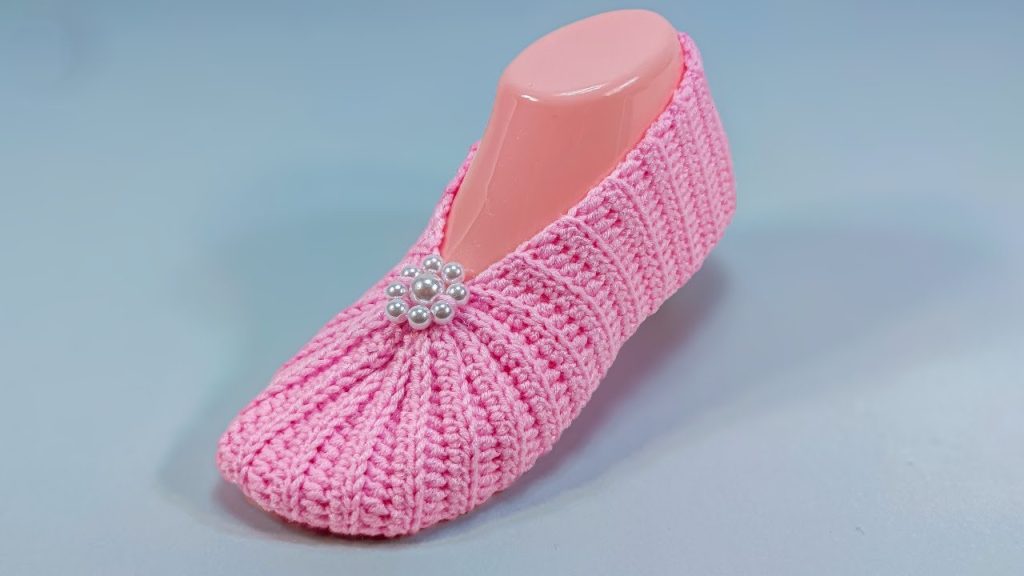
Hello, lovely crocheters! Get ready to create the most elegant and comfortable house shoe you’ve ever owned. The pink slipper you see above is a perfect example of a cozy crocheted ballet flat. Its standout features are the beautiful vertical ribbing across the entire piece and the delicate gathered toe that gives it that classic shoe shape.
This pattern is worked in one flat piece using the Half Double Crochet (HDC) in the Back Loop Only (BLO) technique to achieve the gorgeous ribbed texture. It is written for Adult Small/Medium (Women’s US size 6-8 / EU 36-39).
🛠️ Materials Needed
- Yarn: Approximately 120 – 150 yards (110 – 140 meters) of a soft Worsted weight (Aran/10-ply) yarn in your main color (Pink).
- Hook: US size H/8 (5.0 mm) crochet hook.
- Notions:
- Tapestry Needle for seaming and weaving in ends.
- Sharp Scissors.
- Embellishment: About 6-8 small pearl beads and a tiny length of thread/dental floss to sew them on. Alternatively, use a small pearl button.
📏 Gauge (The Secret to the Perfect Fit)
- Gauge: 13 Half Double Crochet (HDC) stitches and 10 rows equals 4 inches (10 cm) in regular HDC (not worked in BLO).
- Why it matters: The BLO ribbing stretches significantly. Getting the width (starting chain) and the length (rows) right according to your gauge is essential for the slipper to wrap snugly around your foot.
ℹ️ Key Techniques & Abbreviations
The entire body is worked in simple rows using the BLO technique to create the horizontal lines that look like knitting.
- ch = Chain
- st(s) = Stitch(es)
- sl st = Slip Stitch
- sc = Single Crochet
- hdc = Half Double Crochet
- hdc2tog = Half Double Crochet two stitches together (a decrease).
- BLO = Back Loop Only (insert hook only into the loop furthest from you).
- RS = Right Side
- WS = Wrong Side
- FO = Fasten Off
🩰 The Pattern: Rosé Ballet Slipper (Adult S/M)
The slipper is constructed from a single flat strip, worked from side-to-side, which allows the ribbing to run vertically when the piece is worn.
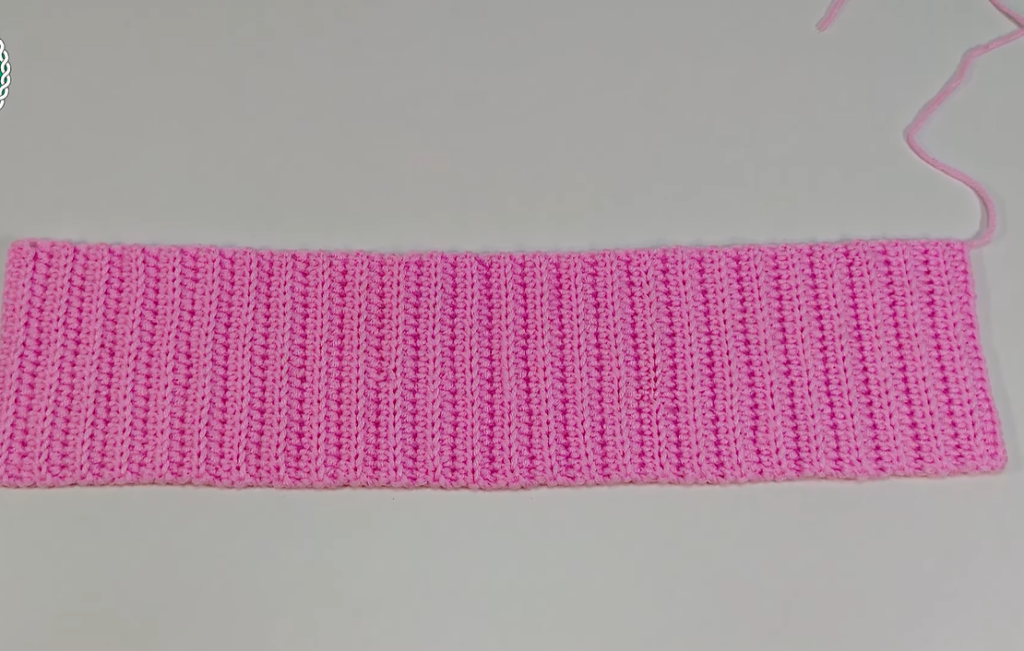
1️⃣ The Body (The Ribbed Strip)
This creates the heel, sole, and instep.
| Row | Instructions | Stitch Count |
| Foundation | Ch 31. | 31 chs |
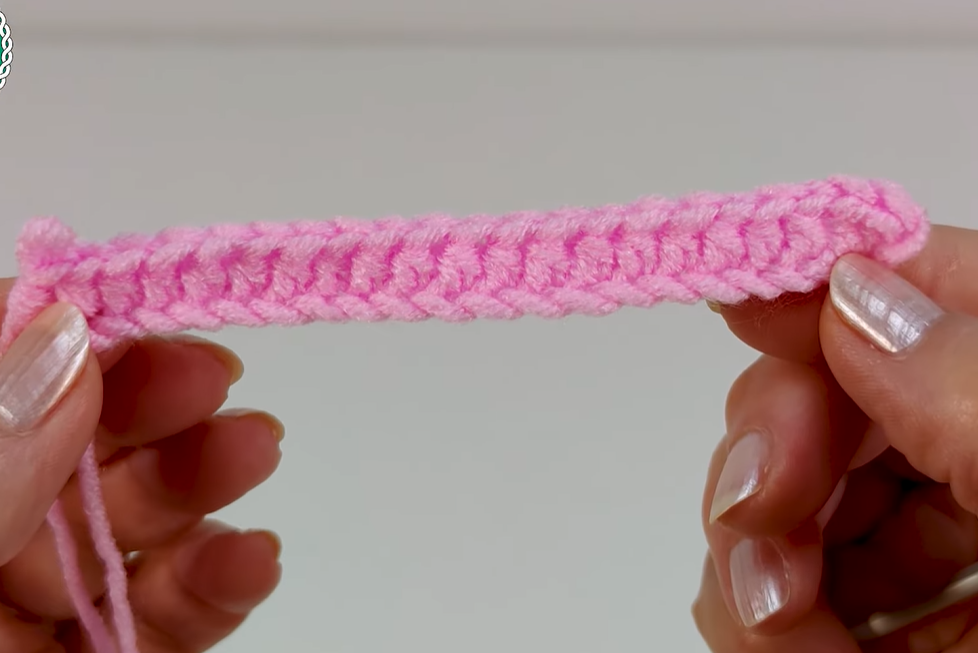
| Row 1 (RS) | Hdc in 2nd ch from hook and in each ch across. Ch 1, turn. | 30 sts |
| Row 2 (WS) | Hdc in the BLO of each st across. Ch 1, turn. This creates the first ridge. | 30 sts |
| Row 3 (RS) | Hdc in the BLO of each st across. Ch 1, turn. | 30 sts |
| Rows 4–46 | Repeat Row 2 (working in BLO) for a total of 46 rows, or until the piece measures approximately 10 inches (25.5 cm) when lightly stretched lengthwise. This measurement is critical, as it determines the total circumference of the finished slipper. | 30 sts |
- Prepare for Toe Gather: The last row is Row 46. Do not chain 1. FO the yarn, leaving a very long tail (40 inches / 1 meter) for seaming.
2️⃣ The Toe Gather (Shaping the Tip)
Unlike a seamed heel, the toe requires a gathering technique to achieve that rounded, cinched look.
| Step | Instructions | Result |
| Measure Toe | Starting from the opposite end of the long tail (the first row you made), count in 10 rows from the edge. This marks the area for the toe. | |
| Gather Stitches | Thread a new, separate piece of yarn (about 15 inches) onto your tapestry needle. Weave this needle in and out through the top loop of every stitch on Row 1 (the foundation row) for the first 10 rows of the strip. | |
| Cinch Closed | Gently pull the yarn tail tightly to cinch the end closed, gathering all 10 rows together to form the rounded toe. Secure the yarn tail firmly on the inside of the piece. | Rounded Toe |
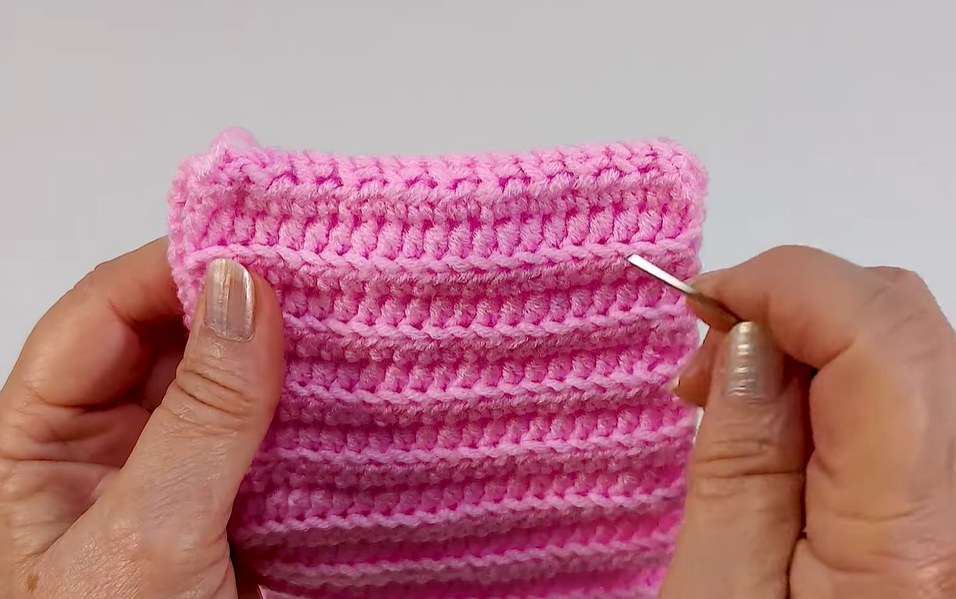
3️⃣ Seaming the Sole and Heel
Now we form the 3D shape by folding the piece and seaming the rest of the edges.
| Step | Instructions | Result |
| Fold and Pin | Fold the entire long strip in half, aligning the cast-on edge (Row 1) with the final row (Row 46). The cinched toe should be at the front fold. | |
| Seam the Heel | Using the long yarn tail from the end of Row 46, start seaming the back edge (the heel). Seam the back 8 rows (approx. 3.5 cm / 1.5 inches) together using a whipstitch or mattress stitch. This creates the back of the heel. | Closed Heel |
| Seam the Sole | Continue the seam along the bottom edge (the sole) until you reach the center of the cinched toe tip. The unseamed section forms the elegant V-neck and top opening of the slipper. | Slipper Formed |
| Secure Ends | Secure the final thread firmly and weave in all remaining yarn tails on the inside. | Clean Finish |
💎 Embellishment (The Pearl Medallion)
This adds the final touch of elegance, mimicking the pearl cluster in the photo.
- Placement: Position the medallion where the gathered toe meets the body of the slipper, right on the central rib.
- Creating the Cluster:
- Thread a fine needle with strong thread or dental floss.
- Starting with the largest pearl, stitch it securely to the fabric.
- Arrange the smaller pearls in a circle around the central pearl, stitching each one down individually to the fabric to form a tight, sturdy cluster.
- Knot and weave the thread ends securely on the inside.
- The Second Slipper: Repeat all steps for a gorgeous matching pair!
Video Tutorial:
💡 Advanced Tips and Sizing Adjustments
Adjusting Foot Size
The key to changing the size is adjusting the length of the ribbed strip (Rows 4–46).
- For Size M/L (US 9-11): Work the ribbed strip for approximately 52–56 rows, or until the piece measures 11.5–12.5 inches (29–32 cm) when slightly stretched.
- For Size S/XS (US 4-5): Work approximately 38–42 rows, or until the piece measures 9–9.5 inches (23–24 cm) when slightly stretched.
- Adjusting Toe Gather: If you adjust the size, maintain the same ratio for the toe gather (approximately 20-25% of the total rows).
Durability and Comfort
- Cuff Edge: The top opening may benefit from a final clean-up row. Use a smaller hook (e.g., 4.0 mm) and work one round of Single Crochet (SC) or Reverse Single Crochet (Crab Stitch) evenly around the entire slipper opening for a tighter, non-stretching border.
- Non-Slip Soles: Since this is a house slipper, use liquid latex or non-slip fabric paint on the sole. Apply dots or thin stripes to prevent slipping, allowing the product to cure completely before wearing.


