
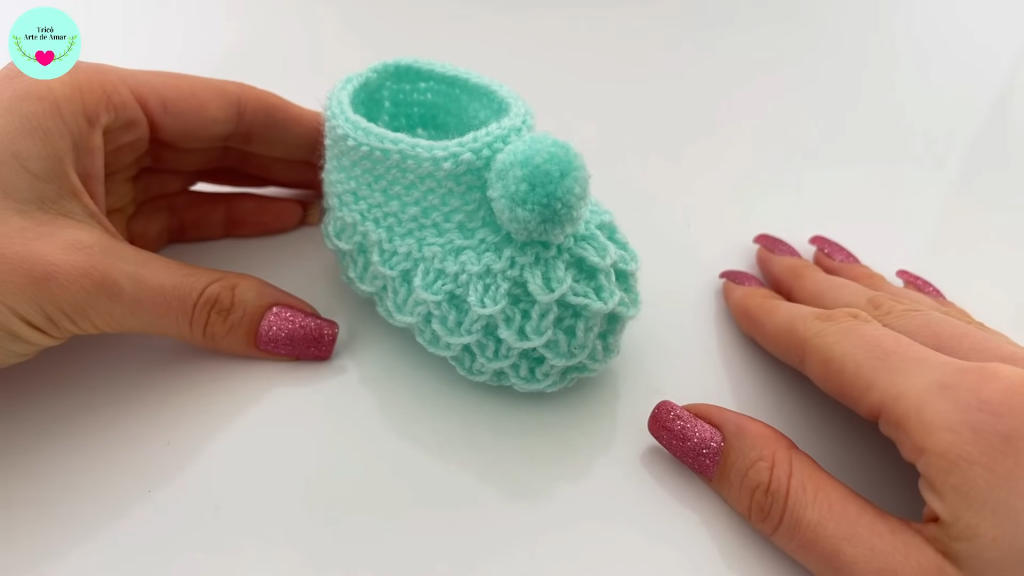
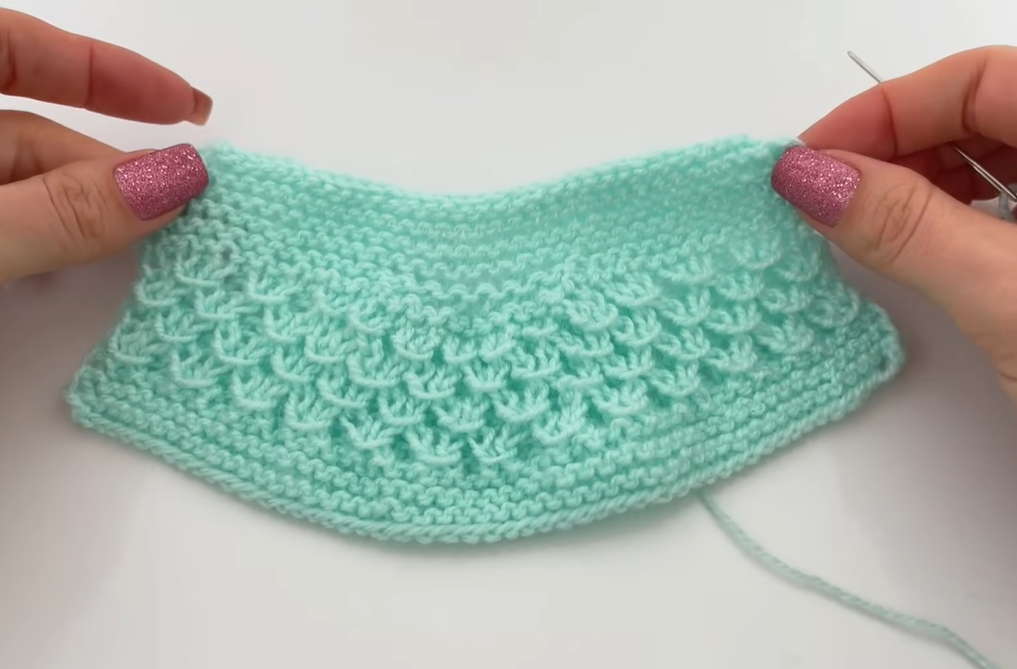
Welcome, fiber artist, to the pattern for the Enchanted Scale Stitch Bootie! This design is an absolute masterpiece of texture, utilizing a unique combination of knit and purl stitches to create a captivating pattern that resembles tiny, stacked scales or woven baskets. Despite its intricate appearance, this bootie is constructed from a simple flat panel using a repeatable, reversible stitch pattern, making it a surprisingly manageable project for knitters comfortable with basic techniques.
The final piece is beautifully structured, supremely cozy, and features a clean, seamless look thanks to the flat construction and clever seaming. Get ready to create a bootie filled with magic and love!
🧶 Materials & Tools
Gather your softest yarn and needles! A wool or acrylic blend with good memory will best show off the stitch definition.
- Yarn: Approximately 70-80 grams of DK Weight (Category 3) or light Worsted Weight (Category 4) yarn. A soft, baby-friendly yarn is highly recommended.
- Needles: A pair of straight or circular knitting needles, size 4.0 mm (US size 6) or size needed to achieve a sturdy fabric.
- Notions:
- Tapestry needle (essential for seaming and weaving in ends).
- Scissors.
- Measuring tape.
- Stitch markers (optional, but helpful for counting).
📏 Sizing & Gauge
This pattern is written for a standard newborn size. The foundation of this design is the correct starting stitch count.
Standard Size: Newborn (0-3 Months)
- Starting Stitch Count: 53 stitches.
- Requirement: The stitch count must be a multiple of 4, plus 1 (
(4n) + 1). This is essential for the stitch pattern and the later decreases to be centered correctly. - Circumference Length (Approximate): 20 cm (8 inches).
Adjusting the Size
The number of stitches determines the entire circumference of the bootie (the sole and the top edge).
- Rule of Thumb: Measure the length of the baby’s foot from heel to toe, then cast on a length that is equal to double that measurement in circumference.
- Stitch Count: Ensure your final cast-on count is a multiple of 4, plus 1 (e.g., 49, 53, 57).
📘 Abbreviations & Special Techniques
This pattern uses common knitting abbreviations and relies on two specialized techniques:
| Abbreviation | Stitch Name |
| CO | Cast On |
| st(s) | Stitch(es) |
| k | Knit |
| p | Purl |
| sl1wyf | Slip 1 with yarn in front (purlwise, yarn held to the front) |
| k3tog | Knit 3 stitches together (a double decrease) |
| sl st | Slip Stitch |
| BO | Bind Off |
Special Technique 1: Edge Treatment (Slip Stitch)
In every row, slip the first stitch knitwise without working it and knit the last stitch. This creates a beautiful, neat, braided edge that greatly simplifies the final seaming process.
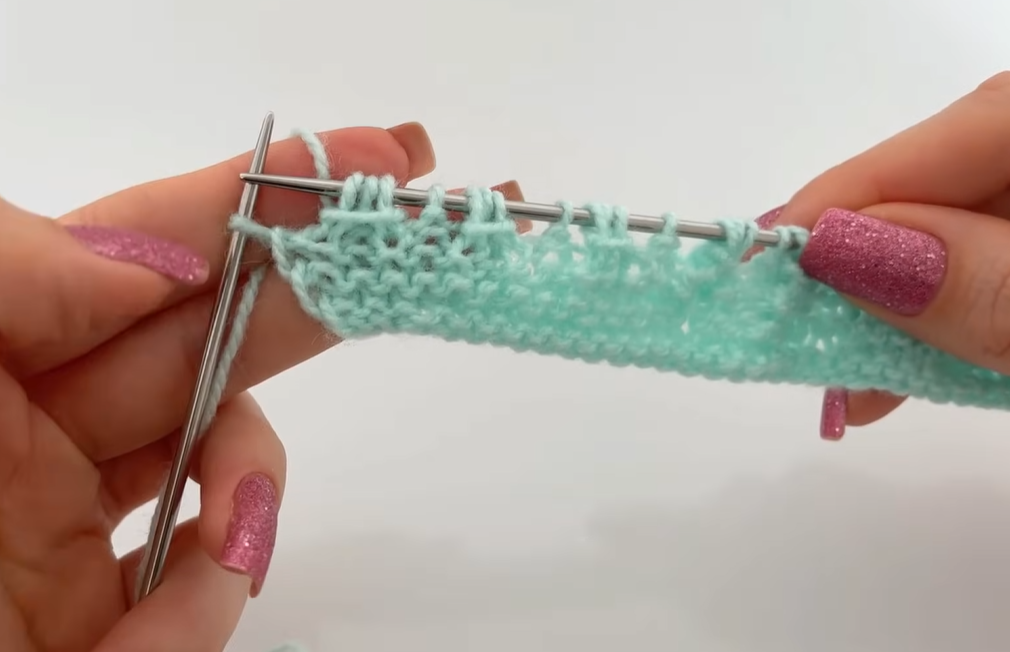
Special Technique 2: The Reversible Scale Stitch
This texture is created over a 4-row repeat, worked across a multiple of 4 stitches, plus 1.
| Row | Instructions |
| Row 1 (RS): | Sl1wyf, *p1, k1, p1, k1*; repeat from * to end, knit the last st. |
| Row 2 (WS): | Sl1wyf, *k1, p1, k1, p1*; repeat from * to end, knit the last st. |
| Row 3 (RS): | Sl1wyf, *k1, p1, k1, p1*; repeat from * to end, knit the last st. |
| Row 4 (WS): | Sl1wyf, *p1, k1, p1, k1*; repeat from * to end, knit the last st. |
🧱 Part 1: The Base Cuff (Garter Stitch)
The first section creates a flat, non-rolling edge that will form the sole and lower cuff.
Preparation: CO 53 stitches.
Rows 1 – 6 (Garter Stitch):
- Sl1wyf, K to the last st, K last st.
- Repeat this row (knitting every stitch) until you have completed 6 rows, forming 3 Garter Ridges.This section should measure approximately 1.5 cm (0.6 inches).
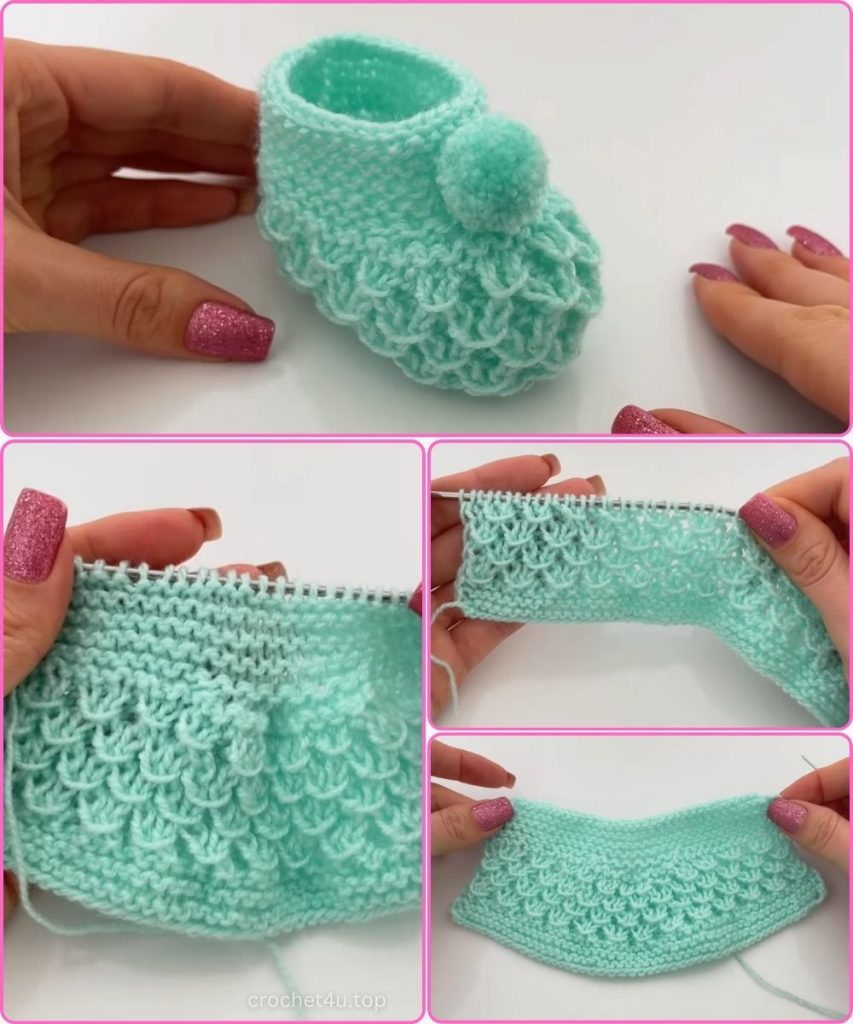
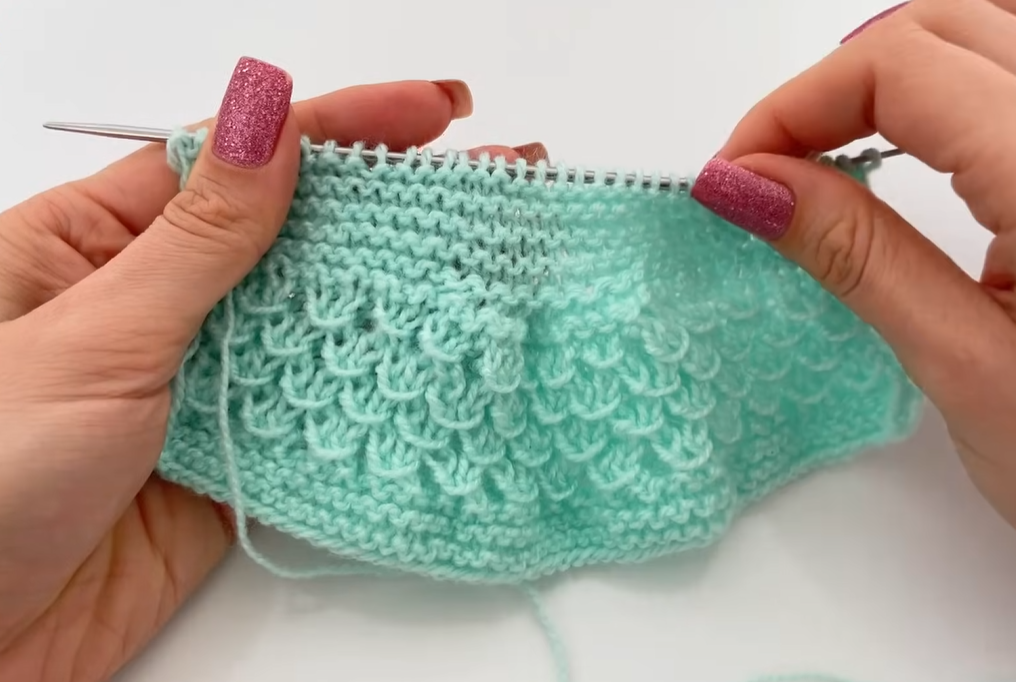
🐠 Part 2: The Body (Scale Stitch)
We now begin the main textured body, alternating the two 2-row sets of the Scale Stitch.
Row 7: Sl1wyf, p1, k1, p1, k1; repeat from * to last st, K last st. (Row 1 of Scale Stitch pattern)
Row 8: Sl1wyf, k1, p1, k1, p1; repeat from * to last st, K last st. (Row 2 of Scale Stitch pattern)
Row 9: Sl1wyf, k1, p1, k1, p1; repeat from * to last st, K last st. (Row 3 of Scale Stitch pattern)
Row 10: Sl1wyf, p1, k1, p1, k1; repeat from * to last st, K last st. (Row 4 of Scale Stitch pattern)
Rows 11 – 20 (Continue Texture):
- Repeat the four-row Scale Stitch pattern (Rows 7-10) until the entire panel measures approximately 6 cm (2.4 inches) in height. You should finish after a WS row (an equivalent of Row 8 or Row 10).
🔽 Part 3: Toe Shaping (Decreases)
This section creates the taper for the toe by decreasing stitches at the front of the panel.

Row 21 (Decrease Row 1 – RS):
- Sl1wyf, Purl the next 16 stitches. (This sets the side panel).
- Decrease Section: Work Knit 3 Together (k3tog) over the next 3 stitches. (Reducing 3 sts to 1).
- Purl the next 16 stitches.
- K last st.(49 sts remaining)
Row 22 (Stabilizing Row – WS):
- Sl1wyf, K to the last st, K last st. (All stitches are knit to create a garter ridge).(49 sts)
Row 23 (Decrease Row 2 – RS):
- Sl1wyf, Purl the next 14 stitches.
- Decrease Section: Work k3tog over the next 3 stitches.
- Purl the next 14 stitches.
- K last st.(45 sts remaining)
Row 24 (Stabilizing Row – WS):
- Sl1wyf, K to the last st, K last st.(45 sts)
Row 25 (Decrease Row 3 – RS):
- Sl1wyf, Purl the next 12 stitches.
- Decrease Section: Work k3tog over the next 3 stitches.
- Purl the next 12 stitches.
- K last st.(41 sts remaining)
Rows 26 – 27 (Final Edge):
- Sl1wyf, K to the last st, K last st. (Creating one final garter ridge for a neat finish).
- Repeat the above row one more time.
Binding Off:
- BO all stitches firmly but loosely. Cut the yarn, leaving an extremely long tail (at least 60 cm / 24 inches) for the entire seaming process.
✂️ Part 4: Assembly and Shaping
The final, magical step where the flat panel transforms into a beautiful bootie through strategic seaming.
1. Seam the Ankle/Cuff (Short Ends)
- Fold: Turn the entire piece to the Wrong Side (WS). Fold the piece in half so the two short ends (the first CO edge and the final BO edge) align.
- Seam: Thread the long tail onto a tapestry needle. Use a whipstitch or mattress stitch to securely sew this short edge together, from the top of the cuff down to the foundation chain. This forms the back of the heel.
- Secure: Knot securely at the bottom edge.
2. Seam the Sole (Cinching and Closure)
- Thread: Continue using the same long tail.
- Cinch the Heel: Before continuing, work a running stitch through the loops along the corner where the seam meets the CO edge. Pull the thread firmly to cinch the heel corner into a rounded shape. Knot securely.
- Sole Seam: Now, align the two long, raw edges (the CO edge and the BO edge) and sew them together. Sew from the cinched heel corner about halfway toward the toe end.
- Gather the Toe: Stop seaming when you reach the center decreases (the tapered section).
- Cinch the Toe Tip: Using a running stitch, pass the needle in and out through the edge stitches of the entire toe section (from one side of the taper, across the center, to the other side).
- Pull Tightly: Pull the thread firmly to cinch the entire toe tip closed, creating the clean, rounded toe shape. Knot securely and weave the excess tail into the sole seam to hide it.
Video Tutorial:
💖 Final Touches & Variations
- Turn Right Side Out: Turn the bootie to the right side and gently shape the toe and heel.
- Cuff Fold: The top few rows of the final garter edge can be folded over, or the scale stitch panel can be folded to create a thick cuff, depending on your preferred look.
- Embellishments (Optional):
- Pompom: Attach a fluffy, handmade pompom to the center top of the heel seam or the toe tip.
- Ribbon Tie: Thread a thin satin ribbon through the stitches of the upper cuff before folding and tie a bow at the front.
Repeat all steps for the second bootie. Enjoy the beautiful structure and texture of your finished Enchanted Scale Stitch Booties!


