
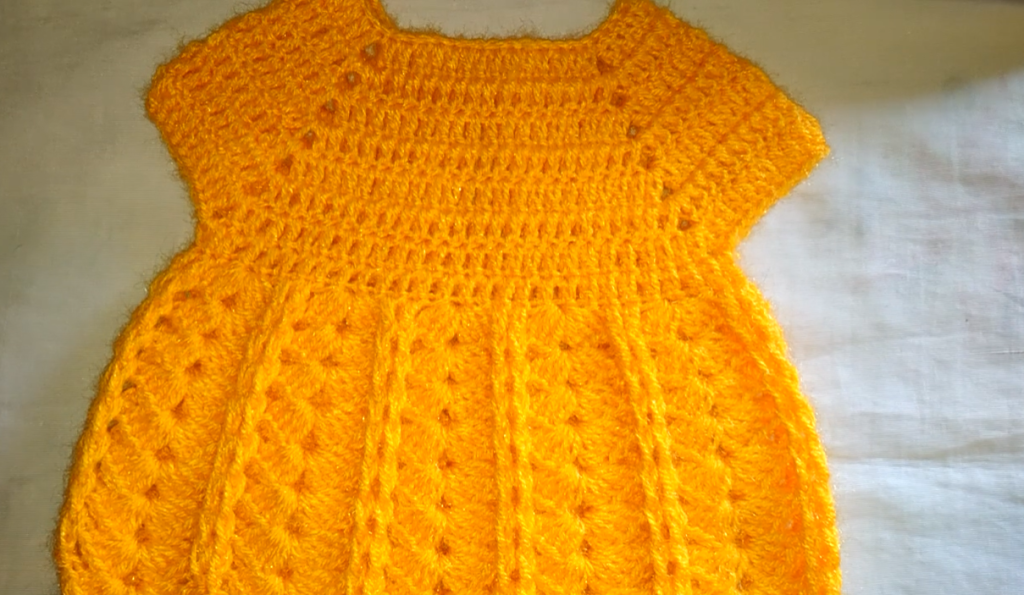
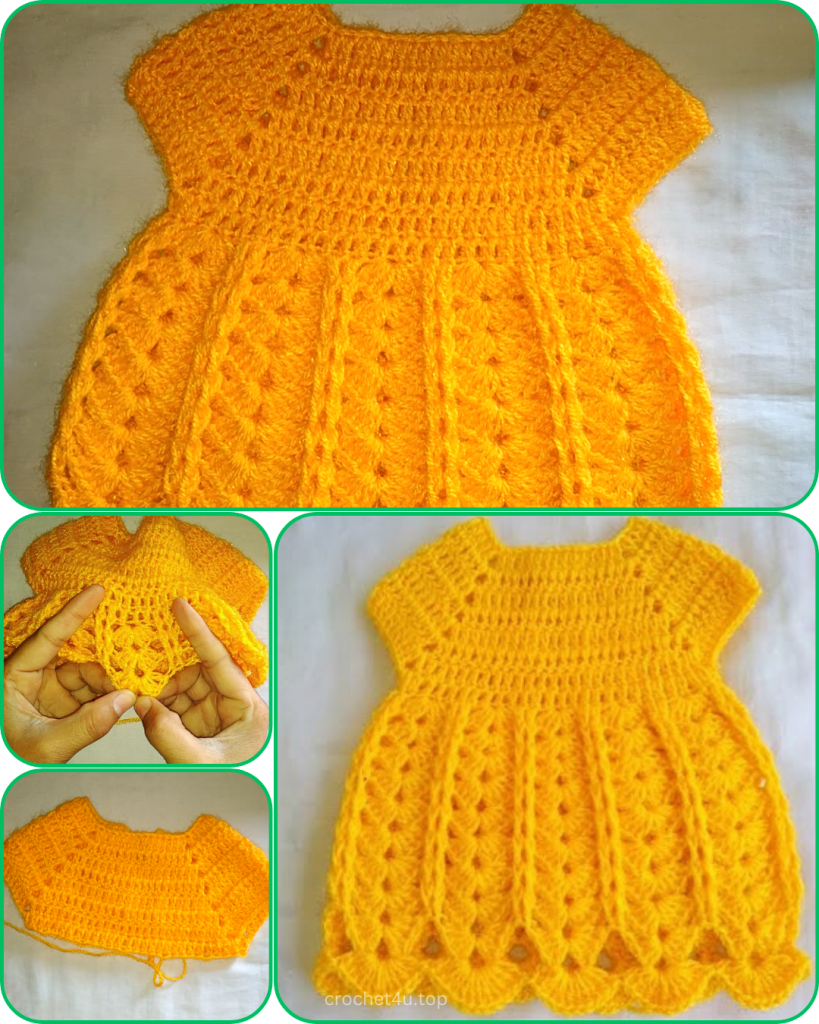
This pattern will guide you in creating a beautiful, sun-kissed yellow frock perfect for a newborn. The design features a smooth, solid yoke that transitions into a textured, ridged skirt with a scalloped hem. It’s a wonderful project for a beginner looking to create a cherished, handmade garment. This pattern is written for a newborn size, fitting approximately 0-3 months.
Materials
- Yarn: Approximately 200-250 yards of DK weight (Category 3) yarn in a bright yellow. A soft, machine-washable yarn is ideal for baby clothes.
- Hook: A 3.5 mm (E/4) crochet hook.
- Accessories: A yarn needle for weaving in ends and scissors.
Stitches Used (US Terms)
- ch: Chain
- sl st: Slip Stitch
- sc: Single Crochet
- hdc: Half Double Crochet
- dc: Double Crochet
- inc: Increase (work two stitches in the same stitch)
- FPdc: Front Post Double Crochet
- BPdc: Back Post Double Crochet
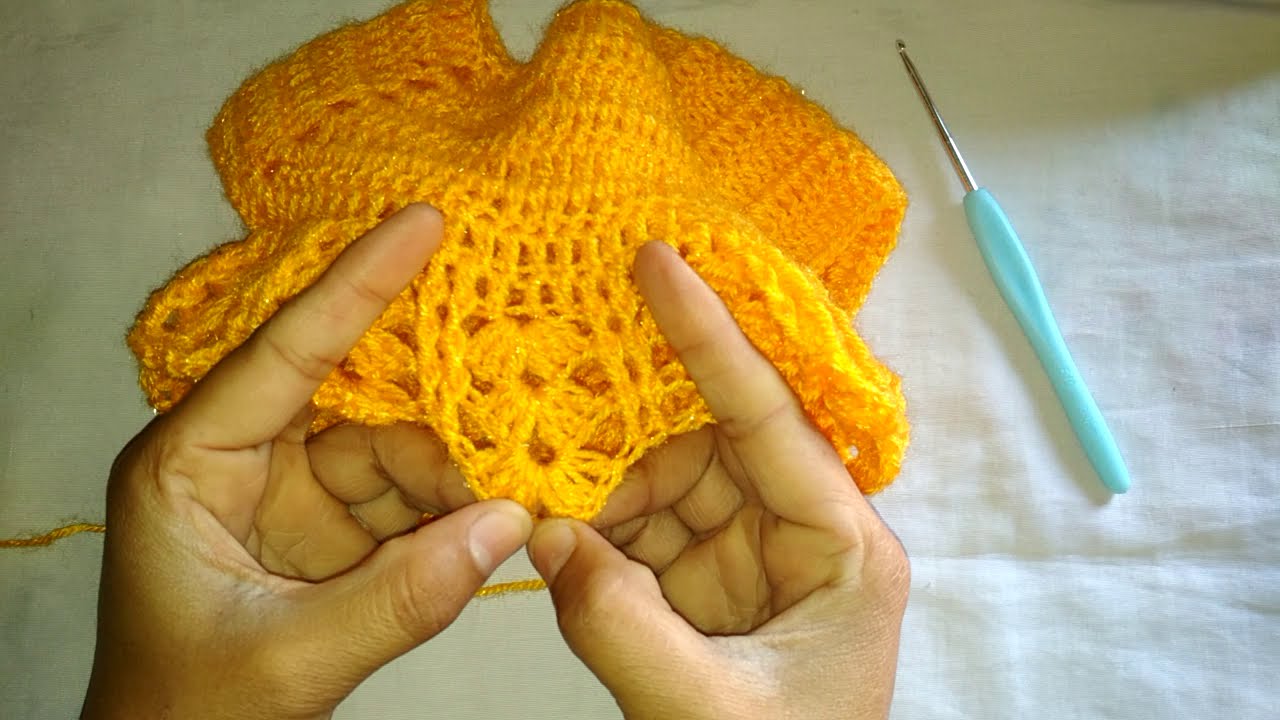
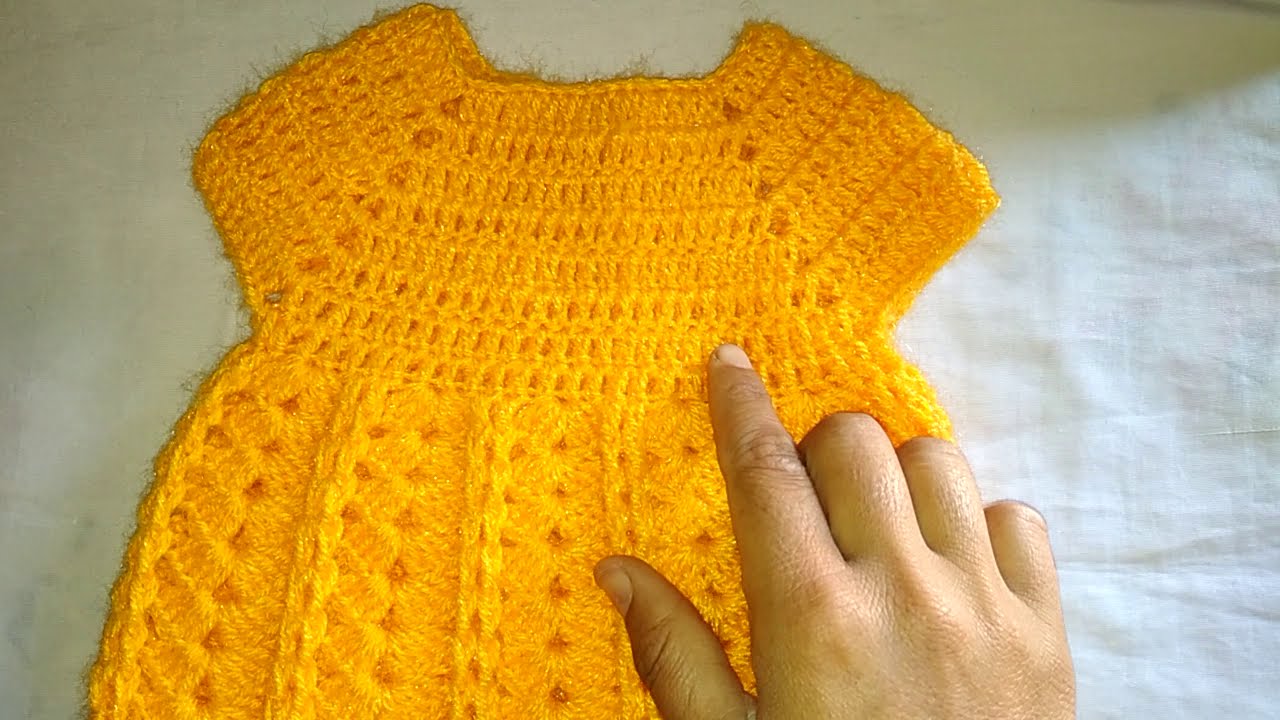
Part 1: The Yoke
The yoke is worked from the top down, in the round, creating a seamless foundation. The increases are strategically placed to ensure a perfect fit that lays flat.
Initial Chain: Ch 60. Join with a sl st to the first chain to form a loop, being careful not to twist. (60 stitches)
Row 2: Ch 2 (counts as first hdc), hdc in each st around. Join with a sl st to the top of the ch 2. (60 hdc)
Row 3 (Increase Round): Ch 2, hdc in the next 9 sts. inc (2 hdc in the next st). Hdc in the next 9 sts, inc. Repeat * to * around. Join with a sl st. (66 hdc)
Row 4: Ch 2, hdc in each st around. Join with a sl st. (66 hdc)
Row 5 (Increase Round): Ch 2, hdc in the next 10 sts. inc. Hdc in the next 10 sts, inc. Repeat * to * around. Join with a sl st. (72 hdc)
Row 6: Ch 2, hdc in each st around. Join with a sl st. (72 hdc)
Row 7 (Increase Round): Ch 2, hdc in the next 11 sts. inc. Hdc in the next 11 sts, inc. Repeat * to * around. Join with a sl st. (78 hdc)
Row 8: Ch 2, hdc in each st around. Join with a sl st. (78 hdc)
Row 9 (Increase Round): Ch 2, hdc in the next 12 sts. inc. Hdc in the next 12 sts, inc. Repeat * to * around. Join with a sl st. (84 hdc)
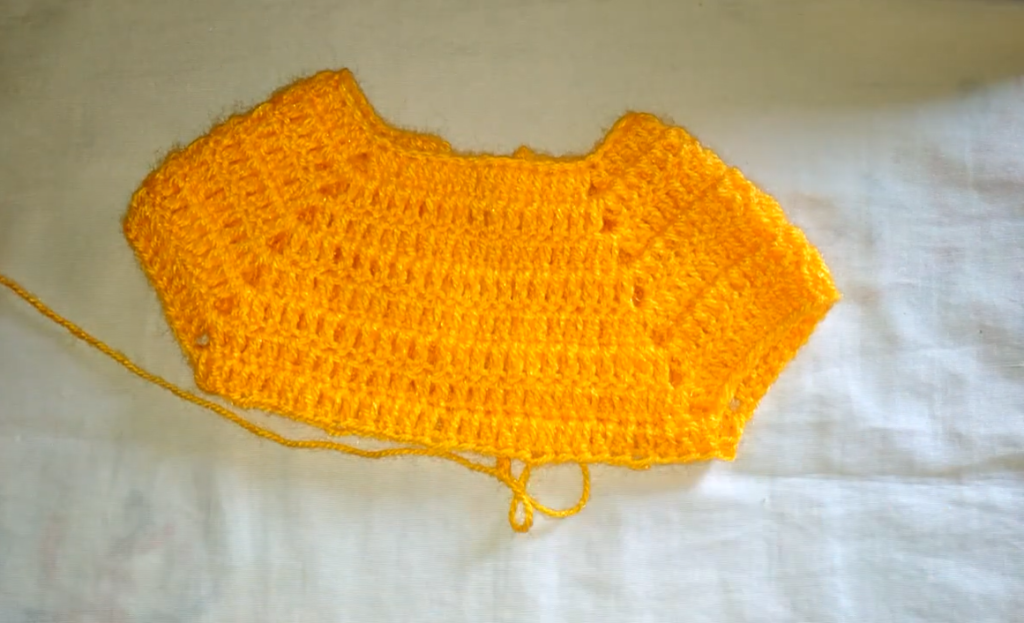
Part 2: Dividing for Sleeves
Now you’ll divide your stitches to create the openings for the sleeves.
Row 10: Ch 2, hdc in the next 12 sts (this is the back section). Ch 8 (skip 18 sts for the first armhole), hdc in the next 24 sts (this is the front section). Ch 8 (skip 18 sts for the second armhole), hdc in the next 12 sts. Join with a sl st to the top of the ch 2.
Row 11: Ch 2, hdc in each st and each ch around. Join with a sl st. (64 hdc)
Row 12: Ch 2, hdc in each st around. Join with a sl st. (64 hdc)
Part 3: The Skirt
The skirt is worked in a beautiful, textured stitch that creates a ridged, fan-like pattern.
Round 1: Ch 3 (counts as first dc). Dc in the same st. Skip 1 st, 2 dc in the next st. Repeat * to * around. Join with a sl st to the top of the ch 3.
Round 2: Ch 3. Work a FPdc around the first dc from the previous round. Work a BPdc around the next dc from the previous round. Work a FPdc around the next dc, work a BPdc around the next dc. Repeat * to * around. Join with a sl st to the top of the ch 3.
Round 3: Ch 3. Work a dc in the space between the first pair of dc from the previous round. Work a dc in the space between the next pair of dc. Repeat * to * around. Join with a sl st to the top of the ch 3.
Round 4: Repeat Round 2.
Round 5: Repeat Round 3.
Continue repeating Round 2 and Round 3 until the skirt reaches your desired length. Approximately 10-12 more rounds should be sufficient for a newborn dress.
Part 4: The Scalloped Hem
This final touch gives the dress its classic, polished look.
- Round 1: Join with a sl st to the bottom of the skirt. Work a round of sc around. Join with a sl st.
- Round 2 (Scallops): Ch 1. Sk 1 st, and in the next st, work (sl st, ch 2, 3 dc, ch 2, sl st). Sk 2 sts, and in the next st, work (sl st, ch 2, 3 dc, ch 2, sl st). Repeat * to * around the entire hem. Fasten off and weave in ends.
Video Tutorial:
Final Touches
Weave in all remaining ends with your yarn needle. Gently block the finished frock to help it lay flat and showcase the stitches. This sweet dress is a wonderful way to create a classic, handcrafted piece. The simple stitches and gentle drape make it a joy to make, and the end result is a beautiful garment that is sure to be treasured.


