
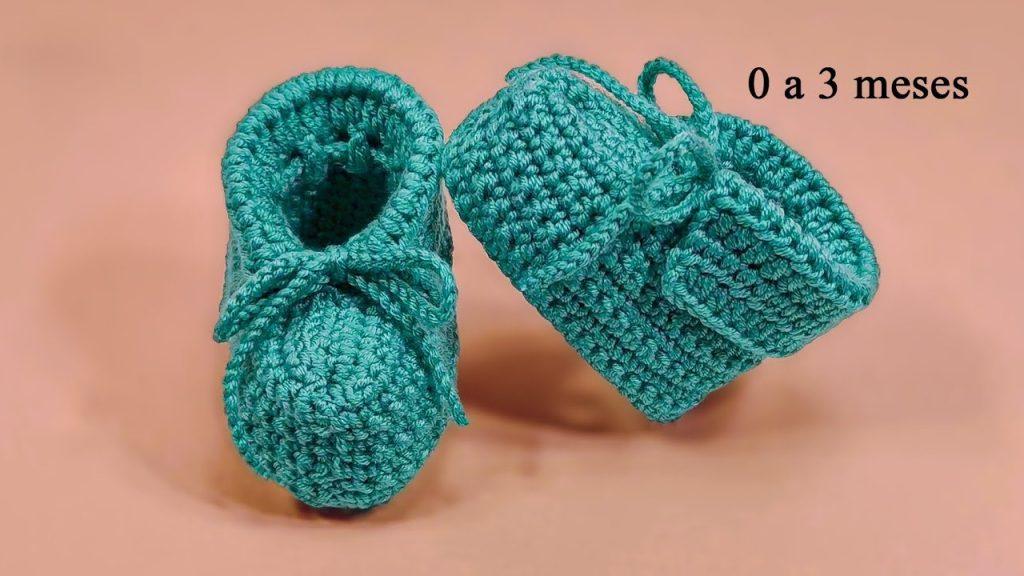
Hello, wonderful gift-makers and baby enthusiasts! Get ready to crochet the most precious little booties for the smallest feet—the Little Explorer Baby Booties. This simple, classic design is quick to work up, incredibly soft, and features a functional tie closure to keep those tiny socks snugly in place.
This pattern is designed specifically for newborns aged 0 to 3 months. We use simple single and half double crochet stitches, working in a combination of rounds and rows to create the perfect foot shape. The key to the smooth, comfortable finish is maintaining even tension throughout!
Grab your softest baby yarn and let’s create a cozy pair of handmade love!
🧶 Materials You’ll Need
Gather these soft, baby-safe essentials for your booties:
- Yarn:Light Worsted Weight (DK / 8-ply) or Sport Weight (5-ply). Choose a soft, hypoallergenic yarn like baby acrylic, cotton, or a gentle blend.
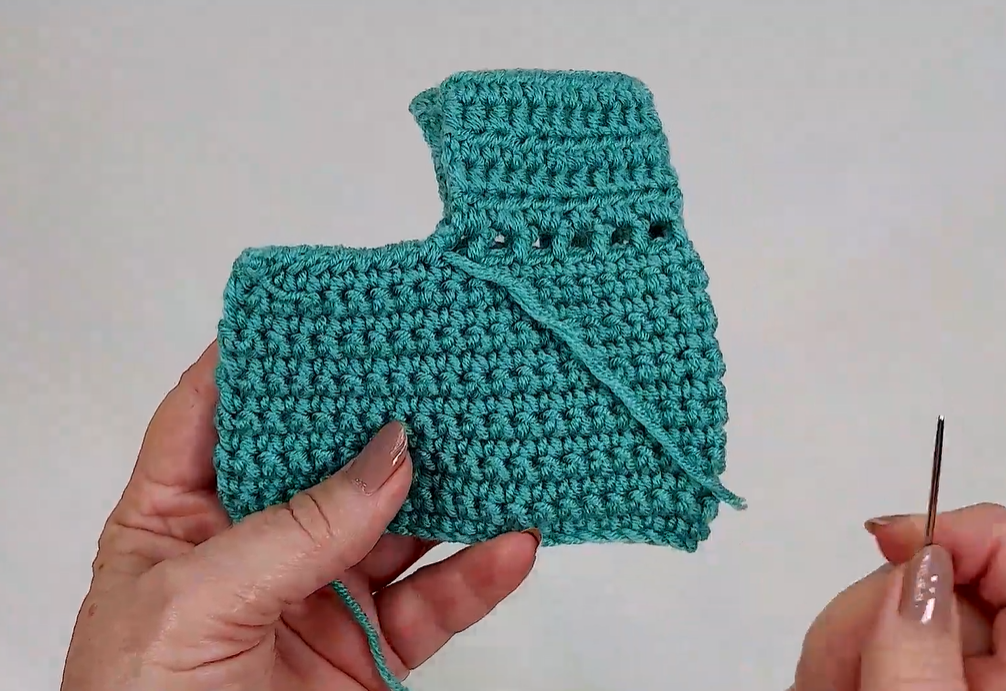
- Color: Teal/Aqua (as pictured, or your color of choice).
- Quantity: Approximately 50 – 60 yards per pair.
- Crochet Hook: 3.5 mm (E/4) or 4.0 mm (G/6). The 3.5 mm hook is recommended for a tighter, denser fabric suitable for baby wear.
- Stitch Marker: Helpful for working in continuous rounds.
- Yarn Needle (Tapestry Needle): For weaving in ends and finishing seams.
- Scissors.
📏 Finished Size & Gauge
This pattern is written for the smallest size shown, 0-3 Months.
- Finished Sole Length: 3.5 – 3.75 inches (approx. 9 cm)
- Gauge (in SC): 5 single crochet stitches = 1 inch (2.5 cm).
- Customization Tip (Length): To adjust the size, simply add or subtract stitches from the starting chain and corresponding increase rounds (Part 1). For example, adding two chains adds roughly 0.5 inch to the sole length.
📝 Abbreviations (US Terms)
This pattern uses standard abbreviations, with a focus on basic, dense stitches.
- ch: chain
- sl st: slip stitch
- sc: single crochet
- hdc: half double crochet
- dc: double crochet
- st(s): stitch(es)
- sc inc: single crochet increase (2 sc in one st)
- sc2tog: single crochet 2 together (decrease)
- BLO: back loop only
💡 In-Depth Techniques for Baby Wear
These techniques ensure the booties are comfortable, durable, and safe for a newborn.
- Sole Construction: We start with an oval sole worked in the round to create the base of the foot. A flat, simple sole is most comfortable for non-walking babies.
- Turning Up the Sides: The first round of the body is worked into the Back Loop Only (BLO). This creates a neat ridge that forces the walls to turn up sharply, giving the slipper shape.
- Tension Control: Maintain firm, even tension throughout, especially in the sole, to prevent holes and ensure the bootie holds its shape well.
🦶 Part 1: The Sole (Working in the Round)
We create a flat, oval base for the bootie.
- Starting Chain: Ch 9.
- Round 1: Sc in the 2nd ch from hook, sc in next 6 chs. 3 sc in the last ch (working around the end). Rotate to work down the other side of the chain. Sc in the next 6 chs. Sc inc in the last ch (the same one as the first sc). Do not join. Place stitch marker. (18 sts)
- Round 2: Sc inc in the first st. Sc in the next 6 sts. Sc inc in the next 3 sts. Sc in the next 6 sts. Sc inc in the last 2 sts. (24 sts)
- Round 3: Sc in the first st. [Sc inc, 1 sc] repeat 2 times. Sc in the next 6 sts. [Sc inc, 1 sc] repeat 3 times. Sc in the next 6 sts. [Sc inc, 1 sc] repeat 2 times. (32 sts)
- Transition Round (Turning the Wall): Work 1 sc in the BLO of each st around. Sl st to the first sc to join. (32 sts)
- This completes the sole and creates the defining ridge for the body.
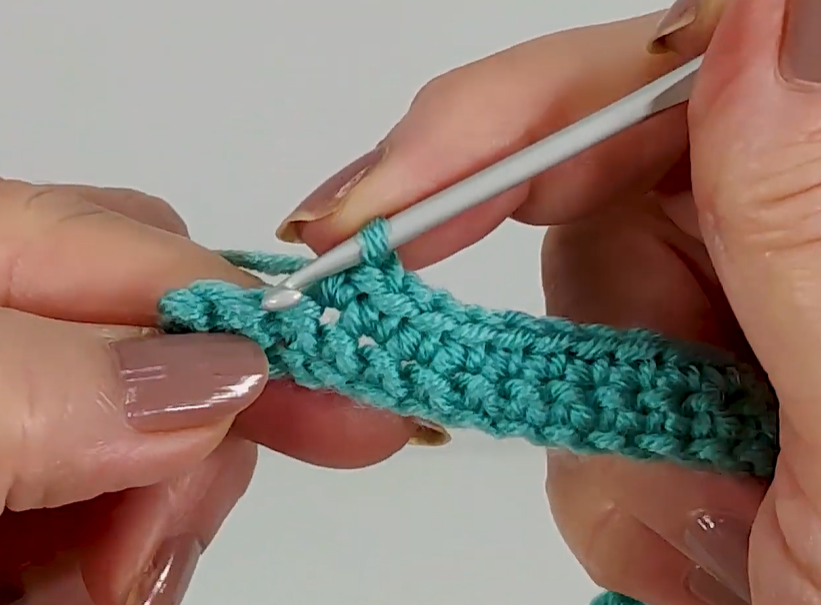
👟 Part 2: The Body (Building Height)
We work 2 rounds of simple SC to create the first part of the bootie wall.
- Round 5: Ch 1. Sc in the next st, and sc in each st around. Sl st to the first sc to join. (32 sc)
- Round 6: Ch 1. Sc in the next st, and sc in each st around. Sl st to the first sc to join. (32 sc)
👶 Part 3: Shaping the Toe and Ankle Opening
We now introduce decreases and then transition to rows for the ankle opening.
- Round 7 (Toe Decrease): Ch 1. Sc in the next 8 sts. [Sc2tog, sc in the next st] repeat 4 times. Sc in the remaining 12 sts. Sl st to the first sc to join. (28 sts)
- Round 8 (Final Toe Decrease): Ch 1. Sc in the next 8 sts. [Sc2tog] repeat 4 times. Sc in the remaining 12 sts. Sl st to the first sc to join. (24 sts)
- Round 9 (Ankle Opening Setup): Ch 1. Sc in the next 24 sts. Do NOT join. This will be the first row of the back ankle opening. (24 sc)
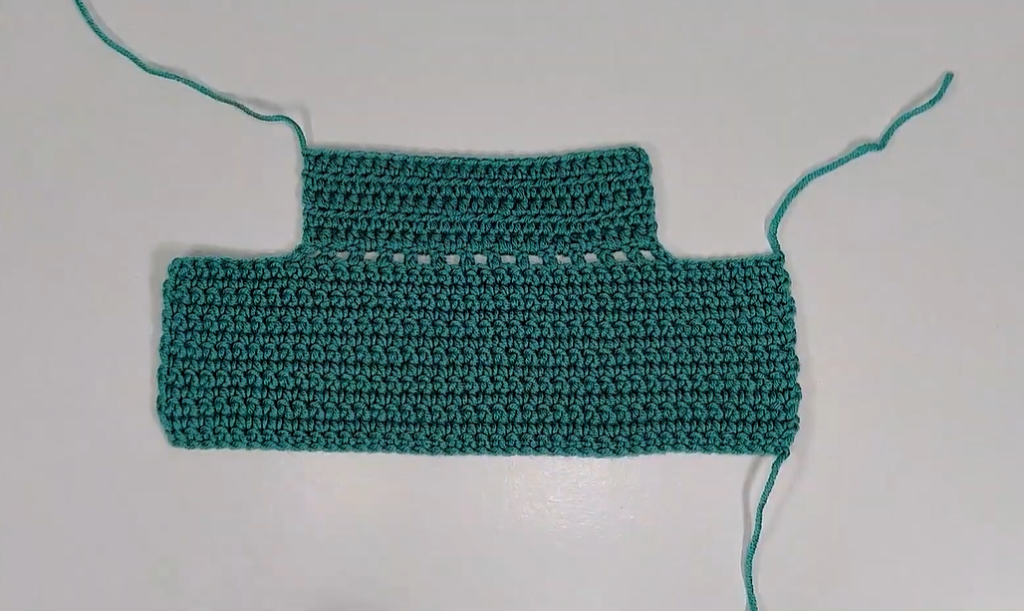
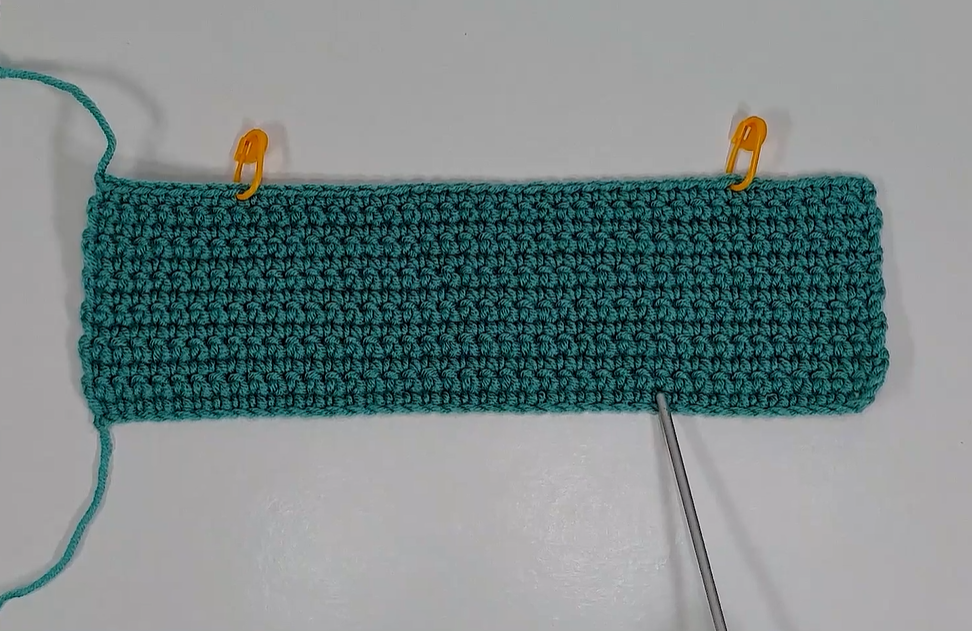
🎀 Part 4: The Ankle Flap and Tie
We work back and forth to create the ankle opening and the tie cord.
- Row 10 (Ankle Flap): Ch 1, turn. Sc in the next 24 sts. Ch 1, turn. (24 sc)
- Row 11: Sc in the next 24 sts. Ch 1, turn. (24 sc)
- Row 12 (Tie Cord Base): Sc in the next 24 sts. DO NOT Ch 1 or turn.
Creating the Tie Cord
- Cord 1: From the corner of Row 12, Ch 50 (or desired length for the tie). Sl st in the 2nd ch from hook, and sl st in each of the remaining 48 chs back down to the corner.
- Sl st across the top edge (Row 12) to the opposite corner.
- Cord 2: From the opposite corner, Ch 50. Sl st in the 2nd ch from hook, and sl st in each of the remaining 48 chs back down to the corner.
- Sl st to the top edge to secure. FO and weave in ends.
Video Tutorial:
✨ Finishing Touches
- Weave in Ends: Use your yarn needle to carefully weave in all remaining yarn tails on the inside of the bootie. Safety is key, so ensure no loops or knots can come loose.
- Make the Match: Repeat all steps to create the second matching bootie.
- Tie and Present: Tie the cord in a simple bow at the front of the bootie opening.
🎉 Congratulations!
You’ve completed the precious Little Explorer Baby Booties! These durable, sweet slippers are a perfect handmade treasure for any new arrival. Enjoy the softness and the perfect fit!


