
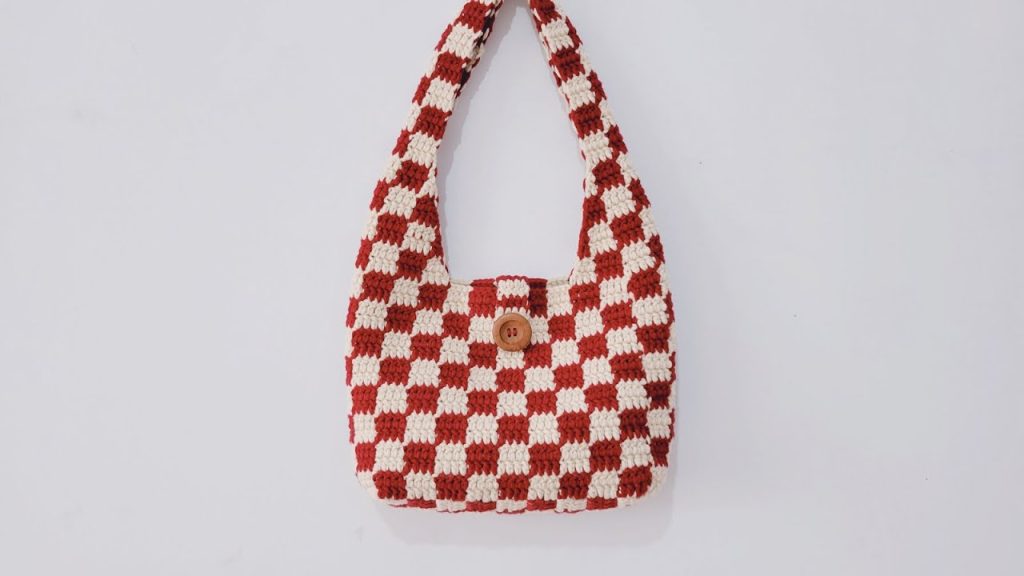
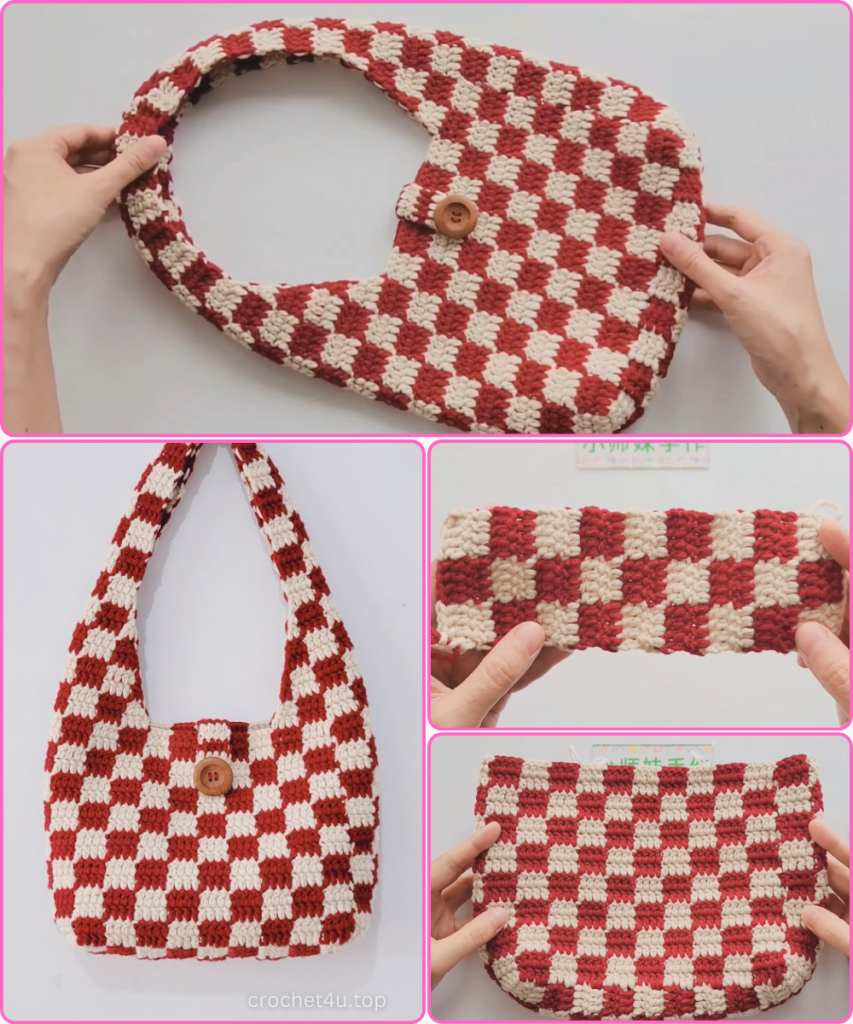
Welcome to your next favorite project! If you’ve been searching for a bag that combines retro aesthetics with modern functionality, this Checkerboard Underarm Bag (also known as a “baguette” or “hobo” style) is the perfect choice. This pattern uses a clever color-changing technique to create a seamless checkerboard grid, making it both durable and incredibly stylish.
In this long-form masterclass, we will break down the construction into manageable sections, from the flat base to the integrated handle. Let’s get our hooks ready!
🧶 Materials & Tools Needed
To achieve the structured, high-end look of the original design, we recommend high-quality cotton or a cotton-blend yarn.
- Yarn: 5-ply Milk Cotton or 8-ply Cotton Cord in two contrasting colors (e.g., Cream and Retro Red, or Black and White). You will need approximately 100g of each color.
- Hook: 3.0 mm or 3.5 mm crochet hook. A smaller hook ensures tight, opaque stitches so the lining doesn’t show through.
- Notions: Tapestry needle for weaving in ends, scissors, and one wooden or decorative button (approx. 20mm–25mm).
- Optional: Fabric for lining and a zipper if you prefer a fully enclosed top.
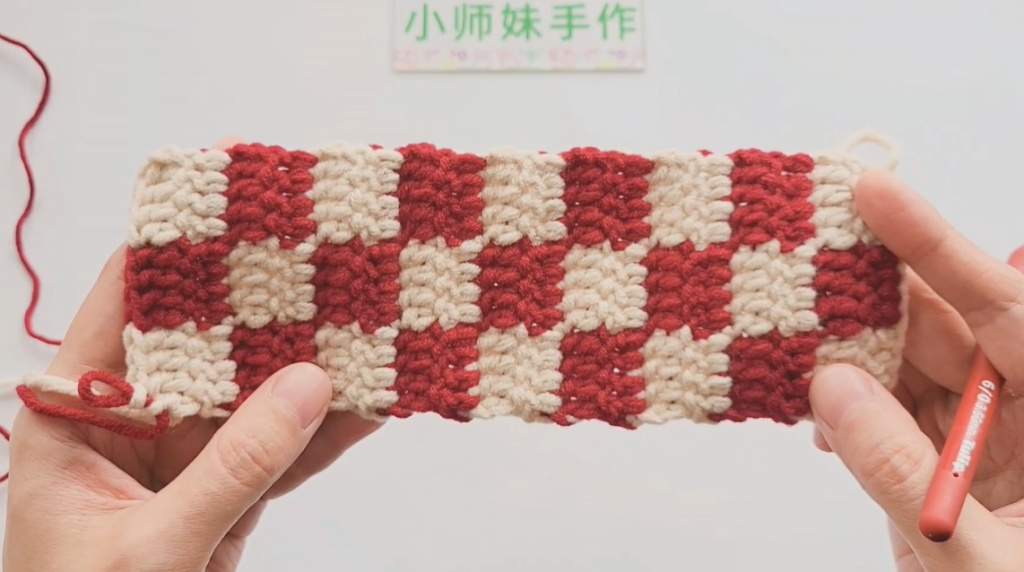
📐 Section 1: The Rectangular Foundation Base
The bag begins with a flat, rectangular base that sets the dimensions for the rest of the body.
- Foundation: Start with Color A (e.g., Red). Chain 13.
- Row 1: Skip the first chain. In the “back bump” (ridge) of the 2nd chain from the hook, work one Double Crochet (DC). Continue working 1 DC in each chain across.
- Important Color Work: To create the checkerboard, work 4 DC in Color A. On the final pull-through of the 4th stitch, switch to Color B (Cream). Work 4 DC in Color B, carrying Color A along the top of your stitches. Switch back to Color A for the final 4 DC. (Total: 12 DC per row).
- Rows 2–18: Chain 1 (does not count as a stitch), turn. Follow the color pattern: 4 Red, 4 Cream, 4 Red.
- The Grid Shift: After every 2 rows, swap your starting color (e.g., start with 4 Cream, then 4 Red, then 4 Cream) to create the “checkered” blocks.
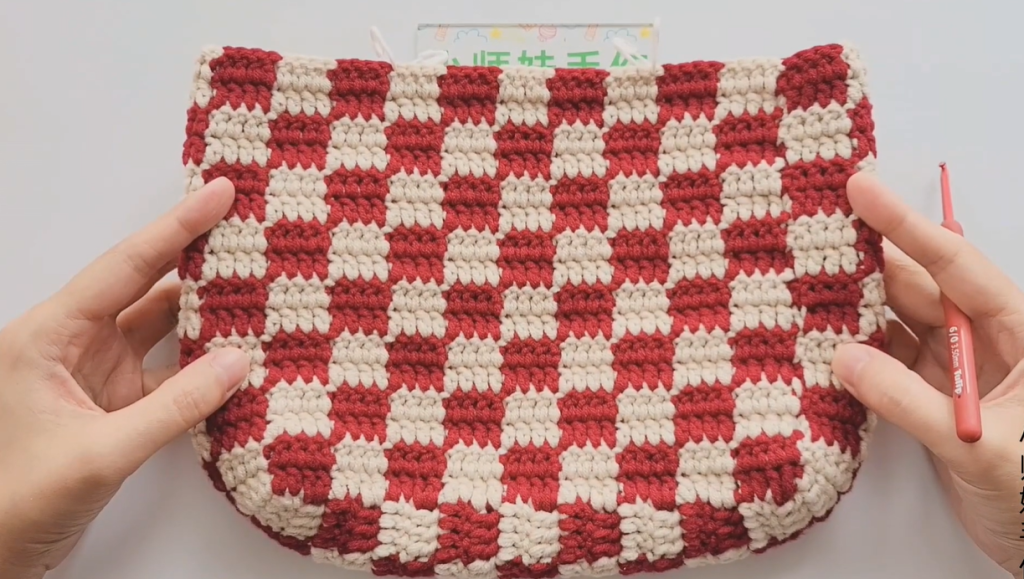
- Completion: Once you reach Row 18, you should have a flat, checkered rectangle. This is the floor of your bag.
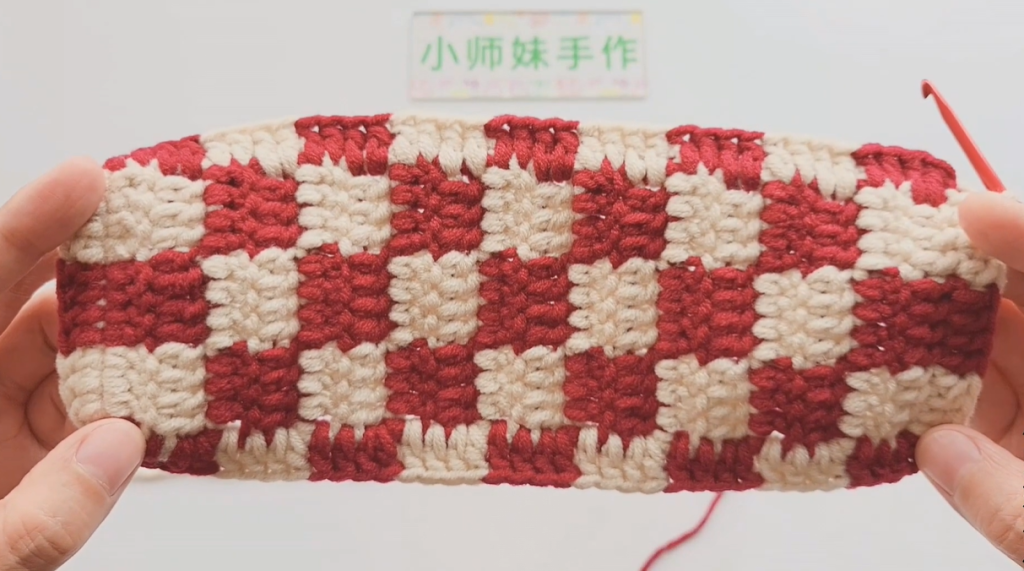
🧱 Section 2: Rising Up – The Body of the Bag
We will now transition from flat rows to circular rounds to build the height of the bag.
- Round 1: Attach yarn to any side of your base rectangle. You will now work DC stitches all the way around the four edges of the base.
- Work 4 DC per color block.
- Because the base is 18 rows long and 12 stitches wide, you will end up with 24 color groups (96 stitches total) around the perimeter.
- Rounds 2–16: Work in Turning Rounds. This means at the end of each round, join with a Sl St, Ch 1, and turn your work.
- Why turn? Turning ensures the checkerboard blocks remain perfectly square and prevents the seam from “slanting” diagonally.
- Continue the checkerboard logic: 每 4 针换色 (Change color every 4 stitches).
- Every 2 rounds, shift the colors so a Red block sits on top of a Cream block.
- Finish Body: Stop when the bag reaches your desired height (approx. 16 rounds).
🎗️ Section 3: The Tapered Underarm Straps
The straps are worked directly onto the top edge of the bag. We will use decreases to create a comfortable, tapered look.
- Placement: Locate the two sides of your bag. You will leave a gap of 7 color groups (28 stitches) on both the front and back face of the bag. You will work the straps over the remaining side stitches.
- The Decrease (Rows 1–8):
- Row 1: Attach yarn. Work a DC2tog (Double Crochet 2 Together) at the very beginning and very end of the row to narrow the strap. Work standard DC in the middle.
- Repeat this decrease for 8 rows. The strap will get progressively thinner, creating a triangular base.
- The Extension (Rows 9–23): * Once the strap is the desired narrow width, work 15 rows of straight DC (no more decreases) to reach the length needed to fit comfortably under your arm.
- Repeat: Follow the exact same steps for the second strap on the opposite side of the bag.
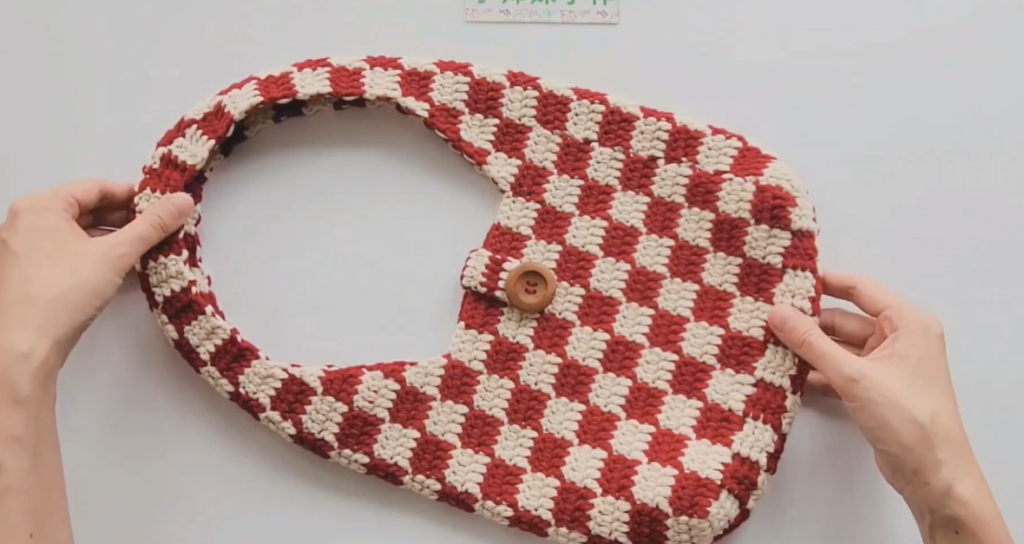
🪡 Section 4: Assembly and The Button Tab
Now we bring the pieces together and add the functional closure.
- Joining the Straps: Align the ends of the two strap extensions. Use a tapestry needle to sew them together using a mattress stitch for a flat, invisible seam.
- The Button Tab:
- Find the center-back of the bag’s rim.
- Work 4 DC for 4 rows to create a small rectangular tab.
- Row 5: Chain 6 (this creates the buttonhole loop), then Sl St back into the other side of the tab.
- The Button: Sew your wooden button onto the center-front of the bag, aligning it with the loop on the tab.
Video Tutorial:
💡 Expert Tips for a Professional Finish
- Tension Control: When carrying the yarn not in use (the “floating” yarn), do not pull it too tight, or the bag will pucker. Keep it relaxed but tucked neatly inside the stitches.
- Invisible Color Change: Always change color on the last pull-through of the previous stitch. This ensures the “top” of the next stitch is the correct color.
- Blocking: Once finished, lightly steam the bag (especially the straps) with a garment steamer. This sets the checkerboard squares and makes the bag look “boutique-bought” rather than just homemade.
Congratulations! You’ve just handcrafted a timeless Vintage Checkerboard Underarm Bag. It’s the perfect size for your phone, wallet, and lipstick—ready for a day out!


