
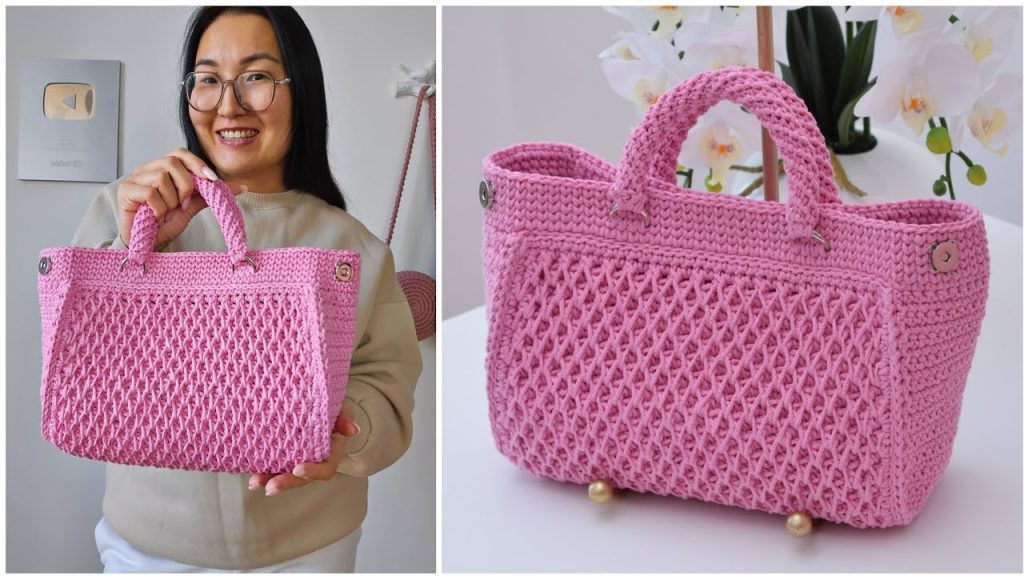
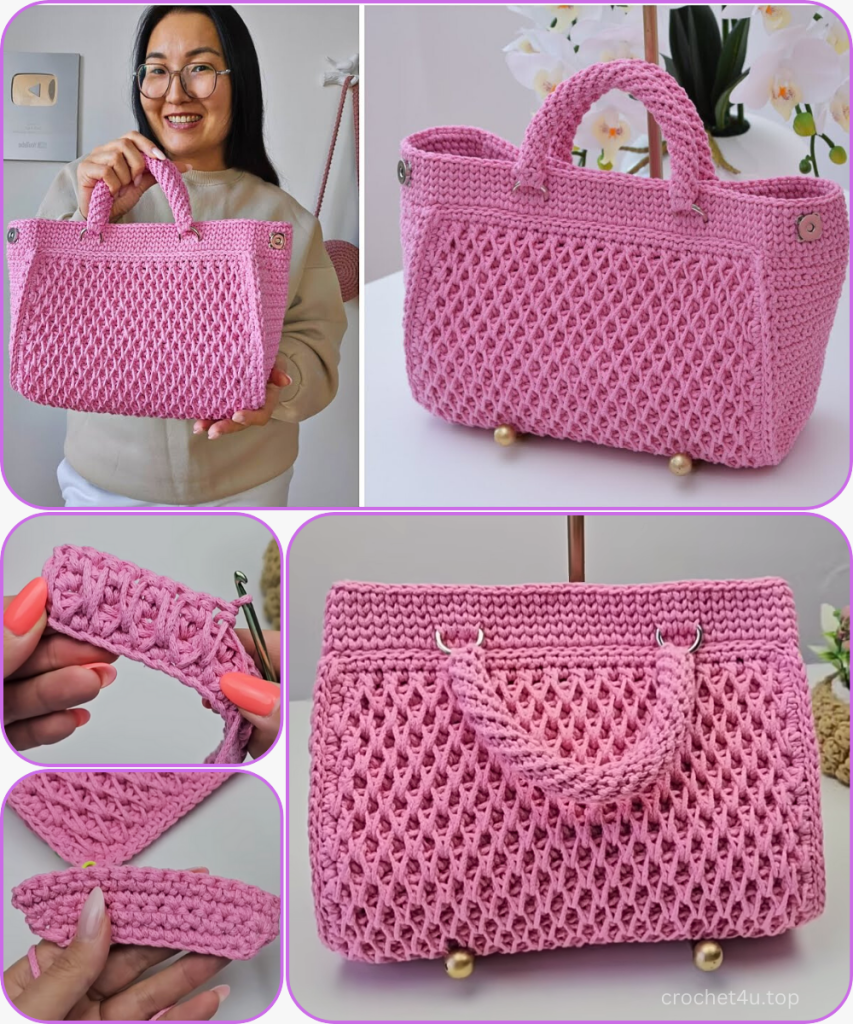
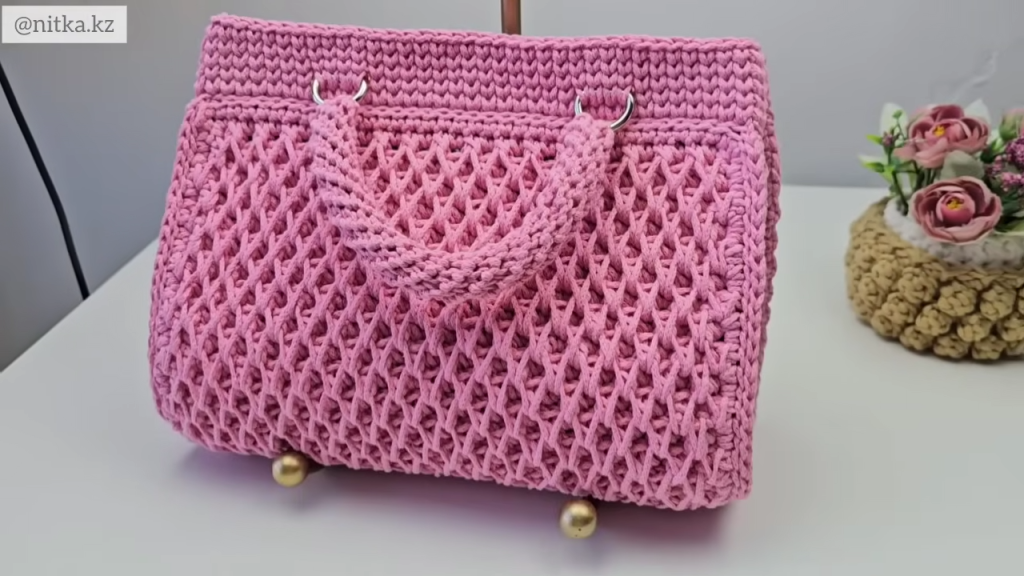
Welcome, crocheters! We’re diving into a luxurious project today: a structured tote bag that uses the dense and beautiful Honeycomb Bobble Stitch (sometimes referred to as the “Waffle” or “Solomon’s Knot” texture in this variation). Designed to hold its shape beautifully, this bag utilizes macrame cotton cord and is large enough to carry all your essentials.
This comprehensive pattern covers the flat panel construction, the precise side gussets, the unique tubular handles, and all the finishing details needed to create a polished, boutique-quality accessory.
🧶 Materials & Tools
| Icon | Item | Details |
| Yarn | Main Yarn (MC) | 2 Skeins of YarnArt Macrame Cotton or similar cotton cord (approx. 225m/250g per skein, 3-4 mm thickness). |
| Hook | Main Hook | 4.0 mm (Use this size to ensure a tight, sturdy fabric). |
| Hardware | Rings | 4 Half-Rings or D-Rings (approx. 19 mm inner diameter). |
| Hardware | Closure | 3 Magnetic Snaps (18 mm diameter). Note: The video shows three snaps used for a wide, secure closure. |
| Notions | Markers & Needles | Stitch Markers, Scissors, Tapestry Needle (sized for the cord), and Monofilament (Nylon) Thread for sewing hardware. |
📏 Sizing & Gauge
| Icon | Measurement | Result |
| Body Panel | Length/Width | Approx. 45 cm x 27 cm (before side gussets are attached). |
| Finished Bag | Height & Width | Approx. 20 cm (Height) x 27 cm (Width) (measured flat). |
| Gusset | Finished Gusset Size | 23 rows high x 16 stitches wide at the widest point. |
| Handle | Finished Handle Length | Approx. 24 cm. |
| Gauge | Stitch Density | The main body should be extremely dense and non-stretchy for optimal structure. |
📚 Abbreviations & Special Stitches
| Abbreviation | U.S. Terminology | Description |
| ch | Chain | |
| sl st | Slip Stitch | |
| sc | Single Crochet | |
| LSC | Long Single Crochet | Insert hook into the base/foundation of the stitch below (or two rows below) and pull up a loop to the current row height. |
| RSC | Relief Single Crochet | Insert hook under two strands of the elongated stitch below (like a Front Post SC, but worked under two visible loops). |
| st(s) | Stitch(es) | |
| rep | Repeat | |
| ch-sp | Chain Space |
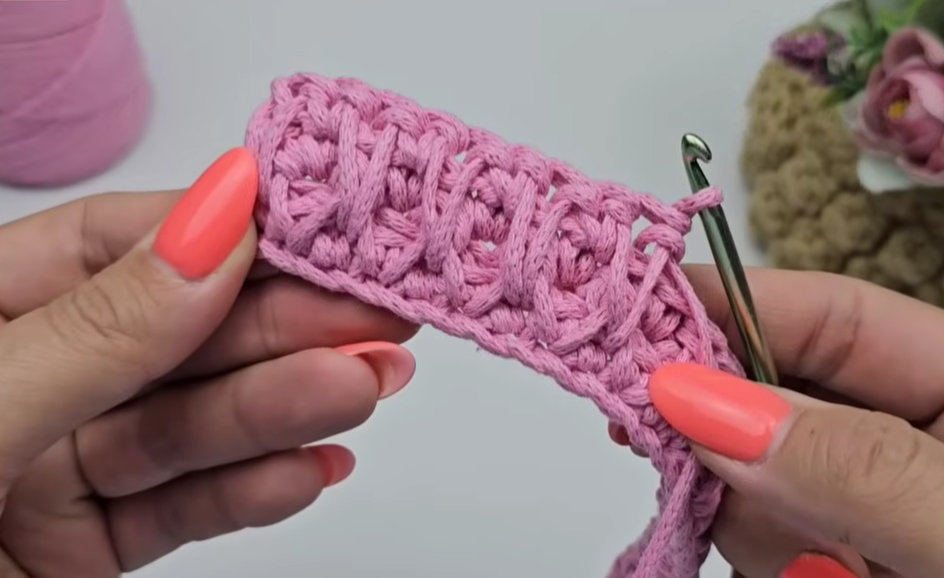
The Honeycomb Bobble Stitch Pattern (4-Row Repeat)
This pattern is worked in turned rows. The key is to alternate short and long SCs, then create the relief stitches to connect them.
🔲 Part 1: The Main Panel (Front and Back)
This is a large flat panel worked in rows that will be folded to form the front, back, and bottom of the bag.
- Foundation: Ch 36.
- Setup Row: Sk 1 ch. SC in each ch across. (35 SC). Ch 1, turn.
- Row 1 (Pattern Row – Short & Long SC):
- SC in the first st.
- LSC in the base of the next st (pull loop from the row below/foundation row).
- Rep [SC in the next st, LSC in the base of the next st] across.
- End with SC in the last st. (35 sts). Ch 1, turn.
- Row 2 (Connecting Relief Row):
- SC in the first 2 sts.
- RSC (Relief SC) over the next LSC (the long stitch from Row 1).
- Rep [SC in the next st, RSC over the next LSC] across.
- End with SC in the last 2 sts. (35 sts). Ch 1, turn.
- Row 3 (Pattern Row – Staggered):
- LSC in the base of the first st.
- SC in the next st.
- Rep [LSC in the base of the next st, SC in the next st] across.
- End with LSC in the last st. (35 sts). Ch 1, turn.
- Row 4 (Connecting Relief Row – Staggered):
- SC in the first st.
- RSC over the next LSC (the long stitch from Row 3).
- Rep [SC in the next st, RSC over the next LSC] across.
- End with SC in the last st. (35 sts). Ch 1, turn.
Repeat Rows 1–4 a total of 37 times (or until the panel measures approximately 45 cm in length). The last row worked should be a Row 4 (a connecting relief row).
➖ Part 2: The Side Gussets (2 Panels)
The side gussets are worked in turned rows, starting with increases to create a base flare, followed by 20 straight rows.
- Foundation: Ch 13.
- Row 1 (Inc): Sk 1 ch. Inc (2 SC) in the next st. SC in the next 10 sts. Inc (2 SC) in the last st. (14 SC). Ch 1, turn.
- Row 2 (Straight): SC in each of the 14 sts across. (14 SC). Ch 1, turn.
- Row 3 (Final Inc): Inc (2 SC) in the first st. SC in the next 12 sts. Inc (2 SC) in the last st. (16 SC). Ch 1, turn.
- Rows 4–23 (Straight Body): SC in each of the 16 sts across. (20 rows of 16 SC). Ch 1, turn.
Repeat to create a second identical gusset panel.
- For the first panel: Cut yarn and secure the end.
- For the second panel: DO NOT cut the yarn. You will use this working loop to attach the panel.
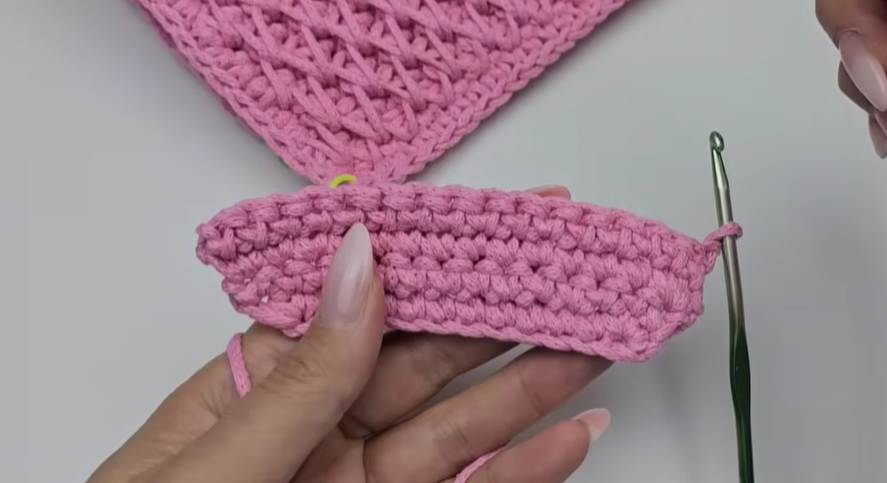
🔗 Part 3: Edging and Assembly
The main panel is now folded into a U-shape (front, bottom, back). The side gussets will be attached with slip stitches.
- Main Panel Edging (Perimeter): Before attaching the gussets, SC evenly around the entire perimeter of the main panel:
- Side Edges (Vertical): Work approximately 58 SC along each side (this will align with the 23 rows of the gusset plus the bottom corner).
- Top/Bottom Edges (Horizontal): Work 35 SC along the top and bottom edges.
- Corners: Ch 1 at the four corners.
- Sl st to join and FO. (The side length required for attachment is 60 sts: 23 sts up, 14 sts across the bottom, 23 sts up). Ensure you have 60 total stitches along the joining edge (side-bottom-side).
- Gusset Attachment: Use the working yarn from the second gusset panel.
- Align the gusset to the main panel’s side edge (starting at the top corner, or the first marker).
- Work a Sl st through the outer loop of the gusset stitch AND the corresponding SC stitch on the main panel.
- Sl st up the first vertical side, around the bottom (16 sts), and up the second vertical side. (A total of 23 + 16 + 23 = 60 sl sts).
- FO the second gusset.
- Repeat the attachment process using a new strand of yarn for the first gusset panel.
- Top Edge Foundation: The video then creates a foundation for the top edge.
- Reattach the yarn at the center top.
- SC or Sl st evenly around the top opening (35 sts across front, 16 sts across side, 35 sts across back, 16 sts across second side). (102 total stitches).
- The second round of the top edge is worked using the V-Stitch SC method.
- D-Ring Placement (Top Edge): The D-rings are incorporated into the second V-SC row of the top edge.
- Mark the placement points (this is approximate based on a 35-stitch side):
- Mark st 7, 8, 9, 10 on the front and back panels.
- Attach the D-Ring by SC/V-SC over the ring for these 4 stitches.
- Work 3 more V-SC rounds after the rings are attached to complete the structured top edge. FO and secure the final tail.
- Mark the placement points (this is approximate based on a 35-stitch side):

🖐️ Part 4: The Tubular Handles (2 Handles)
These handles are worked in a continuous spiral, using a unique technique to keep the fabric perfectly round.
- Start: Ch 6. Sl st to the first ch to form a ring.
- Round 1: SC in the ring. (6 SC). Do not join.
- Spiral Rounds: Work in a continuous spiral.
- When inserting the hook for an SC, insert it into the LEFT SIDE of the post of the previous row’s SC (the ‘V’ facing away from the center), rather than the traditional top loop. This pushes the stitch forward, maintaining the tubular shape.
- SC in each of the 6 sts around.
Continue working in this manner until the handle reaches a length of approximately 24 cm.
- FO the first handle, leaving a long tail (approx. 20 cm) for sewing.
- Repeat for the second handle.
✨ Part 5: Hardware and Finishing
- Handle Attachment: Use the long tails and a tapestry needle to securely sew the handles to the D-rings. Make sure the stitching is firm and weave the ends back into the center of the tubular handle for security.
- Magnetic Snap Installation: Use the monofilament thread and a sewing needle for a durable, invisible finish.
- Side Snaps (2): Install one magnetic snap half on the top edge of the front panel and the corresponding half on the back panel, centered over the side gusset. (This helps cinch the top edge.)
- Center Snap (1): Install the final magnetic snap half centered on the top edge of the front panel and the corresponding half on the back panel, ensuring all three snaps align for a secure closure.
Video Tutorial:
Your Honeycomb Tote is complete! This bag offers a sophisticated texture and a sturdy structure, perfect for a chic everyday look.


