
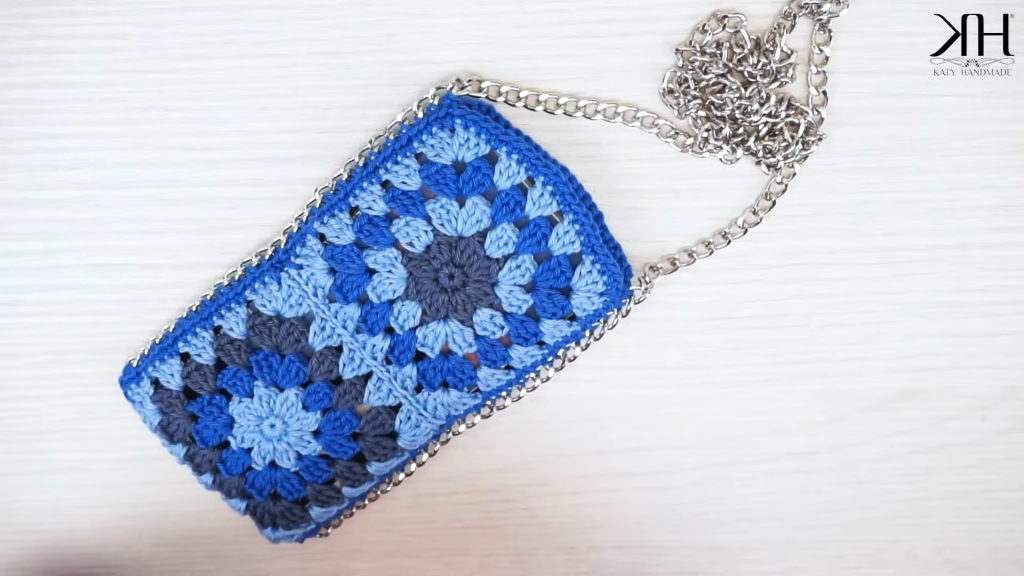
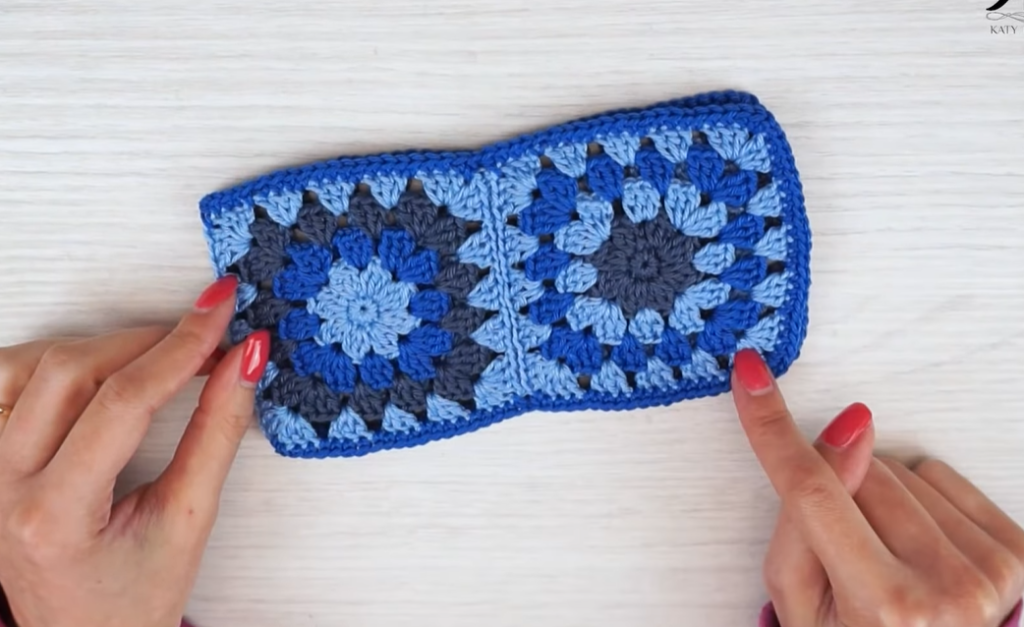
Welcome to your next favorite project! If you’ve been searching for a crochet pattern that bridges the gap between “handmade” and “high-end boutique,” you have arrived. The “Enchanted Petal” Handbag is a masterpiece of texture, utilizing an overlapping cluster technique that creates a thick, 3D fabric that is as sturdy as it is beautiful.
This bag is perfect for those who want a structured accessory without the need for complex internal supports. In this long-form guide, we will walk through every loop, pull, and stitch to ensure your finished piece looks professional enough to be mistaken for a designer brand.
🧶 Materials and Tools
To achieve the crisp definition seen in this design, the choice of yarn is vital. You want a material with “body” and minimal stretch.
- The Yarn: 3mm Macrame Cotton Cord (or a high-quality Polyester Cord). You will need approximately 300–350 grams. This provides the necessary structure to keep the bag from sagging.
- The Hook: 4.5 mm or 5.0 mm Crochet Hook. A slightly smaller hook than usual for this yarn weight creates a tighter, more “retail-ready” fabric.
- Hardware: * One Metal “Thumb” or “Tuck” Lock.
- Two Metal “D-Rings” or Gate Rings.
- A decorative chain or a pre-made leather handle.
- Notions: Stitch markers, a large-eye tapestry needle, sharp scissors, and a lighter (if using polyester cord) to seal the ends.
📝 Key Abbreviations and Special Stitches
- Ch: Chain
- SC: Single Crochet
- DC: Double Crochet
- Sl St: Slip Stitch
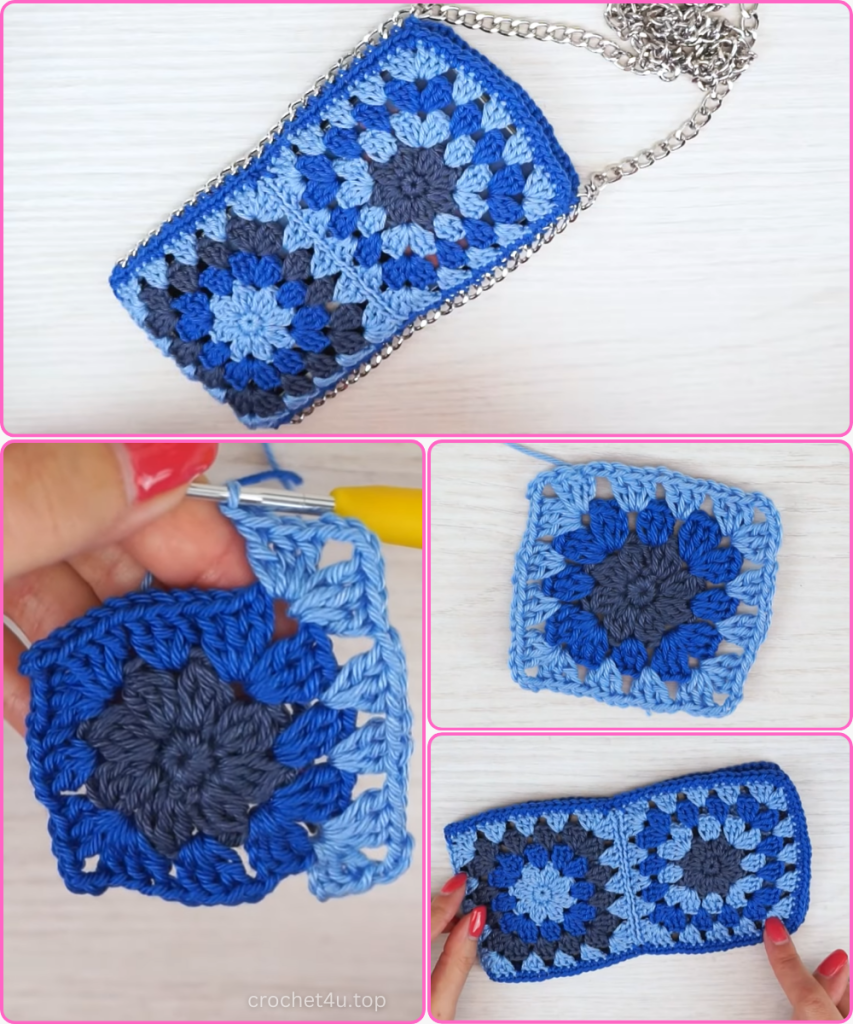
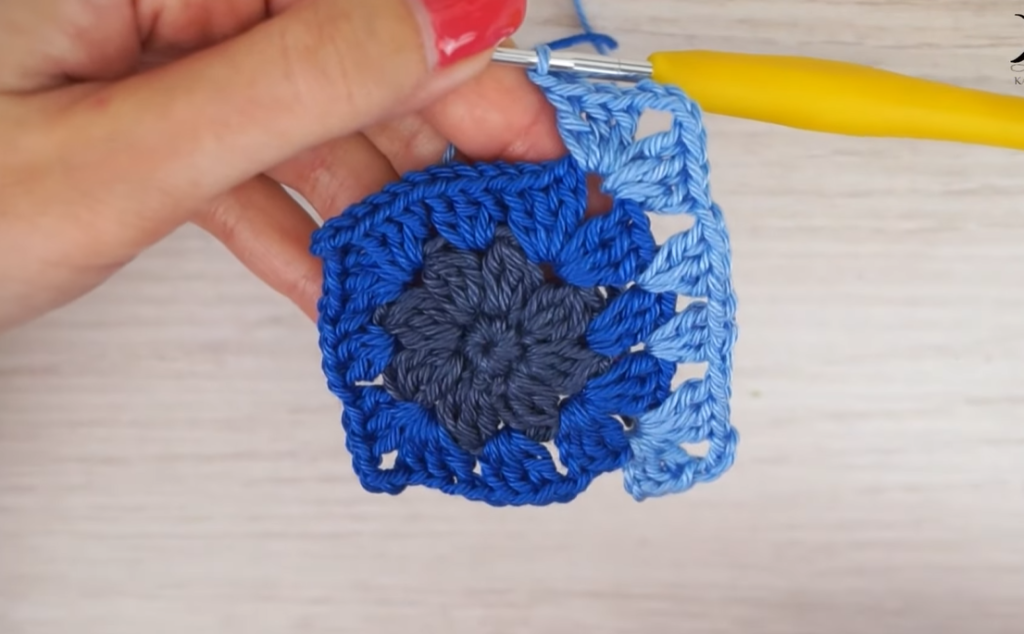
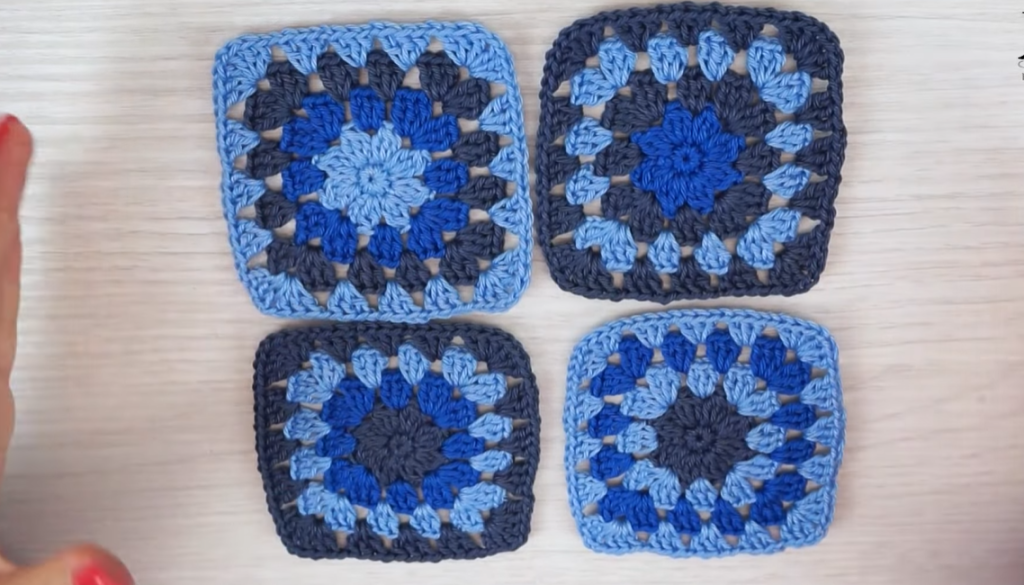
- The Petal Cluster: This is the heart of the bag. It consists of working [1 SC, Ch 2, 2 DC] all into the same stitch or chain space. This creates a slanted, petal-like effect that overlaps with the next cluster.
📐 Section 1: Engineering the Oval Base
Every great bag needs a solid foundation. We are creating a flat, reinforced oval that will act as the “floor” of your handbag.
- Foundation: Start with a slip knot and Chain 16.
- Round 1: * Starting in the 2nd chain from the hook, work 14 SC.
- In the very last chain, work 3 SC (this acts as your “u-turn”).
- Now, rotate the work and crochet along the bottom side of the foundation chain. Work 13 SC.
- In the final stitch (where you placed the very first SC), work 2 more SC.
- Join with a Sl St to the first SC. (Total: 32 stitches).
- Round 2: * Ch 1. Work SC in the next 14 stitches.
- Work 2 SC into each of the next 3 stitches (the curve).
- Work SC in the next 13 stitches.
- Work 2 SC into each of the remaining 2 stitches.
- Join with a Sl St. (Total: 38 stitches).
- Round 3: * Ch 1. Work SC in the next 15 stitches.
- Repeat [2 SC in next, 1 SC in next] three times at the curve.
- Work SC along the straight side, and repeat the increase pattern at the second curve.
- Join with a Sl St. (Total: 44 stitches).
- The Structural Ridge: Work one round of SC in the Back Loop Only (BLO). This creates a “corner” that forces the walls of the bag to stand up vertically.
✨ Section 2: Building the “Petal” Walls
Now we begin the stunning textured body of the bag. This section is worked in rounds.
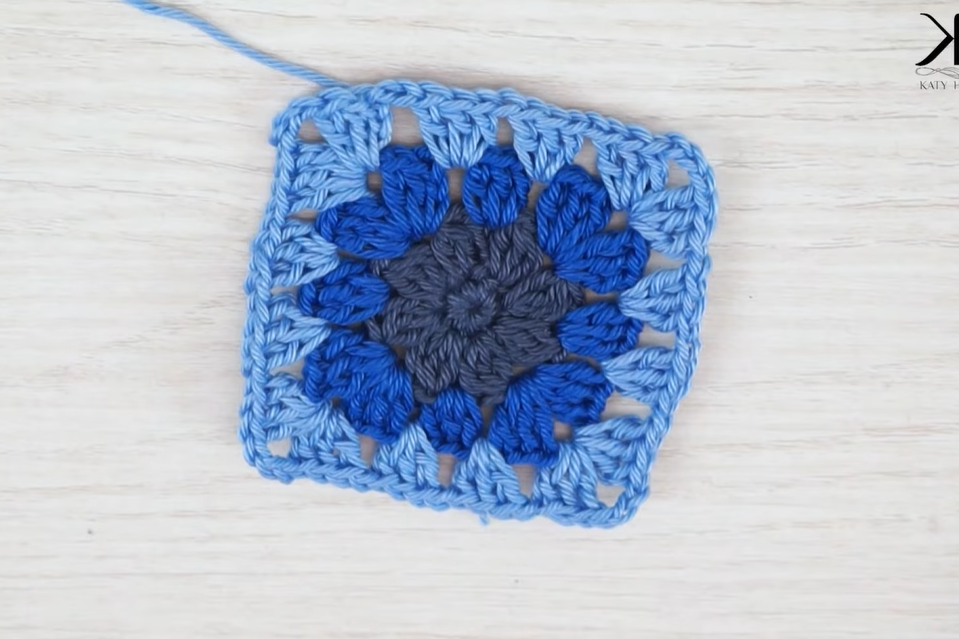
- The Setup Round: * Ch 1. In the first stitch, work the Petal Cluster: [1 SC, Ch 2, 2 DC].
- Skip 2 stitches.
- In the 3rd stitch, work another Petal Cluster: [1 SC, Ch 2, 2 DC].
- Repeat this [Skip 2, Petal Cluster] all the way around.
- Join with a Sl St to the first SC of the round.
- Round 2 and Beyond: * Slip stitch your way into the Ch-2 space of the first cluster from the row below. This is where you will anchor all your future work.
- In that Ch-2 space, work: [1 SC, Ch 2, 2 DC].
- Move to the next Ch-2 space and repeat the cluster.
- By working into the chain spaces, the clusters naturally offset themselves, creating a thick, 3D overlapping texture.
- Height: Continue repeating Round 2 until the bag reaches approximately 16 cm (6.5 inches) in height. This usually requires 10 to 12 rounds of clusters.
🏛️ Section 3: The Refined Rim and Top Border
To finish the opening of the bag, we transition from the textured petals back to solid stitches for strength.
- Transition Round: Ch 1. Work 3 SC into every Ch-2 space around the rim. Ignore the DC stitches. This brings your stitch count back to a solid, manageable number.
- The Finishing Rounds: Work 3 full rounds of standard SC.
- The “Pro” Edge: For a clean, braided look, work one final round of Slip Stitches around the very top. Keep your tension loose here so the bag opening doesn’t pinch inward.
🛠️ Section 4: Hardware and Final Assembly
This is the stage where your crochet “piece” becomes a “handbag.”
- The Lock: * Find the exact center of the front of your bag.
- The “tuck” lock usually has a backplate with prongs. Insert the prongs through the crochet fabric (the density of the cord will hold it well) and bend them flat over the metal plate on the inside.
- Pro Tip: If the stitches are too loose, add a small scrap of felt on the inside before bending the prongs to provide extra grip.
- D-Rings: Attach your metal rings to the sides of the bag. It is best to sew them on using a scrap of the macrame cord for maximum security. Position them just below the SC rim.
- The Handle: Clip your chain or handle onto the D-rings.
- The Lining (Optional): While the petal stitch is dense, adding a fabric lining will prevent the bag from stretching over time. Simply sew a fabric pouch that is 1cm smaller than your bag and hand-stitch it to the inside of the SC rim.
Video Tutorial:
💡 Expert Tips for Success
- Tension is Key: With macrame cord, consistency is everything. If your clusters look “floppy,” try using a slightly smaller hook.
- The Lighter Trick: If you are using polyester cord, the ends will fray instantly. As soon as you cut the yarn, carefully melt the tip with a lighter and press it flat with the side of the metal lighter (don’t use your fingers!).
- Steam Blocking: Once finished, you can lightly steam the bag with an iron (do not touch the iron directly to the cord!) to help the petal clusters “relax” into their final, beautiful shape.
Congratulations! You have hand-crafted a stunning, durable, and trendy handbag that is sure to draw compliments wherever you go. Happy Crocheting!


