
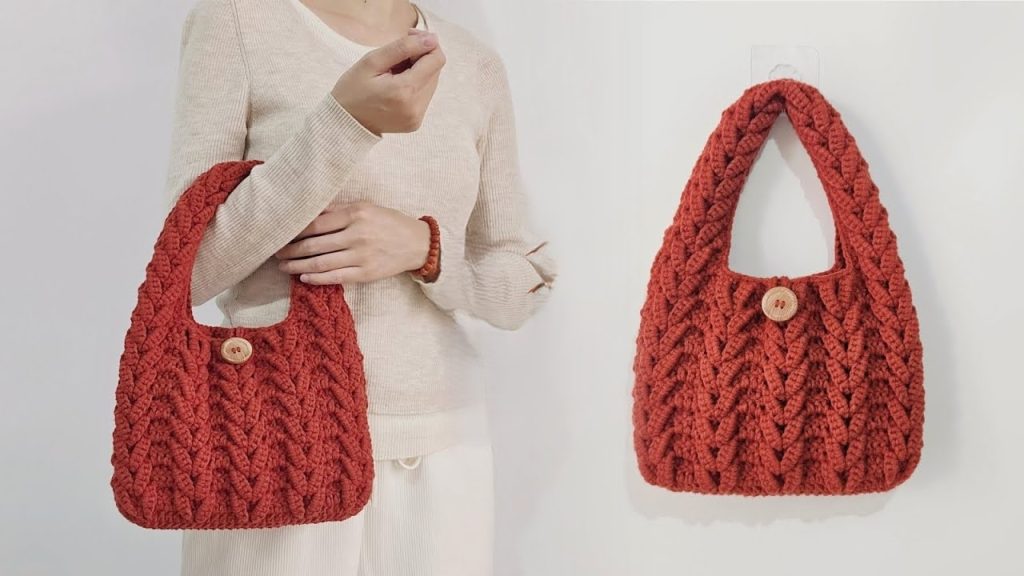
Welcome to the ultimate guide for creating the Granny Bag 3.0, a stunning accessory that blends vintage charm with modern 3D texture. This bag features a unique “wing” or “petal” stitch that creates a raised, layered effect, making it look far more intricate than it actually is.
Whether you’re looking for a chic market bag or a sophisticated gift, this detailed pattern will walk you through every loop and stitch. Let’s get started!

🧶 Materials & Tools Needed
To achieve the soft yet structured look of the Granny Bag 3.0, choosing the right yarn is essential.
- Yarn: 8-ply chunky wool or a thick combed cotton yarn (approximately 2-3 skeins depending on yardage).
- Crochet Hook: 4.0 mm hook.
- Notions: * One medium-sized decorative button.
- Tapestry needle for weaving ends and assembly.
- Scissors.
- Stitch markers (optional but recommended for the base).
👜 Step 1: Crafting the Oval Base
The bag starts from the bottom up. We will create a sturdy oval base that sets the width for the rest of the project.
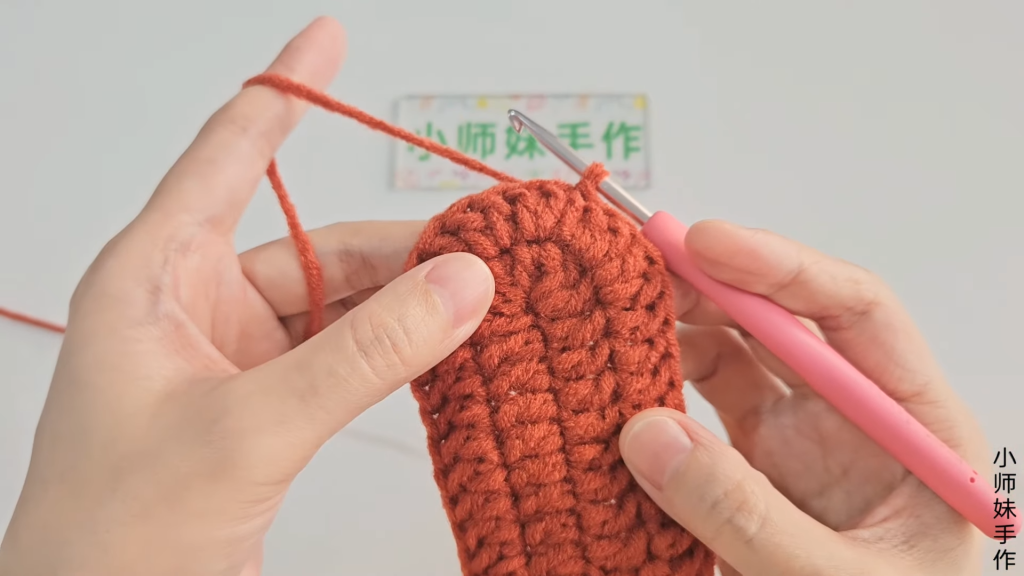
- Foundation: Start with a slip knot and Chain 27.
- Round 1: Skip the first 2 chains (these don’t count as a stitch). In the 3rd chain from the hook, work 4 Double Crochet (DC) into the back “bump” (ridge) of the chain.
- Work 1 DC in each of the next 23 chains.
- In the very last chain, work 6 DC to create a rounded corner.
- Turning to work along the opposite side of the foundation chain, work 23 DC across.
- In the final space (where you started), work 2 more DC. This completes the circle with 6 DC on each end. Join with a slip stitch (Sl St) to the first DC. [Total: 58 DC]
- Round 2: Chain 2 (counts as a height bar, not a stitch).
- Work an increase (2 DC) in each of the first 4 stitches [8 DC total for the curve].
- Work 23 DC across the straight side.
- Work an increase (2 DC) in each of the next 6 stitches [12 DC total for the curve].
- Work 23 DC across the straight side.
- Work an increase (2 DC) in each of the remaining 2 stitches. Join with a Sl St. [Total: 70 DC]
- Round 3: Chain 2, turn the work. This round is simple: work 1 DC in every stitch around. No increases. Join with a Sl St. [Total: 70 DC]
✨ Step 4: The Signature “Wing” Stitch (The Body)
This is the “magic” round that gives the bag its beautiful 3D texture. It involves working chains and anchoring them back into the previous rounds to create layered loops.

- Round 4 (The Petal Round): Turn your work. Sl St into the first stitch.
- Chain 2 (height). Work 3 DC in the next 3 stitches.
- The First Wing: Chain 5. Look back at Round 2. Count 6 stitches from the start and find the post of that DC. Work a Sl St around that post. Turn your work slightly, and work 6 Single Crochet (SC) into the Ch-5 loop you just made.
- The Second Wing: Skip 1 stitch on the main body. Work 2 DC in the next 2 stitches. Chain 5. Sl St into the next available post on Round 2. Turn, work 6 SC into the Ch-5 loop.
- The Pattern: Repeat this sequence (3 DC, Wing, Skip 1, 2 DC, Wing) around the bag. You will complete 10 sets of these decorative “V-shaped” wings. Join with a Sl St.
- Round 5 (The Leveling Round): Chain 2, turn. Work 1 DC into every stitch around, making sure to pick up the stitches at the top of the “wings” to keep the count at 70 DC.
🏗️ Step 5: Vertical Expansion
Now we continue building the height of the bag by alternating the texture and leveling rounds.
- Round 6: Repeat the wing pattern, but this time, anchor your wings into the gaps between the wings from the previous pattern round. This creates a staggered, scale-like appearance.
- Rounds 7–18: Continue alternating between the Leveling Round (All DC) and the Wing Round.
- In total, you should have 8 horizontal rows of wings. The bag will naturally begin to pull upward into its bucket shape.
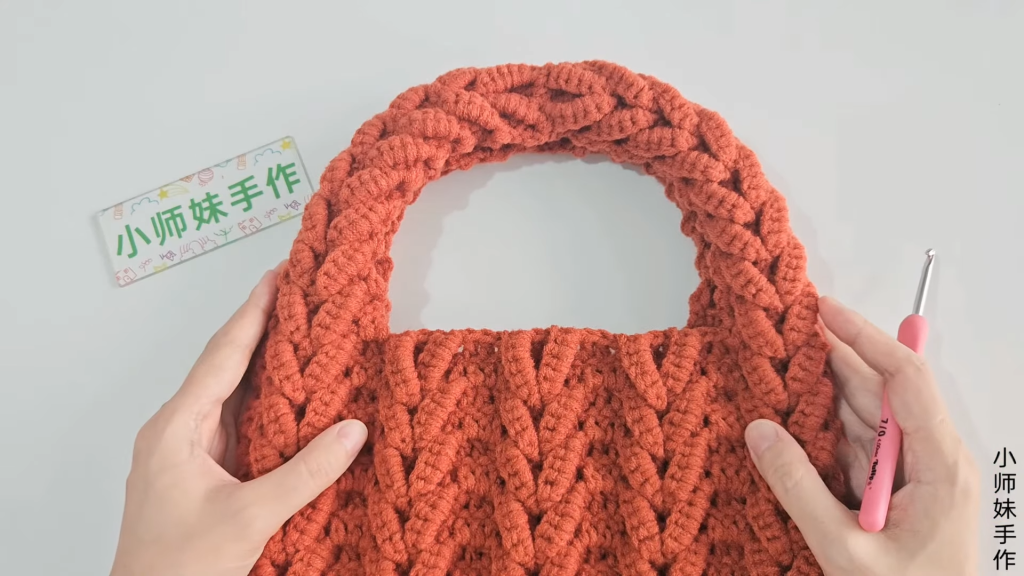
🎗️ Step 6: Shaping the Integrated Handles
Instead of sewing on separate handles, we will taper the bag body to create seamless straps.
- Positioning: Leave 2 sets of wings on each side for the armholes and 3 sets of wings in the center for the front/back gap.
- The Taper: Re-attach yarn at the side of the bag.
- Row 1: Work 15 DC across.
- Row 2: Work the wing pattern over these 15 stitches (2 sets of wings).
- Row 3 (Decrease Row): To narrow the strap, work a DC Decrease (2 DC Together) at the beginning and end of the row. [12 DC remaining].
- Rows 4–16: Continue working the wing pattern while maintaining the narrow 12-stitch width. Repeat this for the other side of the bag until you have two long straps.
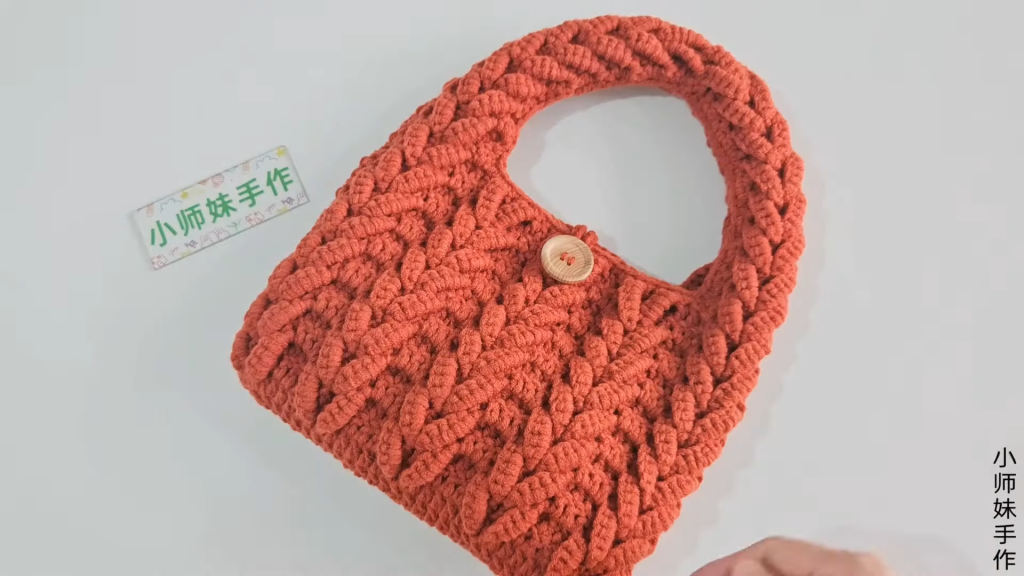
🪡 Step 7: Edging and Button Closure
To give the bag a professional, “boutique” finish, we add a clean border and a functional closure.
- Joining the Straps: Align the ends of the two 16-row straps. Use a Sl St or a tapestry needle to sew them together at the top center.
- The Border: Attach yarn at the top seam of the handle. Work SC evenly down the side of the handle and around the bag opening.
- When you reach the center of the bag opening, create the Button Loop: Chain 16 (or enough to fit your button), Sl St back into the same stitch, and continue with SC around the rest of the edge.
- Button: Sew your decorative button onto the front of the bag, aligned with the Ch-16 loop.
Video Tutorial:
🎀 Final Touches
- Handle Reinforcement: For extra comfort, fold the top half of the handles in half lengthwise and sew them together for about 10 cm. This creates a rounded, sturdy grip that won’t dig into your shoulder.
- Finishing: Weave in all remaining yarn tails with your tapestry needle. Give the bag a light steam (do not press the iron directly on the wool!) to open up the 3D wings and sharpen the shape.
Congratulations! You’ve finished your Granny Bag 3.0. This bag is not only a conversation starter but a durable, handmade treasure. Happy crocheting!


