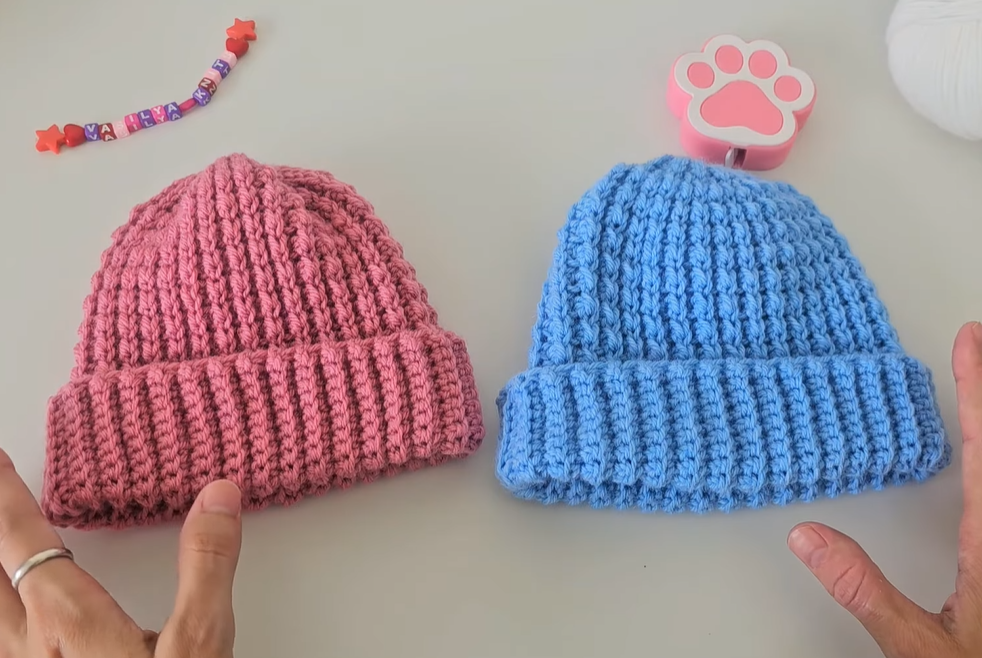
Welcome, yarn lovers! Get ready to create the perfect, squishy-soft beanie that everyone in the family will want to wear. Today, we’re diving into the simple yet satisfying pattern for the Cloud Comfort Ribbed Beanie, a classic design featuring a luxurious vertical ribbing that mimics knitting.
This hat is fantastic because it’s worked entirely in a simple stitch—the Half Double Crochet (HDC) in the Back Loop Only (BLO)—which is easy to master but creates incredible texture and stretch. Whether you choose a delicate pink, a vibrant blue, or any color your heart desires, this beanie is the ultimate quick-fix project for gifts or just cozying up your own wardrobe.
Ready to make a hat that feels like a hug? Let’s get started!
🧶 Materials You’ll Need
Gather these essentials to ensure a smooth crocheting experience:
- Yarn:Worsted Weight (Aran / 10-ply), preferably a soft acrylic, wool blend, or a thick cotton for maximum comfort and bounce.
- Quantity: Approximately 180 – 220 yards per hat. (Choose your favorite color!)
- Crochet Hook: 5.5 mm (I/9). This hook size is ideal for Worsted Weight yarn when doing BLO stitches, providing a comfortable stretch without being too loose.
- Scissors: For cutting yarn.
- Yarn Needle (Tapestry Needle): Essential for seaming the hat and weaving in ends.
- Measuring Tape: To check your dimensions for a perfect fit.
- Stitch Marker (Optional): Helpful if you lose count, but the rows are easy to track once the pattern is established.
📏 Finished Size & Adjustments
This pattern is written for a standard adult size but includes detailed notes on how to easily customize the fit.
- Adult Beanie (Approximate):
- Height (Unfolded): 11.5 inches (29 cm)
- Circumference (Stretched): 21 – 23 inches (53 – 58 cm)
- Key Adjustment Rule:
- To change Height (Depth): Adjust the number of foundation chain stitches in Part 1. (More chains = Taller hat).
- To change Width (Circumference): Adjust the number of rows in Part 2. (More rows = Wider hat).
📝 Abbreviations (US Terms)
Here’s a quick look at the stitches we’ll be using:
- ch: chain
- sl st: slip stitch
- hdc: half double crochet
- st(s): stitch(es)
- BLO: back loop only
- dec: decrease (hdc2tog – half double crochet two together)
💡 Important Notes Before You Start
Understanding these few points will make this project a breeze:
- Vertical Ribbing: This hat is worked flat in rows, then seamed together to form a tube. The ribbed texture comes from working every stitch into the Back Loop Only (BLO).
- Turning Chains: We will use a Chain 1 at the start of every row, and this chain DOES NOT count as a stitch. This helps keep the edges clean and straight for seaming.
- HDC vs. SC: We use the Half Double Crochet stitch because it provides a taller stitch than single crochet, making the hat work up faster, while still offering the wonderful stretch needed for a comfortable fit.
💖 Part 1: The Beanie Panel (Worked Flat in Rows)
The main body of the hat is worked in one long rectangle.
- Foundation Chain: Ch 42. (This determines the height of your hat: 10 chains for the folded brim, 30 chains for the body, and 2 chains for decreases. Adjust as needed).
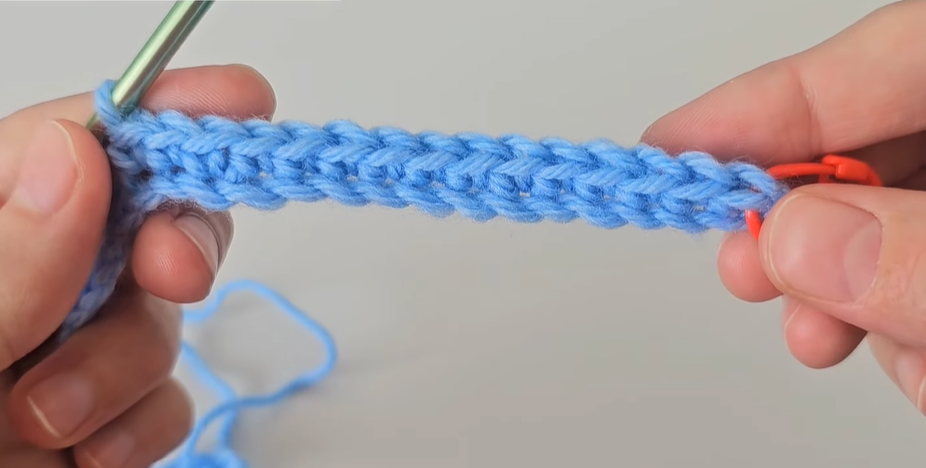
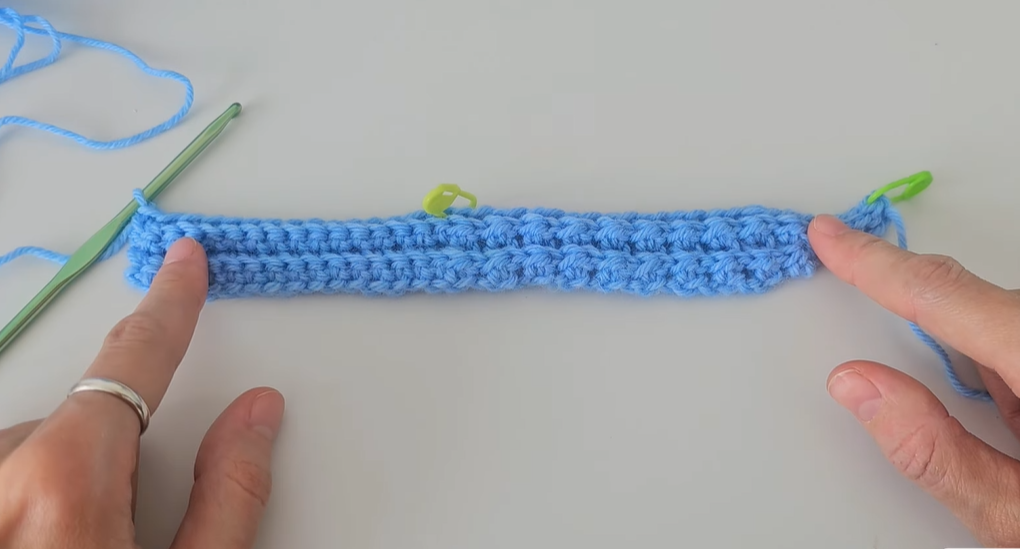
- Row 1: Hdc in the 2nd ch from the hook, and 1 hdc in each remaining chain across. Ch 1, turn. (41 hdc)
- Row 2: Work 1 hdc in the BLO of each st across. Ch 1, turn. (41 hdc)
- Repeat Row 2 for a total of 60 rows (or until the panel, when slightly stretched, measures approximately 20-21 inches long).
- Note on Tension: Maintain consistent tension throughout. The resulting panel should be very stretchy across the rows (the width of the hat) but less stretchy along the chains (the height of the hat).
⬆️ Part 2: Shaping the Crown (The Last 4 Rows)
To ensure the top of the hat cinches closed nicely without too much bulk, we will decrease over the last few rows. We only decrease the top section, leaving the brim stitches untouched.
- The first 10 stitches from the bottom will remain our brim (no decreases).
- The next 31 stitches will be for the body and crown shaping.
- Row 61 (Decrease 1):
- Work 1 hdc in the BLO of the first 10 sts (the brim).
- Work 1 hdc in the BLO of the next 29 sts.
- Hdc2tog (dec) over the last 2 sts. Ch 1, turn. (40 hdc)
- Row 62:
- Work 1 hdc in the BLO of the first 10 sts (the brim).
- Work 1 hdc in the BLO of the remaining 30 sts. Ch 1, turn. (40 hdc)
- Row 63 (Decrease 2):
- Work 1 hdc in the BLO of the first 10 sts (the brim).
- Hdc2tog (dec) over the next 2 sts.
- Work 1 hdc in the BLO of the next 26 sts.
- Hdc2tog (dec) over the last 2 sts. Ch 1, turn. (38 hdc)
- Row 64:
- Work 1 hdc in the BLO of the first 10 sts (the brim).
- Work 1 hdc in the BLO of the remaining 28 sts. Do NOT Ch 1. (38 hdc)
🧵 Part 3: Seaming and Finishing
Time to turn the rectangle into a beanie!
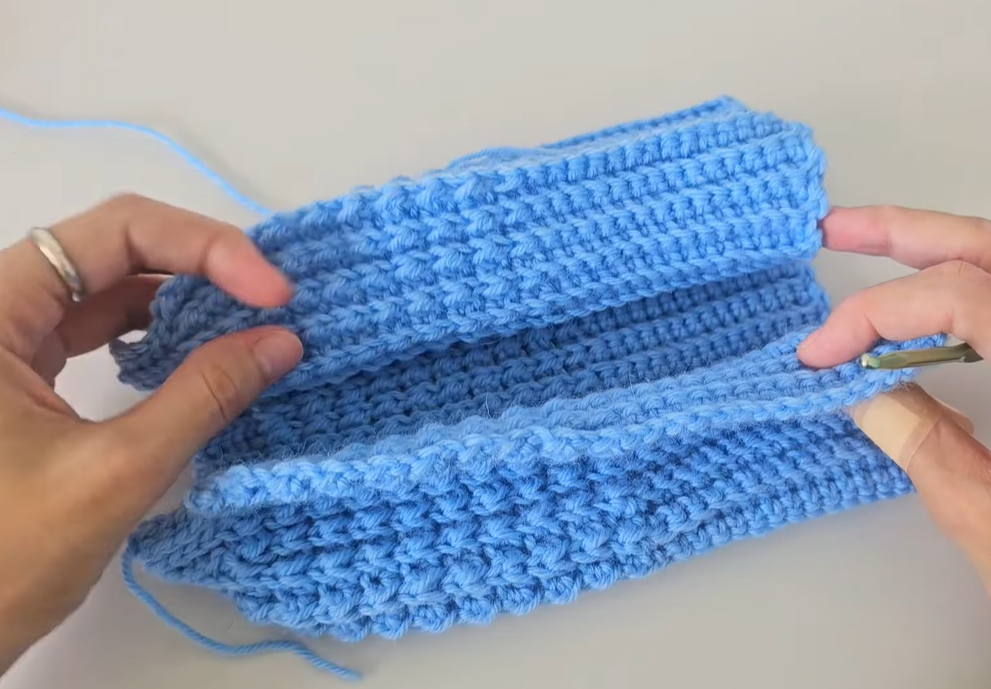
- Seam the Sides:
- Fold the panel in half lengthwise, lining up Row 1 with Row 64.
- Using the loop on your hook, or a yarn needle, slip stitch (or sew) the two edges together. Work through both loops of Row 1 and the BLO of Row 64 for a clean, almost invisible vertical seam.
- Continue seaming all the way up the side until you reach the last stitch (the top edge of the crown).
- Close the Crown:
- Do not cut the yarn yet. Keeping the yarn attached, start working a slip stitch or running stitch around the open top edge of the hat. You will work one sl st/running stitch into the end of each of the 64 rows.
- Once you have worked all the way around, gently but firmly pull the yarn tail to gather the opening tightly closed.
- Use your yarn needle to sew back and forth across the small opening several times to secure the crown. Knot the yarn tail on the inside and weave in the end.
- Final Touches:
- Weave in the starting tail from the foundation chain.
- Flip the hat right-side out. The vertical seam should now be on the inside.
- Fold the bottom 10 rows upward to form the ribbed cuff.
Video Tutorial:
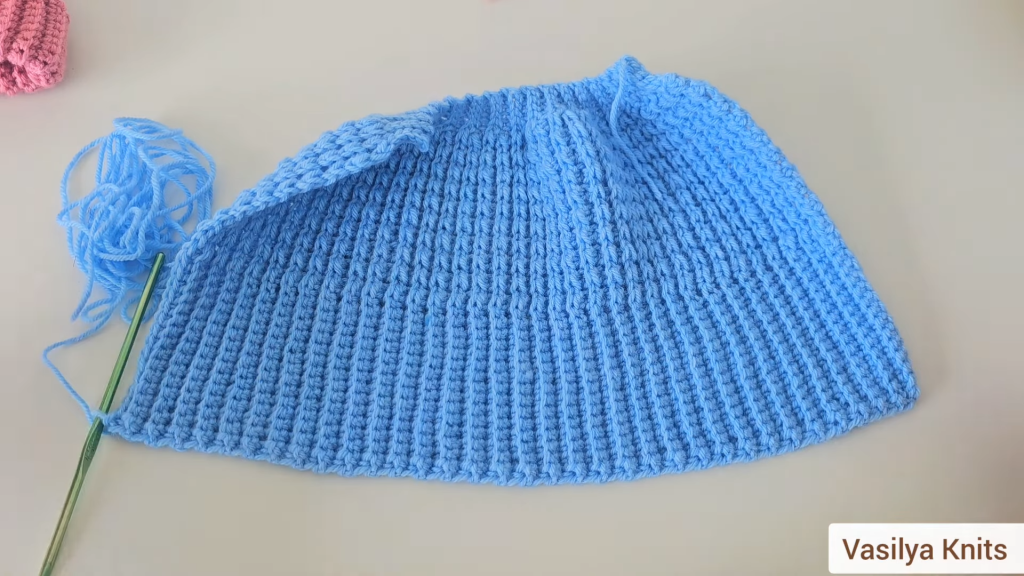
🎉 Congratulations!
You’ve successfully crocheted your Cloud Comfort Ribbed Beanie! This classic, stretchy hat is a wardrobe staple and makes for a fantastic gift. Now all you have to do is decide which cozy color to make next!