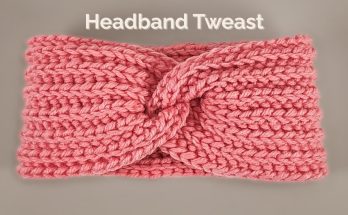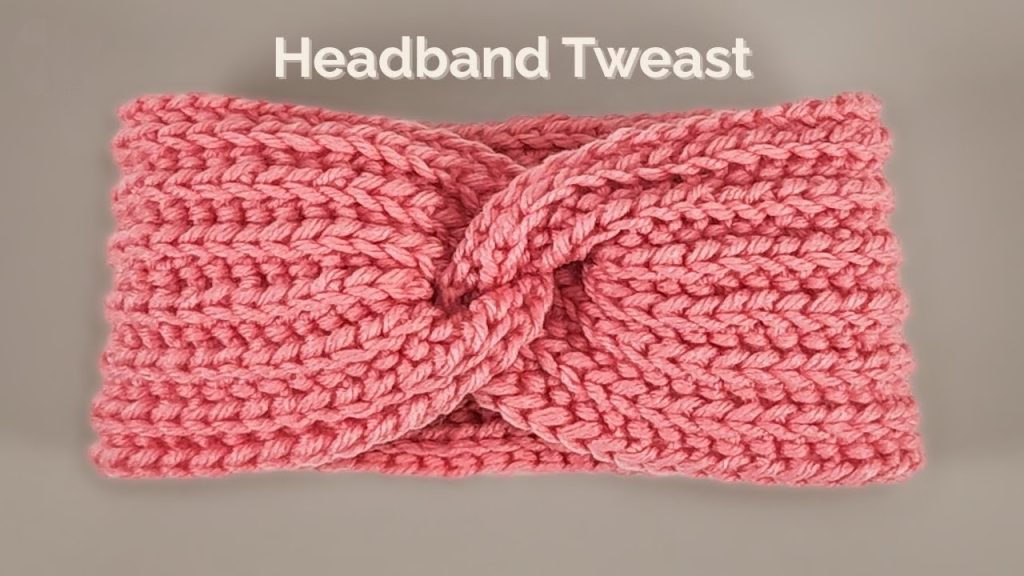
Hello, stylish stitchers! Are you looking for a quick, fashionable, and incredibly satisfying project to keep your ears warm? Today, we’re diving deep into the creation of the Cozy Twist Headband—a modern accessory featuring a luxurious, ribbed texture and an elegant front twist that looks store-bought!
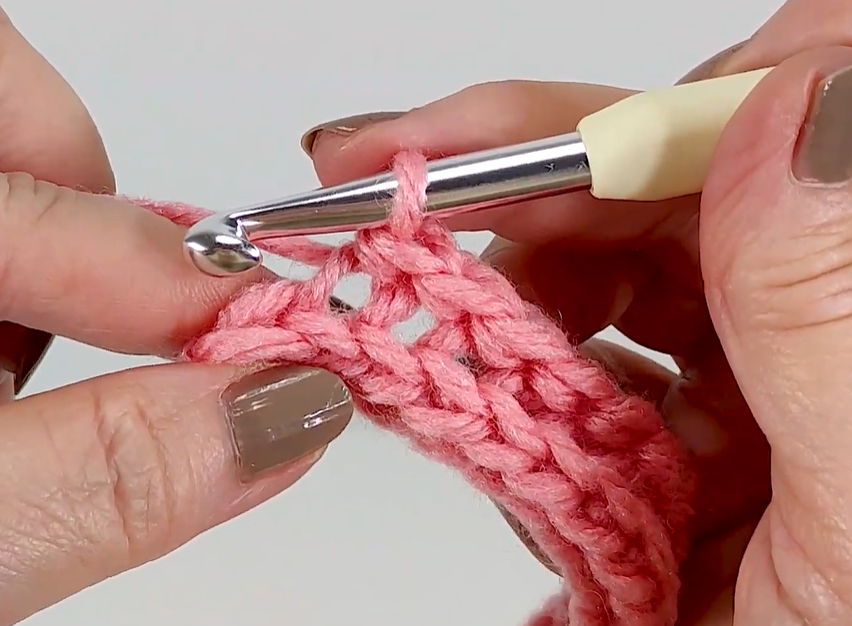
The real magic of this pattern lies in the simplicity of the technique: using the Half Double Crochet in the Back Loop Only (HDC BLO) stitch. This creates a dense yet flexible fabric that stretches beautifully, mimicking the look of knitting. This pattern is worked as a simple rectangle, making it perfect for confident beginners, with the twist being achieved by a clever, easy seaming trick.
Grab your favorite cozy yarn and let’s crochet an accessory that will be your new winter staple!
💎 Project Overview & Difficulty
- Technique: Vertical Ribbing using Half Double Crochet in the Back Loop Only (HDC BLO)
- Yarn Type: Worsted Weight (Aran / 10-ply) or Light Bulky (Weight 5)
- Difficulty: Easy/Intermediate (Easy stitch, Intermediate seaming technique)
- Key Skill Focus: Maintaining consistent tension for even ribbing and executing the 4-layer twist seam.
🧶 Materials You’ll Need
Gather these few, simple items. The quality of your yarn will directly impact the softness and bounce of the final headband.
- Yarn:Worsted Weight (Aran / 10-ply) or Light Bulky (Weight 5). Look for a yarn with good elasticity (like wool, acrylic, or a blend) to ensure the headband snaps back to fit snugly.
- Color: Coral Pink (as pictured, or your personal favorite).
- Quantity: Approximately 80 – 100 yards. (This is an excellent way to use up those smaller yarn cakes!)
- Crochet Hook: 5.5 mm (I/9) for Worsted Weight, or 6.0 mm (J/10) for Light Bulky yarn. Select a hook that creates a dense fabric without being too stiff—it needs to be squishy!
- Yarn Needle (Tapestry Needle): Essential for the twist seam. Choose one with a large eye for easy threading.
- Scissors.
- Measuring Tape: Crucial for confirming the length before seaming.
📏 Finished Size & Comprehensive Sizing Guide
This pattern is written for an average adult, but here is a detailed guide for resizing:
| Size Category | Recommended Length (Unstretched Panel) | Recommended Width (Chain Count) | Approximate Head Circumference |
| Child (3-10 yr) | 16 – 17 inches (40-43 cm) | Ch 14-16 | 19-21 inches |
| Teen/Small Adult | 18 – 19 inches (46-48 cm) | Ch 16-18 | 21-22 inches |
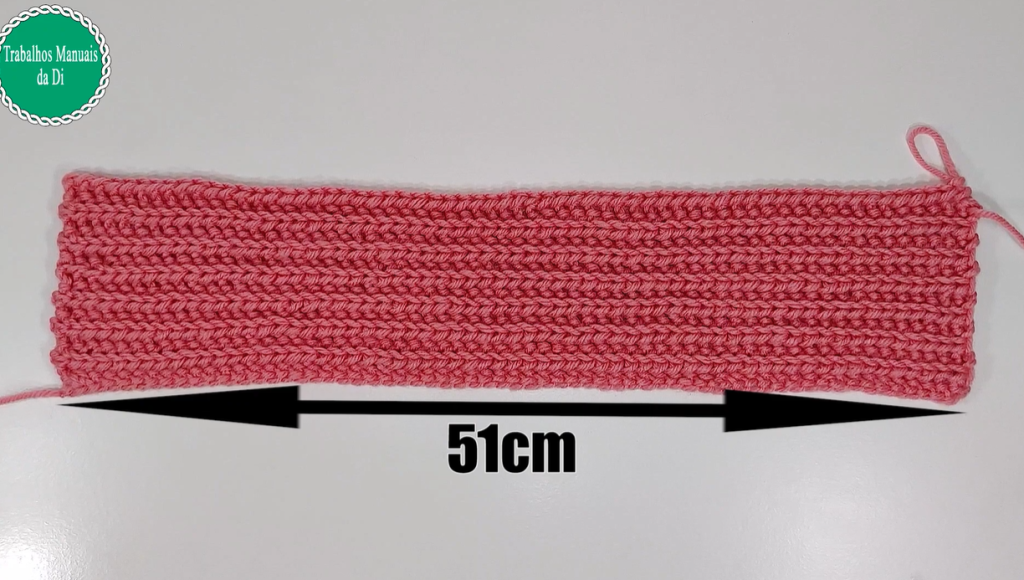
| Average Adult | 19 – 20 inches (48 – 51 cm) | Ch 18 (Pattern size) | 22-23 inches |
| Large Adult | 21 – 22 inches (53 – 56 cm) | Ch 20 | 23-25 inches |
- Pattern Size (Approximate):
- Length (before seaming): 19 – 20 inches
- Width: 4.5 – 5 inches (by chaining 18)
📝 Abbreviations & Stitch Mastery (US Terms)
This pattern is built on the mastery of one simple technique.
- ch: chain
- sl st: slip stitch
- hdc: half double crochet
- st(s): stitch(es)
- BLO: back loop only (Insert hook only into the loop furthest away from you)
- FO: Fasten Off
💡 In-Depth Techniques for a Professional Finish
Follow these tips to ensure your headband has that luxurious, high-end look:
- HDC BLO Texture: The ribbed appearance is created by working every HDC stitch only into the Back Loop Only. This pushes the front loop forward, forming the defined horizontal ridge.
- Turning Chain Management: We use a Chain 1 at the start of every row, and this chain DOES NOT count as a stitch. Always make your first HDC of the new row in the very last HDC of the previous row. This creates a clean, straight edge essential for the hidden twist seam.
- The Negative Ease Principle: The finished panel length must be slightly shorter than the head circumference (1-2 inches shorter). The HDC BLO ribbing is very stretchy, and this “negative ease” ensures the headband remains snug and doesn’t slip down over time.
💖 Part 1: The Headband Panel (Worked Flat)
We will crochet one long, beautifully textured rectangle.
- Foundation Chain (Determines Width): Ch 18.
- Row 1 (Setting the Base): Hdc in the 2nd ch from the hook, and 1 hdc in each remaining chain across. Ch 1, turn. (17 hdc)
- Row 2 (Establishing Ribbing): Work 1 hdc in the BLO of each st across. Ch 1, turn. (17 hdc)
- Repeat Row 2 for a total of 70 rows (or until your panel measures 19-20 inches long).
- Critical Length Check: Stop frequently to measure your length. Once you hit your target length, it’s time to prepare for the seam.
- Fasten Off (FO), leaving a very long tail (at least 20 inches). This tail will be used for the entire seaming process.
〰️ Part 2: The Elegant 4-Layer Twist Seam
This is the most satisfying part! The way you stack the ends is what creates the perfect, symmetrical twist.
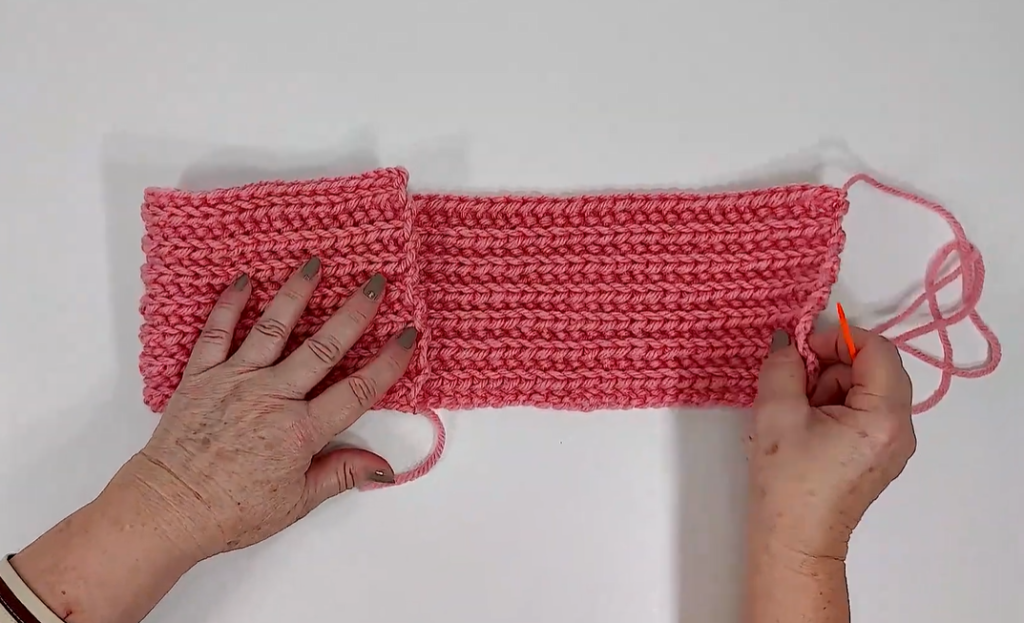
- Prepare the Ends: Lay your rectangle flat on a table.
- Step A: Fold both short ends of the rectangle in half lengthwise. You now have two short ends, each composed of two layers.
- The Stacked Twist: Bring the two folded ends together. This is where you interlock them:
- Layer 1: Take the top fold of the left end and place it flat.
- Layer 2: Take the bottom fold of the right end and place it directly on top of Layer 1.
- Layer 3: Take the bottom fold of the left end and place it directly on top of Layer 2.
- Layer 4: Take the top fold of the right end and place it on top of everything.
- The result is a neat stack of four layers, ready to be sewn.
- Seam the Stack:
- Thread your long tail onto your yarn needle.
- Seam Technique: Use a strong whip stitch or running stitch to sew through all four layers simultaneously. Work slowly, making sure your needle catches all four thicknesses of fabric with every stitch, securing the ends together along the raw edge.
- Sew across the entire width of the headband.
- Secure and Finish: Once the seam is complete, knot the yarn securely and weave the remaining tail deeply into the seam line to hide it completely.
✨ Part 3: Final Touches and Styling
- Flip and Shape: Turn the headband right-side out. The seamed area will naturally pull into the perfect, seamless twist, hiding the join inside. Gently adjust the fabric with your hands to make the twist pop.
- Optional Steam Blocking: If your yarn is acrylic or a blend, you can gently steam block the headband (do not touch the yarn with the iron!) to relax the fibers and further define the ribbed texture.
- Styling Tip: Wear the twist centered at the front, or wear it off to the side for a different look!
Video Tutorial:
🎉 Congratulations!
You’ve successfully completed your luxurious Cozy Twist Headband! This project proves that simple stitches can achieve truly elegant results. Enjoy your new, hand-crocheted staple!