
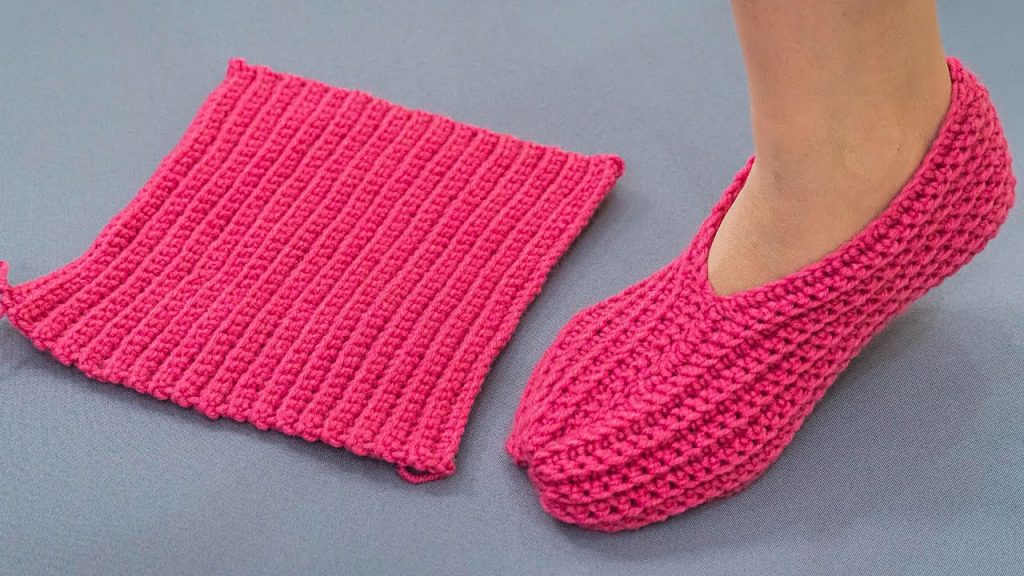
There’s something incredibly satisfying about a project that seems to magically transform from a simple shape into something functional and beautiful. That’s exactly the case with these slippers! Inspired by the unique design you saw, this pattern uses a single crocheted rectangle that, with just a couple of seams, turns into a perfectly fitted and comfortable slipper.
This pattern is a fantastic introduction to working with textured stitches and is so fast to make that you’ll want to whip up a pair for everyone you know. The ribbed fabric is created using a simple and classic crochet technique, making these slippers extra squishy and warm.
Let’s grab our hooks and yarn and get started on this satisfying project!
Materials You’ll Need:
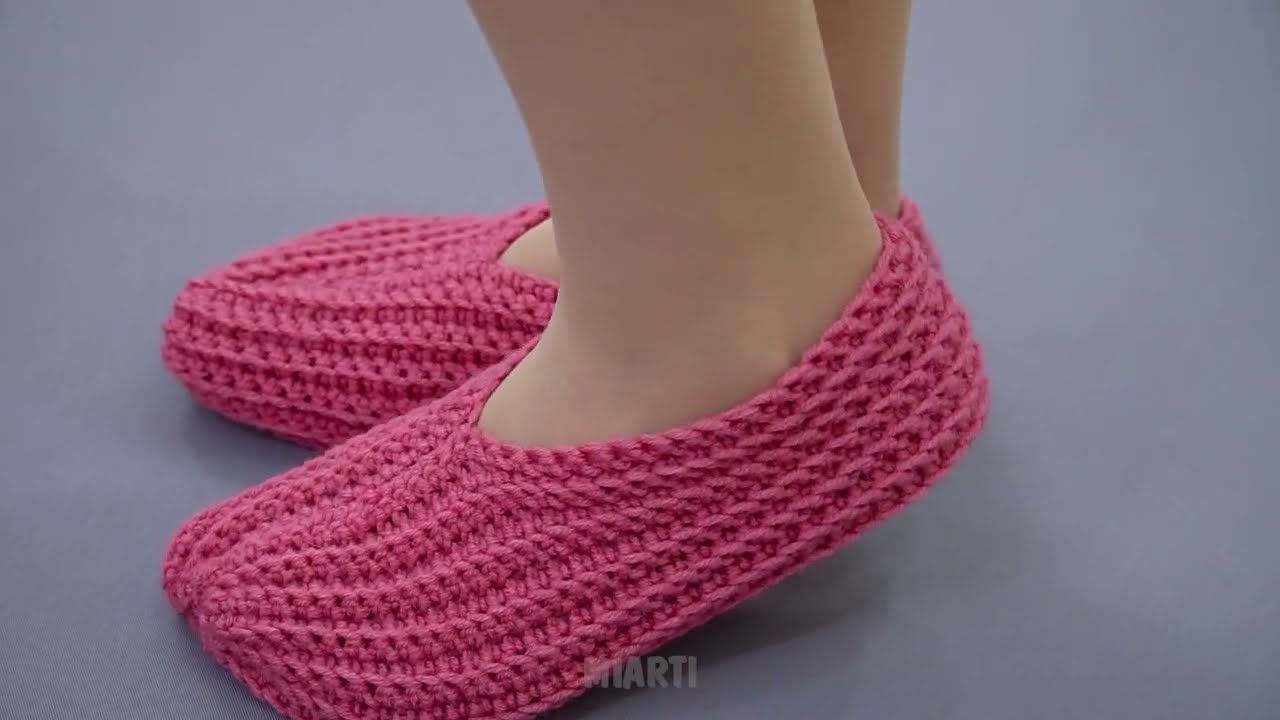
- Yarn: Approximately 120-150 yards of a Bulky (size 5) or Super Bulky (size 6) weight yarn. The yarn in the image appears to be a bulky cotton or t-shirt yarn, which is perfect for creating a dense, sturdy fabric.
- Crochet Hook: 8.0 mm (L/11) or size needed to obtain gauge. A large hook is best for working with bulky yarn to create a plush, flexible fabric.
- Tapestry Needle: With a large eye for seaming.
- Scissors
Gauge:
Gauge is very important to ensure your slippers fit correctly!
- Using the Half Double Crochet in the Back Loop Only (hdc BLO) stitch with your chosen yarn and hook: 8 hdc BLO stitches and 6 rows = 4 inches (10 cm).
Take a moment to make a swatch to check your gauge. If your swatch is too large, try a smaller hook. If it’s too small, try a larger hook.
Abbreviations:
- ch: chain
- st(s): stitch(es)
- sl st: slip stitch
- hdc: half double crochet
- BLO: back loop only
- FO: fasten off
Special Stitch: Half Double Crochet in the Back Loop Only (hdc BLO)
This is the stitch that gives our slippers that wonderful ribbed texture!
- To make a hdc BLO: Yarn over, insert your hook into the back loop of the stitch only (instead of both top loops), yarn over, pull up a loop (3 loops on hook), yarn over, pull through all 3 loops on the hook.
Pattern Notes:
- This pattern is written for a standard women’s US size 7-8. You can easily adjust the size by changing the number of rows you crochet.
- The entire piece is crocheted flat as a single rectangle.
- The starting chain will determine the circumference of the slipper opening.
- The number of rows you crochet will determine the length of the slipper.
Step 1: Crochet the Rectangle
We begin by creating a simple ribbed rectangle.
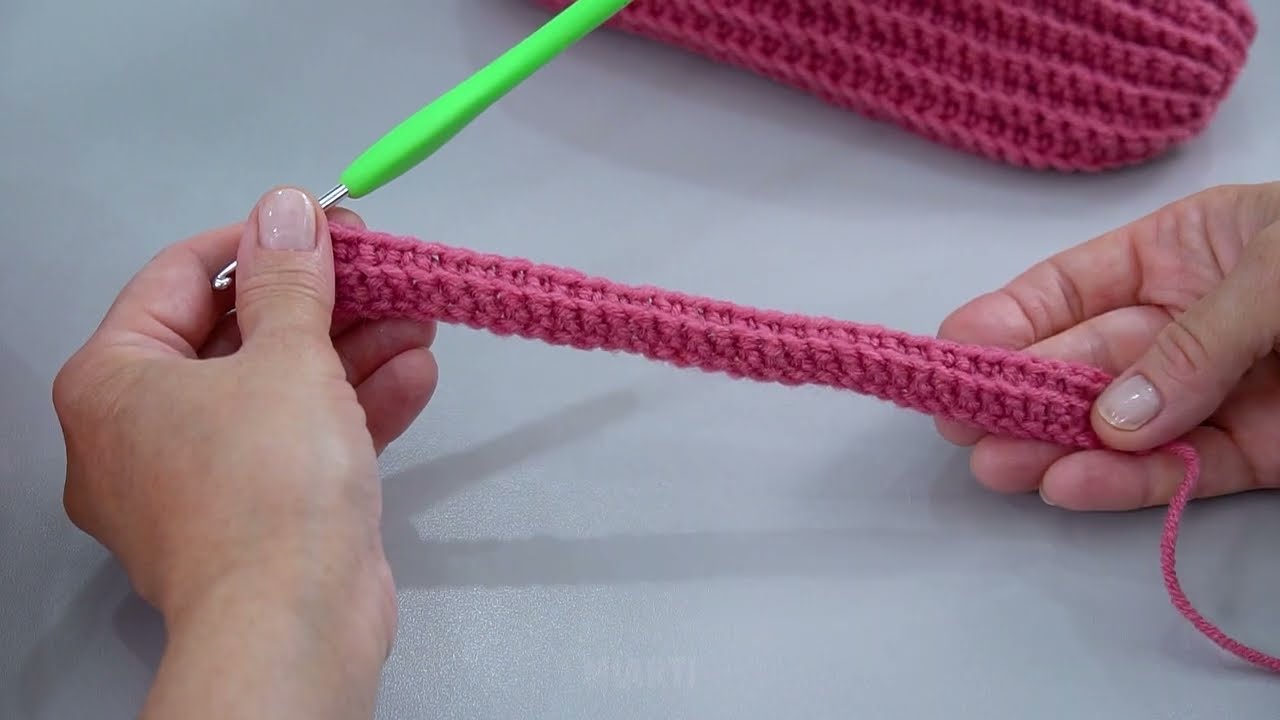
Foundation Chain: Ch 22.
Row 1: Hdc in the 2nd ch from the hook and in each ch across. (21 hdc). Ch 1, turn. Note: This row is not worked in BLO to create a clean, sturdy starting edge.
Rows 2-30: Hdc in the BLO of each st across. (21 hdc). Ch 1, turn.
- To adjust the size: The number of rows determines the length of your slipper (from the heel, around the foot, to the toe).
- For a smaller size: Work fewer rows. For a women’s size 5-6, try 26 rows.
- For a larger size: Work more rows. For a women’s size 9-10, try 34 rows.
After your last row, sl st into the last stitch to secure your work. FO, leaving a very long tail for sewing (at least 2-3 feet / 60-90 cm).
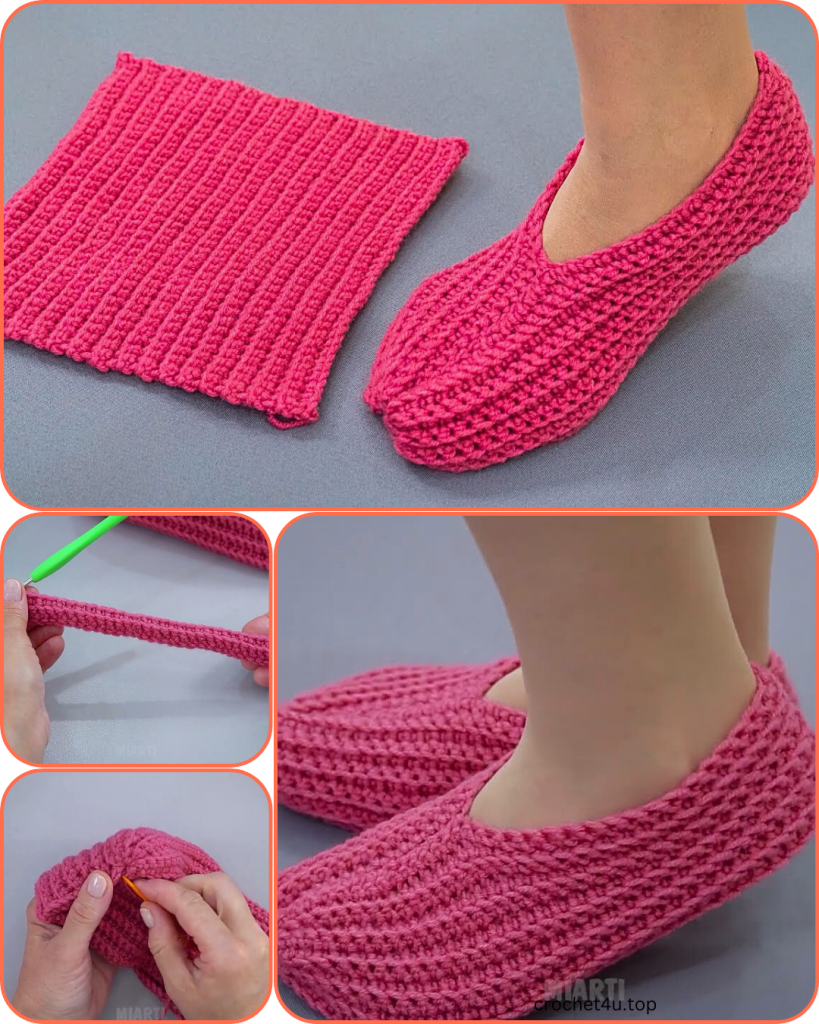
Step 2: Assembly
This is where your rectangle magically becomes a slipper!
- Fold the Rectangle: Lay your finished rectangle flat. Fold it in half lengthwise.
- Seam the Back: Using your tapestry needle and the long yarn tail, seam the short edges of the rectangle together. This creates the back of your slipper (the heel). Use a simple whip stitch or mattress stitch.
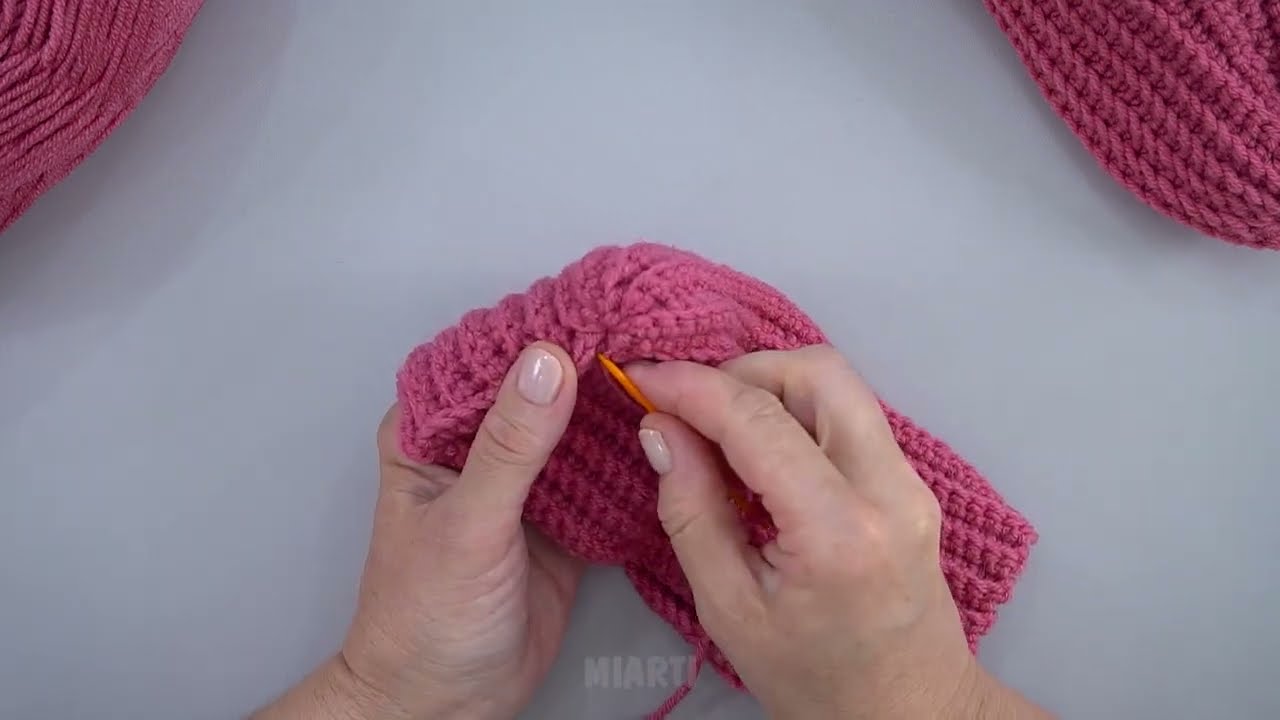
- Seam the Sole and Gather the Toe: Now, you should have one long, open seam at the bottom. Begin seaming the two long edges together, starting from the heel seam and working towards the toe. As you reach the end of the seam (the last few stitches), pull the yarn tail tightly to gather the corner and close the toe. Weave your needle through a few stitches back and forth to secure the gather.
- Weave in any remaining ends.
Repeat all the steps to create a second, identical slipper.
Video Tutorial:
You Did It!
Congratulations! You’ve successfully created a comfortable, durable, and stylish pair of one-piece slippers. The simple construction is a fantastic way to showcase the beautiful texture of the ribbed stitch. This project is a testament to how creative you can be with just a simple shape and a hook. Enjoy your new handmade slippers!


