
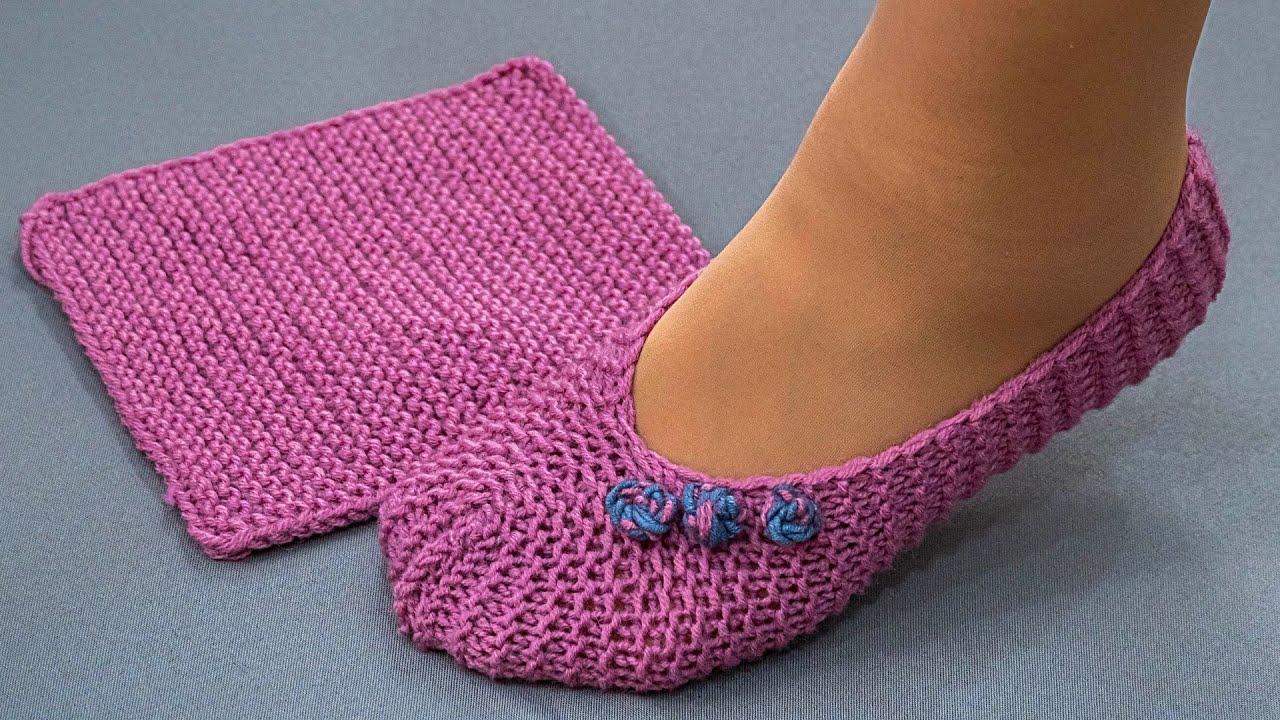
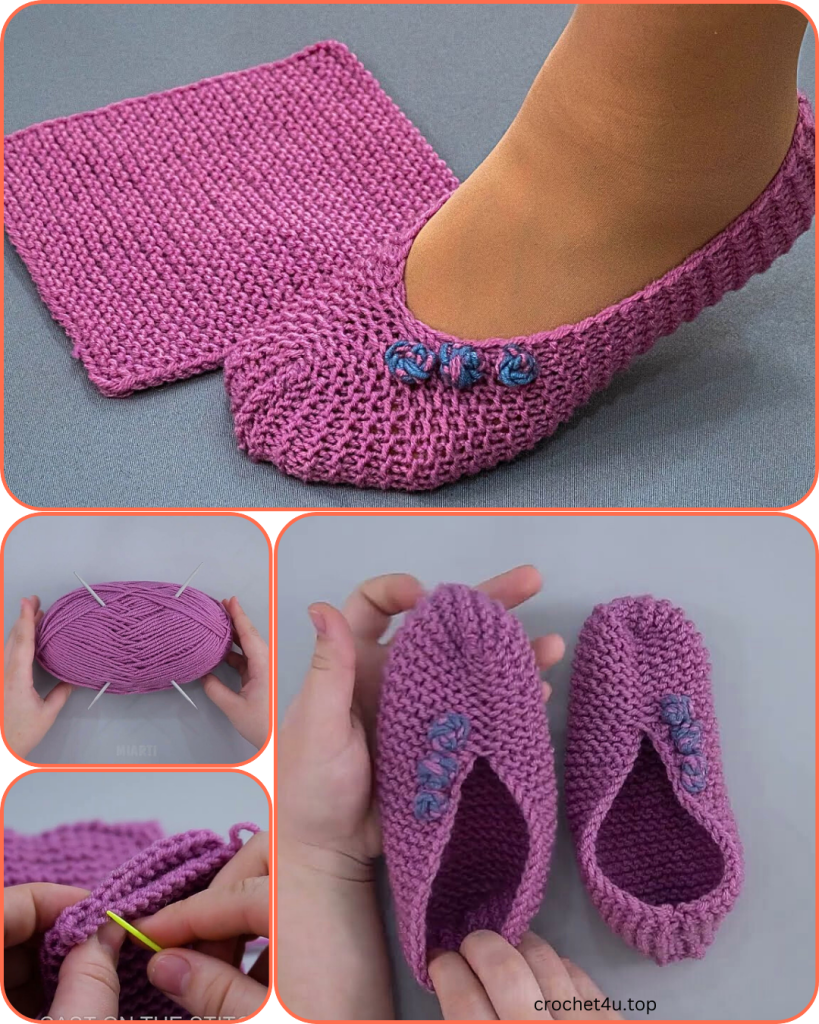
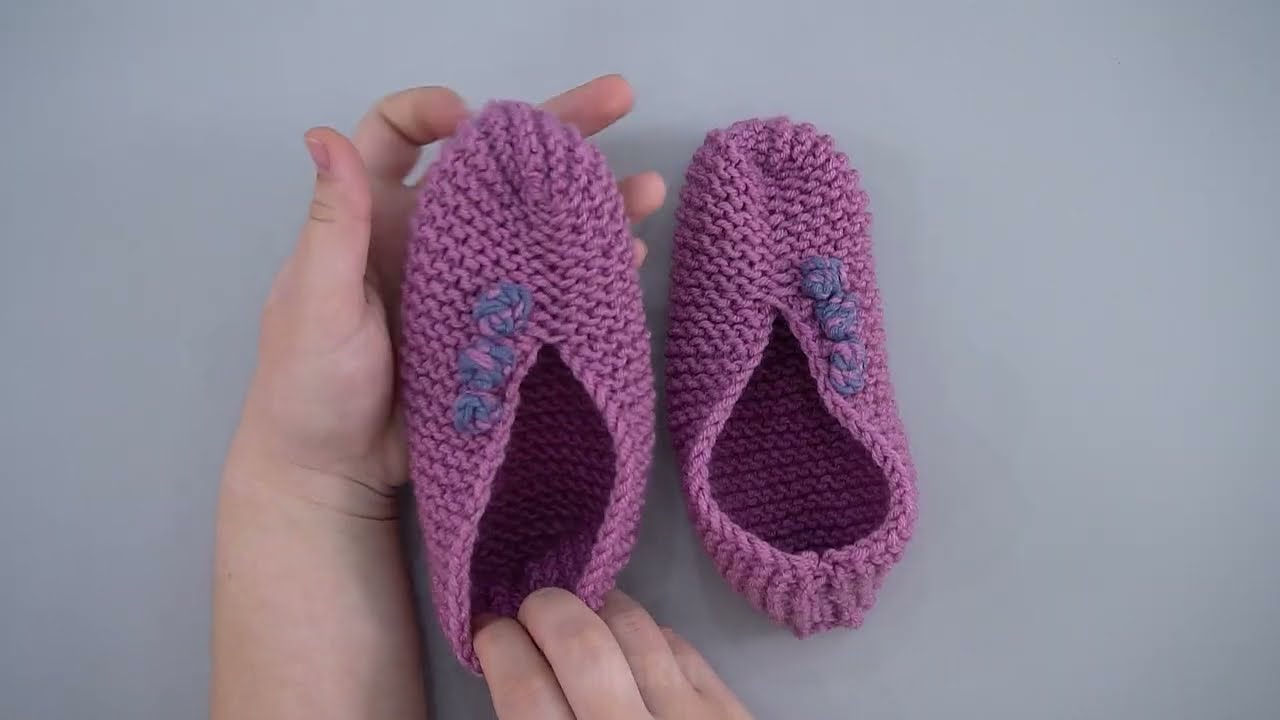
Is there anything better than a quick and satisfying knitting project? I don’t think so! Today, I’m thrilled to share with you a pattern for a truly brilliant pair of knit slippers. Inspired by the image you saw, this design uses a single, flat rectangle that is then cleverly folded and seamed to create a comfortable and perfectly fitted slipper.
What makes this pattern so great is its simplicity. It’s an excellent project for knitters of all skill levels, especially beginners who want to try a new technique without being overwhelmed by complex shaping or a lot of pieces. The slipper is made entirely from two simple stitch patterns: classic garter stitch for the sole and a beautiful, airy eyelet lace for the toe.
Let’s get our needles ready and cast on for a bit of cozy comfort!
Materials You’ll Need:
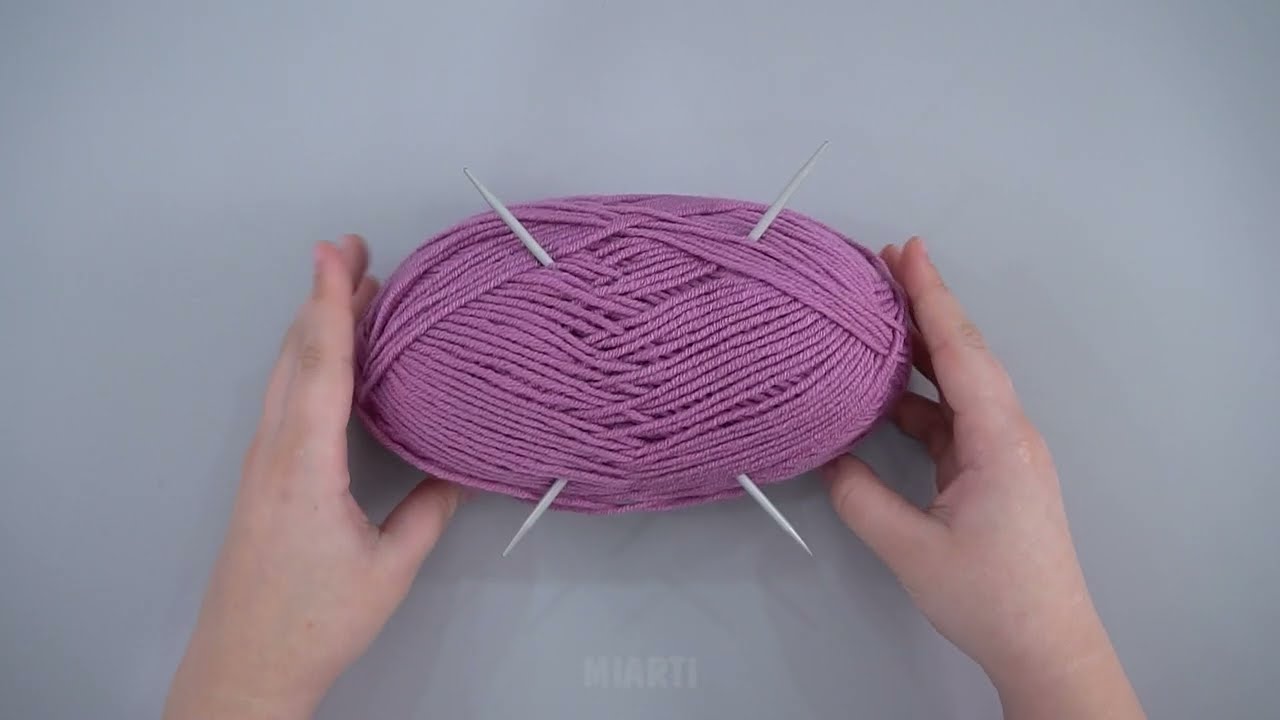
- Yarn: Approximately 100-150 yards (90-140 meters) of a DK or light worsted weight yarn. A wool or wool blend yarn will be warm and durable, but a cotton blend is also a great option for a lighter-weight slipper. The yarn in the image appears to be a light worsted weight.
- Knitting Needles: US Size 7 (4.5 mm) straight or circular needles, or the size needed to obtain gauge.
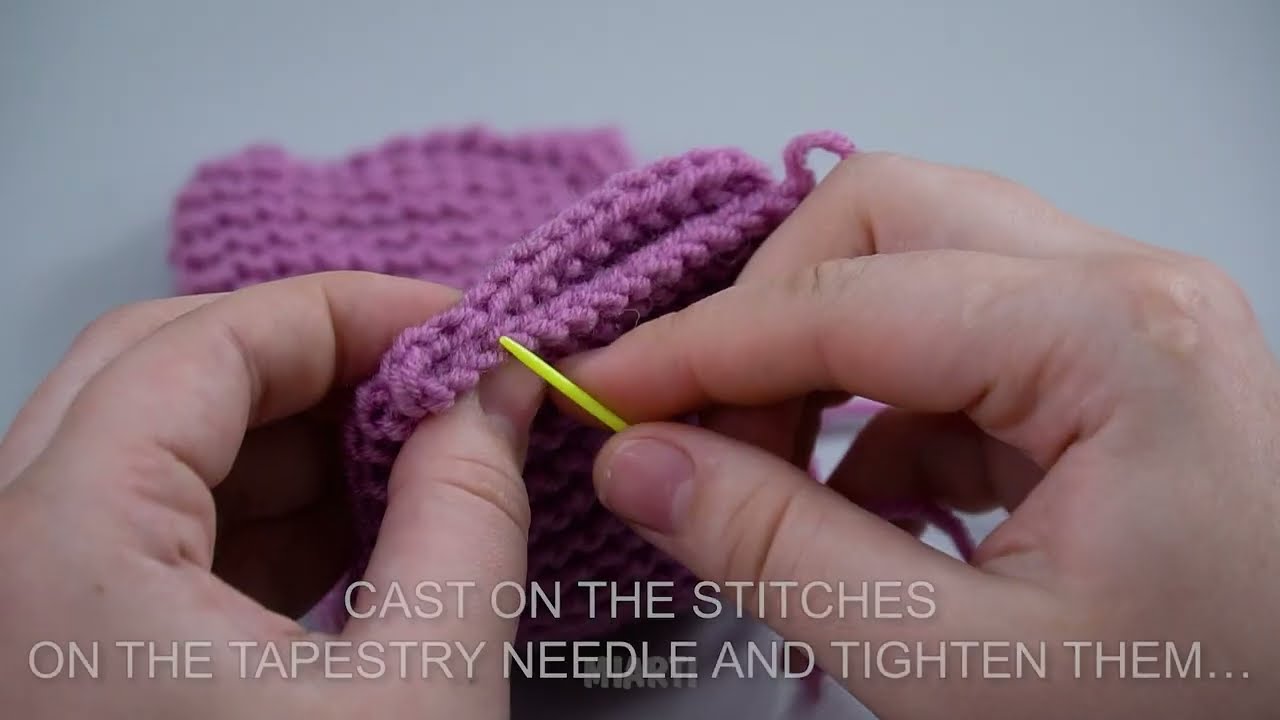
- Tapestry Needle: For seaming your slipper together.
- Scissors
- (Optional for Embellishments): A small amount of contrasting yarn (DK or light worsted weight) for the rosettes.
Gauge:
Getting the correct gauge is essential for a good fit!
- Using Garter Stitch with your chosen yarn and needles: 18 stitches and 36 rows = 4 inches (10 cm).
Knit a small swatch to check your gauge. If your swatch is too small (more stitches per inch), try a larger needle. If it’s too large (fewer stitches per inch), try a smaller needle.
Abbreviations:
- CO: Cast On
- BO: Bind Off
- k: knit
- k2tog: knit 2 stitches together (a decrease)
- yo: yarn over (an increase)
- st(s): stitch(es)
Pattern Notes:
- This pattern is written for a standard women’s size 7-8 US. Instructions are included for adjusting the size.
- The entire slipper is knit flat as a single piece. The back half of the rectangle will be the heel and sole, and the front half will become the top and toe.
- The Garter Stitch is created by knitting every row. This stitch is naturally stretchy and comfortable for a slipper.
- The Lace Stitch is a simple 2-row repeat that creates a lightweight, decorative fabric.
Part 1: The Sole and Heel
We begin by creating the foundation of the slipper: the sole and the back of the heel.
CO 30 stitches.
Knit every row (Garter Stitch) for 48 rows (or until piece measures approximately 5.5 inches / 14 cm from the cast-on edge).
- To adjust the size: For a smaller size, knit fewer rows here. For a larger size, knit more rows. The number of rows in this section determines the length of your foot.
Part 2: The Instep (Lace Section)
This section will form the top of your foot and the toe.
Row 1 (Right Side): k1, *yo, k2tog; repeat from * until the last stitch, k1. Row 2 (Wrong Side): k all stitches.
Repeat these two rows a total of 6 times (12 rows in total).
Part 3: The Upper
Now we’ll return to garter stitch to finish the front half of the slipper.
Knit every row (Garter Stitch) for 48 rows (or until this section measures approximately 5.5 inches / 14 cm).
- To adjust the size: This section should be approximately the same length as Part 1 to ensure a good fit.
BO all stitches.
Part 4: Assembly
This is where the magic happens! Lay your knit rectangle out flat.
- Fold the Slipper: Fold the rectangle in half so the short ends meet. Your rectangle should now be a square with a folded edge at the bottom and a long open side on the top and left.
- Seam the Heel: Using your tapestry needle and a length of yarn, sew the seam on the short side of the rectangle. This will form the back of the slipper. Use a mattress stitch or whip stitch to create a neat, durable seam.
- Seam the Toe: Now, rotate your piece. Find the center of the seam you just made and the center of the other long edge. Sew the last few inches of the top seam together, from the very top of the slipper down towards the toe. This will create a rounded, closed toe.
Weave in all your ends securely.
Optional Embellishment: The Knitted Rosette
The little rosettes on the toe add a special touch. You can easily make a few simple rosettes to finish your slipper.
- CO 3 stitches onto a double-pointed needle (or a straight needle).
- Knit the 3 stitches. Do not turn the work.
- Slide the stitches to the other end of the needle. Pull the yarn tightly behind the work and knit the stitches again.
- Repeat this process for about 10-12 rows to create a tight I-cord.
- BO the 3 stitches. Leave a long tail.
- Using your tapestry needle, coil the I-cord tightly into a spiral shape, and then sew it into place on the back to secure it.
- Using the long tail, sew the rosette onto the toe of your slipper.
Repeat all the steps to create a second identical slipper.
Video Tutorial:
Congratulations!
You’ve just created a clever and comfortable pair of one-piece knit slippers! This project is a fantastic demonstration of how simple stitches and smart construction can lead to a beautiful and functional finished product. You can customize them with different colors, textures, or even more rosettes!
How do you plan to customize your new slippers?


