
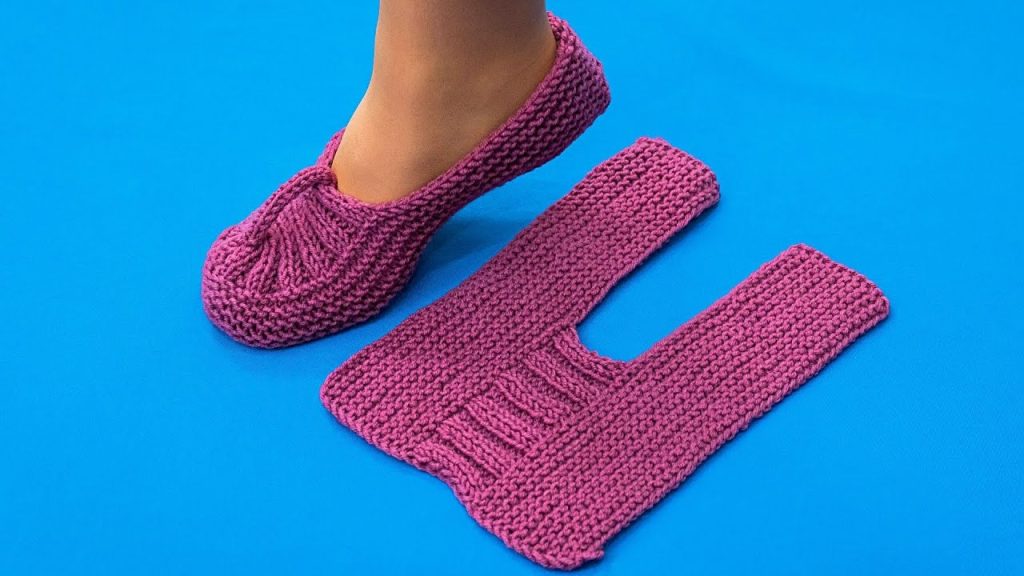
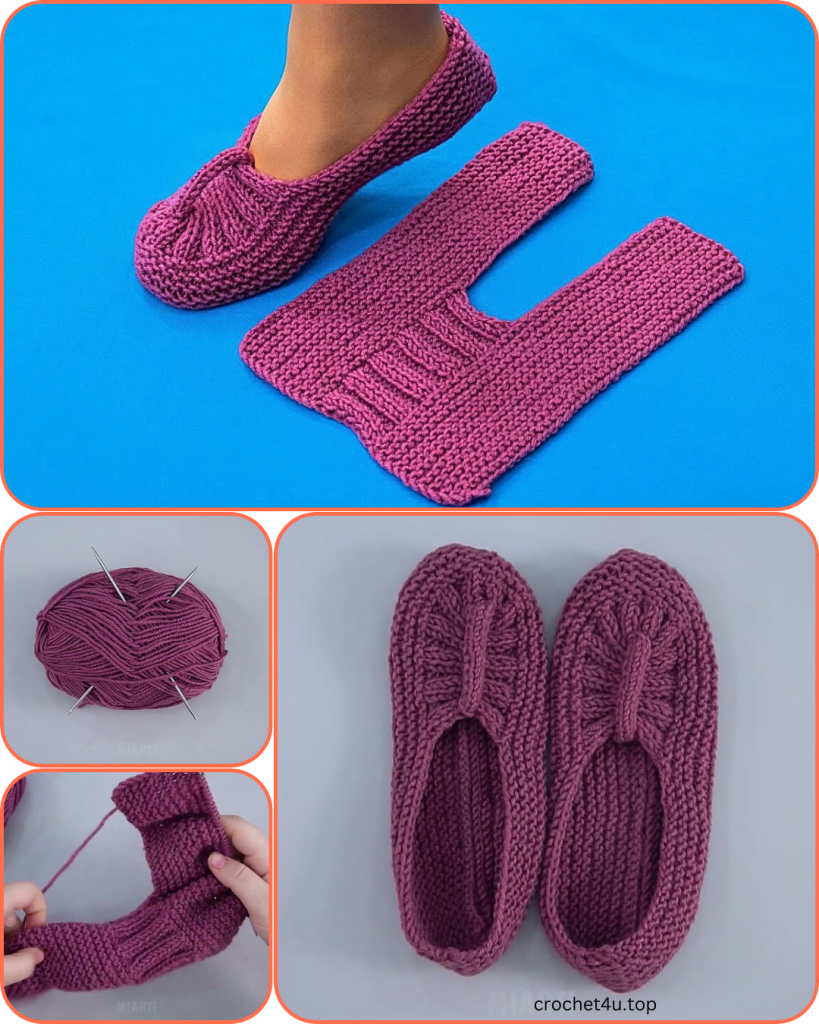
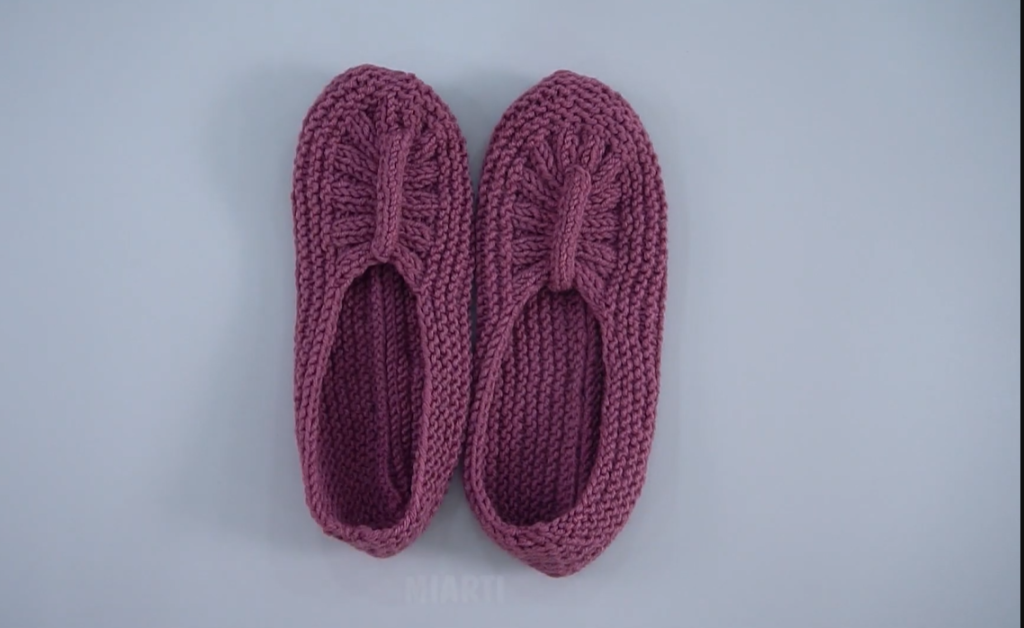
Have you ever looked at a finished knit project and wondered how it was made? These slippers are a perfect example of a design that looks complex but is a joy to create. Inspired by the image you saw, this pattern uses a brilliant “I” or barbell shape that’s knit flat in a single piece. The magic happens when you fold and seam it, turning a simple rectangle with a narrow middle into a perfectly fitted slipper.
This project is a fantastic way to learn a new construction technique while creating something incredibly comfortable. The main body of the slipper is worked in classic Garter Stitch, which creates a plush, reversible fabric that’s perfect for the sole. The decorative element is a simple Basketweave pattern in the middle, giving the slipper a polished, handcrafted look. It’s a satisfying knit for beginners and a fun, quick project for experienced knitters.
Let’s get started on this unique and cozy creation!
Materials You’ll Need:
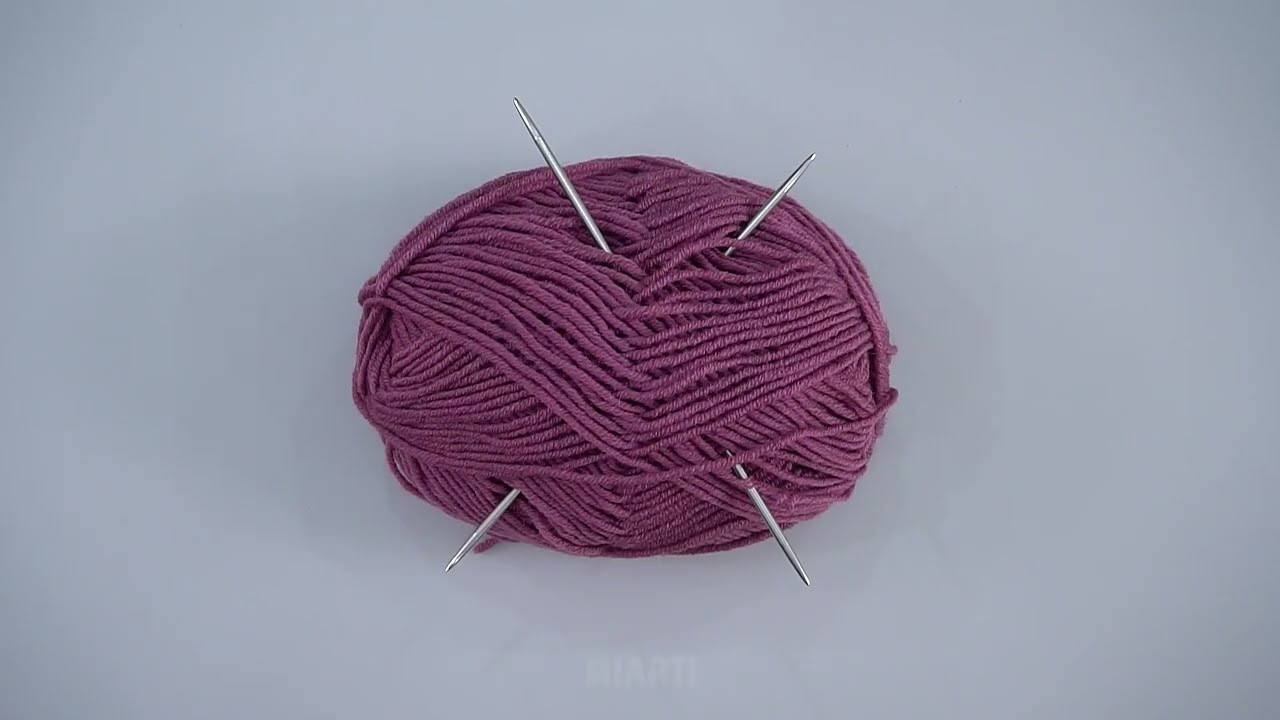
- Yarn: Approximately 120-150 yards (110-140 meters) of a worsted weight (or DK) yarn. A wool or wool-blend yarn will provide warmth and durability, perfect for a cozy slipper.
- Knitting Needles: US Size 7 (4.5 mm) straight or circular needles, or the size needed to obtain gauge.
- Tapestry Needle: For seaming.
- Scissors
Gauge:
Getting the right gauge is crucial for a slipper’s fit!
- Using Garter Stitch with your chosen yarn and needles: 18 stitches and 36 rows = 4 inches (10 cm).
Please take a moment to knit a small swatch to check your gauge. If your swatch is too small, try a larger needle. If it’s too large, try a smaller needle.
Abbreviations:
- CO: Cast On
- BO: Bind Off
- k: knit
- p: purl
- st(s): stitch(es)
- k2tog: knit 2 stitches together (a decrease)
- s1: slip one stitch purlwise with yarn in back
- psso: pass the slipped stitch over the knit stitch (creates a neat decrease)
- ssk: slip, slip, knit (a left-leaning decrease)
Pattern Notes:
- This pattern is written for a standard women’s US size 7-8. You can adjust the length of the Garter Stitch sections to change the size.
- The entire piece is knit flat.
- The slipper is created by knitting three sections: the Sole & Heel, the Instep, and the Toe.
- The Basketweave stitch is a simple repeat of knit and purl stitches.
Part 1: The Sole & Heel
We start with the widest part of our ‘I’ shape, which will form the sole of the slipper.
CO 30 stitches.
Knit every row (Garter Stitch) for 48 rows (or until the piece measures approximately 5.5 inches / 14 cm from the cast-on edge).
- To adjust size: This section determines the length of the back half of your slipper. Knit more or fewer rows here to adjust the size.
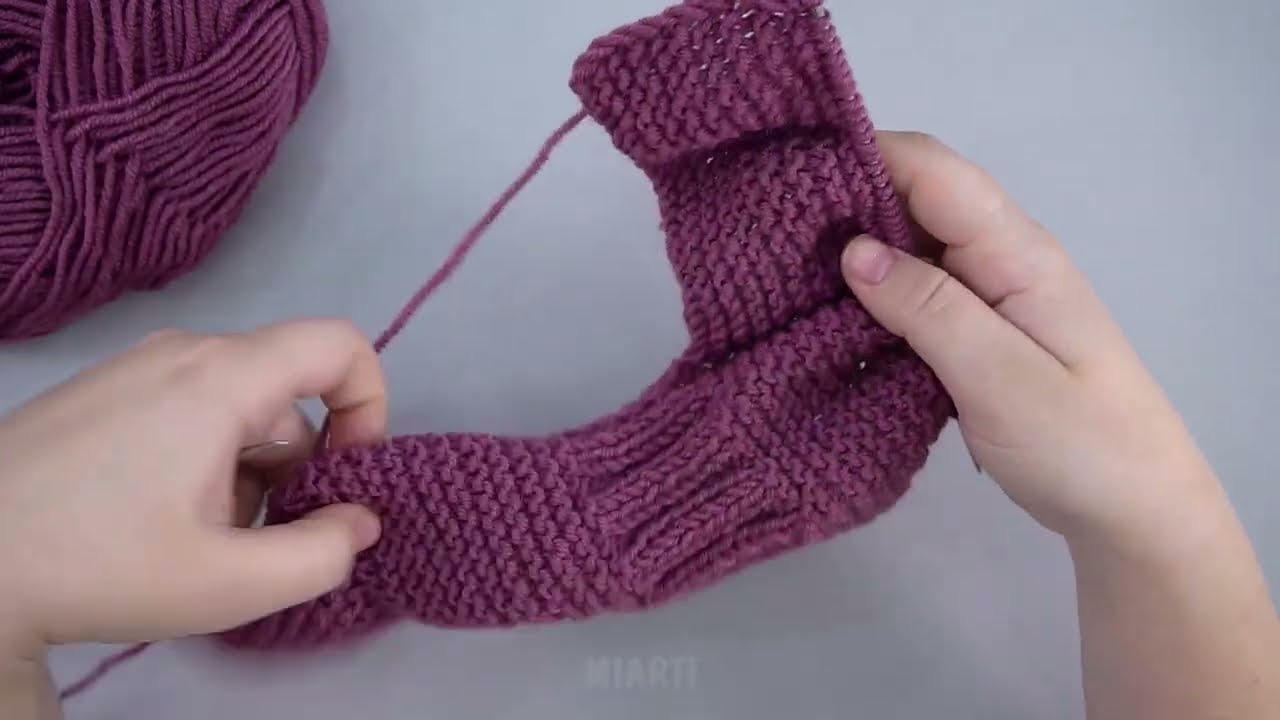
Part 2: The Instep (Basketweave Section)
This section is where we create the decorative, narrow middle part of the slipper.
Row 1 (Right Side): k1, k2tog, k to the last 3 sts, ssk, k1. (28 sts) Row 2 (Wrong Side): k all stitches. (28 sts) Row 3 (Right Side): k1, k2tog, k to the last 3 sts, ssk, k1. (26 sts) Row 4 (Wrong Side): k all stitches. (26 sts)
Now we begin the Basketweave pattern.
Row 5 (Right Side): (k2, p2) to the last 2 sts, k2. Row 6 (Wrong Side): (p2, k2) to the last 2 sts, p2. Row 7 (Right Side): (k2, p2) to the last 2 sts, k2. Row 8 (Wrong Side): (p2, k2) to the last 2 sts, p2.
Row 9 (Right Side): (p2, k2) to the last 2 sts, p2. Row 10 (Wrong Side): (k2, p2) to the last 2 sts, k2. Row 11 (Right Side): (p2, k2) to the last 2 sts, p2. Row 12 (Wrong Side): (k2, p2) to the last 2 sts, k2.
Repeat Rows 5-12 a total of 3 times. This creates a nice length for the instep.
Now, we will increase back to the original width.
Row 13 (Right Side): k1, s1, k1, psso, k to the last st, kfb. (27 sts) Row 14 (Wrong Side): k all stitches. Row 15 (Right Side): k1, s1, k1, psso, k to the last st, kfb. (28 sts) Row 16 (Wrong Side): k all stitches.
Part 3: The Toe
Now we’ll knit the final wide section that will become the front of the slipper.
Knit every row (Garter Stitch) for 48 rows (or until this section measures approximately 5.5 inches / 14 cm).
BO all stitches.
Part 4: Assembly
This is where your single flat piece becomes a beautiful slipper.
- Fold the Slipper: Lay your ‘I’ shaped piece flat. Fold it so that the two wider ends meet.
- Seam the Sole: Using your tapestry needle and a length of yarn, sew the seam on the edge of the sole, from the very back of the heel up to where the garter stitch ends and the basketweave begins. A mattress stitch or whip stitch works perfectly here.
- Seam the Toe: Now, rotate your piece to the front. Sew the seam on the very front edge of the toe, bringing the two front corners together to create a neat, rounded toe.
- Weave in all your ends securely. Repeat all steps to create the second slipper.
Video Tutorial:
You Did It!
You’ve successfully knit a unique and stunning pair of slippers from a single piece of fabric! This project is a wonderful example of how simple shaping and seaming can create a professional and beautiful finished product. Your new slippers are a true testament to your creativity and skill.
How do you feel about the unique construction of this slipper?


