
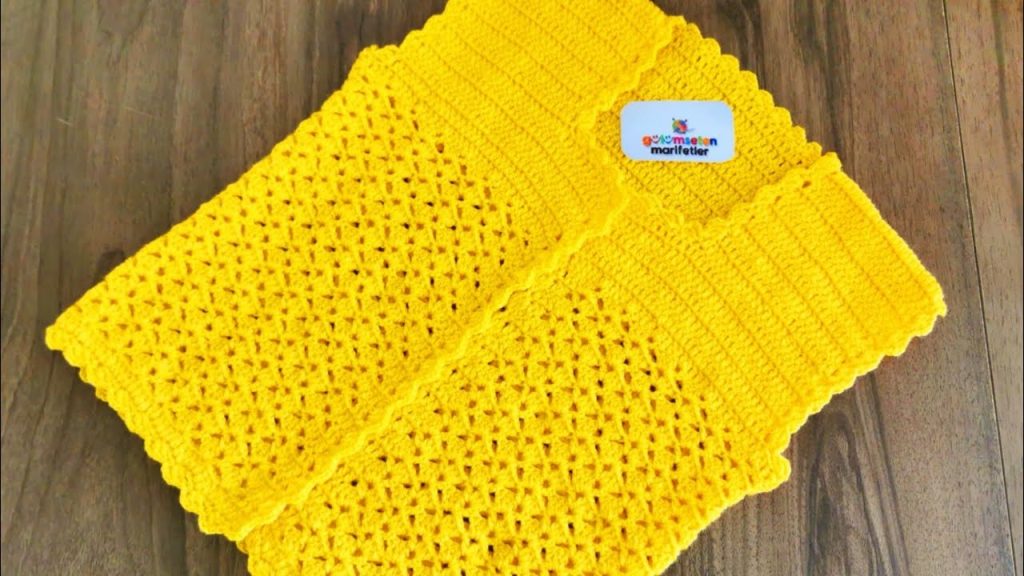
There’s something so special about a handmade cardigan. It’s a versatile layering piece for a little one, and the love poured into each stitch is something that can be felt with every wear. I designed this “Bobble Stripe” Easy Crochet Cardigan to be a project that is both enjoyable to make and beautiful to wear. The soft, textured bobble stitches are wonderfully tactile, perfect for little hands to explore, while the classic stripes add a playful pop of color.
This pattern is designed to be approachable for confident beginners and a quick, satisfying project for more experienced crocheters. The cardigan is worked in one piece up to the armholes, which means less seaming for you! The simple shaping and repeating stitch pattern make it an ideal project for practicing new skills. So, grab your favorite yarn colors and get ready to create a cardigan that will be a treasured part of your little one’s wardrobe.
Pattern Details
- Skill Level: Advanced Beginner / Intermediate
- Size: Toddler 2T-3T
- Finished Measurements (approximate):
- Chest Circumference: 22 inches (56 cm)
- Length (shoulder to hem): 12 inches (30.5 cm)
- Gauge: 16 hdc stitches and 10 rows = 4 inches (10 cm) in half double crochet.
- Checking your gauge is critical for a garment to ensure it fits correctly!
Materials
- Yarn: Approximately 300 yards of DK (weight 3) yarn.
- Main Color (MC): Approximately 200 yards (e.g., light pink)
- Contrast Color (CC): Approximately 100 yards (e.g., darker pink)
- Hook: Size G/6 (4.0 mm) crochet hook.
- Notions:
- Yarn needle for weaving in ends
- Scissors
- 3 small buttons (about 0.5 inches / 1.25 cm in diameter)
Abbreviations (US Terms)
- ch: chain
- st(s): stitch(es)
- sl st: slip stitch
- sc: single crochet
- hdc: half double crochet
- Bobble: Bobble stitch (explained below)
- sc2tog: single crochet two together (decrease)
- […]: Repeat instructions within brackets as specified
- (…): The number of stitches at the end of the row
Special Stitches
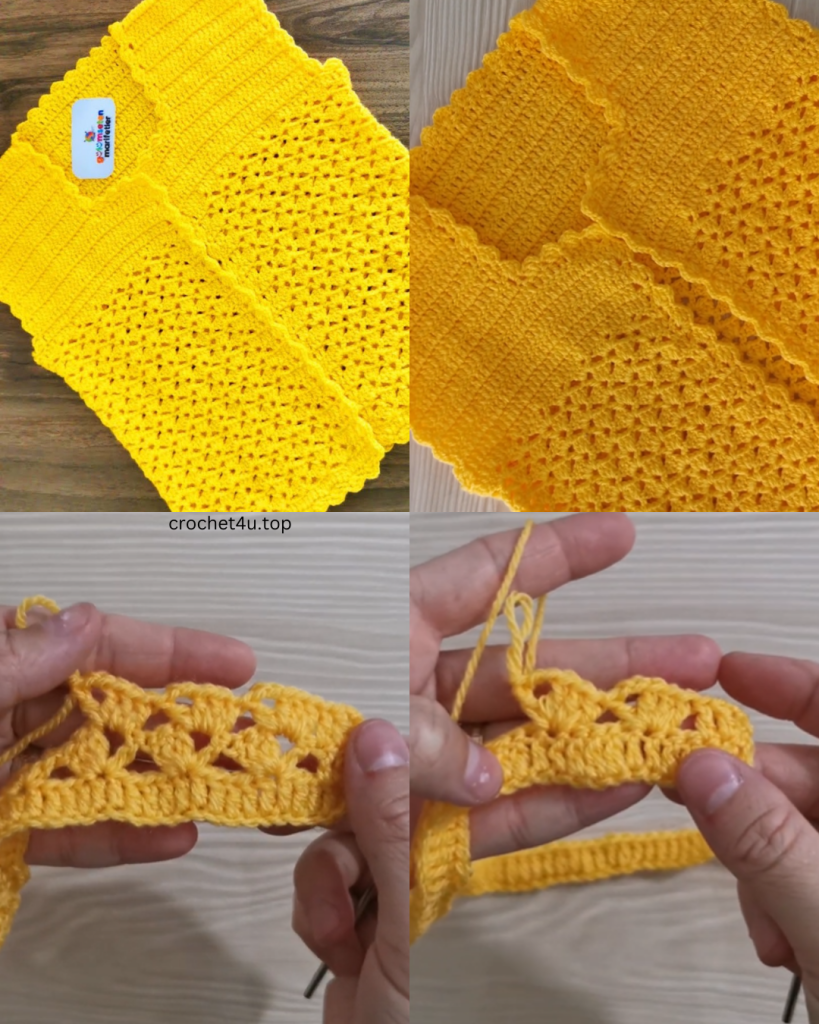
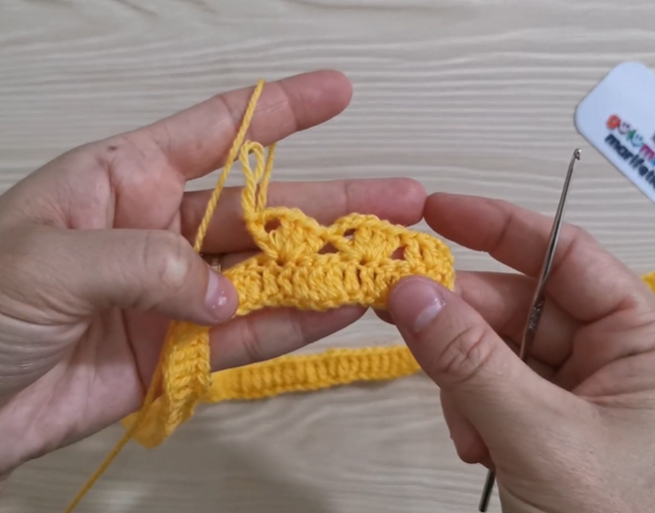
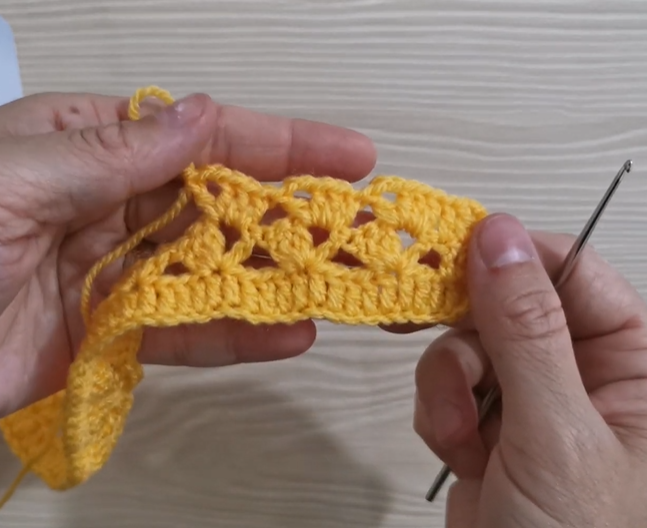
- Bobble Stitch (Bobble): [Yarn over, insert hook into st, yarn over, pull up a loop, yarn over, draw through 2 loops] 5 times in the same stitch. (You will have 6 loops on your hook.) Yarn over, draw through all 6 loops on hook. Push the bobble to the front of your work.
- Color Change: To change colors, work the last stitch of the old color until there are two loops left on your hook. Yarn over with the new color and pull through the remaining two loops on the hook.
Pattern Notes
- This cardigan is worked in rows, from the bottom up.
- The ch 1 at the beginning of the row does not count as a stitch unless otherwise specified.
- The ch 2 at the beginning of the hdc rows does count as a stitch.
- You will work in alternating color blocks to create the stripes.
- The buttonholes will be created on the right front panel for a girls’ cardigan.
The Pattern
Body of the Cardigan (Worked in one piece)
Using Main Color (MC):
Foundation Chain: Ch 78.
Row 1 (RS): Hdc in the 2nd ch from the hook and in each ch across. Turn. (77 sts)
Rows 2-5: Ch 2 (counts as hdc), hdc in each st across. Turn. (77 sts)
Change to Contrast Color (CC):
Row 6 (Bobble Row): Ch 1 (does not count as st), sc in the first st. [Bobble in the next st, sc in the next st] across. You should end with a sc in the last st. Turn. (77 sts)
Row 7: Ch 2, hdc in each st across. Turn. (77 sts)
This completes one bobble stripe block. Repeat this 7-row pattern (5 rows of MC hdc, 1 row of CC bobbles, 1 row of CC hdc) 2 more times, changing colors at the start of each block.
Work the final 5 rows of MC hdc (Rows 22-26) to complete the body of the cardigan up to the armholes.
Splitting for Armholes
At this point, you will split your work for the back and front panels. The first 19 sts will be the right front, the next 39 sts will be the back, and the final 19 sts will be the left front.
Next Row (RS): Ch 2, hdc in the first 18 sts. Turn. (19 sts) You will now only work on these 19 stitches for the right front panel.
Right Front Panel
Row 1: Ch 2, hdc in each st across. Turn. (19 sts)
Row 2 (Buttonhole Row): Ch 2, hdc in the next 14 sts, ch 2, sk 2 sts, hdc in the last st. Turn. (19 sts)
Row 3: Ch 2, hdc in the next st, hdc in the ch-2 space, hdc in each st across. Turn. (19 sts)
Row 4-9: Ch 2, hdc in each st across. Turn. (19 sts)
Fasten off, leaving a long tail for sewing the shoulder seam.
Back Panel
With your yarn attached to the next available stitch (where your second marker would be), work on the 39 sts for the back.
Row 1: Ch 2, hdc in the next 38 sts. Turn. (39 sts)
Rows 2-10: Ch 2, hdc in each st across. Turn. (39 sts)
Fasten off.
Left Front Panel
Join your yarn to the next available stitch (where the first armhole begins). This will be the opposite side of the vest.
Row 1: Ch 2, hdc in the next 18 sts. Turn. (19 sts)
Rows 2-10: Ch 2, hdc in each st across. Turn. (19 sts)
Fasten off, leaving a long tail for sewing the shoulder seam.
Video Tutorial:
Finishing
- Shoulder Seams: Use the long tails to sew the front panels to the back panel at the shoulders. Use a yarn needle and a simple whipstitch or mattress stitch to join them.
- Edging: Join your MC yarn at the bottom of the left front panel. Work a round of single crochet (sc) around the entire cardigan opening (front panels, neckline, and bottom). Work 3 sc in the corners of the front panels to create a neat turn. Fasten off.
- Buttons: Sew your buttons onto the left front panel to correspond with the buttonholes on the right front panel.
- Weave in ends: Neatly weave in all remaining loose yarn ends.
Congratulations, your “Bobble Stripe” Cardigan is complete! It’s ready to be layered and loved.
I would love to see your finished cardigans! Share a picture on social media and use the hashtag #BobbleStripeCardigan so I can see your beautiful work. Happy crocheting!


