
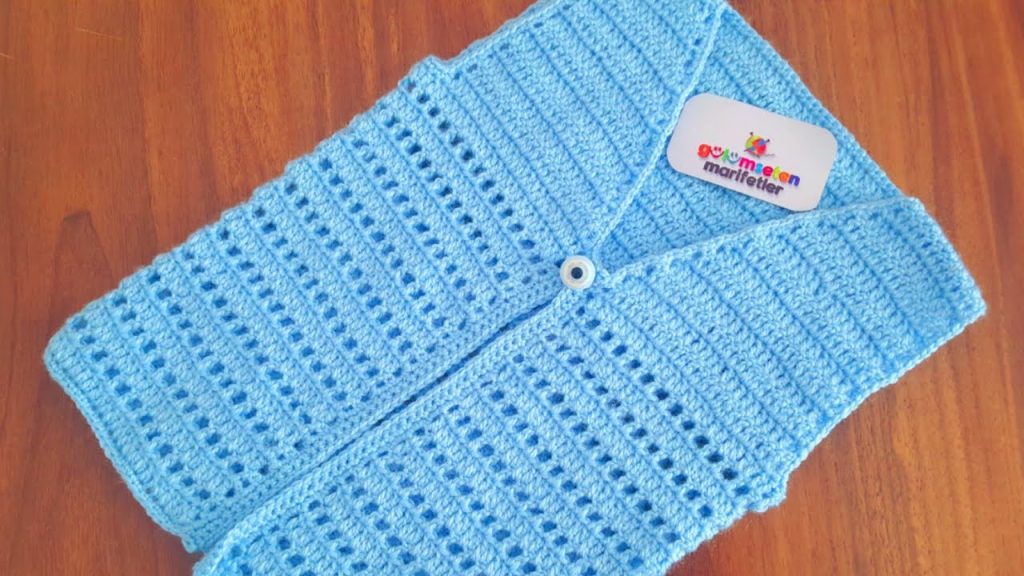
Hello, fellow crafters! I’m so excited to share this pattern with you. This adorable and practical baby cardigan is a perfect project for any new parent or as a thoughtful baby shower gift. With its simple construction and charming lace details, it’s a project that is both enjoyable to make and beautiful to wear. The open, breezy stitch pattern makes it ideal for layering on cooler days or wearing on its own during warmer weather.
This pattern is written for a standard newborn (0-3 months) size, but I will provide instructions on how to adjust the size for a perfect fit. The design is worked in one piece from the top down, meaning there’s minimal seaming—a dream for any crocheter!
Difficulty: Beginner-Intermediate
Finished Size:
- To fit a newborn (0-3 months)
- Chest circumference: approximately 16 inches (40.5 cm)
Materials You’ll Need
- Yarn: Approximately 100g of a light worsted weight (DK) yarn. A soft, baby-friendly yarn, such as a bamboo blend or a soft acrylic, is recommended.
- Hook: A US size H/8 (5.0 mm) crochet hook, or the size needed to obtain gauge.
- Notions:
- 3-4 stitch markers.
- A tapestry needle for weaving in ends.
- 1 button (or more, as desired).
- Scissors.
Gauge: An Important First Step
Getting your gauge right is essential for ensuring your cardigan is the correct size. 16 double crochet (dc) stitches and 9 rows = 4 inches (10 cm).
How to Check Your Gauge:
- Chain 18.
- Double crochet in the third chain from the hook and in each chain across. (16 dc)
- Work in rows of double crochet until you have 9 rows.
- Gently lay your swatch on a flat surface and measure a 4-inch square.
- If you have more than 16 stitches, your tension is too tight. Go up to a larger hook (e.g., US I/9).
- If you have fewer than 16 stitches, your tension is too loose. Go down to a smaller hook (e.g., US G/7).
Crocheting the Cardigan: The Main Pattern
The cardigan is worked in one piece from the neck down, using the classic raglan shaping method. The stitch pattern for the body is a simple shell and chain space that creates a beautiful lacy effect.
Part 1: The Yoke
This section forms the neckline and shoulders.

- Chain 48.
- Row 1: Double crochet (dc) in the 3rd chain from the hook. Place a stitch marker in this stitch. Dc in the next 7 chains. Place a stitch marker in the next stitch. Dc in the next 14 chains. Place a stitch marker in the next stitch. Dc in the next 7 chains. Place a stitch marker in the next stitch. Dc in the next 14 chains. You will have 4 sections for the yoke, separated by stitch markers. (46 dc)
- Row 2 (Increase Row): Chain 2 (counts as first dc). Work 2 dc in the first stitch. Work 2 dc in the first stitch of each of the 4 sections.
- Front Panel: Dc in each stitch up to the next stitch marker.
- Increase Corner: In the stitch with the marker, work (2 dc, ch 2, 2 dc). Move the stitch marker to the ch-2 space.
- Sleeve Panel: Dc in each stitch up to the next stitch marker.
- Increase Corner: In the stitch with the marker, work (2 dc, ch 2, 2 dc). Move the stitch marker to the ch-2 space.
- Back Panel: Dc in each stitch up to the next stitch marker.
- Increase Corner: In the stitch with the marker, work (2 dc, ch 2, 2 dc). Move the stitch marker to the ch-2 space.
- Sleeve Panel: Dc in each stitch up to the next stitch marker.
- Increase Corner: In the stitch with the marker, work (2 dc, ch 2, 2 dc). Move the stitch marker to the ch-2 space.
- Front Panel: Dc in each stitch to the end of the row.
- Rows 3-10: Repeat Row 2, working a dc in each stitch and placing the increase corners (2 dc, ch 2, 2 dc) in each ch-2 space. The number of stitches between each increase will grow with each row.
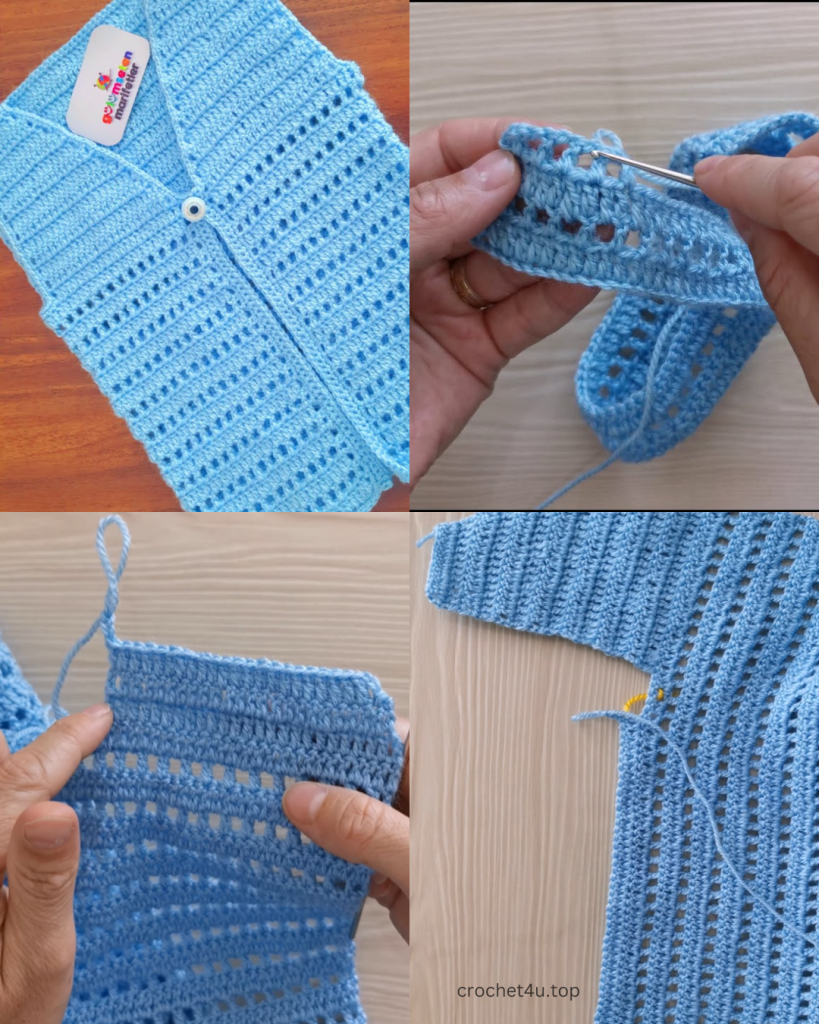
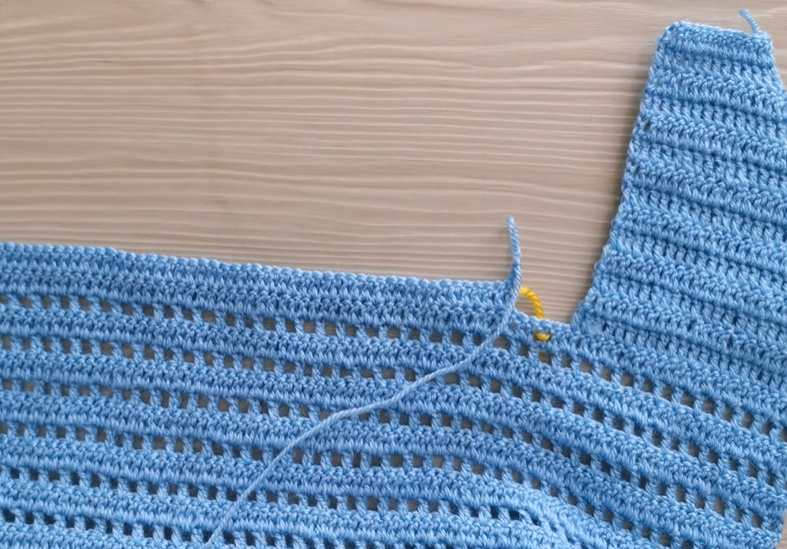
Part 2: Dividing for the Sleeves and Body
Now we’ll join the front and back panels to create the armholes.
- Row 11:
- Chain 2 (counts as first dc). Dc in each stitch across the first front panel.
- Skip the first sleeve panel. Join the front and back panels by working a dc in the first stitch of the back panel.
- Dc in each stitch across the back panel.
- Skip the second sleeve panel. Join the back and front panels by working a dc in the first stitch of the second front panel.
- Dc in each stitch across to the end of the row. You should now have a large opening for the sleeves and a solid body for the cardigan.
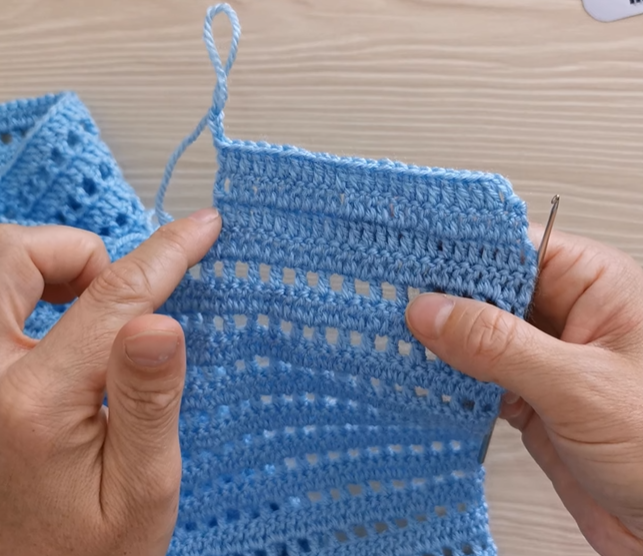
Part 3: The Body Stitch Pattern
This section will create the beautiful lace pattern for the body of the cardigan.
- Row 12: Chain 2 (counts as first dc). Work a dc in the first stitch. *Skip 1 stitch, (dc, ch 1, dc) in the next stitch*. Repeat from * to * across the row. The row should end with a dc in the last stitch.
- Row 13: Chain 2 (counts as first dc). Work a dc in the first stitch. *Dc in the ch-1 space from the previous row, ch 1, dc in the same ch-1 space*. Repeat from * to * across the row. The row should end with a dc in the last stitch.
- Rows 14-25: Repeat Row 13 to continue the lace pattern.
Part 4: Finishing Touches
- The Edging: To create a clean, finished look, work a row of single crochet (sc) around the entire perimeter of the cardigan (neckline, front panels, and bottom hem). When you reach the bottom, work 3 sc in each corner. For the buttonhole, work ch 1, skip 1 stitch, sc for a simple buttonhole on the right front panel.
- The Sleeves: Join yarn under the armpit. Work in the round with the same lace pattern as the body. Continue until the sleeve reaches the desired length. Finish with a row of sc around the wrist.
- Final Touches: Weave in all loose ends with your tapestry needle. Sew the button onto the opposite front panel.
Video Tutorial:
Adjusting the Size
- For a smaller size: Start with a smaller initial chain (e.g., 40 stitches) and work fewer rows in the yoke.
- For a larger size: Start with a longer initial chain (e.g., 52 or 56 stitches) and add more increase rows to the yoke section.
Happy crocheting! I hope you love this project as much as I do. What colors will you choose for your first baby cardigan?


