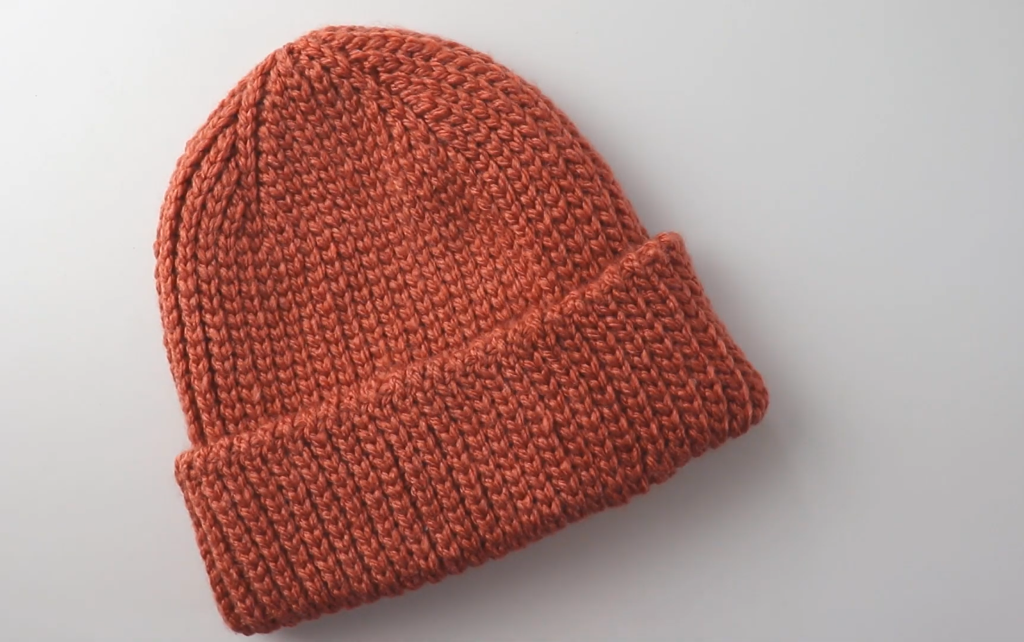
Move over, pom-poms—there’s a new trendy topper in town! The Sky Ribbon Ribbed Beanie takes the classic, supremely stretchy ribbed beanie design and finishes it with a chic crocheted tie-top closure that cinches the crown into a fun, floppy bow or knot. This hat is worked entirely flat using the Half Double Crochet in the Back Loop Only (HDC-BLO) stitch, making it a quick and satisfying project for its simple, repetitive nature.
This detailed pattern is written for the Adult Medium size (Head Circumference: 21–23 inches) and is suitable for the Easy-Intermediate crocheter.
Materials Needed 🧶
- Yarn: Approximately 220-270 yards of Worsted Weight (Aran / #4) or Light Bulky yarn. Choose a soft yarn with good body that will hold the ribbed texture well.
- Main Color (MC): Aqua Blue/Dusty Teal (Solid)
- Crochet Hook: 6.0 mm (US J-10), or the size needed to obtain gauge.
- Tapestry Needle: For seaming and weaving in ends.
- Scissors.
Skill Level & Notes 💡
- Skill Level: Easy/Intermediate. Relies heavily on the single HDC-BLO stitch. The construction is straightforward (a rectangle), but the final cinching and bow require careful assembly.
- Construction: The hat is worked flat in rows (rows run from brim to crown) to create the vertical ribbing. The rectangle is then seamed into a tube, and the top is gathered and closed with a long, integrated tie chain.
- Sizing: The initial chain determines the height (including the folded cuff). The number of rows determines the circumference.
Gauge 📏
In Half Double Crochet in the Back Loop Only (HDC-BLO) using a 6.0 mm hook: 10 HDC-BLO rows (measured horizontally) and 8 HDC sts (measured vertically) = 4 inches (10 cm) square.
- The finished rectangle should measure approximately 19–20 inches long by 11.5 inches high before seaming.
Abbreviations 📚
| Abbreviation | Description |
| ch | chain |
| sl st | slip stitch |
| sc | single crochet |
| hdc | half double crochet |
| st(s) | stitch(es) |
| rep | repeat |
| BLO | Back Loop Only |
| HDC-BLO | Half Double Crochet Back Loop Only |
Special Stitches ✨
HDC-BLO (Ribbing)
This creates the vertical ribbing and stretch:
- HDC-BLO: Half Double Crochet worked into the Back Loop Only of the stitch from the previous row.
Part 1: The Ribbed Rectangle (HDC-BLO) ◼️
The height of the chain below includes the length needed for a generous fold-up cuff.
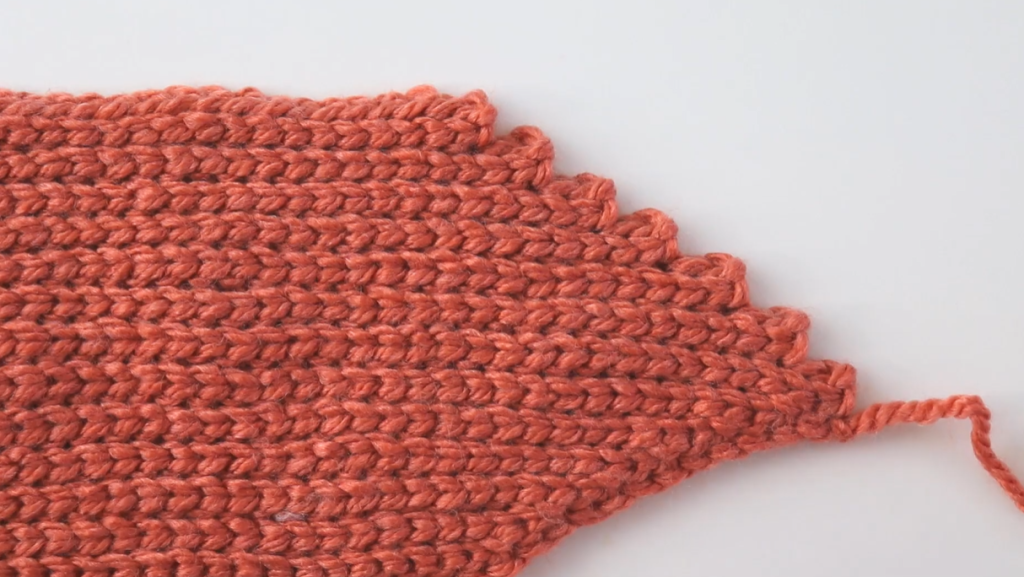
Row 1 (Foundation/Height): Ch 47. Hdc in the 2nd ch from hook and in each ch across. (46 hdc)
- Note: 46 hdc is approximately 11.5 inches high.
Row 2 (Ribbing): Ch 1, turn. Hdc in the BLO of each st across. (46 hdc)
Rows 3-50 (or until desired width): Repeat Row 2 until the piece measures approximately 19–20 inches long, when slightly stretched. This length should allow for a comfortable fit on an average adult head (it will stretch significantly).
- Adjust the number of rows as needed to fit your target head circumference.
Part 2: Assembly & Side Seam 🧵
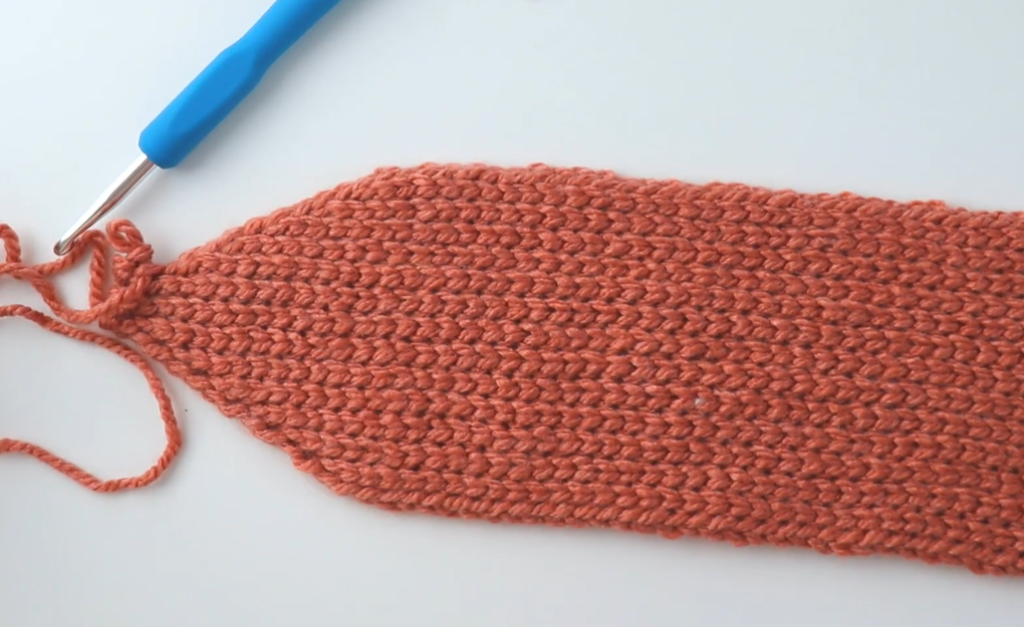
- Side Seam: Fold the rectangle in half lengthwise so Row 1 (Foundation) edge meets the final row (Row 50). Ch 1. Work a slip stitch seam by inserting the hook through the back loop of the working row and the starting chain loop of the foundation row. Sl st all the way up the side to the crown edge.
- Fasten off the seaming yarn, leaving a long tail (approx. 18 inches) for weaving in and securing the top if you are not using an integrated tie. (For this pattern, we will create an integrated tie in Part 3, so a short tail is okay for now).
Part 3: The Tie-Top Closure 🎀
This creates the functional cinching and the decorative bow/knot at the top of the hat.
- Prepare the Top Edge: With your tapestry needle and a length of MC yarn (about 36 inches long), weave the yarn in and out through the top row stitches of the hat, roughly every two stitches, all the way around the crown opening. Do not cinch yet.
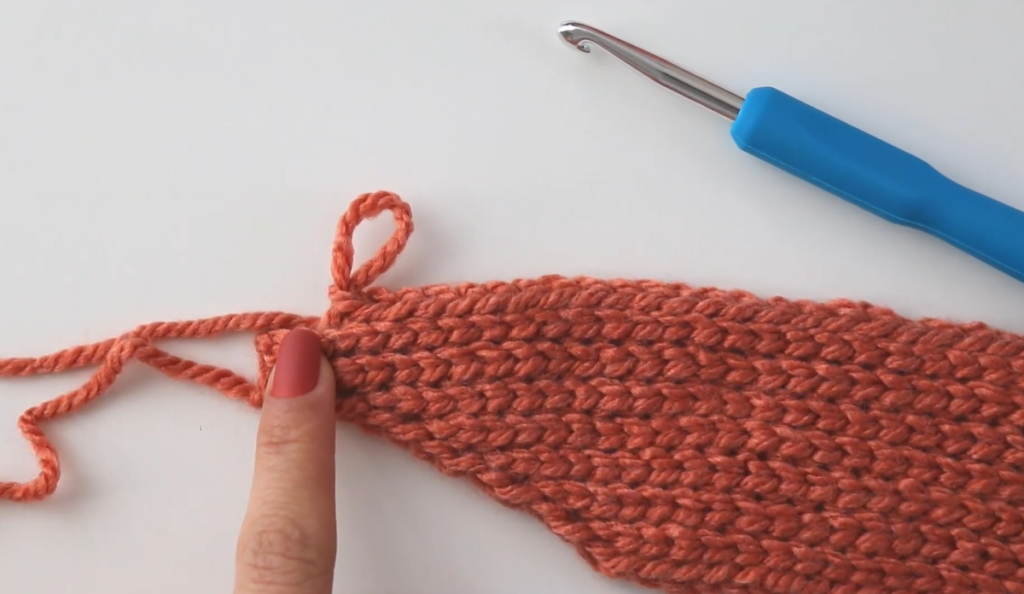
- Create the Tie Chain: Attach yarn to the middle back of the top opening (at the seam or near the seam). Ch 1. Sc in the same st. Ch 100 (This chain will form one half of the tie). Sl st back down the chain, working one sl st into the back bump of each chain stitch until you reach the crown edge. Sl st into the crown edge to secure. Do not fasten off.
- Second Tie Chain: Ch 100. Sl st back down the chain, working one sl st into the back bump of each chain stitch until you reach the crown edge. Sl st into the crown edge. Fasten off, leaving a tail to weave in.
- Cinch and Tie: Use the two crocheted ties you just created. Pull them gently to gather the yarn that was woven into the top edge (Step 1). Once the crown is tightly cinched, tie the two crocheted chains into a large, decorative bow or knot on top.
- Secure: Use the woven-in yarn (from Step 1) to stitch across the gathered opening from the inside, ensuring the cinching is permanent and secure beneath the bow.
Video Tutorial:
Finishing and Final Touches 🫧
- Weave in all remaining yarn tails securely on the inside of the hat.
- Cuff Formation: Fold the bottom ribbed edge of the hat up to form a wide cuff (approx. 3.5 inches).
- Blocking: Gently steam block the beanie to relax the ribbing and help the HDC-BLO fabric achieve maximum stretch and softness. Pay attention to keeping the tie knot/bow shape you created.
Your unique and cozy Sky Ribbon Ribbed Beanie is complete!