
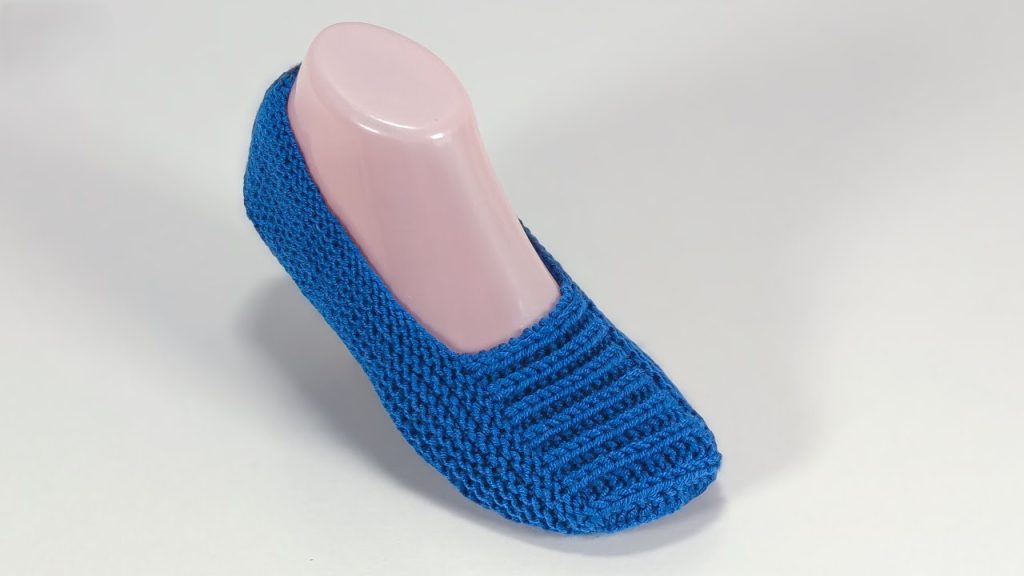
Hello, knitters and lovers of cozy toes! Are you looking for a wonderfully warm and surprisingly quick project to keep your feet snug? Today, we’re casting on for the Ocean Dream Knit Slipper Socks, a simple yet elegant slip-on designed for ultimate comfort.
These slippers feature a smooth, close-fitting toe and a beautifully ribbed upper that gently hugs your foot, all in a lovely, calming blue. This pattern is perfect for beginners looking to expand their skills beyond flat panels, introducing basic shaping and working in the round.
Grab your needles and your softest yarn, and let’s knit a little ocean dream for your feet!
🧶 Materials You’ll Need
Gather these essentials for a project that’s as comforting to make as it is to wear:
- Yarn:Worsted Weight (Aran / 10-ply). A soft, durable yarn like wool, acrylic, or a blend is ideal. The image shows a smooth, plump yarn.
- Color: Ocean Blue (as pictured, or your color of choice).
- Quantity: Approximately 150 – 200 yards per pair (75-100 yards per slipper).
- Knitting Needles:
- For the Toe/Main Body (Magic Loop or DPNs): 4.0 mm (US 6) circular needles (32″ or longer for Magic Loop) OR 4.0 mm (US 6) Double Pointed Needles (set of 5).
- For the Ribbed Cuff (if desired, optional): 3.75 mm (US 5) circular needles or DPNs (one size smaller than main body needles) for a tighter cuff.
- Stitch Markers: Essential for marking the start of rounds and shaping points.
- Tapestry Needle: For grafting the toe (if desired) and seaming the heel.
- Scissors.
- Measuring Tape: Crucial for confirming the length for a perfect fit.
📏 Sizing Guide and Gauge (Knitting)
This pattern is written for an average Women’s US Size 7/8 (EU 38/39). Resizing is crucial for slippers, as fit is paramount!
- Sizing Principle (Length): The length of your knitted sole section (before the heel shaping begins) should be approximately 2 inches (5 cm) shorter than your total foot length. The ribbing and elasticity will provide the remaining length and a snug fit.
- Gauge:22 stitches & 30 rows = 4 inches (10 cm) in Stockinette Stitch (knit all rounds).
- Achieving gauge is important for the right fit. If your gauge is tighter, go up a needle size; if looser, go down.
| Slipper Size | Foot Length (approx.) | Stitches Cast On (Adjust if needed) | Rounds for Toe/Foot |
| Small (US 5/6) | 9 inches (23 cm) | 36 sts | 45 rounds |
| Medium (US 7/8) | 9.5 inches (24 cm) | 40 sts (Pattern size) | 50 rounds |
| Large (US 9/10) | 10 inches (25.5 cm) | 44 sts | 55 rounds |
Export to Sheets
📝 Abbreviations (Knitting Terms)
Familiarize yourself with these common knitting abbreviations.
- k: knit
- p: purl
- sts: stitches
- pm: place marker
- sm: slip marker
- k2tog: knit 2 stitches together (right-leaning decrease)
- ssk: slip, slip, knit (left-leaning decrease)
- M1L: make one left (increase)
- M1R: make one right (increase)
- CO: cast on
- BO: bind off
- rs: right side
- ws: wrong side
- DPNs: Double Pointed Needles
💡 In-Depth Techniques for a Professional Finish
These techniques ensure a sleek, comfortable slipper.
- Working in the Round: The slipper starts at the toe and is worked in a continuous spiral without seams using either the Magic Loop method or Double Pointed Needles (DPNs).
- Stockinette Stitch (Toe): The smooth toe section is worked in Stockinette stitch, which means you knit every stitch when working in the round.
- Ribbing: The ribbed section on the top and sides is achieved with a simple K1, P1 pattern, providing excellent stretch and a snug fit.
- Invisible Seaming (Kitchener Stitch): While the pattern will provide a simpler seam, if you want a truly invisible toe closure, learning the Kitchener stitch is highly recommended for advanced knitters.
🌊 Part 1: The Toe and Foot (Starting with Magic Loop or DPNs)
We begin at the toe and knit up towards the ankle.
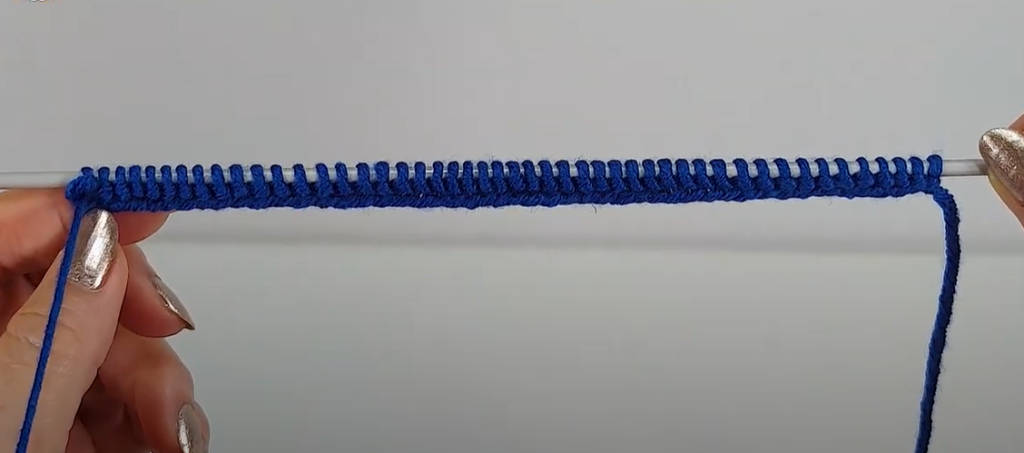
- Cast On: Using your 4.0 mm needles and the Long-Tail Cast On method, CO 40 sts. Distribute sts evenly onto DPNs (e.g., 10 sts per needle) or prepare for Magic Loop.
- Join in the Round: Place a stitch marker to indicate the beginning of the round. Be careful not to twist your stitches.
Toe Shaping (Simple Increases)
- Round 1: Knit all sts.
- Round 2:K1, M1R, knit to last st before marker, M1L, k1. Repeat for each “side” of the slipper. (Increases 4 sts per round).
- If using DPNs, you’ll place markers to divide your stitches into “top” and “bottom” halves. If using Magic Loop, just remember the center 2 sts of each side.
- Repeat Rounds 1 & 2 until you have 56 sts total on your needles.
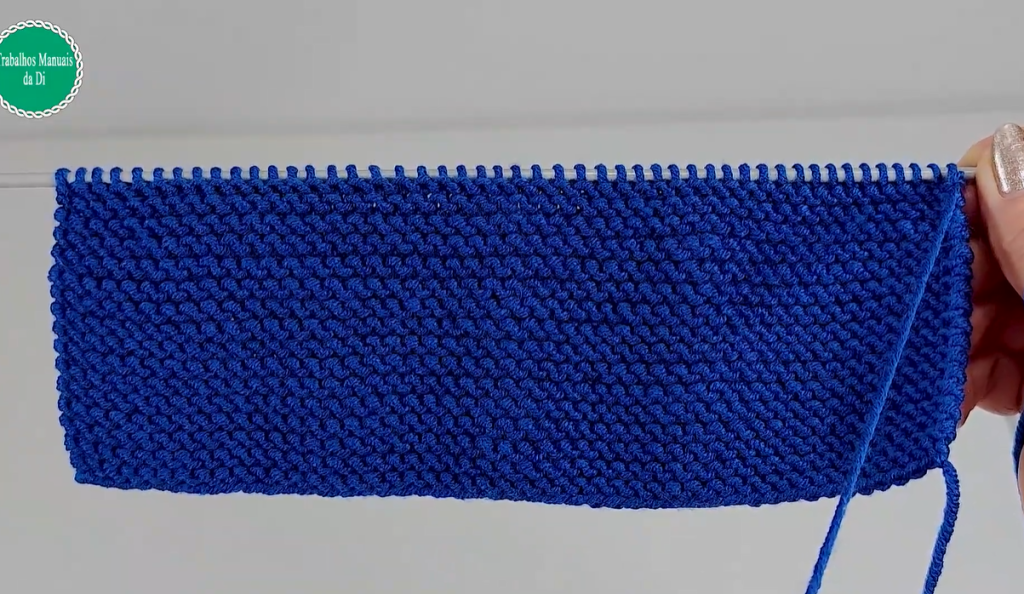
Foot Section (Main Body)
- Knit all stitches every round until the piece measures approximately 4 inches (10 cm) from the cast-on edge.
- This section covers the widest part of your foot and the arch.
💙 Part 2: The Instep and Heel Flap (Flat Knitting)
Now we divide the stitches to work the top instep and prepare for the heel.
- Divide for Instep:
- Round 1: Knit 28 sts (these are for the top of the foot/instep). Place these 28 sts on a stitch holder or spare piece of yarn. You will work these later.
- The remaining 28 sts will form the heel flap.
- Heel Flap (Worked Flat):
- Row 1 (WS): Purl 28 sts. (This forms the heel flap). Turn.
- Row 2 (RS): Knit 28 sts. Turn.
- Repeat Rows 1 & 2 for a total of 20 rows. (The flap should measure about 2.5-3 inches tall).

🦶 Part 3: Turning the Heel and Gusset
This technique creates the curved cup of the heel.
- Turn Heel Row 1 (WS): Purl 15 sts, p2tog, purl 1. Turn.
- Turn Heel Row 2 (RS): Slip 1 st (purl-wise), knit 5 sts, ssk, knit 1. Turn.
- Turn Heel Row 3 (WS): Slip 1 st (purl-wise), purl to 1 st before gap, p2tog (stitch before gap and stitch after gap). Turn.
- Turn Heel Row 4 (RS): Slip 1 st (purl-wise), knit to 1 st before gap, ssk (stitch before gap and stitch after gap). Turn.
- Repeat Rows 3 & 4 until all heel flap stitches have been worked, and only 16 sts remain on your needle. You will end on a RS row.
Pick Up Gusset Stitches
- Pick up & Knit: Using your working needle, pick up and knit 10 sts along the side edge of the heel flap.
- Knit Instep Stitches: Knit across the 28 sts on your stitch holder (the instep).
- Pick up & Knit: Pick up and knit 10 sts along the other side edge of the heel flap.
- Join (Again): Knit across the 16 sts of the heel (this brings you back to the center of the heel and the beginning of the round).
- Total sts: 16 (heel) + 10 (gusset) + 28 (instep) + 10 (gusset) = 64 sts. Place marker for beginning of round.
👟 Part 4: Foot Shaping and Ankle Cuff
We decrease for the ankle shaping and add the final ribbed cuff.

Gusset Decreases
- Round 1: Knit all sts.
- Round 2: Knit to 3 sts before the instep sts, k2tog, k1 (first gusset decrease). Knit across the 28 instep sts. K1, ssk (second gusset decrease). Knit to end of round. (Decreases 2 sts).
- Repeat Rounds 1 & 2 until you have 56 sts remaining.
Ankle Ribbing
- Switch to smaller needles (3.75 mm) if desired for a tighter cuff, or continue with 4.0 mm for a looser fit.
- Rib Round: K1, P1 repeat around.
- Repeat Rib Round for 8-10 rounds (or desired cuff height).
- Bind Off: Using a stretchy bind-off method (like Jenny’s Surprisingly Stretchy Bind Off or a standard BO in pattern), BO all sts.
Video Tutorial:
✨ Finishing Touches
- Weave in Ends: Use your tapestry needle to carefully weave in all yarn tails.
- Block (Optional): Gently wet block your slippers. This helps to even out stitches and gives the slippers a more polished, professional look. Shape them on your foot or a slipper blocker and let them air dry.
🎉 Congratulations!
You’ve successfully KNITTED your beautiful Ocean Dream Knit Slipper Sock! The custom fit, soft yarn, and neat ribbing make these a dream to wear around the house. Now, cast on for the second one and enjoy the cozy comfort!


