
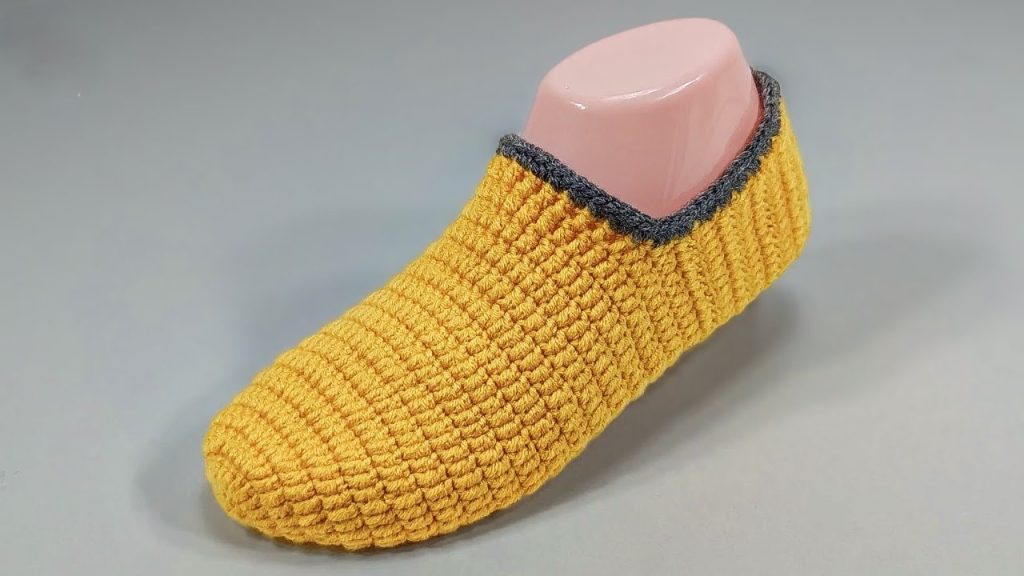
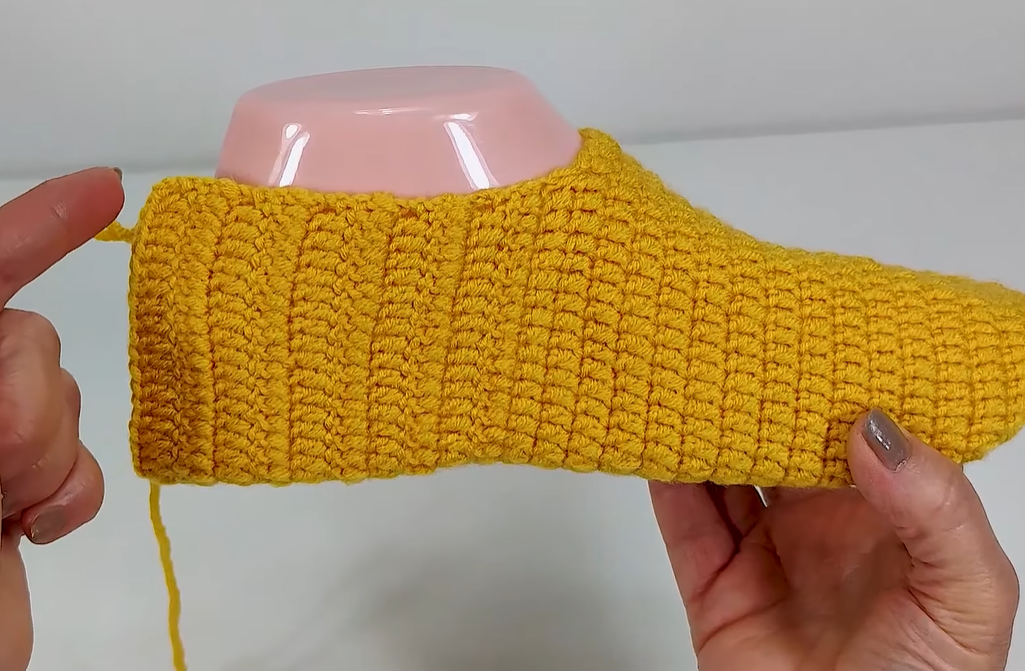
Hello, comfort crafters! Are you ready for the ultimate cozy project to keep your feet toasty on chilly mornings? Today, we’re crocheting the Sunshine Ribbed Slipper Socks, a simple yet wonderfully warm slip-on featuring a tight, textured ribbing and a clean, contrasting cuff.
This pattern is a fantastic introduction to working in rows and rounds to create three-dimensional footwear. The key to its dense, comfortable feel is the Single Crochet in the Back Loop Only (SC BLO) stitch, which creates a durable, flexible, and perfectly ribbed fabric that conforms beautifully to your foot.
Grab your softest yarn and let’s crochet a little sunshine for your feet!
🧶 Materials You’ll Need
Gather these items for a snug and durable slipper sock:
- Yarn:Worsted Weight (Aran / 10-ply) or Light Bulky (Weight 5). Choose a very soft yarn like wool, acrylic, or a blend for maximum comfort.
- Color A (Main/Body): Bright Yellow/Mustard (Approx. 150 – 200 yards)
- Color B (Trim/Cuff): Dark Grey/Contrast Color (Approx. 10 – 20 yards)
- Crochet Hook: 4.5 mm (G/7) or 5.0 mm (H/8). Use a slightly smaller hook than recommended for your yarn to ensure the fabric is dense and sturdy for a sole.
- Stitch Marker: Essential for working the toe and heel in continuous spirals.
- Yarn Needle (Tapestry Needle): For seaming and weaving in ends.
- Scissors.
📏 Sizing Guide and Gauge
This pattern is written for an average Women’s US Size 7/8 (EU 38/39). Resizing is simple and crucial for a good fit!
- Sizing Principle (Length): The length of the starting chain (Part 1, Row 1) determines the size of the slipper toe-to-heel. To adjust, simply measure the length of your foot (from tip of big toe to back of heel).
- Target Length (Heel-to-Toe): Chain length should be approximately 1/2 inch shorter than your foot length, as the ribbing will stretch.
- Gauge: Due to the SC BLO stitch, measuring width is easier: 5 rows of SC BLO = 1 inch.
| Slipper Size | Foot Length (approx.) | Starting Chain (Chain count) |
| Small (US 5/6) | 9 inches (23 cm) | Ch 18 |
| Medium (US 7/8) | 9.5 inches (24 cm) | Ch 20 (Pattern size) |
| Large (US 9/10) | 10 inches (25.5 cm) | Ch 22 |
📝 Abbreviations & Special Stitch Mastery (US Terms)
The SC BLO stitch gives this sock its signature texture.
- ch: chain
- sl st: slip stitch
- sc: single crochet
- st(s): stitch(es)
- BLO: back loop only
- sc inc: single crochet increase (2 sc in one st)
- sc2tog: single crochet 2 together (decrease)
💡 In-Depth Techniques for a Perfect Fit
Focus on these steps to ensure a professional, foot-hugging result:
- Ribbing Technique: All of the body ribbing is created by working Single Crochet (SC) only into the Back Loop Only (BLO). This pushes the front loop forward, creating the flexible vertical ridges.
- Constructing the Slipper: The slipper is crocheted in three main sections:
- Section 1 (Toe): A flat circle/oval worked in continuous rounds.
- Section 2 (Foot Body): Rows worked back and forth for the main ribbed top.
- Section 3 (Heel): Seamed closure after the last rows.
- Turning Chain: We use a Chain 1 at the start of every row. This chain DOES NOT count as a stitch.
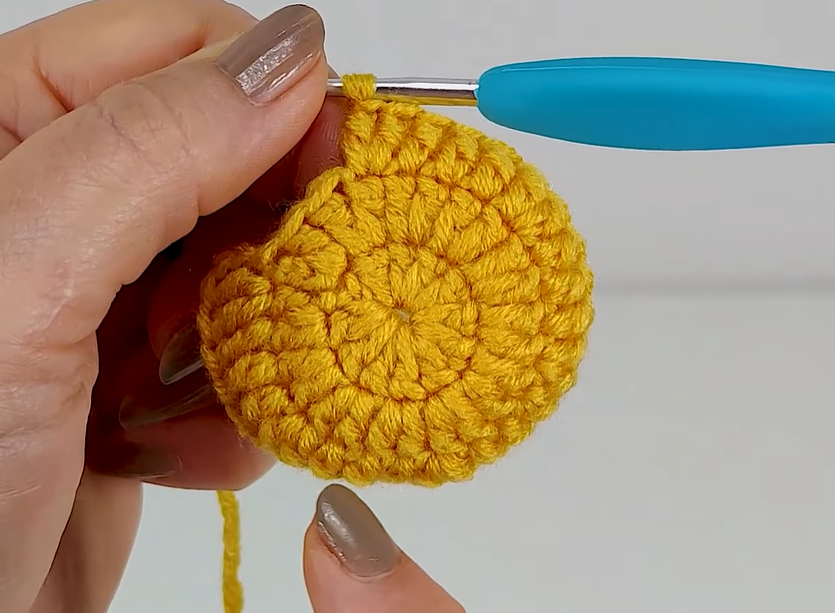
☀️ Part 1: The Toe (Working in the Round)
We start with the toe using Color A (Yellow), working in a continuous spiral.
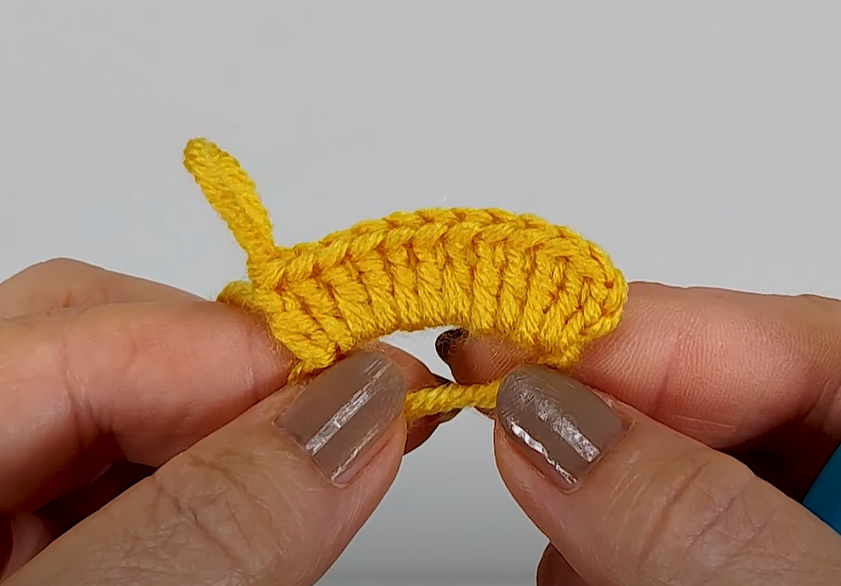
- Round 1: Ch 20 (Pattern size, or chain based on sizing guide). Sc in the 2nd ch from hook, sc in next 17 chs. 3 sc in the last ch (working around the end). Rotate to work down the other side of the starting chain. Sc in the next 18 chs. Sc inc in the last st. Do not join. Place stitch marker. (40 sts)
- Round 2: Sc inc in the first st. Sc in the next 18 sts. Sc inc in the next 3 sts. Sc in the next 18 sts. Sc inc in the last 2 sts. (46 sts)
- Round 3:[1 sc, sc inc] repeat 2 times. Sc in the next 18 sts. [1 sc, sc inc] repeat 3 times. Sc in the next 18 sts. [1 sc, sc inc] repeat 2 times. (53 sts)
- The toe should cover your toes and the widest part of your foot. If needed, work one more round of SC around without increases.
- Transition Round (Set up for Ribbing): Work 1 sc in the BLO of each st around. This round is crucial for the transition to the vertical ribbing. Do NOT join.
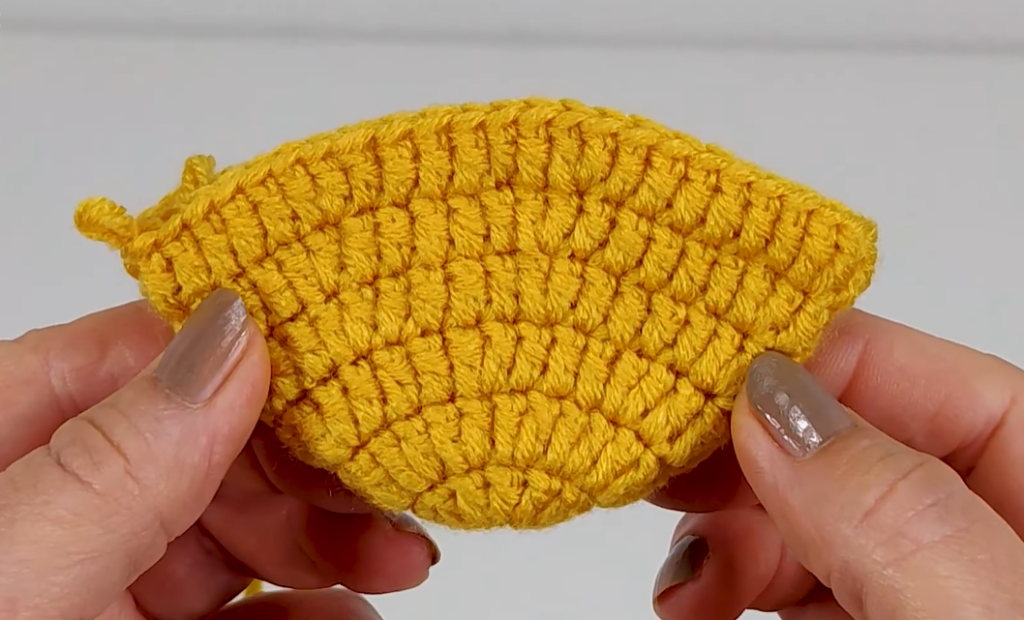
💛 Part 2: The Foot Body (Working in Rows)
The main foot body is worked flat in rows, which will be seamed later.
- Start Row: Ch 1, turn. Work 1 sc in the BLO of the first st, and 1 sc in the BLO of each of the next 40 sts. (Leave the remaining 12 stitches unworked—this creates the ankle opening). Ch 1, turn. (41 sc)
- Row 2 (Ribbing Established): Work 1 sc in the BLO of each st across. Ch 1, turn. (41 sc)
- Repeat Row 2 until the piece reaches the back of your heel (about 22 rows total, or approximately 4-5 inches from the transition round). The ribbed body should wrap tightly around your foot’s top and sides.
- Last Row: On the last row, do not chain 1. FO, leaving a very long tail (20 inches) for seaming the heel.
👟 Part 3: Heel Seaming and Ankle Cuff
We assemble the slipper and finish the opening with a contrast cuff.
- Heel Seam: Fold the body panel in half, lining up the last row with the transition row stitches.
- Thread the long tail onto your yarn needle.
- Use a whip stitch or backstitch to sew the heel seam closed, running from the base of the last row down to the center point of the toe base. Knot and weave in the end securely inside the heel.
- Attach Color B: Join Color B (Grey/Contrast) with a sl st to the back center of the ankle opening (where the heel seam meets the opening).
- Cuff Round 1 (SC): Ch 1. Work 1 sc evenly around the entire ankle opening. Work into the ends of the rows for the body section, and into the remaining live stitches from the toe base. Sl st to the first sc to join.
- Cuff Round 2 (Sl st): Ch 1. Work 1 sl st in each st around to create a tight, rolled edge. Sl st to the first sl st to join.
- FO and weave in all remaining ends securely.
Video Tutorial:
🎉 Congratulations!
You’ve completed your cozy Sunshine Ribbed Slipper Sock! The dense ribbing and custom fit make this a project you’ll be wearing all season. Now, make the second one so you have a pair!


