
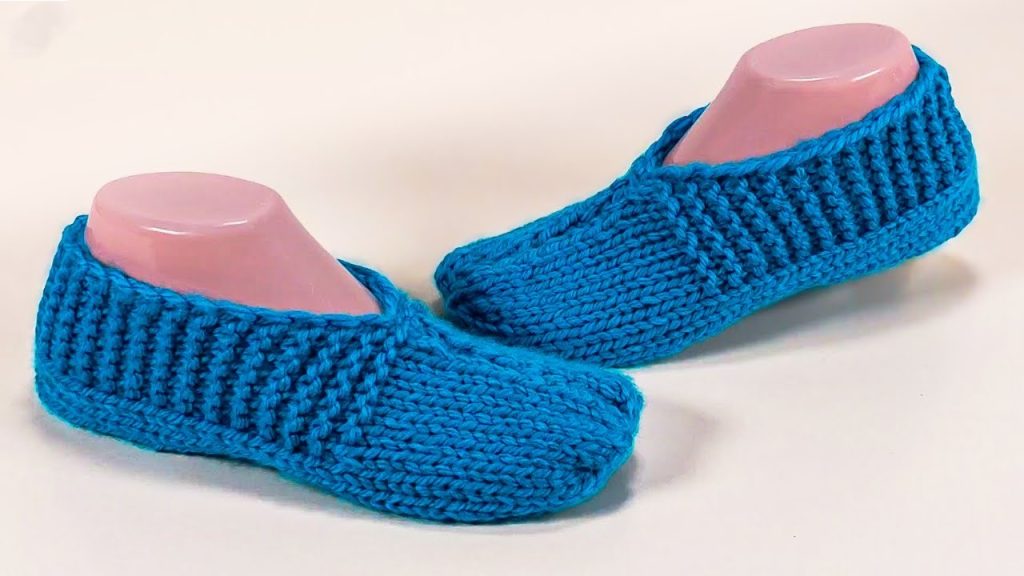
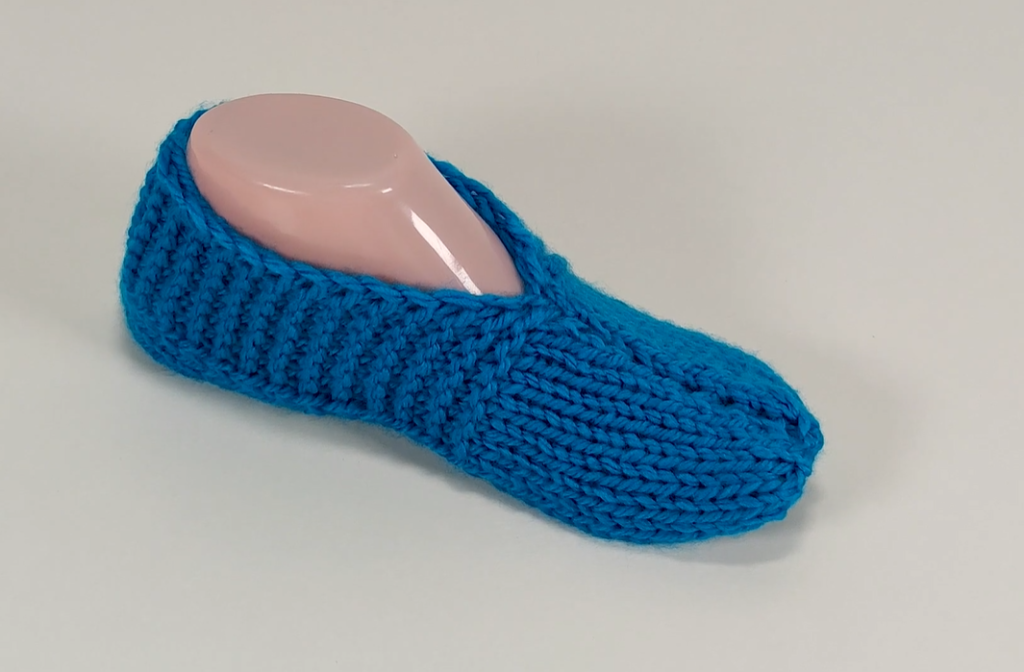
Welcome, cozy crafters! Nothing beats slipping your feet into a pair of warm, handmade slippers after a long day. The vibrant blue slippers you see above are an elegant, ankle-high style that provides warmth and a snug fit. They feature a beautiful combination of Garter Stitch and 1×1 Ribbing, which creates texture and flexibility right where you need it.
This pattern is written for an Adult Medium (Women’s US size 7-9 / EU 38-40), worked flat, and then seamed up the back and along the sole. This makes it a great project for knitters comfortable with basic increases and decreases.
🛠️ Materials Needed
- Yarn: Approximately 100–120 yards (90–110 meters) of a Worsted weight (Aran/10-ply) yarn.
- The yarn in the photo appears to be a robust acrylic or wool blend, which holds up well to wear.
- Needles: A pair of US size 8 (5.0 mm) straight knitting needles.
- Adjust needle size if necessary to meet the gauge.
- Notions:
- Tapestry needle for weaving in ends and seaming.
- Scissors.
- Optional: Stitch marker to designate the center stitch.
📏 Gauge (Crucial for Sizing!)
- Gauge: 17 stitches and 34 rows (17 garter ridges) equals 4 inches (10 cm) in Garter Stitch.
- Tip: Getting the correct gauge is essential since slippers need to fit snugly. Knit a swatch to confirm you are meeting the gauge before starting.
ℹ️ Key Techniques & Abbreviations
This slipper is worked as a flat rectangle with integrated shaping, similar to the construction of a traditional baby bootie, but on a larger scale.
- K = Knit
- P = Purl
- st(s) = Stitch(es)
- RS = Right Side
- WS = Wrong Side
- K2tog = Knit two stitches together (a decrease).
- ssk = Slip, Slip, Knit (a left-leaning decrease: slip two stitches knitwise, insert the left needle into the front of both slipped stitches, and knit them together).
- Garter Stitch: Knit every row.
- 1×1 Rib: Alternating K1, P1.
🧦 The Pattern: The Riviera Slipper (Adult Medium)
1️⃣ Cuff and Heel Flap (The Ribbed Section)
This section creates the ankle and heel area, which features 1×1 ribbing to ensure elasticity and a good fit around the foot.
| Step | Instructions | Stitch Count |
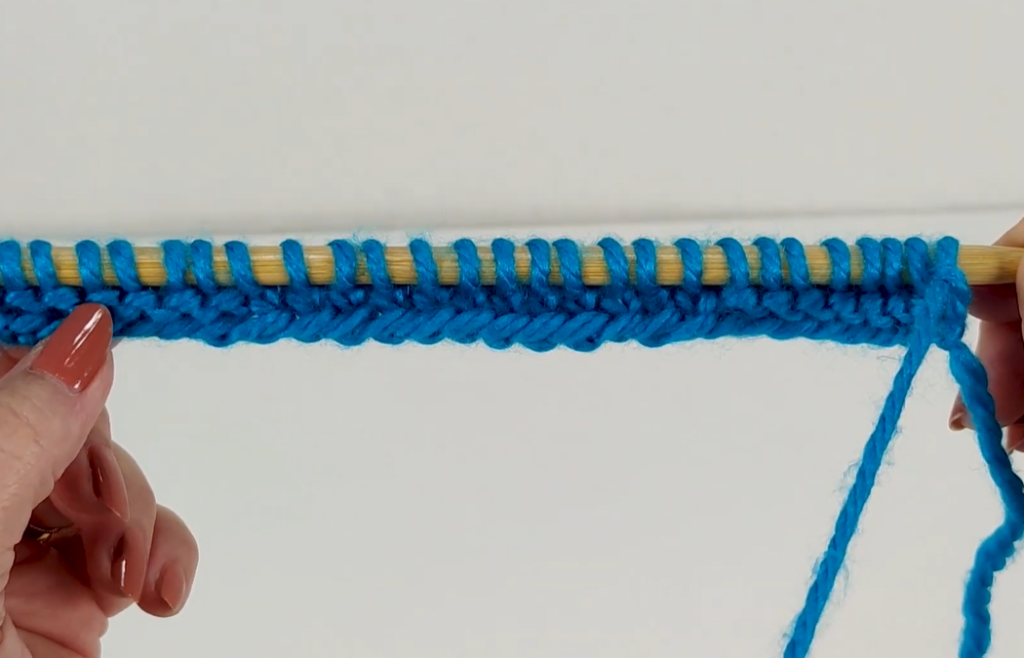
| Cast On | Cast on 46 stitches. | 46 sts |
| Rows 1–20 | 1×1 Rib: K1, P1 across the row. (Work 20 rows total, or until piece measures approximately 4.5 inches/11 cm). This will be the height of the ankle/heel. | 46 sts |
| Row 21 (RS) | K 16 sts, bind off the center 14 sts loosely, K 16 sts. The bound-off stitches create the opening for the ankle/top of the foot. | 32 sts (16 on each needle) |
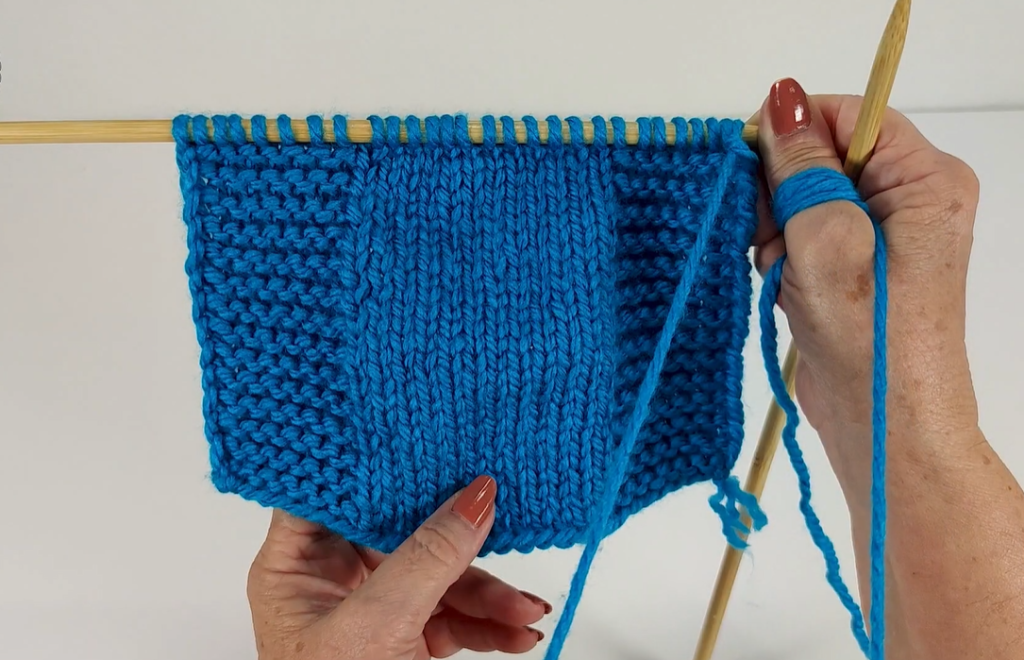
2️⃣ Instep Shaping (The V-Shape Opening)
You will now work back and forth only on the 16 stitches on one side, shaping the V-neck opening and creating the first half of the foot.
| Row | Instructions | Stitch Count |
| Row 22 (WS) | Purl across the 16 sts. | 16 sts |
| Row 23 (RS) | K to the last 2 sts, K2tog. | 15 sts |
| Row 24 (WS) | Purl across. | 15 sts |
| Row 25 (RS) | K to the last 2 sts, K2tog. | 14 sts |
| Row 26 (WS) | Purl across. | 14 sts |
- Cut yarn and place these 14 stitches on a holder or spare needle.
3️⃣ Second Instep Shaping (Completing the V)
Now, pick up your working yarn and work on the other 16 stitches on the main needle.
| Row | Instructions | Stitch Count |
| Row 27 (WS) | Purl across the 16 sts. | 16 sts |
| Row 28 (RS) | ssk, K to end. | 15 sts |
| Row 29 (WS) | Purl across. | 15 sts |
| Row 30 (RS) | ssk, K to end. | 14 sts |
| Row 31 (WS) | Purl across. | 14 sts |
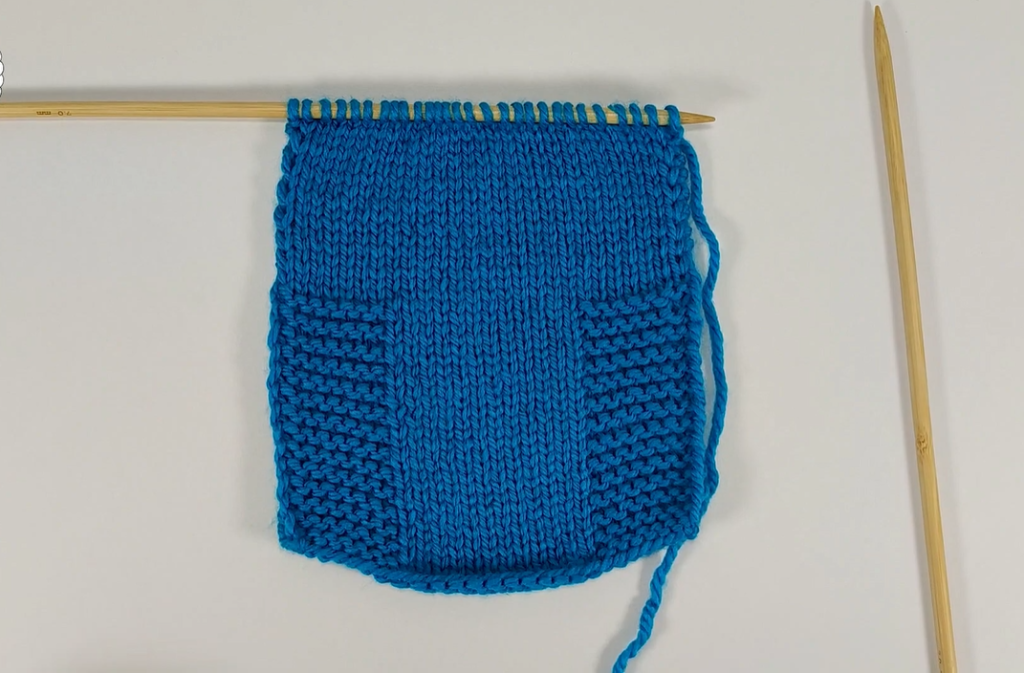
4️⃣ Toe and Sole (The Garter Section)
You will now join the two sides and knit the remaining part of the slipper (the toe and sole) in Garter Stitch for stretch and durability.
| Row | Instructions | Stitch Count |
| Row 32 (RS) | K 14 sts (from the side you just worked). Then, cast on 14 stitches to bridge the gap. Then, K 14 sts (from the holder). | 42 sts |
| Rows 33–50 | Garter Stitch: Knit every row for 18 rows. This creates the length of the toe and front sole area. | 42 sts |
5️⃣ Toe Decreases
We will now shape the toe by decreasing stitches evenly across several rows.
| Row | Instructions | Stitch Count |
| Row 51 (RS) | K1, ssk, K16, K2tog, K2, ssk, K16, K2tog, K1. | 38 sts |
| Row 52 (WS) | Knit all stitches. | 38 sts |
| Row 53 (RS) | K1, ssk, K14, K2tog, K2, ssk, K14, K2tog, K1. | 34 sts |
| Row 54 (WS) | Knit all stitches. | 34 sts |
| Row 55 (RS) | K1, ssk, K12, K2tog, K2, ssk, K12, K2tog, K1. | 30 sts |
| Row 56 (WS) | Knit all stitches. | 30 sts |
Export to Sheets
- Final Bind Off: Cut your yarn, leaving a very long tail (at least 30 inches/75 cm) for seaming. Bind off all 30 stitches loosely.
Video Tutorial:
🧵 Finishing and Seaming (The Assembly)
The final shape of this slipper comes entirely from how you seam the flat knitted piece.
- Seaming the Back: Thread the long tail onto your tapestry needle. Fold the slipper piece in half lengthwise. Starting from the top of the ribbed cuff, seam the back edge (the short side) of the ribbing and the garter section above it using the mattress stitch for an invisible seam.
- Seaming the Sole: Continue the seam along the bottom edge (the sole), running from the heel all the way to the toe bind-off edge.
- Closing the Toe: Once you reach the toe, run the yarn tail through the loops of the final bound-off stitches, pull tight to cinch the toe closed, and secure the end firmly on the inside.
- Weaving: Weave in all remaining yarn tails securely.
- The Second Slipper: Repeat all steps for the second slipper!
✨ Pro-Tips & Customization
- Sizing Up/Down: To adjust the size, start with 4-6 more or fewer stitches in the Cast On. Also, adjust the number of stitches bound off for the ankle opening (Step 2) to maintain a good fit. Use an extra 2–4 rows in Section 4 (Toe and Sole) for increased length.
- Non-Slip Soles: For safety on smooth floors, consider adding non-slip grips to the bottom. You can use puff paint/liquid latex to draw dots or lines on the sole or sew on a leather/suede patch.
- Alternative Edging: If you prefer a tighter top edge, before starting the ribbing, work two rows in Seed Stitch (K1, P1 alternating, shifting the pattern every row) for a non-curling edge.


