
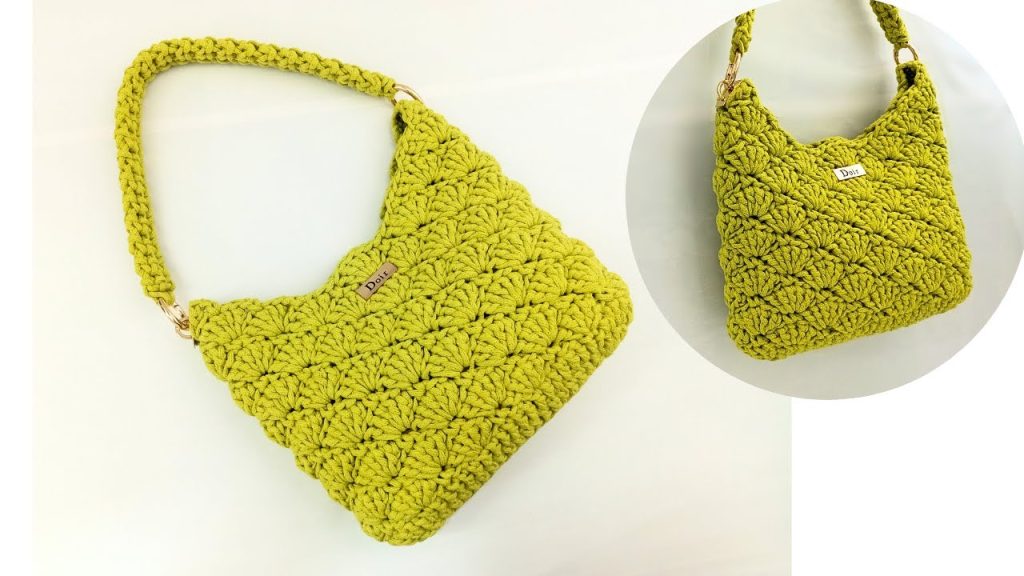
Welcome, fellow fiber artists! If you’ve been looking for a project that perfectly balances modern aesthetics with robust practicality, you have arrived. Today, we are diving deep into creating a stunning handbag using polyester macramé cord.
This isn’t just any tote. This design features a robust oval base that transitions into a gorgeous, highly textured body using a clever combination of stitches. The result is a structured bag that stands up on its own, holds its shape perfectly, and looks like it came straight from a high-end boutique window. The cherry on top? A sleek metal chain woven through the rim for handles, giving it an edgy, contemporary finish.
This is a long, detailed guide designed to walk you through every step. Grab your heavy-duty hook and let’s get to work!
🧶 Materials & Tools Needed
To achieve the structured, durable finish seen in the design, the choice of yarn is paramount.
- Yarn: approximately 300g of 3mm Polyester Macramé Cord. This type of cord has very little stretch, sits stiffly, and has a beautiful, subtle sheen.
- Hook: 5.0 mm (H-8) crochet hook. You need a sturdy hook to handle the dense macramé cord.
- Hardware: A length of metal chain for the handles (approx. 1 meter, depending on preference).
- Notions: Stitch markers (essential for working in the round), a tapestry needle with a large eye, a measuring tape, and a lighter (to carefully singe the ends of the polyester cord so they don’t fray).
📏 Finished Measurements & Gauge
- Base Dimensions: Approximately 19 cm long x 7 cm wide.
- Total Bag Height: Approximately 20 cm.
- Gauge: Gauge is not critical for this project, but your stitches should be tight and dense to create a firm fabric.
📝 Abbreviations & Special Stitches (US Terms)
- Ch: Chain
- St(s): Stitch(es)
- Sl St: Slip Stitch
- SC: Single Crochet
- DC: Double Crochet
- Inc: Increase (work 2 SC into the same stitch)
- BLO: Back Loop Only
- FPSC (Front Post Single Crochet): Insert hook from front to back to front around the post of the indicated stitch, yarn over, pull up a loop, yarn over, pull through both loops on hook. This stitch sits “in front” of the fabric, creating the vertical texture.
👜 The Pattern: Step-by-Step
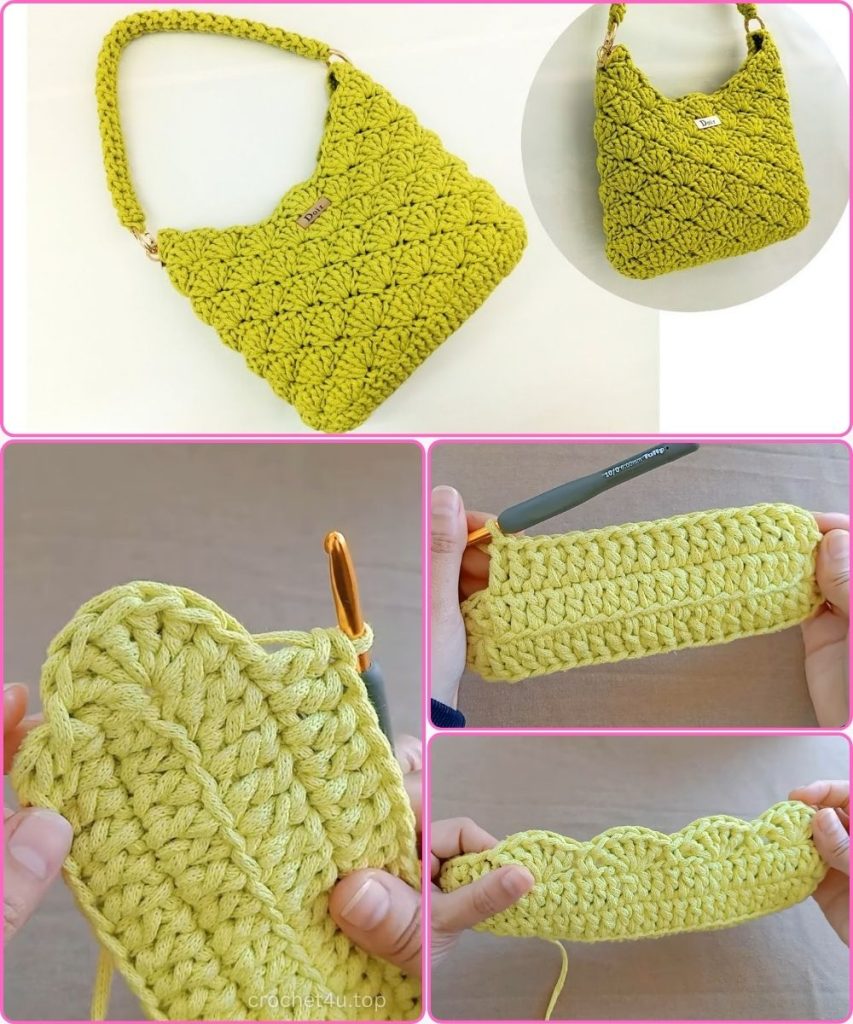
We will build this bag from the bottom up, starting with a flat oval base and then working in continuous rounds for the body.
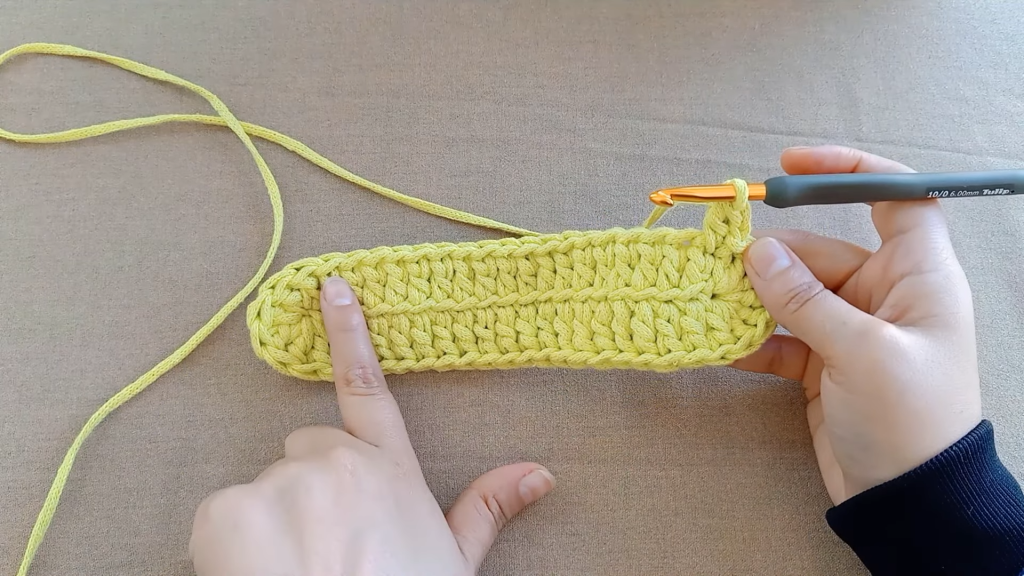
▶️ Part 1: The Sturdy Oval Base
We begin by creating a flat oval. This is done by working down one side of a foundation chain and then up the other, increasing at the ends to turn the corners flat.
Foundation: Ch 18.
Round 1: Starting in the 2nd chain from the hook, work 1 SC in each of the next 16 chains. In the very last chain, work 3 SC (this turns the corner). Now, working down the opposite side of the foundation chain, work 1 SC in each of the next 15 chains. Work 2 SC in the last chain space (where you started the round). Do not join; we will work in a spiral. Place a stitch marker in the first stitch of the next round. (Total Stitch Count: 36 SC)
Round 2: Work an Inc in the first stitch. SC in the next 15 sts. Work an Inc in each of the next 3 stitches (rounding the first curve). SC in the next 15 sts. Work an Inc in each of the last 2 stitches. (Total Stitch Count: 42 SC)
Round 3: Inc in next st, SC in next st (repeat 1 time). SC in the next 15 sts. Inc in next st, SC in next st (repeat 3 times over the curve). SC in the next 15 sts. Inc in next st, SC in next st (repeat 2 times). (Total Stitch Count: 48 SC)
Round 4: Inc in next st, SC in next 2 sts (repeat 1 time). SC in the next 15 sts. Inc in next st, SC in next 2 sts (repeat 3 times over the curve). SC in the next 15 sts. Inc in next st, SC in next 2 sts (repeat 2 times). (Total Stitch Count: 54 SC)
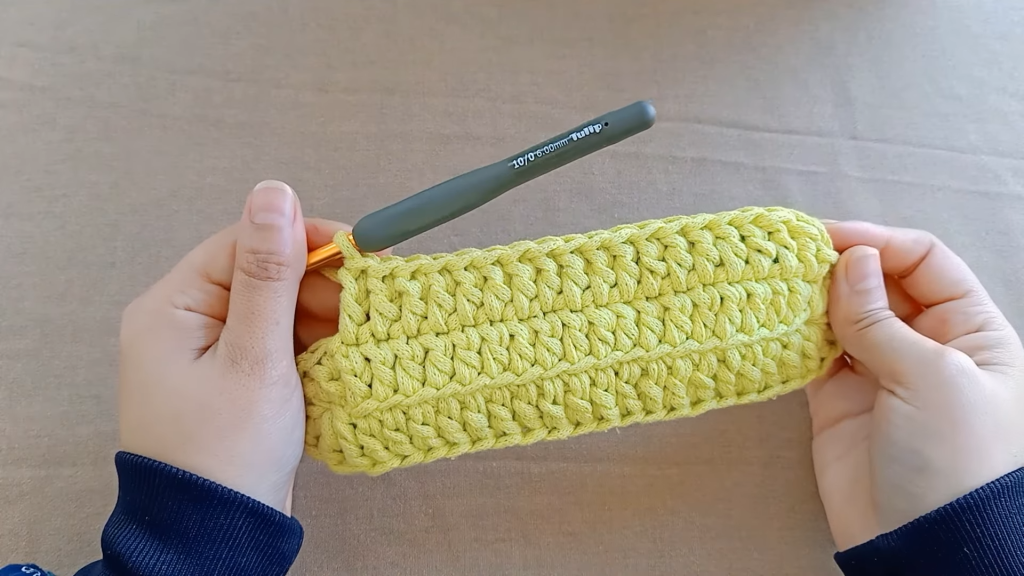
Your base is complete! It should lie perfectly flat.
▶️ Part 2: Setting up the Body Walls
To make the bag walls stand up straight from the base, we will work a transition round.
Round 5 (Transition Round): Work 1 SC into the Back Loop Only (BLO) of every stitch around. This creates a distinct ridge that separates the base from the sides. (Total Stitch Count: 54 SC)
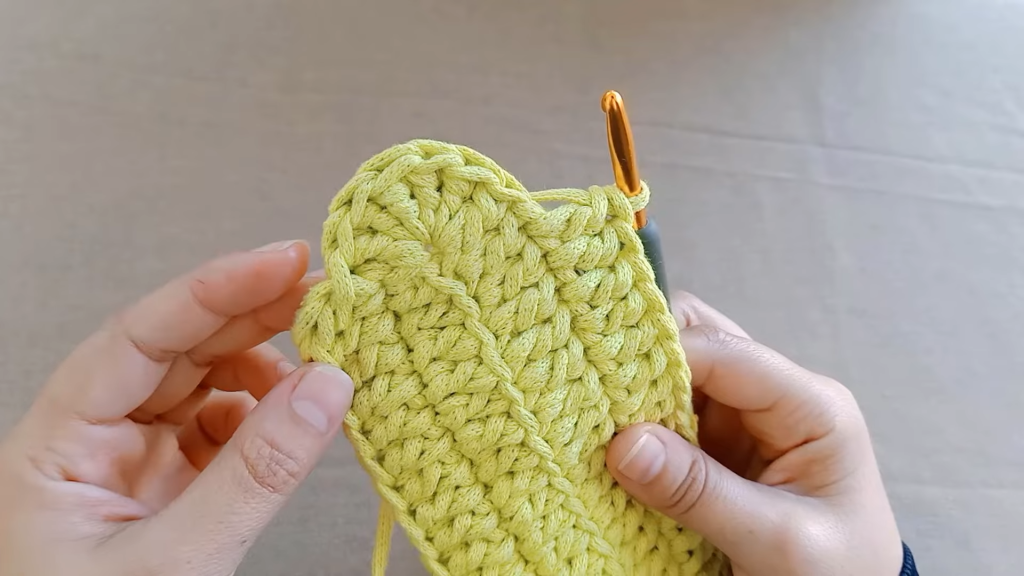
▶️ Part 3: The Textured Main Body Pattern
Now we begin the beautiful two-round repeat that gives the bag its unique look. This pattern alternates an open “mesh” round with a textured “post stitch” round.
Round 6 (Mesh Setup): Ch 4 (counts as your first DC + Ch 1 space). Skip the stitch right at the base of the chain and the next stitch. DC in the next stitch, Ch 1, skip the next stitch. Repeat from * to * all the way around. Join with a Sl St to the 3rd chain of your starting Ch 4. (You should have 27 DC posts separated by 27 Ch-1 spaces).
Round 7 (Texture Round): Sl St into the first Ch-1 space. Ch 1 (does not count as a stitch), work a SC into that same Ch-1 space. Now, locate the DC post from the row below directly to the left. Work a FPSC around that DC post. Work a SC into the next Ch-1 space. Work a FPSC around the next DC post. Repeat from * to * around. Join with a Sl St to the first SC of the round. (Total Stitch Count: 54 sts – 27 SC and 27 FPSC).
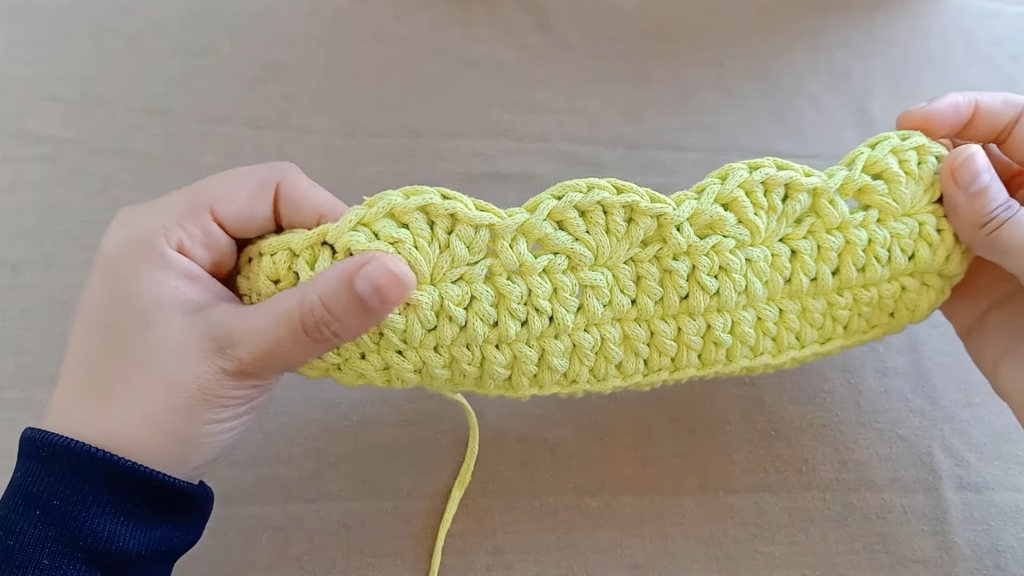
Rounds 8 – 23 (Building Height): Repeat Round 6 and Round 7 consecutively. You will repeat this sequence a total of 8 more times (for 9 total repeats of the pattern). The textured FPSC stitches should stack on top of each other, creating strong vertical lines. Note: As you work Round 6 repeats, ensure your DC stitches are placed directly into the FPSC stitches of the previous round.
▶️ Part 4: The Finishing Rim
To give the top edge of the bag stability and a professional, thick finish, we will work rounds of slip stitches.
Rounds 24 – 26: Ch 1, DO NOT turn. Loosely work a Sl St into every stitch around. Join to the first Sl St of the round. Repeat this for a total of 3 rounds.
Keep your tension loose so the opening of the bag doesn’t cinch in too much. Fasten off the cord. Use your lighter to carefully melt the end of the cord, then use the tapestry needle to weave the end invisibly into the inside of the rim.
⛓️ Adding the Chain Hardware
The final step is to add the sophisticated metal chain handles.
- Take your length of metal chain.
- Identify the second-to-last row of Double Crochets (the mesh row) near the top rim of the bag.
- Begin weaving the chain in and out of the Ch-1 spaces of that DC row. You can decide the spacing based on your preference—for example, weave out for 5 spaces, then in for 5 spaces to create the handle loops.
- Adjust the chain so you have two equal loops on either side of the bag for handles.
- Connect the two ends of the chain together securely using pliers to open and close a link, hiding the join inside the bag if possible.
Video Tutorial:
✨ Final Thoughts
Congratulations! You have just completed a gorgeous, structured tote bag. The combination of the sturdy base, the ribbed texture from the post stitches, and the slick metal hardware makes this a true statement piece.
Because of the durable materials, this bag is built to last and can carry a surprising amount of weight without losing its beautiful shape. Enjoy showing off your new handmade masterpiece!


