
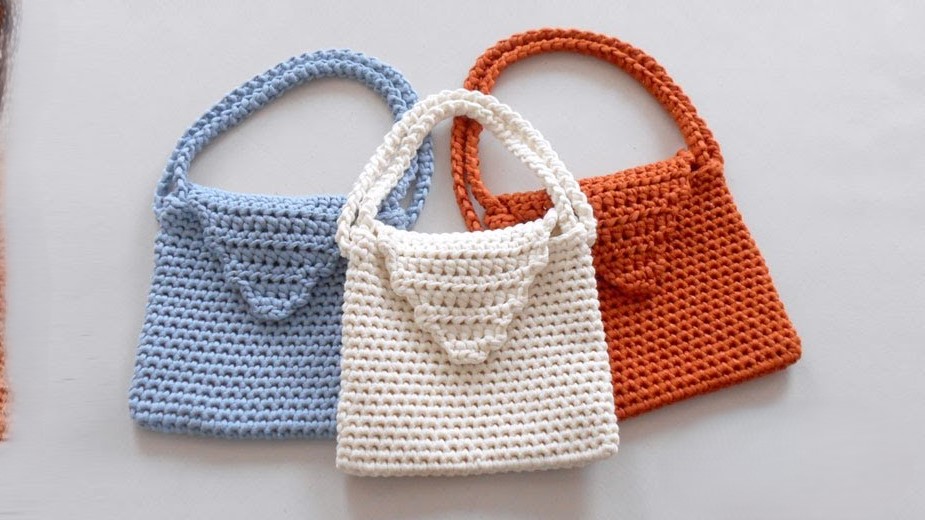
Welcome to the blog! Are you looking for a stylish, practical, and quick crochet project? You’ve found it! This Easy Envelope Bag pattern uses basic stitches and thick yarn to create a textured, lightweight pouch that’s perfect for a night out or a casual day trip. Best of all, it only requires about one standard skein of bulky yarn.
This pattern is worked in two main stages: first, the main body is worked in the round to create the base, and then the flap is worked in decreasing rows to form that perfect triangular closure. Grab your hook, and let’s get started!
🧶 Materials & Tools
To create your chic envelope bag, you will need the following supplies:
- Yarn: Approximately 100 grams (one skein) of bulky or super bulky weight yarn (Category 5 or 6). The original pattern uses a lightweight, tubular yarn made of cotton/polyamide for an elastic result.
- Substitutes: T-shirt yarn (trapillo), macrame cord, or a sturdy 100% cotton yarn.
- Hook: 7 mm crochet hook (or size needed to meet your desired fabric stiffness).
- Notions:
- Stitch marker
- Tapestry needle (for weaving in ends and assembly)
- Measuring tape
- Magnetic clasp (preferably a silver sew-in type)
- Pliers (optional, for setting the clasp if using a press-on type)
📘 Special Stitches & Abbreviations (US Terms)
This pattern uses common crochet abbreviations and one special cord technique.
| Abbreviation | Stitch Name |
| ch | Chain |
| sl st | Slip Stitch |
| sc | Single Crochet (Punto Bajo) |
| hdc | Half Double Crochet (Medio Punto Alto) |
| st(s) | Stitch(es) |
| MR | Magic Ring / Adjustable Ring |
Special Technique: Surface Crochet Cord (Similar to I-Cord)
This method creates a sturdy, rope-like handle by working single crochet stitches into the horizontal bars on the side of the previous row. Detailed instructions for this are provided in Part 3.
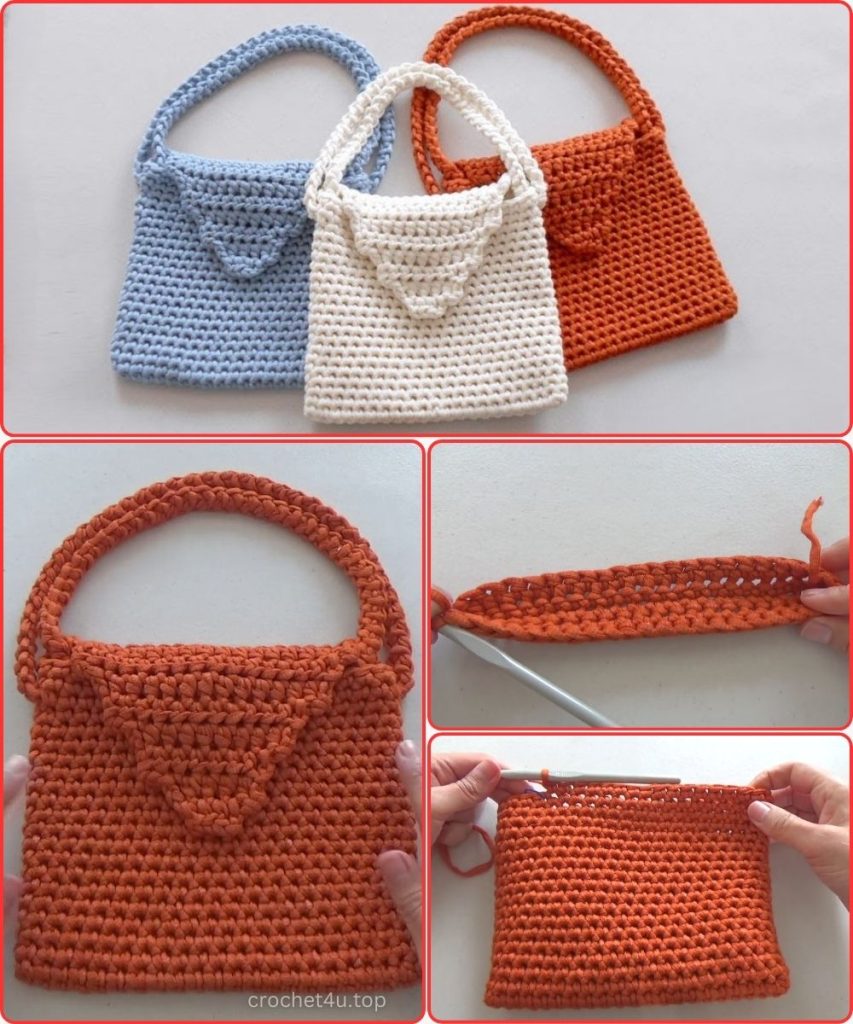
👜 Part 1: The Main Bag Body & Flap
This piece is worked first in a spiral round for the base, then transitioned to rows for the flap.
The Base (Worked in the Round)
Foundation: Ch 23.
Round 1:
- Starting in the 2nd ch from the hook, sc in each of the next 21 chs.
- In the very last ch, make 2 sc.
- Rotate your work to crochet along the opposite side of the starting chain: sc in each of the next 21 chs.(44 stitches total)
Round 2:
- Sc in each of the 44 sts around.(44 sts)
Rounds 3 – 19:
- Continue to sc in each of the 44 sts around. Use a stitch marker to mark the beginning of your rounds, as you are working in a spiral.(44 sts for 17 rounds)
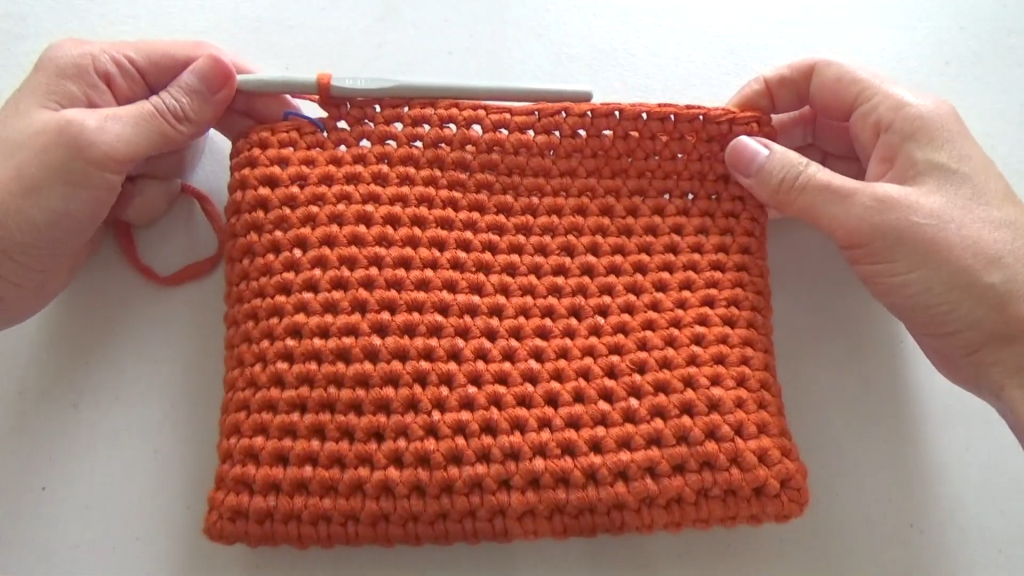
Round 20 (Creating the Handle Holes):
- This round creates the small openings on the sides of the bag where the handle will be attached. Ensure these holes align with the sides/folds of your bag structure.
- Sc in the next 4 sts.
- Ch 1, skip 1 st (First handle hole created).
- Sc in the next 21 sts.
- Ch 1, skip 1 st (Second handle hole created).
- Sc in the next 17 sts.(42 sc and 2 ch-1 spaces)
Round 21 (Transition Round):
- Sc in each st around, making sure to place 1 sc into each ch-1 space.(44 sts)
Round 22 (Flap Setup – Short Row):
- This is a short row to position the flap.
- Sc until you reach the nearest side/fold of the bag structure (in the video, this was 5 sc).
- Remove your stitch marker.
- Sl st in the next st to close the row and establish the turning point.Do not fasten off.
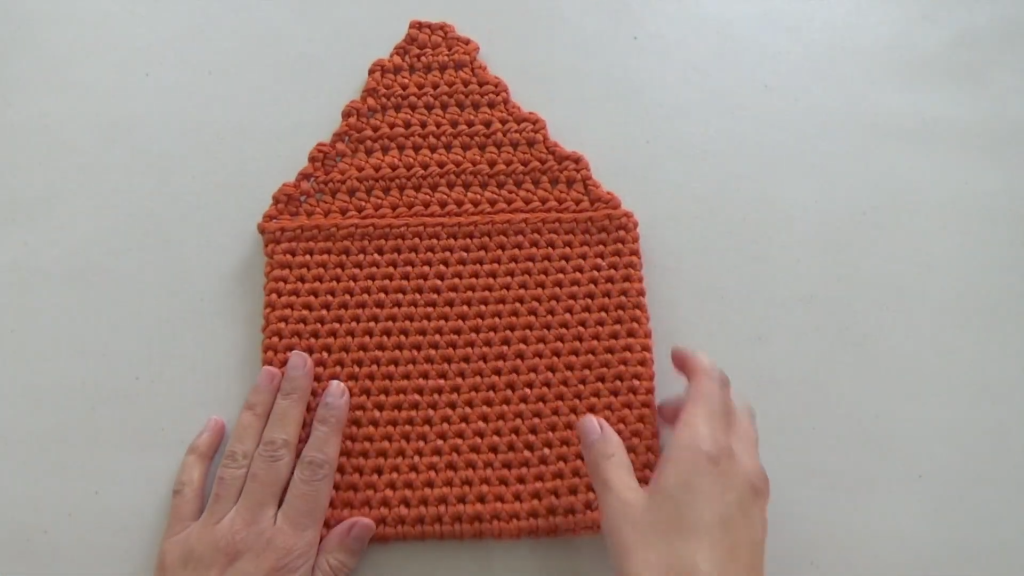
The Flap (Worked in Rows, Back and Forth)
You will now begin working rows across the stitches that face forward when the bag is flattened, starting from the back side of the bag. This will create the tapered flap shape.
Row 23:
- Ch 2 (counts as first hdc).
- Hdc in the same st and hdc in each st across until you have worked into 21 stitches total (including the starting ch-2).(22 hdc/points total)
Row 24 (Decreasing Row):
- Turn your work.
- Sl st in the first 2 sts. (This creates the initial decrease).
- Ch 2 (counts as first hdc).
- Hdc in each st across to the end of the row.(20 hdc/points total)
Row 25 (Decreasing Row):
- Turn your work.
- Sl st in the first 2 sts.
- Ch 2 (counts as first hdc).
- Hdc in each st across to the end of the row.(18 hdc/points total)
Rows 26 – 31 (Continuous Decrease):
- Repeat the instructions for Row 25 for the next 6 rows. In each row, you will decrease your stitch count by 2, creating the tapered V-shape.
Row 32 (Final Row):
- Turn your work.
- Sl st in the first 2 sts.
- Ch 2 (counts as first hdc).
- Hdc in the next 3 sts.(4 hdc/points total)
Finishing the Flap:
- Cut the yarn, leaving a short tail. Fasten off and weave the end into the back of the work. The main piece is now complete!
⚙️ Part 2: Magnetic Clasp Bases (Make 2)
These small circles will be used to anchor the magnetic clasp securely to your bag.
Make 2 identical pieces.
Round 1:
- Make a MR (Magic Ring).
- Ch 1 (does not count as a st).
- Work 8 sc into the ring.
- Pull the tail to close the ring tightly.(8 sts)
Round 2:
- Sc in the first st.
- 2 sc in the next st.
- Repeat (sc in next st, 2 sc in next st) three more times.(12 sts)
Finishing the Bases:
- Cut the yarn, leaving a very long tail (about 20-30 cm) for sewing the base to the bag.
- Fasten off and use the tail to perform an invisible join to the starting stitch of the round.
- Weave the starting tail into the back.
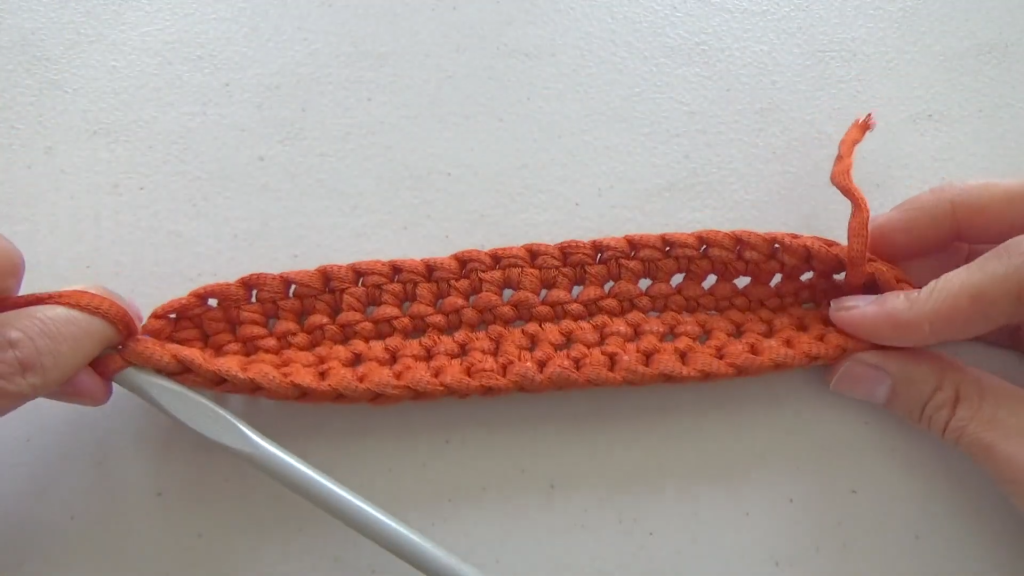
🔗 Part 3: The Crochet Cord Handle
This handle is worked as a surface cord, which gives it a strong, rounded structure. The finished length should be approximately 75 cm.
Setup:
- Ch 2.
- Sc in the 2nd ch from the hook.(1 st)
Row 2:
- Turn the work slightly to the left. You will see a single horizontal strand (or “crossbar”) on the side of the stitch.
- Insert your hook under this horizontal strand, yarn over, pull through (2 loops on hook), yarn over, and complete the sc.(1 st)
Row 3 & Subsequent Rows:
- Turn the work slightly to the left. You will now see two horizontal strands (or “crossbars”) stacked on the side of the stitch.
- Insert your hook under both of these two horizontal strands.
- Yarn over, pull through (2 loops on hook), yarn over, and complete the sc.(1 st)
Continue:
- Repeat Row 3 until the cord measures approximately 75 cm or your desired length for a double-strand shoulder handle.
Finishing the Cord:
- Cut the yarn, leaving a long tail for sewing (about 30 cm). Fasten off and weave in the initial starting tail.
✂️ Part 4: Assembly & Finishing
This is where all the pieces come together!
1. Attach the Magnetic Clasp to the Bases:
- Using a small needle and thread, or following the manufacturer’s instructions, attach one half of the magnetic clasp to the exact center of one crocheted base piece.
- Attach the other half of the clasp to the exact center of the second crocheted base piece.
2. Install the Clasp:
- Body Side: Using the long tail from one clasp base and your tapestry needle, securely sew the base piece to the interior of the main bag body. Place it centrally and approximately one row down from the top edge.
- Flap Side: Determine where the flap naturally falls for a clean closure. Sew the second clasp base piece to the interior of the flap, ensuring it aligns perfectly with the base piece already installed on the body.
3. Attach the Cord Handle:
- Take one end of the 75 cm cord.
- Thread the long tail onto your tapestry needle.
- Insert the needle through the ch-1 space (handle hole) on one side of the bag (created in Round 20).
- Repeat this on the other side of the bag with the second end of the cord, inserting the tail through the other ch-1 space.
- Seam the Cord: Lie the cord ends flat against each other. Using the tails, sew the two ends together securely, ensuring the cord is not twisted before the join. Take a stitch from one end, then a stitch from the other end, repeating until the join is completely secure and concealed.
- Weave in the remaining tails into the interior of the cord and trim.
4. Final Adjustments:
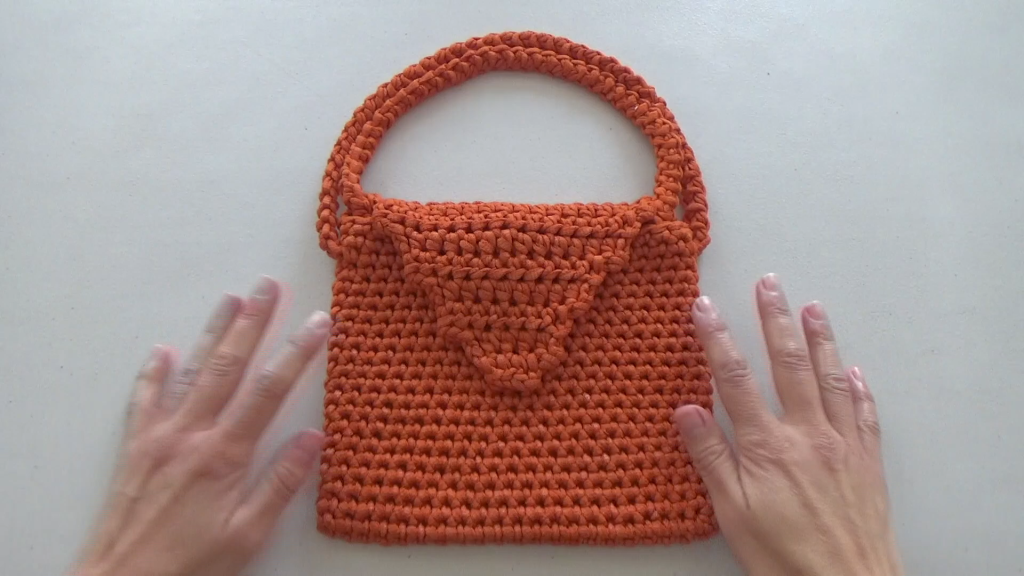
- Adjust the cord to sit as a folded double-strand handle, creating a decorative element.
Your Easy Envelope Bag is now complete! Enjoy your beautiful, handmade creation!


