
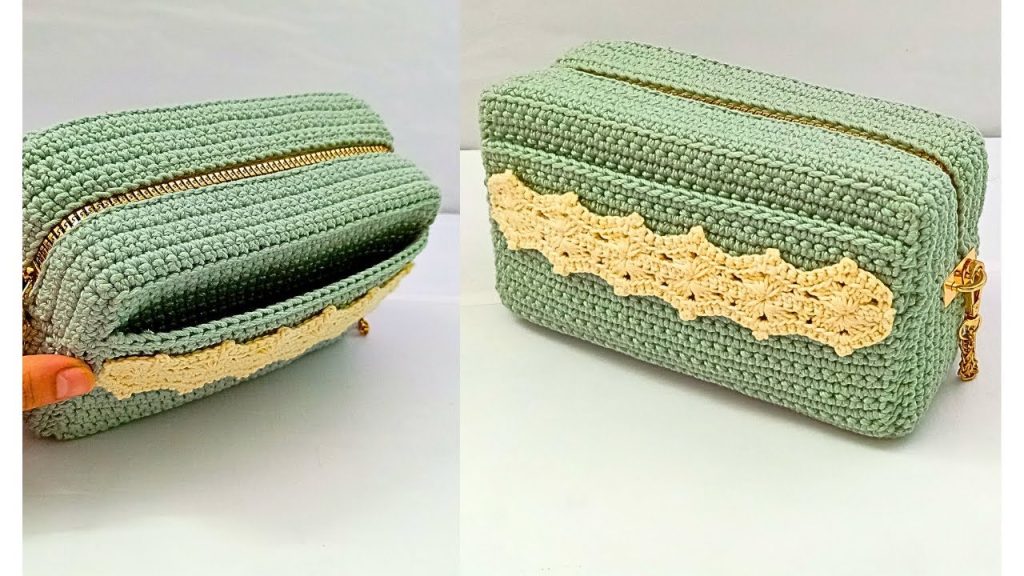
Welcome to your next favorite crochet project! In this detailed tutorial, we are crafting a small yet surprisingly spacious handbag that balances structural integrity with a touch of feminine elegance. Using the durability of macramé yarn and the delicacy of a lace cotton border, this bag is perfect for those who want a practical accessory that doesn’t sacrifice style.
This pattern is designed to be modular, meaning we will build the bag in sections that fold together like an architectural masterpiece. Let’s pick up our hooks and get started!
🧶 Materials & Tools
To achieve the professional finish seen in the video, gather the following supplies:
- Main Yarn: Macramé Cotton Yarn (2mm thickness). You’ll need about 200-250g.
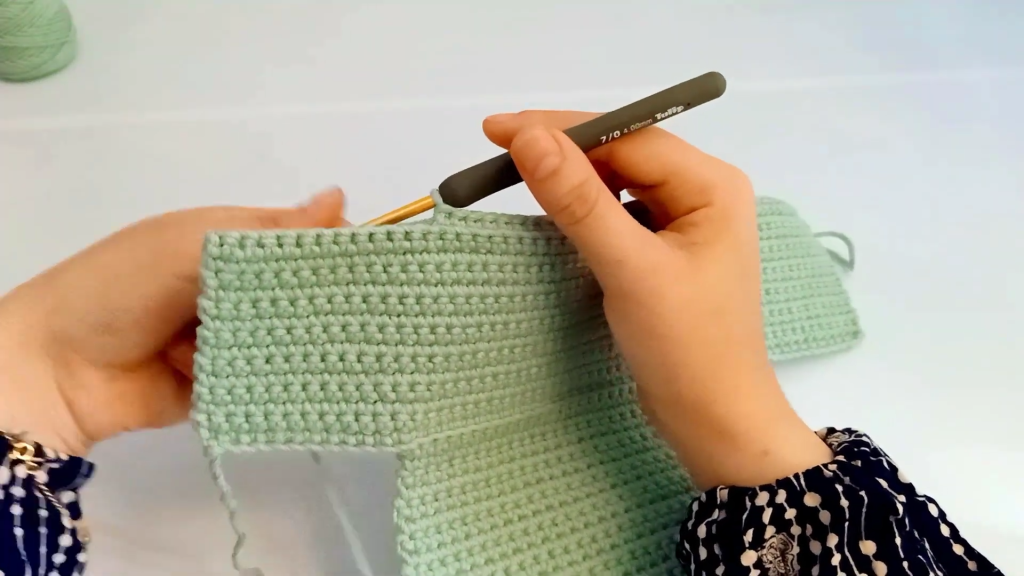
- Main Hook: 4.0 mm crochet hook.
- Trim Yarn: Thin Cotton Yarn (for the decorative lace border).
- Trim Hook: 2.0 mm crochet hook.
- Hardware: 1 Zipper (approx. 4cm wider than the bag’s top opening).
- Notions: Tapestry needle, stitch markers, measuring tape, and sharp scissors.
🏗️ Section 1: The First Side Panel
We begin with the first side of the bag’s “frame.”
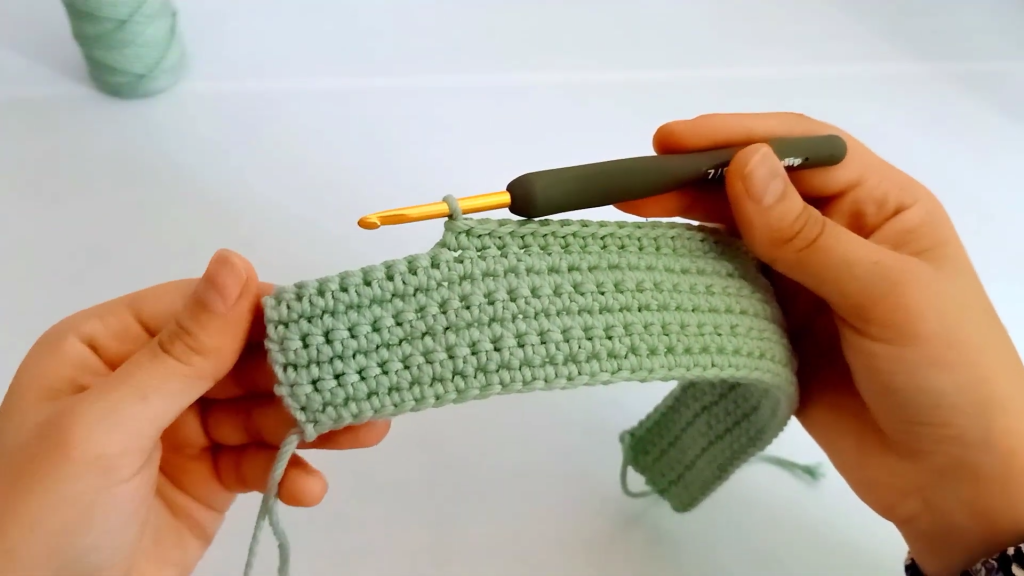
- Foundation: Using your 4mm hook and macramé yarn, create a starting chain of 50 chains.
- Row 1: Starting from the second chain from the hook, work 49 Single Crochet (SC) stitches.
- Rows 2–6: Chain 1 (turning chain), and work SC in both loops across all 49 stitches.
- Finish: Fasten off the yarn. This creates the first side “wing” of the bag.
🧱 Section 2: The Front Wall
Now, we build the vertical wall that will form the front face of your bag.
- Placement: On your Section 1 piece, skip the first 8 stitches. Tie your yarn into the 9th stitch, working into the front loop only for this first row to create a clean fold line.
- Row 1: Chain 1, SC in the same stitch, and work a total of 33 SC across. You should have 8 unworked stitches remaining at the end of the row.
- Rows 2–20: Chain 1, turn. Work SC in both loops across the 33 stitches.
- Finish: Fasten off. You now have a tall rectangular flap extending from the center of your first side panel.
🌉 Section 3: The Base & Transition
This section forms the bottom of the bag and the transition to the back panel.
- Foundation Extension: Chain 12. Then, continue directly into the top of the Front Wall by working SC across the 33 stitches. Once finished, chain an additional 13.
- Row 1: Starting from the second chain, work 12 SC on the chains, 33 SC into the back loops of the front wall (this creates the bottom fold), and 12 SC on the final set of chains. Total: 57 stitches.
- The Base: Work a total of 14 rows across these 57 stitches. This wide strip serves as the bottom and lower sides of the bag.
- Note: When counting your rows, look for the “ridge” created by the back loop stitches to keep your place.
🏠 Section 4: The Back Wall
We will now mirror the front wall to create the back of the bag.
- Placement: On the 57-stitch base you just finished, skip 12 stitches. Tie your yarn into the 13th stitch.
- Row 1: Work 33 SC into the back loop only to ensure the bag folds upward correctly.
- Rows 2–20: Work SC in both loops across these 33 stitches until you have 20 rows total.
- Finish: Fasten off.
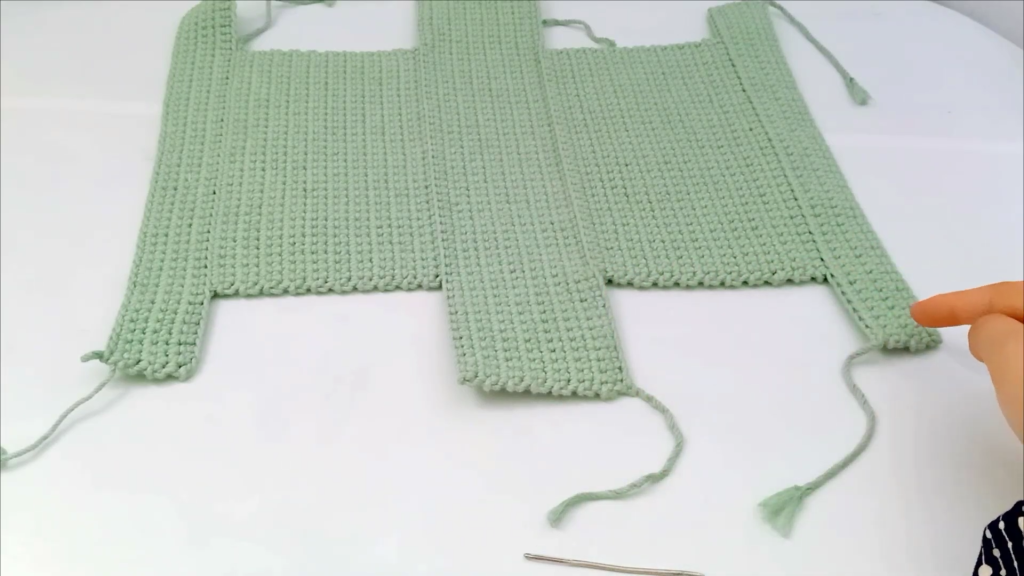
📉 Section 5: The Final Side Panel
To complete the “H-shape” frame, we add the last side wing.
- Extension: Chain 8. Work SC across the 33 stitches of the Back Wall (use both loops). Then chain 9.
- Row 1: From the second chain, work 8 SC, then 33 SC into the front loops of the previous row, and finally 8 SC on the last chains. Total: 49 stitches.
- Rows 2–6: Work SC across for a total of 6 rows. Fasten off and weave in your ends.
👜 Section 6: The Hidden Inner Pocket
A great bag needs organization! We will add a pocket to the interior wall.
- Setup: Locate the unworked loops from the very first row of your Front Wall (the 33 stitches).
- Crochet: Join your yarn and work 33 SC across.
- Height: Work for 18 rows in total. This creates a flap that sits inside the bag.
✨ Section 7: The Decorative Lace Border
This is the “Blossom” part of the Urban Blossom bag! We switch to the thin cotton yarn and 2mm hook.
- Foundation: Chain 48 (or any multiple of 8).
- Row 1: Work 48 SC across.
- Row 2 (Shells): Chain 2, skip 3 sts. In the 4th stitch, work
[3 DC, 2 ch, 3 DC]. Skip 3 sts, and work 1 HDC in the next. Repeat this shell pattern across. - Row 3 (Picot Detail): Chain 1. Work 1 SC in the first 3 DC. In the chain space, work
[1 SC, 2 ch, Slip Stitch into the base of the chain, 1 SC](this creates a tiny picot). Work 1 SC in the next 3 DC. Skip the HDC and repeat. - Attachment: Sew this lace trim onto the top edge of your inner pocket for a beautiful peek-a-boo effect.
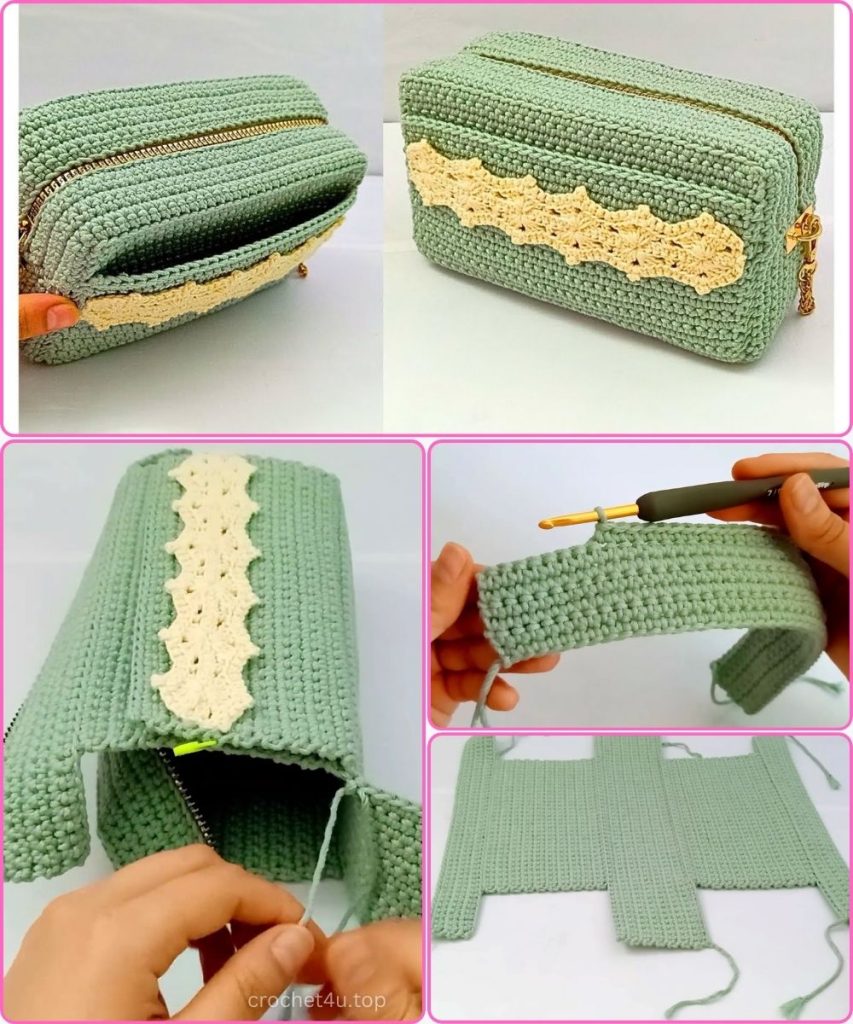
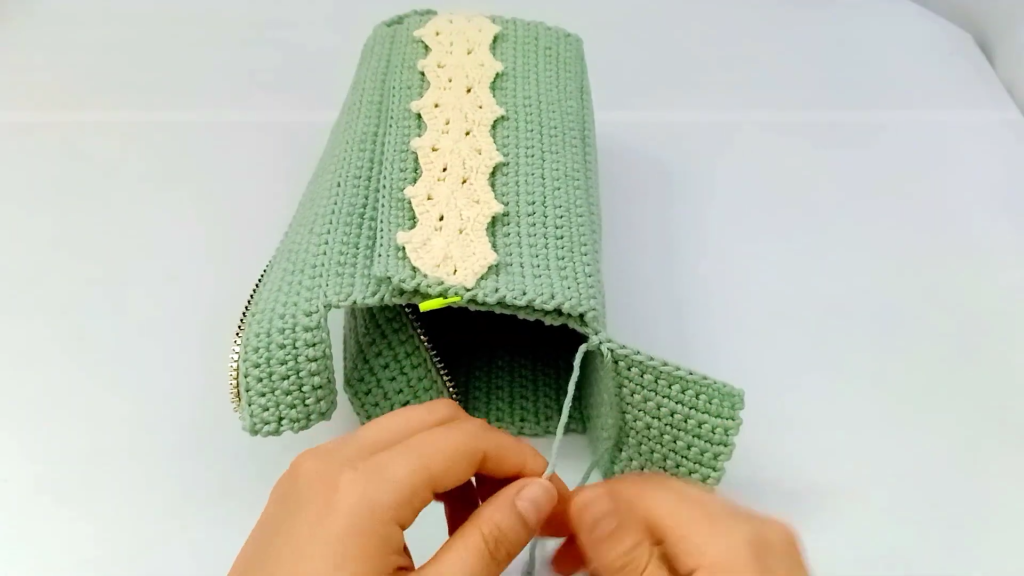
🪡 Section 8: Assembly & Zipper
Now, we bring the 2D shapes into a 3D bag.
- The Zipper: Fold the ends of your zipper down. Hand-sew it along the top 33-stitch edges of the front and back walls. Ensure the zipper is centered and straight.
- Side Seams:
- Fold the side wings (the 6-row sections) toward the main walls.
- Sew the 12 stitches of the side transition to the 12 rows of the wall.
- Pro Tip: Skip the 13th row of the base to allow for a perfect corner turn. The 14th row will align with the first stitch of the upper part.
- Final Closing: Sew the remaining edges row-by-row. Because of the extra two rows at the base (14 rows vs 6+6), these two rows will perfectly accommodate the width of the zipper tape.
Video Tutorial:
🎉 The Final Reveal
Once you’ve woven in all your ends and attached your handles (either crochet your own straps or attach leather ones for a premium look), your bag is ready!
The Urban Blossom Bag is a testament to how simple stitches like the Single Crochet can create complex, beautiful shapes when combined with clever construction. Enjoy your new handmade accessory!


