
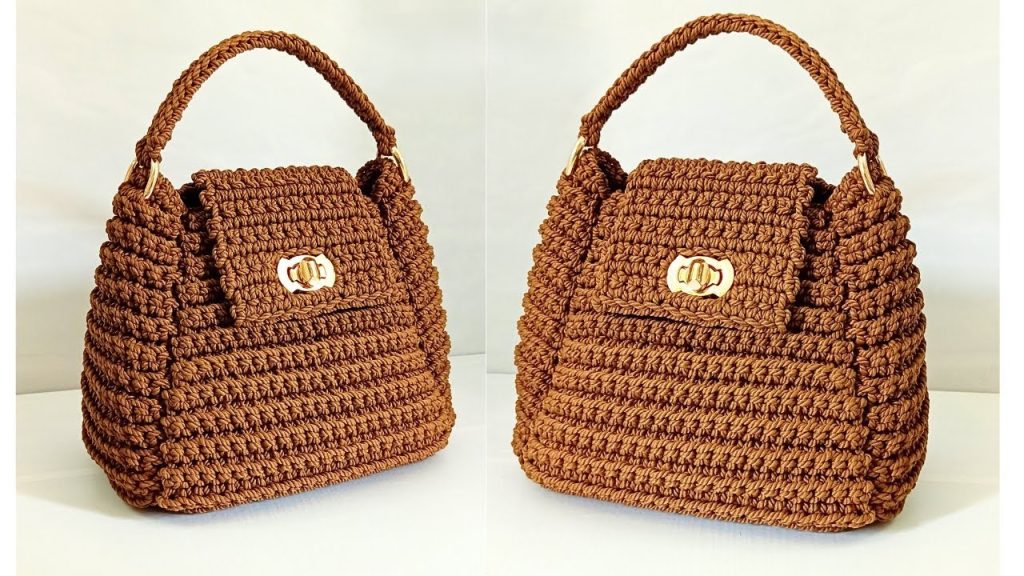
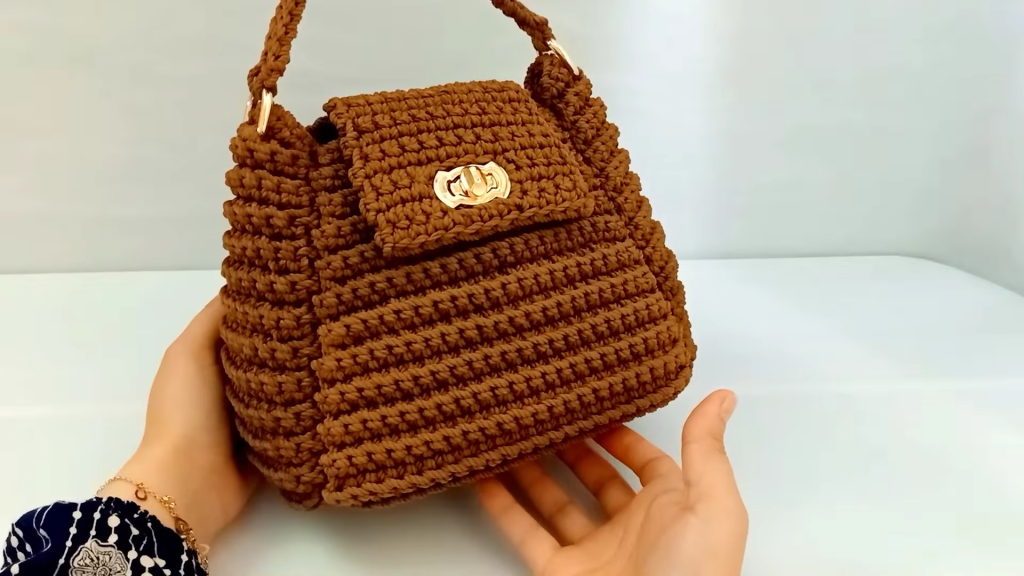
Welcome to your next favorite crochet project! If you’ve been looking for a bag that combines structural elegance with the tactile satisfaction of macramé-style crochet, you’ve found it. This design features a unique “winged” silhouette and a beautiful ribbed texture that makes it look like it came straight from a high-end boutique.
In this long-form guide, we will break down every row, decrease, and finishing touch. Whether you’re making this for yourself or as a stunning gift, this pattern is designed to be clear, detailed, and rewarding.
🧶 Materials & Tools
Before we pick up the hook, let’s gather our high-quality supplies to ensure that boutique-style finish:
- Yarn: Macramé Cotton Cord or Yarn (approx. 3mm thickness). You will need roughly 400 grams or 300 meters. This weight gives the bag the stiffness it needs to hold its shape.
- Hook Size: 5mm crochet hook (or size needed to obtain a firm gauge).
- Hardware: * Two metal D-rings or O-rings for the handle.
- One magnetic snap or decorative bag closure.
- Optional: A metal chain strap if you prefer a shoulder bag.
- Notions: * Stitch markers (essential for tracking decreases).
- A tapestry needle for sewing.
- Sharp scissors.
📐 Abbreviations (US Terms)
- Ch: Chain
- SC: Single Crochet
- BLO: Back Loop Only
- Dec: Decrease (SC 2 together)
- St(s): Stitch(es)
- RS/WS: Right Side / Wrong Side
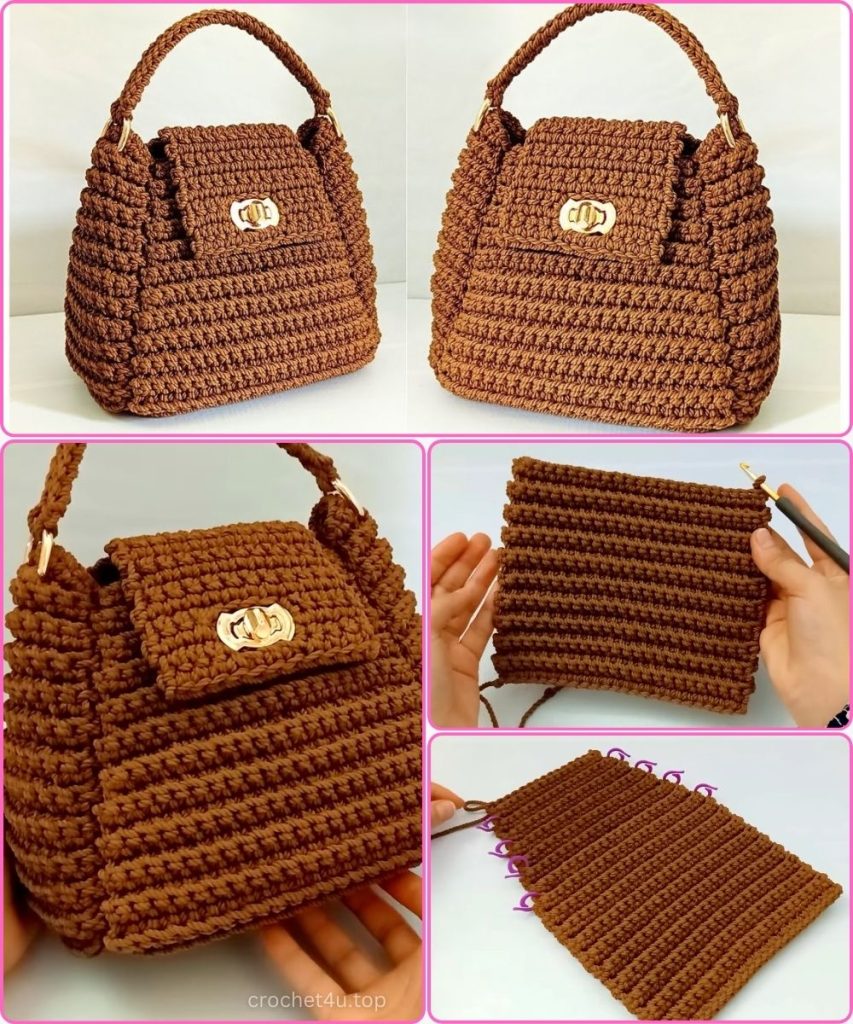
🧱 Part 1: Crafting the Main Body Panels
The body of this bag is worked in one long piece starting from the center and working outwards in both directions to ensure perfect symmetry.
The First Wing:
- Foundation: Start with 24 chains.
- Row 1: In the second chain from the hook, work 23 SC. Ch 1 and turn.
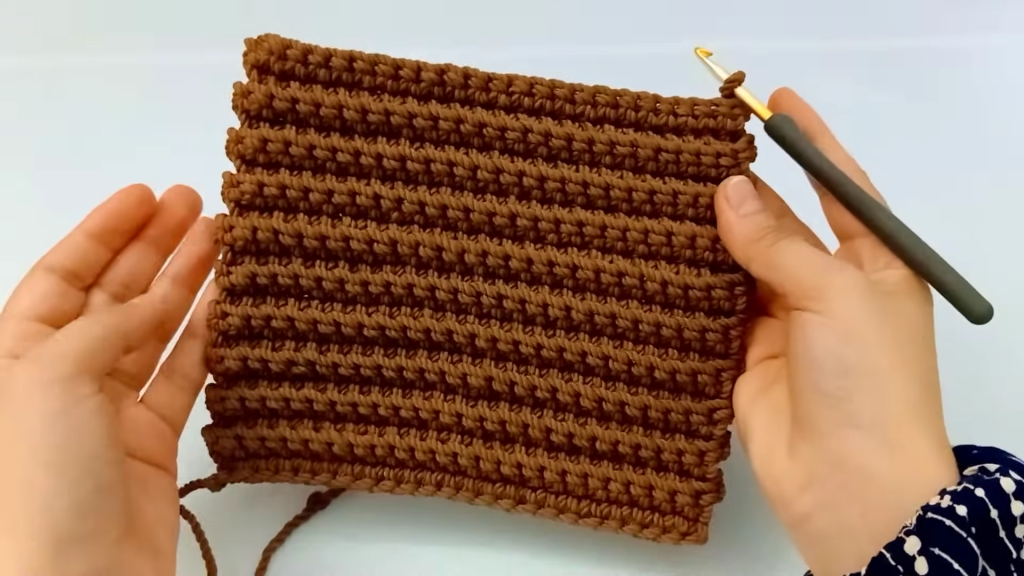
- Rows 2 – 20: From the first stitch, work SC in the BLO (Back Loop Only) across all 23 stitches. This creates the gorgeous horizontal ribbing. Ch 1 and turn at the end of every row.
Shaping the Taper (Decreases): 4. Row 21: Work a Dec at the beginning and end of the row. You will have 21 stitches left. Mark this row with a stitch marker. 5. Rows 22 – 24: Work 3 rows of SC in the BLO steadily (no decreases). 6. Row 25: Work a Dec at the beginning and end of the row (19 stitches). 7. Rows 26 – 28: Work 3 rows of SC in the BLO steadily. 8. Row 29: Work a Dec at the beginning and end of the row (17 stitches). 9. Rows 30 – 32: Work 3 rows of SC in the BLO steadily. 10. Row 33: Work a Dec at the beginning and end of the row (15 stitches). 11. Rows 34 – 35: Work 2 rows of SC in the BLO steadily. Fasten off.
The Second Wing: Join your yarn to the bottom of the foundation chain and repeat the exact same steps (Rows 1–35) to create a mirrored wing. You now have a large “butterfly” shaped piece with a total of 70 rows.
📐 Part 2: The Side Gussets
The side panels define the bag’s depth. We will work these directly onto the center section of our main body.
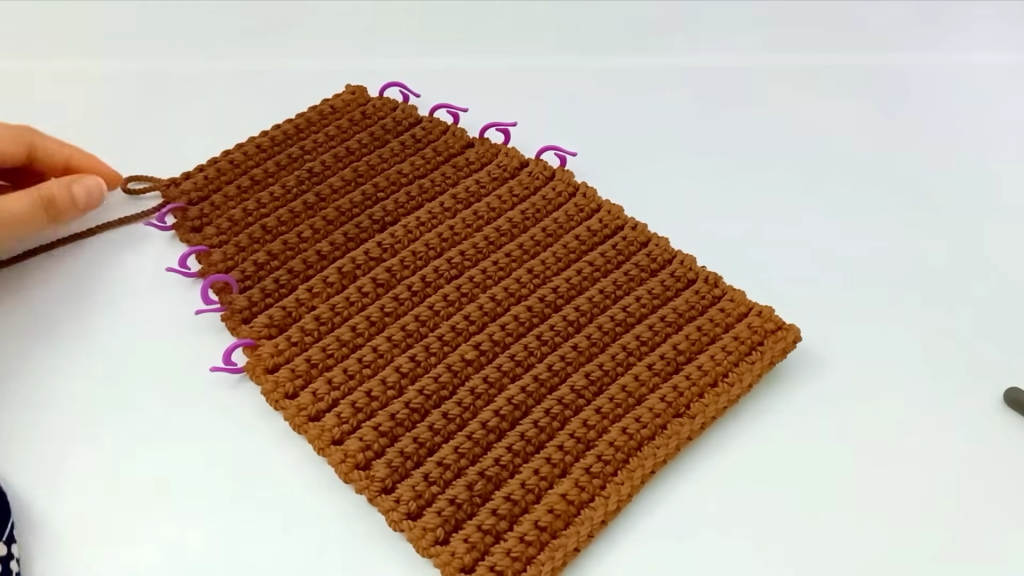
- Placement: Locate your original foundation chain. Count 8 rows out from the center in both directions and place markers. This 16-row section is your base.
- Row 1: Join yarn to the first of these 16 rows. Work 16 SC (one stitch per row edge).
- Rows 2 – 10: Work SC steadily across.
- Row 11 (Shaping): Work a Dec at the beginning and end of the row (14 stitches).
- Rows 12 – 14: Work SC steadily.
- Decrease Pattern: Continue this pattern—decreasing every 4th row (Rows 15, 19, 23)—until you have 8 stitches remaining.
- Finish: Work Rows 24, 25, and 26 steadily with 8 stitches. Cut the yarn, leaving a long tail (about 1 meter) for sewing. Repeat for the other side.
🪡 Part 3: Assembly & Seamless Sewing
Now, let’s bring the 3D shape to life.
- Orientation: The side with the “ridges” from the BLO stitches is your Right Side (Outer). Flip the bag so the Wrong Side (Inner) is facing you for sewing.
- Stitch Alignment: Using your tapestry needle and the long tail, sew the side gusset to the main body panel. Match row-to-row (one stitch of the side to one row edge of the wing).
- Hidden Ends: Once one side is sewn, don’t cut the yarn. Weave it through the bottom stitches to reach the other side and finish sewing. This keeps your bag strong and knot-free.

🔓 Part 4: The Flap (Lid)
The lid secures your belongings and provides a clean finish to the front.
- Foundation: Join yarn to the top center of the back panel. Work 11 SC across.
- Rows 1 – 12: Work SC in both loops for 12 rows. This creates a smoother, firmer fabric than the ribbed body, which is ideal for a secure closure.
- Closure: Attach your magnetic snap or decorative closure to the underside of the flap and the corresponding spot on the front panel.
⛓️ Part 5: Handle & Hardware
The final touch is a sturdy handle that feels comfortable in your hand.
- Rings: Attach your metal rings to the second-to-last row of the side panels. For maximum durability, crochet directly over the ring while working the final SC stitches, or sew them on very securely.
- The Handle:
- Chain 25 (or your preferred length).
- Join the end to the first ring with an SC.
- Slip stitch all the way back along the chains.
- Join to the second ring with an SC.
- Slip stitch back along the other side of the foundation chains (in the back loop) for a rounded, cord-like finish.
Video Tutorial:
✨ Conclusion & Care
Congratulations! You have just hand-crafted a designer-level macramé bag. Because this is made of cotton cord, it is durable but should be treated with care. Spot clean with a damp cloth and mild detergent when needed.
Pro Tip: If you want your bag to be extra stiff, you can insert a piece of plastic canvas or a sturdy lining inside before sewing the sides completely shut.
We would love to see your finished Azure Ribbon Bag! Tag us in your photos and tell us—what color cord did you choose for your masterpiece? Happy crocheting!


