
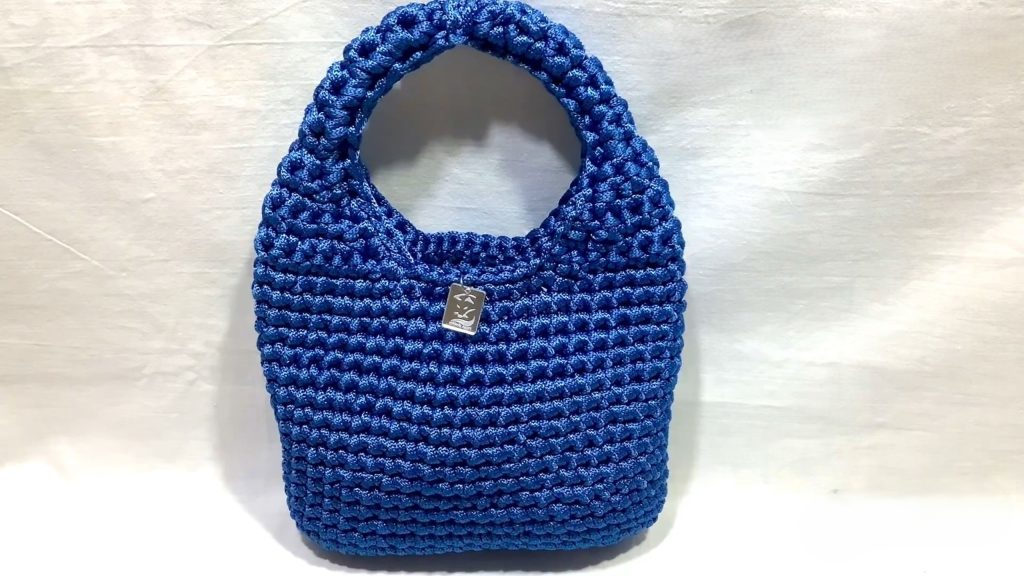
In the world of high-fashion accessories, the Hobo Bag remains an undisputed icon. Its crescent-shaped silhouette and effortless “slouch” make it the ultimate versatile piece for everything from a morning espresso run to a sophisticated dinner.
Today, we aren’t just making a bag; we are engineering a piece of wearable art. Using thick, high-density cord and specific tapering techniques, we will create a bag that feels substantial, looks professional, and—best of all—comes together much faster than it looks. Let’s break down every single movement.
🧶 Section 1: The Artisan’s Toolkit
To get that “designer” structure, your materials must be heavy-duty. This isn’t the project for delicate wool; we need cord with “memory” (the ability to hold its shape).
- The Yarn (The Star of the Show): You will need 500g of “Inda Big” cord by Borgo dei pazzi (or a similar 6mm-thick macramé polyester cord). This cord is essentially a flat ribbon-style yarn that provides incredible stitch definition and zero sagging.
- The Hook: A 6.0 mm (J) hook is the standard, but if you tend to crochet very tightly, feel free to move up to a 6.5 mm or 7.0 mm. We want the stitches to be dense but not so stiff that the bag can’t “slouch.”
- Essential Notions: * Large Steel Tapestry Needle: Essential for weaving in ends of thick cord.
- Locking Stitch Markers: You will need these to mark the start of your spirals and the points where the handles begin.
- Sharp Scissors: For clean cuts.
- Lighter: Since we are using synthetic cord, singeing the ends is a professional secret to prevent fraying forever.
📐 Section 2: Dimensions & Gauge
Before starting, keep these target measurements in mind. If your bag looks drastically different, adjust your hook size.
- Base Length: Approximately 19–20 cm.
- Finished Height (excluding handle): 20 cm.
- Finished Width: 23 cm.
- Total Height (with handle): 33 cm.
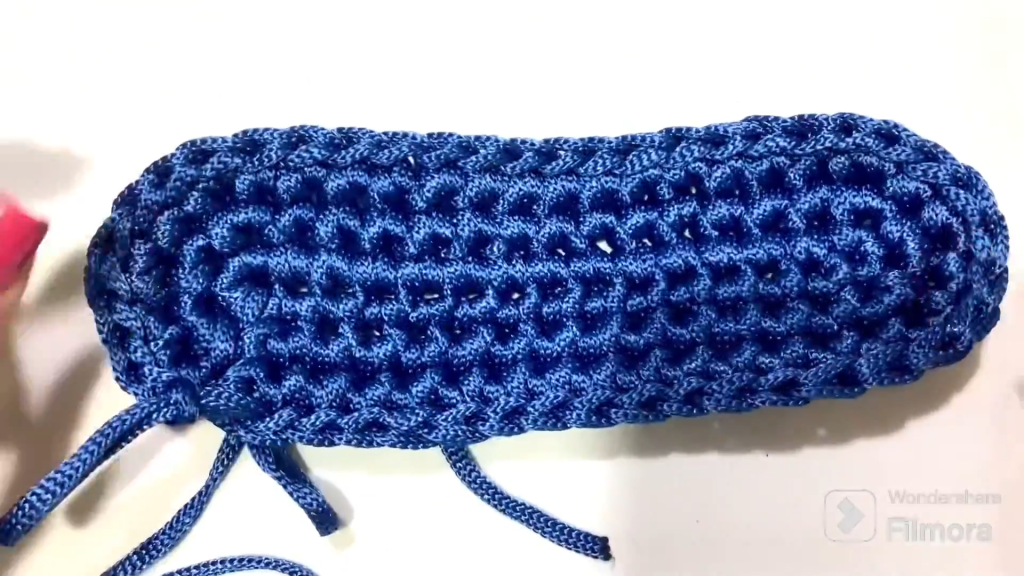
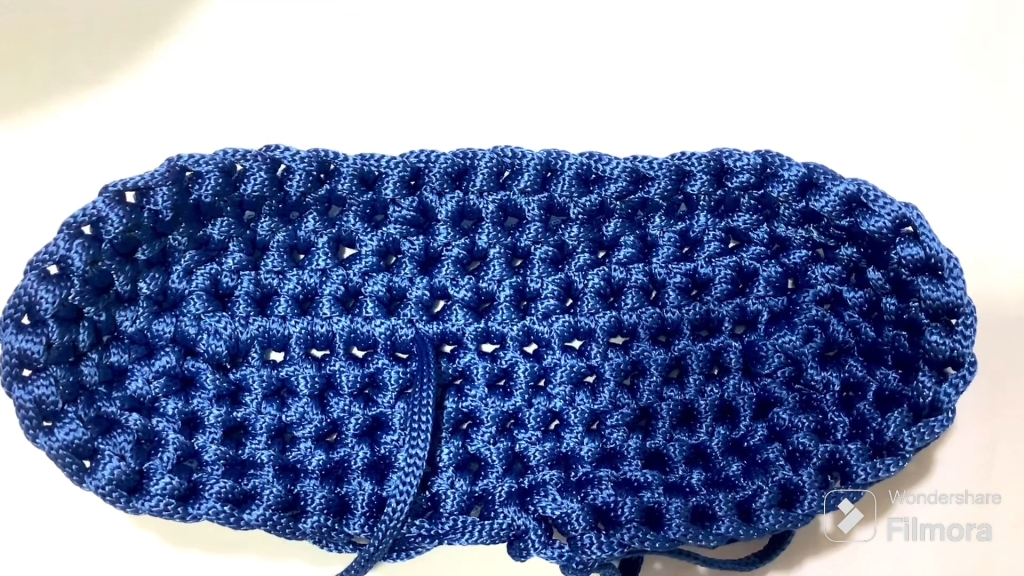
🏺 Section 3: Phase 1 — The Structural Oval Base
The base is worked in rounds to create a flat, elongated oval. This is the “chassis” of your bag.
The Foundation: Start by creating a foundation chain of 15. Do not make these chains too tight, or the center of your bag will “pucker.”
Round 1: The Initial Turn
- Work 14 single crochets (SC) back across the chain.
- In the very last chain (the 15th), work 3 SC into the same stitch. This acts as a pivot, turning you around the corner.
- Now, work back down the underside of the foundation chain. Work 14 SC into the remaining loops.
- In the very first chain space where you started, work 2 more SC.
- Join: Slip stitch (sl st) into the first SC. (You now have a long pill-shape).
Round 2: Expanding the Curves
- Chain 1. Work SC along the straight side until you reach the 3-stitch cluster at the end.
- The Corner: Work an increase (2 SC in one stitch) into each of those 3 corner stitches. (6 stitches total on the curve).
- Work SC along the second straight side.
- The Second Corner: Work an increase (2 SC in one stitch) into the 3 corner stitches at the start.
- Join with a Sl St.
Round 3: The Final Flattening
- Chain 1. Work SC across the straight side.
- The Curve: Sequence — [1 SC, 1 Increase] three times over the curve. This ensures the oval grows wide without curling.
- Work SC across the second straight side.
- The Second Curve: Sequence — [1 SC, 1 Increase] three times.
- Join with a Sl St. Your base is now finished. It should be a flat, sturdy oval.
🌀 Section 4: Phase 2 — The Seamless Spiral Body
Now we transition from the base to the walls. We will stop joining our rounds to prevent that unsightly “seam” line that often plagues crochet bags.
- Transition Round: Work one round of SC into every stitch around. Crucial: Place a stitch marker in the first stitch of this round.
- The Continuous Spiral: Do not slip stitch to join. Simply work your first SC of the next round directly into the marked stitch. Move the marker up every time you pass it.
- The Grind: Work 15 full rounds of SC.
- Why 15? This provides the perfect depth for a medium-sized hobo bag. If you want a deeper “bucket” style, you can add 5 more rounds here.
- Check your tension: As the bag grows, make sure your SCs are uniform. If the cord feels like it’s twisting, let your hook hang for a second to let the cord untwist.
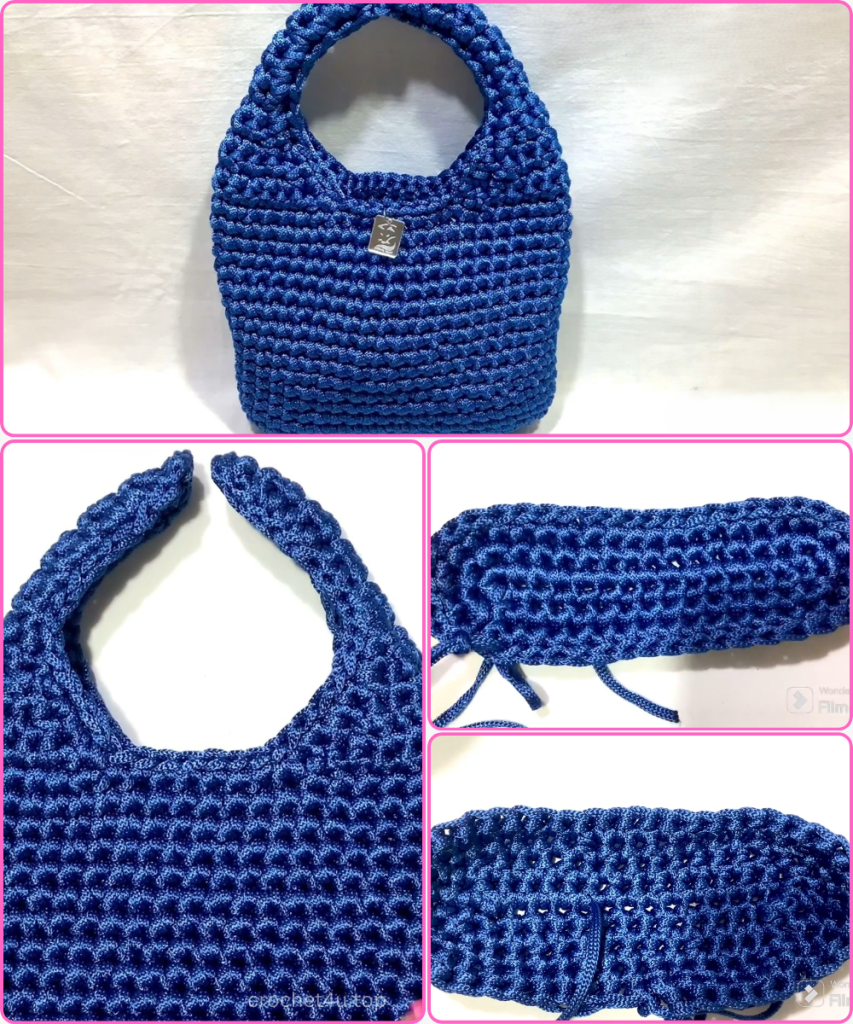
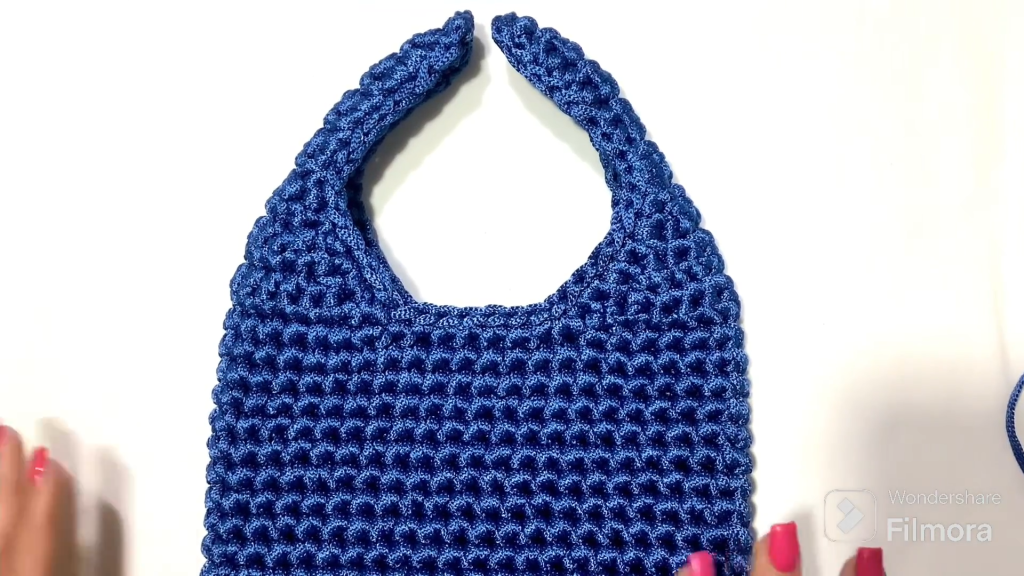
🕊️ Section 5: Phase 3 — Sculpting the Crescent Wings
This is where the magic happens. We are going to “grow” the straps out of the bag’s body using Short Rows and Decreases.
Dividing the Work: Lay your bag flat. Use stitch markers to mark a section of 15 stitches on the far left and 15 stitches on the far right. There should be a gap of about 5–7 stitches in the “center” of the front and back.
The First Wing (Back-and-Forth Rows):
- Attach your cord to the first of the 15 marked stitches.
- Row 1: Work 15 SC. Chain 1 and turn.
- Row 2 (The Decrease Row): We need to start tapering. Perform a SC2TOG (Decrease) over the first two stitches. Work SC across until you reach the last two stitches. Perform another SC2TOG. (You now have 13 stitches). Turn.
- Row 3: Repeat the decrease at the start and end. (11 stitches).
- Rows 4–7: Continue decreasing at the start and end of every row until you are left with only 3 stitches. You should now have a triangular “wing” rising from the side of the bag.
The Handle Extension:
- Continue working on these 3 stitches.
- Work 8 rows of 3 SC (no more decreases). This creates the long, thin strap that will eventually meet the other side over your shoulder.
- Fasten off, leaving a long tail for sewing.
The Second Wing: Repeat the entire “Wing” and “Handle Extension” process on the opposite 15 stitches on the other side of the bag.
✨ Section 6: Phase 4 — The Professional Border
Before joining the handles, we must “clean” the edges. The sides of the rows we just made will look a bit jagged.
- Attach your cord to any point on the rim.
- Work a Single Crochet border around the entire opening of the bag.
- When you go up the sides of the wings, work 1 SC into the end of every row.
- This border acts as a “reinforcement frame,” preventing the bag from stretching out of shape when you put heavy items inside.
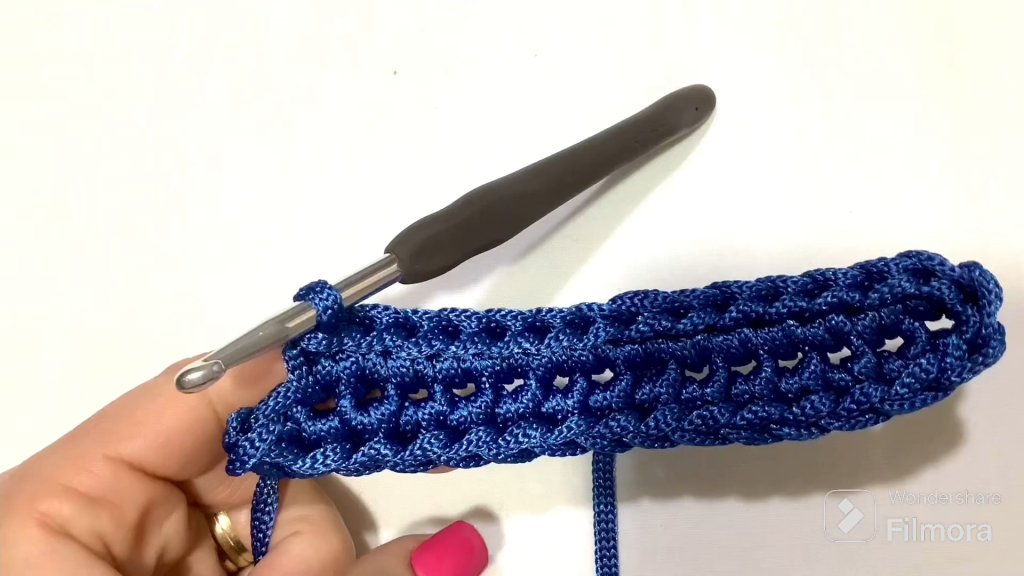
🪡 Section 7: Phase 5 — The Tubular Join (The Secret Sauce)
Most patterns just tell you to sew the straps together. We are going to go a step further to make the handle look like a luxury leather strap.
- The Flat Join: Thread your tapestry needle with the cord tail. Align the two 3-stitch ends of the straps. Use a Whip Stitch, catching all four loops (two from each side) to create a strong, flat seam.
- The Tubular Transformation: This is the Tiziana Volpe signature move.
- Fold the thin 3-stitch strap in half lengthwise so it looks like a tube.
- Using your needle and cord, sew the edges of the strap together starting from where the wing narrows, all the way across the shoulder join, and down to the other side.
- Result: You now have a rounded, “tubular” handle. It is significantly more comfortable on the shoulder and looks far more high-end than a flat strap.
🏁 Section 8: Final Touches & Styling
- Weaving: Use your needle to weave in all tails on the inside of the bag.
- Singeing: Trim the tails to 1cm, then use your lighter to melt the tip of the polyester cord. Press the melted plastic against the inside of a stitch. It will “glue” itself shut and never unravel.
- Styling: Because this bag is made of thick cord, it looks incredible with a large decorative tassel or a silk scarf tied around the base of the handle.
Video Tutorial:
Congratulations! You’ve just completed a designer-level Hobo Bag. It’s durable, stylish, and a testament to your crochet skills.
Would you like me to suggest a specific tassel pattern or an internal pocket design to add to this bag?


