
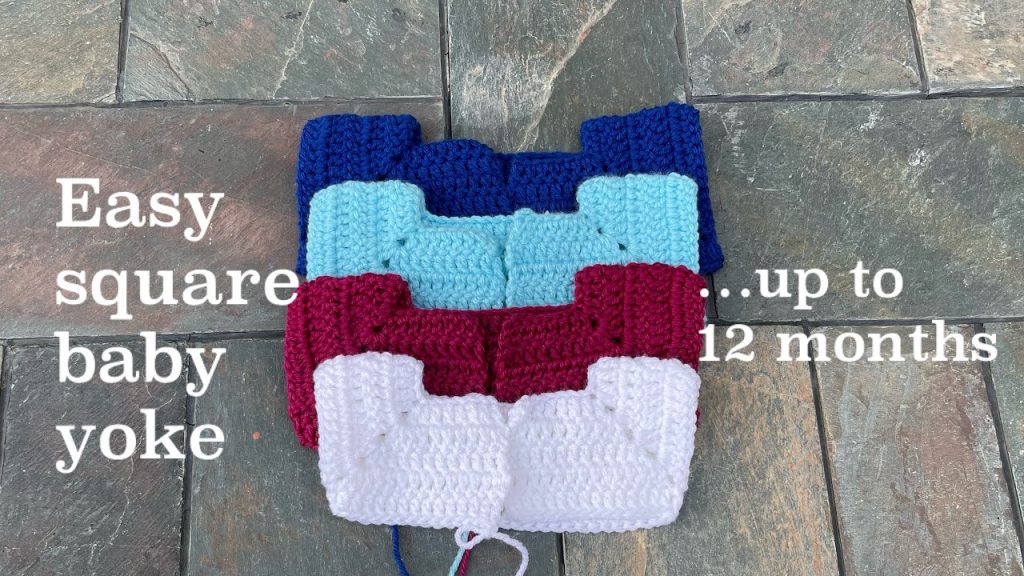
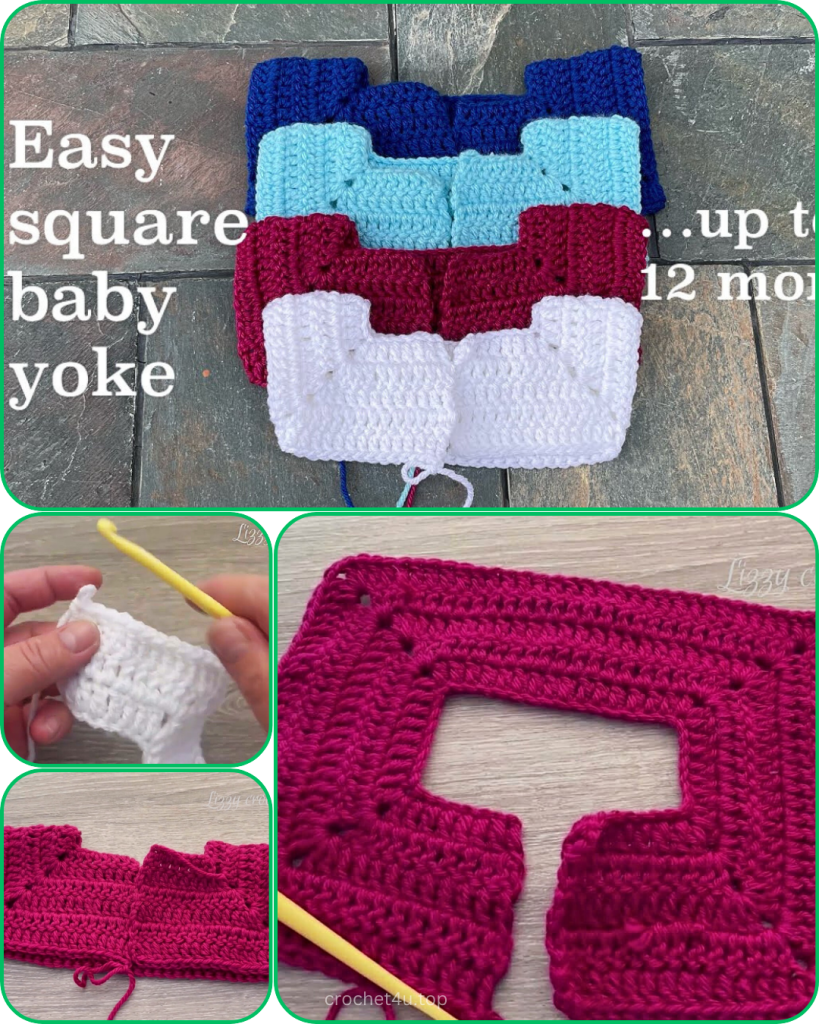
If you’re looking for a simple and effective way to start a baby sweater, dress, or top, this pattern is for you. This “easy square baby yoke” is a classic, top-down design that works up quickly and provides a perfect foundation for a variety of projects. The square shape is created by increasing in four corners, making it easy to remember and adapt. This pattern is written for a size up to 12 months, but it’s easy to adjust for other sizes.
Materials
- Yarn: Approximately 75-100 yards of DK weight (Category 3) yarn. The image shows multiple colors (white, red, light blue, and royal blue), so this is a great project for using up scraps.
- Hook: A 4.0 mm (G/6) crochet hook.
- Accessories: A yarn needle for weaving in ends and scissors.
Stitches Used (US Terms)
- ch: Chain
- sl st: Slip Stitch
- dc: Double Crochet
- V-st: V-stitch (dc, ch 1, dc) in the same stitch or space
- inc: Increase (2 dc in the same stitch)
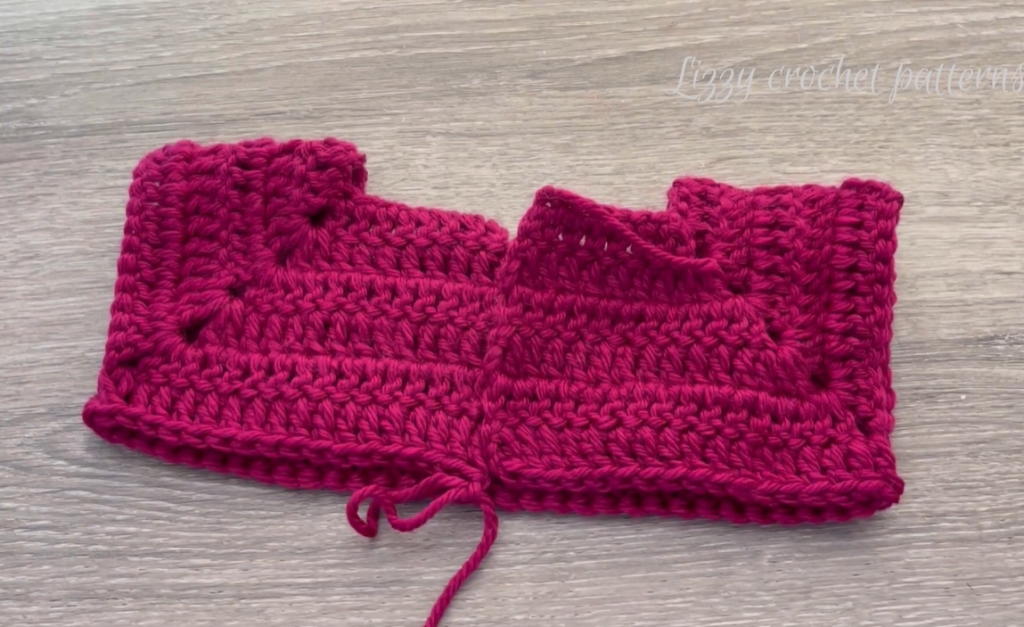
Part 1: The Yoke Construction
The yoke is worked back and forth in rows, not in the round, which creates the open-front for a cardigan or jacket.
Initial Chain: Ch 60. This is the starting chain for the neckline.
Row 1: Dc in the 4th ch from the hook (the skipped 3 ch count as the first dc) and in the next 7 ch. This is your first back panel. In the next ch, work a V-st. Dc in the next 14 ch. This is your first sleeve panel. Work a V-st in the next ch. Dc in the next 14 ch. This is your front panel. Work a V-st in the next ch. Dc in the next 14 ch. This is your second sleeve panel. Work a V-st in the next ch. Dc in the last 8 ch. This is your second back panel. Ch 3, turn.
Note: The V-stitches mark the four corners of your square yoke. These are where you will make all your increases.
Row 2: Dc in each dc across to the first ch-1 space of the V-st. In the ch-1 space, work a V-st. Dc in each dc across to the next ch-1 space. In the next ch-1 space, work a V-st. Repeat * to * two more times. Dc in each dc across to the end of the row. Ch 3, turn.
Row 3: Repeat Row 2.
Row 4: Repeat Row 2.
Row 5: Repeat Row 2.
Row 6: Repeat Row 2.
Row 7: Repeat Row 2.
Row 8: Repeat Row 2.
Continue repeating Row 2 until the yoke measures approximately 5-6 inches from the top of the neckline to the bottom edge. This should be a total of about 8-10 rows, depending on your yarn and tension.
Part 2: Dividing for Sleeves and Joining the Body
This step connects the front and back panels to form the body of the garment and creates the armholes.

Joining Row: Ch 3, dc in each dc across to the first ch-1 space of the V-st. Dc in the ch-1 space. Skip all the stitches of the first sleeve and the next V-st. Dc in the ch-1 space of the second V-st. Dc in each dc across to the next ch-1 space. Dc in the ch-1 space. Skip all the stitches of the second sleeve and the next V-st. Dc in the ch-1 space of the last V-st. Dc in each dc across to the end of the row. Ch 3, turn.
Note: You can work the joining row with a slip stitch to create a seamless round for a dress, or you can continue to work back and forth for a cardigan.
Part 3: Finishing the Body
If you are making a dress or sweater, you will now continue to work in the round. If you are making a cardigan, you can continue working back and forth in rows.
If working in the round: Sl st to the first dc of the row to join. Ch 3 and dc in each stitch around.
If working back and forth: Ch 3, turn, and dc in each stitch across.
Continue working in this manner until the body of the garment reaches your desired length.
Part 4: Adjusting the Size and Final Touches
This pattern is a foundation, so feel free to customize!
- For a smaller size (e.g., newborn): Start with a smaller initial chain (e.g., 40-50) and a smaller hook (e.g., 3.5 mm).
- For a larger size (e.g., 18-24 months): Start with a larger initial chain (e.g., 70-80) and a larger hook (e.g., 4.5 mm). You will also need to work more rows before dividing for the sleeves.
- To change the look: Use a different stitch for the body, such as half-double crochet or a shell stitch, to create a unique texture.
Video Tutorial:
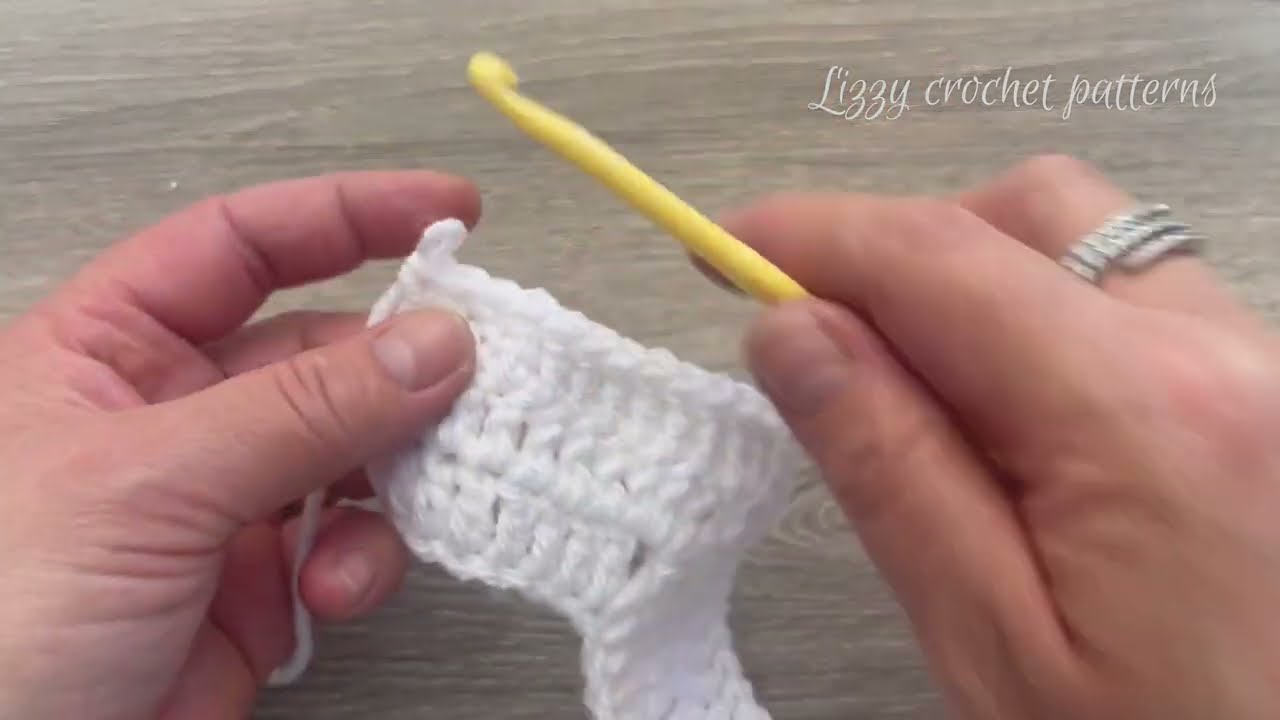
Weave in all remaining ends with your yarn needle. Gently block your finished yoke to help it lay flat. This simple square yoke pattern is a versatile starting point for a baby garment that will be both loved and practical.


