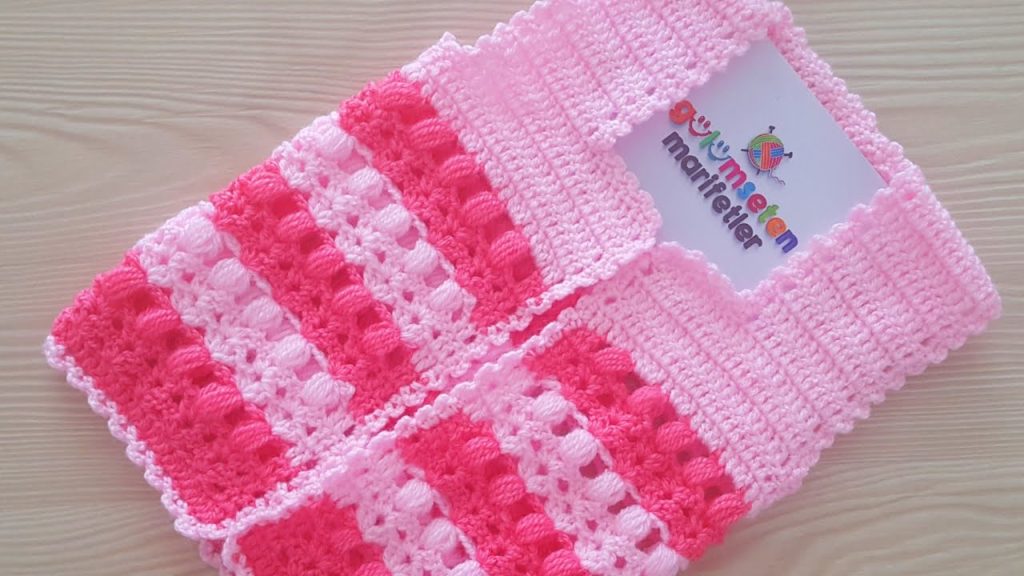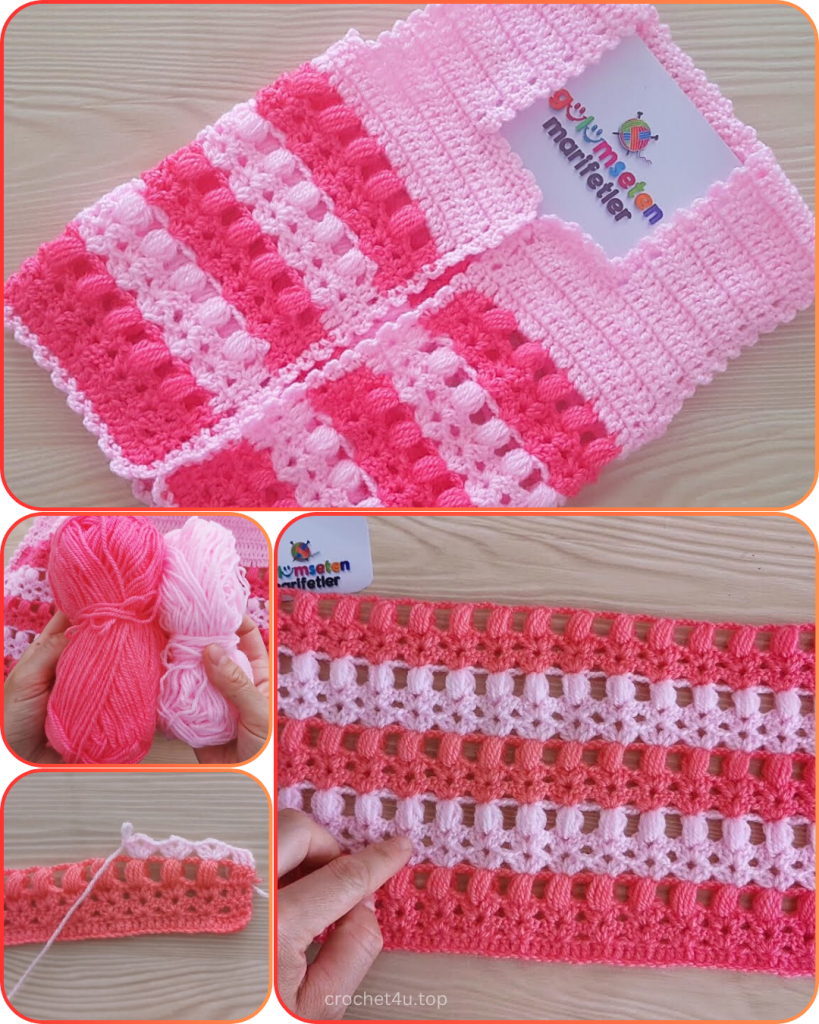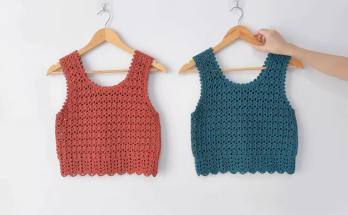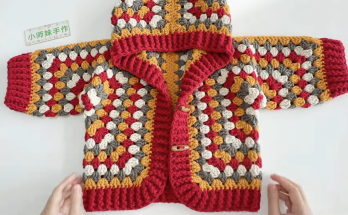
Is there anything more charming than a tiny cardigan for a tiny person? This “Little Darling” Baby Vest Dress is designed to be the ultimate layering piece for your little one. It’s a stylish and practical garment that can be worn over a onesie in summer or layered over a long-sleeved shirt and leggings in cooler weather.
I created this pattern with the goal of combining classic design with simple, approachable crochet techniques. The A-line shape gives it a sweet, dress-like flare, while the V-neck and simple front button closure make it easy to put on and take off—a must for squirming babies! The pattern is worked from the bottom up in one piece until the armholes, which means less seaming for you, the crafter.
This project is a perfect gift for a baby shower or a wonderful way to use up some of that precious baby yarn in your stash. The finished vest is a timeless piece that is both handmade with love and effortlessly chic. So, let’s get started and make something beautiful for a little darling in your life!

Pattern Details
- Skill Level: Intermediate
- Size: 0-6 Months
- Finished Measurements (approximate):
- Chest Circumference: 18 inches (46 cm)
- Length (shoulder to hem): 10 inches (25.5 cm)
- Gauge: 16 hdc stitches and 10 rows = 4 inches (10 cm) square.
- Checking your gauge is critical for garments! If your swatch is too big, try a smaller hook. If it’s too small, try a larger hook.
Materials
- Yarn: Approximately 200-250 yards of DK (weight 3) yarn. A soft, washable blend like acrylic or cotton is ideal.
- Hook: Size G/6 (4.0 mm) crochet hook.
- Notions:
- Yarn needle for weaving in ends
- Scissors
- Stitch markers (at least 2)
- 3 small buttons (about 0.5 inches / 1.25 cm in diameter)
Abbreviations (US Terms)
- ch: chain
- st(s): stitch(es)
- sl st: slip stitch
- sc: single crochet
- hdc: half double crochet
- hdc2tog: half double crochet two together (decrease)
- inc: increase (2 hdc in the same stitch)
- RS: right side of work
- WS: wrong side of work
- […]: Repeat instructions within brackets as specified
- (…): The number of stitches at the end of the row
Pattern Notes
- This vest is worked in rows, from the bottom up.
- The ch 2 at the beginning of the row counts as a hdc unless otherwise specified.
- Increases are worked to create the A-line shape. You will increase on the first and last hdc of specific rows.
- The pattern is worked in one piece until the armholes.
- Buttonholes will be created on the right front panel.
- You will be instructed to split the work and work the back and two front panels separately.
The Pattern
Body of the Vest (Worked in one piece)

Foundation: Ch 62.
Row 1 (RS): Hdc in the 3rd ch from the hook and in each ch across. Turn. (60 sts)
Row 2 (WS): Ch 2 (counts as hdc), hdc in each st across. Turn. (60 sts)
Row 3: Ch 2, inc in the next st, hdc in each st until the last 2 sts, inc in the next st, hdc in the last st. Turn. (62 sts)
Row 4: Ch 2, hdc in each st across. Turn. (62 sts)
Row 5: Ch 2, inc in the next st, hdc in each st until the last 2 sts, inc in the next st, hdc in the last st. Turn. (64 sts)
Row 6-10: Ch 2, hdc in each st across. Turn. (64 sts)
Row 11: Ch 2, inc in the next st, hdc in each st until the last 2 sts, inc in the next st, hdc in the last st. Turn. (66 sts)
Row 12-16: Ch 2, hdc in each st across. Turn. (66 sts)
Continue this pattern of increasing on every 6th row (Row 17, 23, etc.) until you have 70 stitches. You should have worked about 26 rows in total, or until the piece measures approximately 6 inches from the bottom.
Splitting for Armholes

At this point, you will split your work. The first 15 sts will be the right front, the next 30 sts will be the back, and the final 15 sts will be the left front. Place a stitch marker on the 16th and 46th stitches to mark the armholes.
Next Row: Ch 2, hdc in the first 14 sts. Turn. (15 sts) You will now only work on these 15 stitches for the right front panel.
Right Front Panel
Row 1 (RS): Ch 2, hdc2tog, hdc in each st to end. Turn. (14 sts) Row 2 (WS): Ch 2, hdc in each st across. Turn. (14 sts) Row 3 (V-neck shaping): Ch 2, hdc2tog, hdc in each st to end. Turn. (13 sts) Row 4: Ch 2, hdc in each st across. Turn. (13 sts)
Continue decreasing on the neckline edge (every other row) until you have 8 stitches left. Work straight for another 4-6 rows or until the piece measures 4 inches from the armhole.
Create your buttonholes here. You can make buttonholes by chaining 1, skipping 1 stitch. Place them evenly along the row. A good place is near the top of the V-neck, middle, and one closer to the armhole. Repeat for all 3 buttonholes.
After the last buttonhole row, work 1 final row, and then fasten off, leaving a long tail for sewing.
Back Panel
With your yarn attached to the next available stitch (where your second marker is), work on the 30 sts for the back.

Row 1: Ch 2, hdc in the next 29 sts. Turn. (30 sts) Row 2-onwards: Ch 2, hdc in each st across. Continue working straight until the back panel is the same length as the front panels.
Do not fasten off. Sl st to the first stitch of the right front panel to join the shoulder seam. Then, sl st across the next 7 stitches to secure. Fasten off.
Left Front Panel
Join your yarn to the next available stitch (where the first marker was). This will be the opposite side of the vest.
Row 1 (WS): Ch 2, hdc in the next 14 sts. Turn. (15 sts) Row 2 (RS): Ch 2, hdc in each st to the last 2 sts, hdc2tog. Turn. (14 sts) Row 3 (V-neck shaping): Ch 2, hdc in each st to the last 2 sts, hdc2tog. Turn. (13 sts) Row 4: Ch 2, hdc in each st across. Turn. (13 sts)
Continue decreasing on the neckline edge (every other row) until you have 8 stitches left. Work straight for another 4-6 rows until the piece is the same length as the back and other front panel. Fasten off, leaving a long tail for sewing.
Use your yarn needle to sew the shoulder seam to the back panel, just as you did on the other side. You can use a mattress stitch or a simple whipstitch for a clean finish.
Video Tutorial:
Finishing
- Edging: Join yarn at the bottom of a front panel. Work a simple border of single crochet (sc) around the entire vest opening (front panels, neckline, and bottom). This will give your piece a crisp, finished look.
- Armholes: Work a round of sc around each armhole opening. Sl st to join at the end of the round. Fasten off and weave in ends.
- Buttons: Sew your buttons onto the left front panel to correspond with the buttonholes on the right front panel.
- Weave in all ends: Make sure all your loose yarn ends are neatly woven in for a professional finish.
Congratulations! Your “Little Darling” Baby Vest Dress is now ready for its close-up. I hope you enjoyed making it as much as I enjoyed designing it. I would be absolutely thrilled to see your finished creations! Please share a picture on social media and tag me or use the hashtag #LittleDarlingVest so I can find it and admire your work. Happy crocheting!


