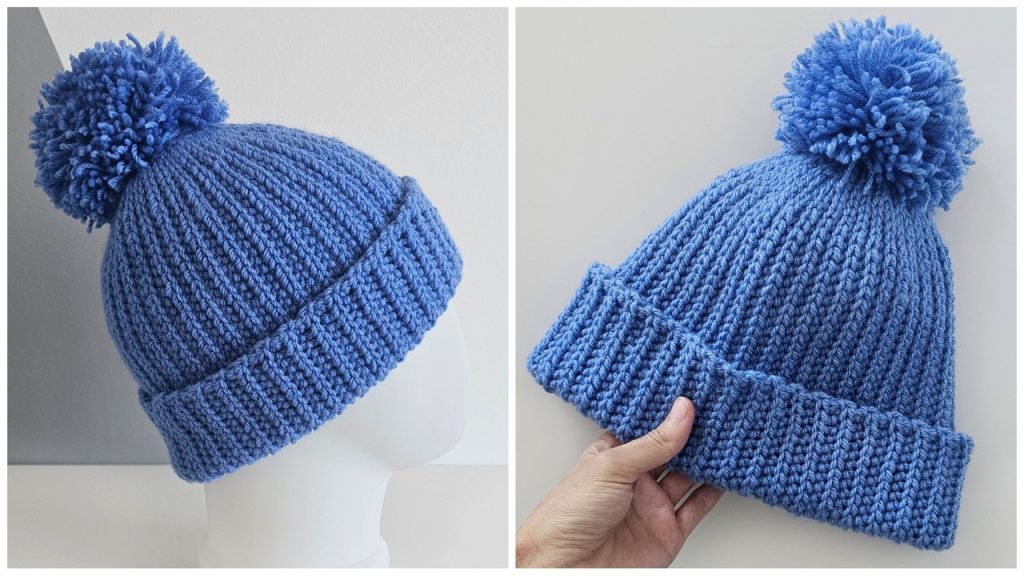
Hello, makers and coziness connoisseurs! Are you ready for the perfect grab-and-go winter accessory? Today, we’re crocheting the Alpine Ribbed Pom Beanie—a timeless hat featuring luxurious vertical ribs, a deep fold-up brim, and a delightfully fluffy pom-pom!
The magic of this beanie lies in a simple technique: the Half Double Crochet in the Back Loop Only (HDC BLO). By working the hat flat in rows and then seaming it, we achieve a fabric that looks knit, stretches beautifully, and works up quickly. This pattern is designed to be fully adjustable, making it a fantastic project for any head size.
Grab your softest yarn and a hook, and let’s create a hat that will keep you warm from the slopes to the coffee shop!
🧶 Materials You’ll Need
Make sure you have all your supplies ready before you begin your cozy creation:
- Yarn:Worsted Weight (Aran / 10-ply), preferably a soft acrylic or wool blend that has good bounce and stretch. The hat in the image appears to use a bright, solid color.
- Quantity: Approximately 200 – 250 yards per hat. (This accounts for the deep brim and the pom-pom).
- Crochet Hook: 5.5 mm (I/9). This size is perfect for achieving the stretchy, dense fabric needed for the vertical ribbing.
- Pom-Pom Maker (Optional): A 3-inch or 4-inch pom-pom maker, or a simple piece of cardboard, if you want a perfect pom-pom like the one shown.
- Scissors: For cutting yarn.
- Yarn Needle (Tapestry Needle): Essential for seaming the hat and weaving in ends.
- Measuring Tape: To check your dimensions for a perfect fit.
📏 Finished Size & Customization
This detailed pattern is written for a standard adult size, but the core beauty of this design is its adjustability.
- Adult Beanie (Approximate):
- Height (Unfolded): 11.5 – 12 inches (29 – 30 cm)
- Circumference (Stretched): 21 – 23 inches (53 – 58 cm)
- Customization Guide:
- To adjust Height/Depth: Change the number of foundation chain stitches in Part 1.
- More chains = Taller hat.
- Fewer chains = Shorter hat.
- To adjust Width/Circumference: Change the total number of rows in Part 2.
- More rows = Wider hat. (Aim for a length about 1-2 inches less than the head circumference, as it stretches.)
- To adjust Height/Depth: Change the number of foundation chain stitches in Part 1.
📝 Abbreviations (US Terms)
Keep this simple list of stitches handy:
- ch: chain
- sl st: slip stitch
- hdc: half double crochet
- st(s): stitch(es)
- BLO: back loop only
- dec: decrease (hdc2tog – half double crochet two together)
- FO: Fasten Off
💡 Important Notes Before You Start
The secret to this “knit-look” texture is all in the stitch placement!

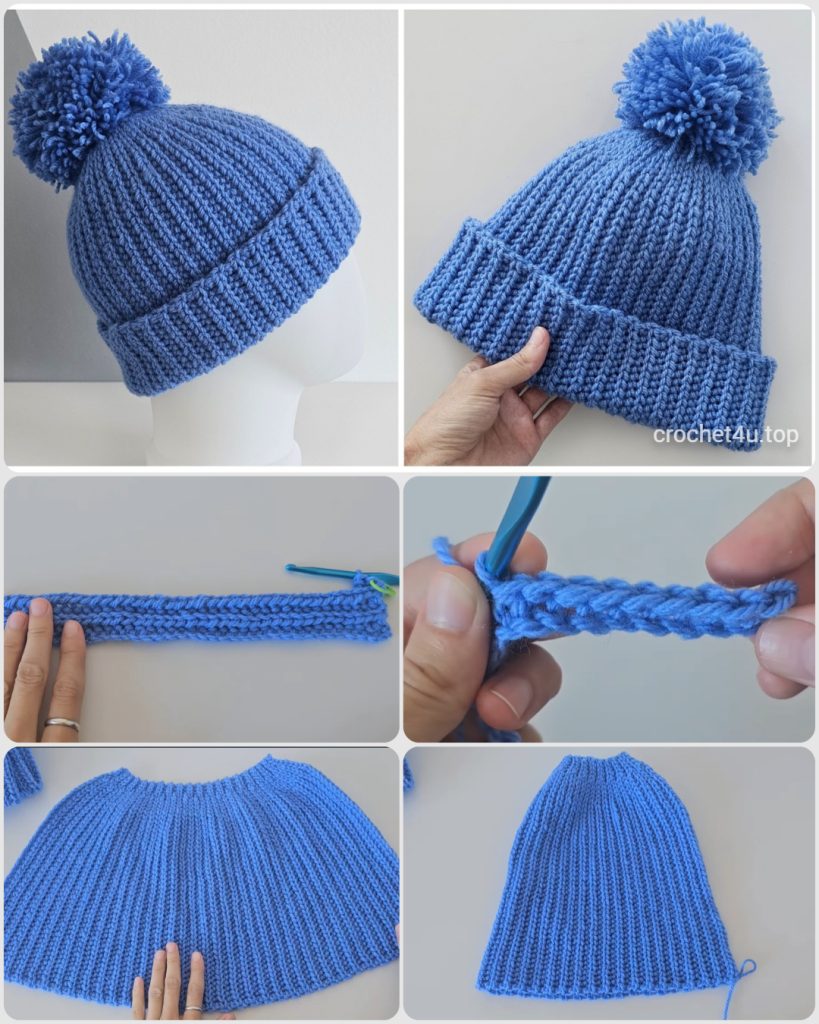
- Vertical Ribbing: This hat is constructed in a long rectangle worked flat in rows, which is then seamed. The ribbed texture is created by working every stitch into the Back Loop Only (BLO).
- Turning Chains: We will use a Chain 1 at the start of every row. This chain DOES NOT count as a stitch. This ensures a neat, straight edge for easy seaming.
- Brim Placement: The bottom section of your foundation chain will become the fold-up brim. For a deep cuff like the one pictured, we need at least 10-12 chains dedicated to the brim height.
- Seaming: The final seam must be snug and invisible. Using a slip stitch or tapestry needle and working into the BLO on one side helps hide the seam beautifully.
🏔️ Part 1: The Beanie Panel (Worked Flat in Rows)
We are creating one large rectangle that will form the body of the hat.
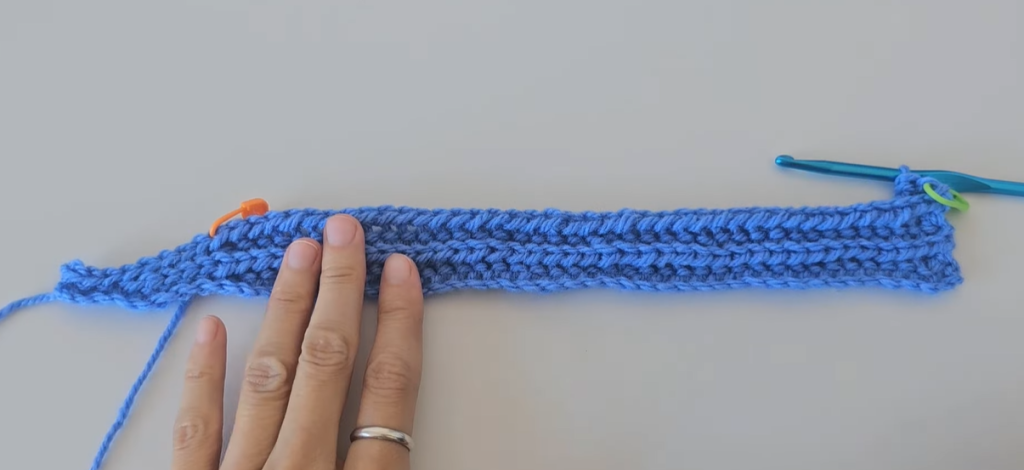
- Foundation Chain (Determines Height): Ch 45. (This breaks down to: 12 chains for the deep folded brim, 30 chains for the body, and 3 chains for the crown decrease section).
- Row 1 (First Row): Hdc in the 2nd ch from the hook, and 1 hdc in each remaining chain across. Ch 1, turn. (44 hdc)
- Row 2 (Ribbing Established): Work 1 hdc in the BLO of each st across. Ch 1, turn. (44 hdc)
- Repeat Row 2 for a total of 60 rows (or until your panel, when slightly stretched, measures approximately 20-21 inches long).
- Check the Fit: After about 40 rows, wrap the panel around your head. It should feel snug but stretch comfortably. If it’s too loose, subtract rows; if it’s too tight, add rows.
⬆️ Part 2: Shaping the Crown (The Last 4 Rows)
To avoid a bulky, gathered top, we will subtly decrease the stitches in the crown section over the last few rows. We must leave the brim stitches untouched.
- The first 12 stitches from the bottom will remain the brim (no decreases).
- The next 32 stitches are for the body and crown shaping.
- Row 61 (Decrease 1):
- Work 1 hdc in the BLO of the first 12 sts (the brim).
- Work 1 hdc in the BLO of the next 20 sts.
- [Hdc2tog (dec) over the next 2 sts] repeat 4 times.
- Work 1 hdc in the BLO of the last 4 sts. Ch 1, turn. (40 hdc)
- Row 62 (No Decrease):
- Work 1 hdc in the BLO of each st across. Ch 1, turn. (40 hdc)
- Row 63 (Decrease 2):
- Work 1 hdc in the BLO of the first 12 sts (the brim).
- Work 1 hdc in the BLO of the next 10 sts.
- [Hdc2tog (dec) over the next 2 sts] repeat 9 times.
- Work 1 hdc in the BLO of the last st. Ch 1, turn. (31 hdc)
- Row 64 (Final Row):
- Work 1 hdc in the BLO of each st across. DO NOT Ch 1. (31 hdc)
🧵 Part 3: Seaming and Closure
Time to transform the flat panel into a snug beanie!
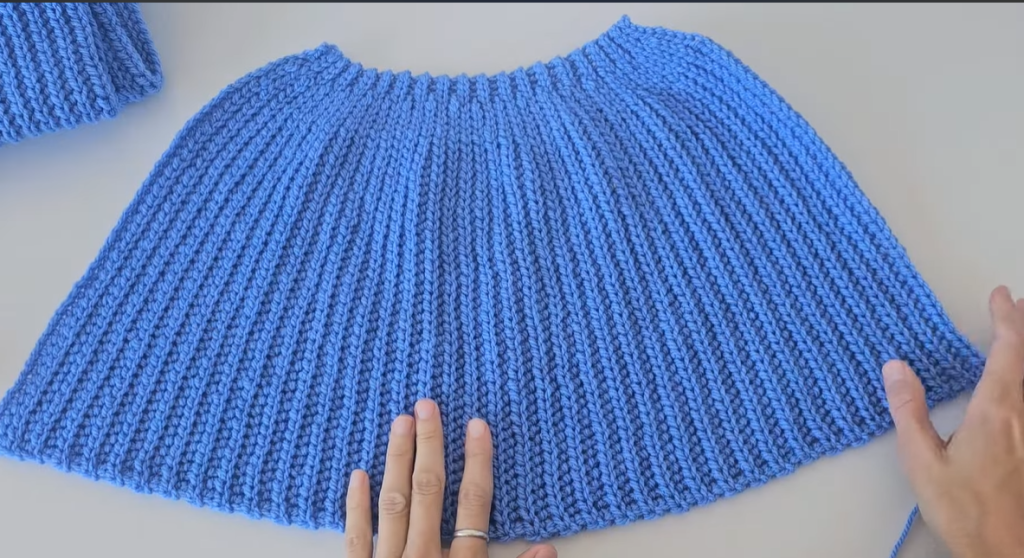
- Seam the Sides:
- Fold the panel in half lengthwise, lining up Row 1 with Row 64.
- Use the yarn tail attached to your hook. Sl st (slip stitch) the two edges together, working through the back loop of Row 64 and the starting chain loop of Row 1. This creates a neat, low-profile seam.
- Continue seaming all the way up the side until you reach the last stitch (the top edge of the crown).
- Fasten Off (FO), leaving a very long tail (about 20 inches) for closing the crown.
- Close the Crown:
- Thread the long tail onto your yarn needle.
- Starting at the top edge, weave the needle in and out of the end of every row (about 64 total weaving points) all the way around the top opening.
- Once you have woven through every row end, gently but firmly pull the yarn tail to cinch the top opening completely shut.
- Sew back and forth across the small gathered center several times to secure the crown tightly. Knot the yarn tail on the inside and weave in the end.
🎈 Part 4: The Pom-Pom and Finishing
The final flourish that makes this hat pop!
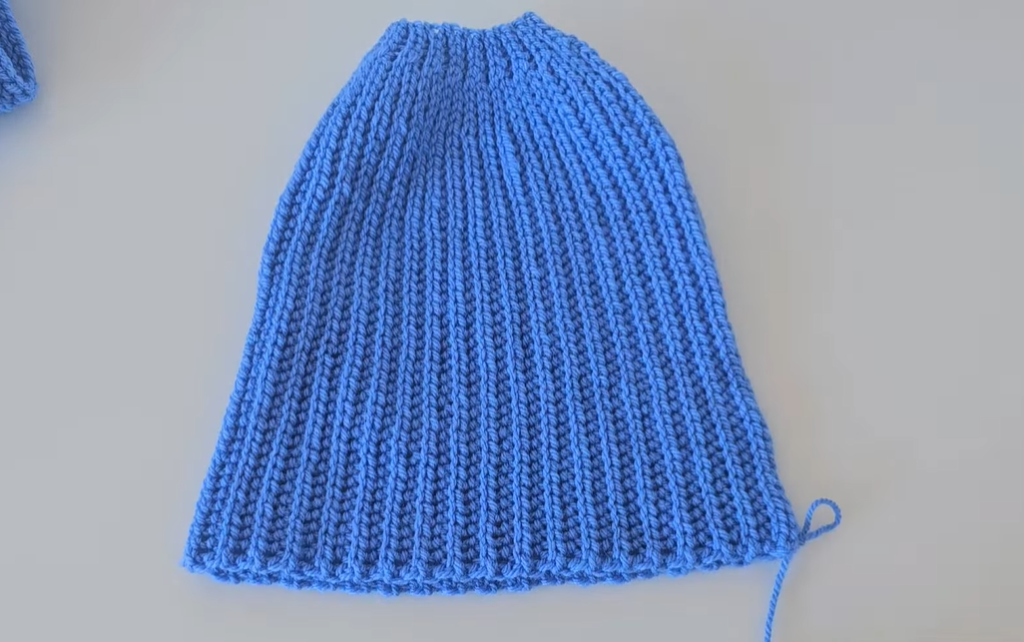
- Make the Pom-Pom: Using a pom-pom maker (or your preferred method) and your main yarn color, create a thick, dense pom-pom approximately 3-4 inches in diameter.
- Attach the Pom-Pom: Use the long tie strands from the pom-pom to securely attach it to the center of the hat’s crown. Insert the strands through the gathered hole and tie them tightly on the inside of the hat. Knot several times and weave the remaining ends into the inside fabric.
- Finishing Touches:
- Weave in the starting tail from the foundation chain.
- Flip the hat right-side out.
- Fold the bottom 12 rows upward to form the deep, ribbed cuff.
Video Tutorial:
🎉 Congratulations!
You’ve completed your Alpine Ribbed Pom Beanie! With its deep cuff and perfect ribbing, this hat is going to be your new favorite accessory all season long. Which color will you make next?

