
🌟 Introduction: Weaving Geometric Lace
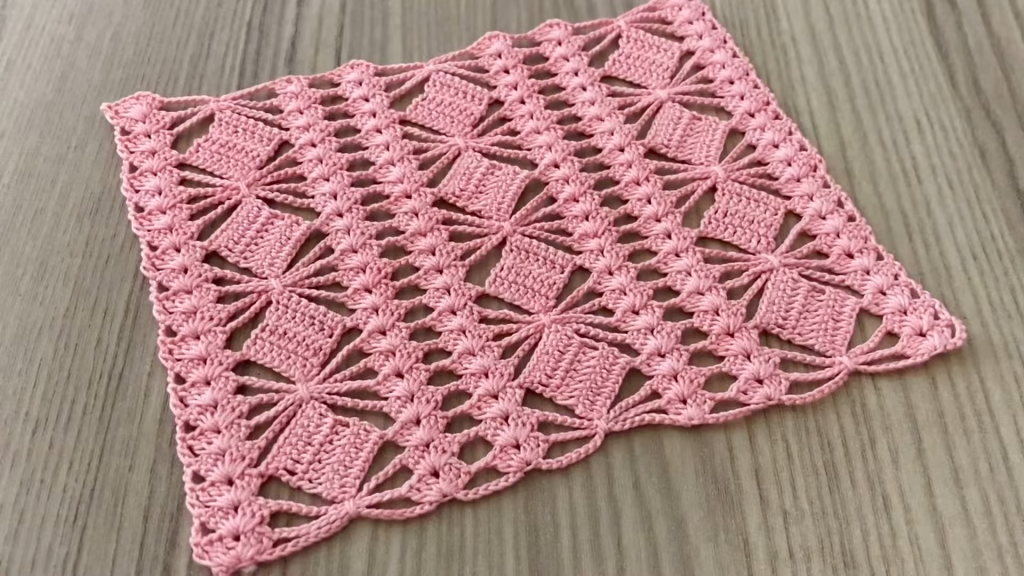
Welcome to a truly mesmerizing crochet project! The fabric in the image showcases the Diamond Trellis Lace—a pattern that creates dense, solid square motifs separated by airy, pointed lattice work, all arranged on a striking diagonal. This stitch is ideal for items where texture and geometric elegance are key, such such as shawls, table runners, and lightweight blankets.
This pattern is built upon a two-row repeat where one row focuses on building the solid squares and the next focuses on the airy lattice connections. You’ll need to pay close attention to where you place your stitches to maintain the diagonal flow. We’ll be using standard US crochet terms.
Skill Level: Advanced Intermediate
Requires comfort with basic stitches, chaining, and accurate stitch placement in previous rows’ chains and stitches.
🛍️ Materials: Your Essential Supplies
To achieve the precise, repeating geometric look of the sample, a smooth yarn is recommended.
- Yarn: Choose a Fingering/Sock Weight yarn (Weight 1) or a DK Weight yarn (Weight 3) with good stitch definition. The sample is a lovely muted pink.
- Hook: Select a hook size appropriate for your yarn. For a Fingering weight yarn, try a 2.75mm (US C/2) or 3.0mm hook.
- Tapestry Needle: For weaving in ends.
- Scissors
📋 Abbreviations (US Terms)
- ch: chain
- sl st: slip stitch
- sc: single crochet
- dc: double crochet
- tr: treble crochet (or triple crochet)
- sk: skip
- sp: space
- ch-sp: chain space
- Shell: 5 dc in the same stitch or space
- **: Instructions between asterisks are repeated.
- ( ): Instructions in parentheses are worked into the same stitch or space.
📐 Pattern Instructions: The Diamond Trellis Stitch
This pattern is worked in rows and uses a stitch multiple of 12 plus 1 for the foundation chain.

Foundation Chain
- Chain a multiple of 12 plus 1.
- Example for a small swatch: Ch $24 + 1 = 25$.
Row 1: Foundation Mesh
This row establishes the grid for the solid squares.
- Ch 4 (counts as 1 dc, ch 1). Dc in the 5th ch from hook.
- *Ch 1, sk 1 ch, dc in the next ch. (Ch 1, sk 1 ch, dc in the next ch) 5 times.
- Ch 2, sk 2 chs, dc in the next ch.*
- Repeat from * to * across the row.
- End with Ch 1, dc in the last ch. Turn.
Row 2: Building the Solid Squares
This row uses the ch-1 spaces to create a dense, square-like cluster.
- Ch 3 (counts as 1 dc). Dc in the first ch-1 sp. Dc in the next dc.
- *2 dc in the next ch-1 sp. Dc in the next dc. (Repeat 3 times total—you should have 9 dc).
- Ch 5, sk the ch-2 sp, sc in the next ch-1 sp. Ch 5.
- Dc in the next dc. (2 dc in the next ch-1 sp, dc in the next dc) 4 times.* (This creates the next solid block of 13 dc).
- Repeat from * to * across the row.
- End with dc in the final ch-1 sp. Dc in the 3rd ch of the turning ch 4. Turn.
- Note: The solid blocks should be 13 dc wide, separated by ch-5 arches.
Row 3: Creating the Lattice and Peaks
This row forms the airy diamond lattice and the sharp peaks.
- Ch 1 (does not count as a stitch), sc in the first dc.
- Ch 3, sk 3 dc, sc in the next dc. Ch 3, sk 3 dc, sc in the next dc.
- Ch 5, sk 5 dc, sc in the next dc. Ch 3.
- *3 tr in the ch-5 sp (this is the corner peak). Ch 3, sc in the next dc.
- Ch 5, sk 5 dc, sc in the next dc. Ch 3, sk 3 dc, sc in the next dc.
- Ch 3, sk 3 dc, sc in the next dc.*
- Repeat from * to * across the row.
- End with Ch 3, sc in the last dc. Turn.
Row 4: Offsetting the Solid Squares
This row fills the new spaces to create the next row of squares on the diagonal.
- Ch 3 (counts as 1 dc). 2 dc in the first ch-3 sp. Dc in the next sc.
- Ch 1, sk ch-3 sp. Dc in the next sc. Ch 1, sk ch-5 sp. Dc in the next sc.
- *4 dc in the ch-3 sp. Dc in the next tr. (2 dc in the ch-3 sp, dc in the next tr) 2 times (this creates the corner solid block).
- Ch 1, sk ch-3 sp. Dc in the next sc. Ch 1, sk ch-5 sp. Dc in the next sc.
- 4 dc in the ch-3 sp. Dc in the next sc.*
- Repeat from * to * across the row.
- End with dc in the final sc. Turn.
🔁 The Repeat and Continuing the Fabric
The core of the Diamond Trellis Lace pattern is the two-row repeat that alternates between the solid squares and the lace connections.
To Continue the Fabric:
- Repeat Row 3 (Lattice and Peaks) and Row 4 (Offset Squares) until your piece reaches the desired length.
Important Notes on Repeat:
- Row 3 (Lattice): The 3 tr peak is always placed in the ch-5 space of the previous row.
- Row 4 (Offset Squares): The solid blocks of dc are always worked into the large ch-sp section created by the previous row’s 3 tr peak. This ensures the stagger.
- Stitch Count: Maintain the total number of dc stitches in your solid blocks and the total number of ch-sp sections in your lattice rows.
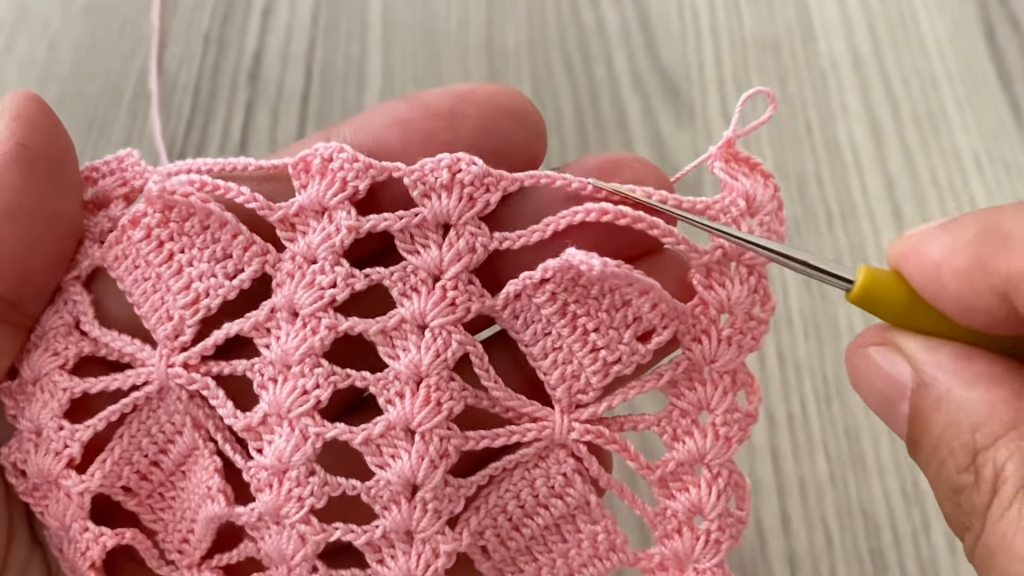
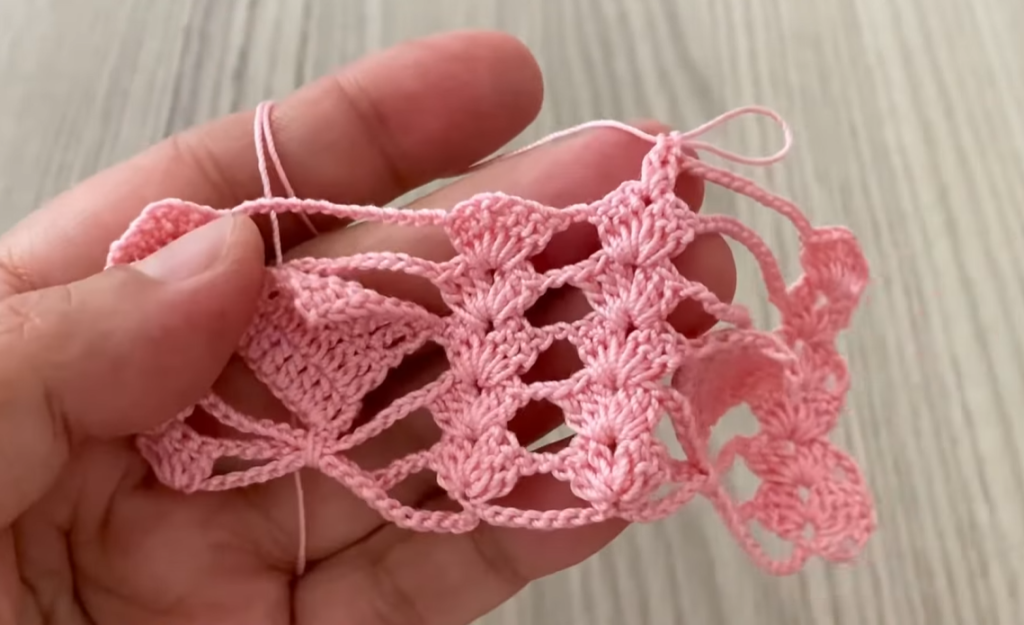
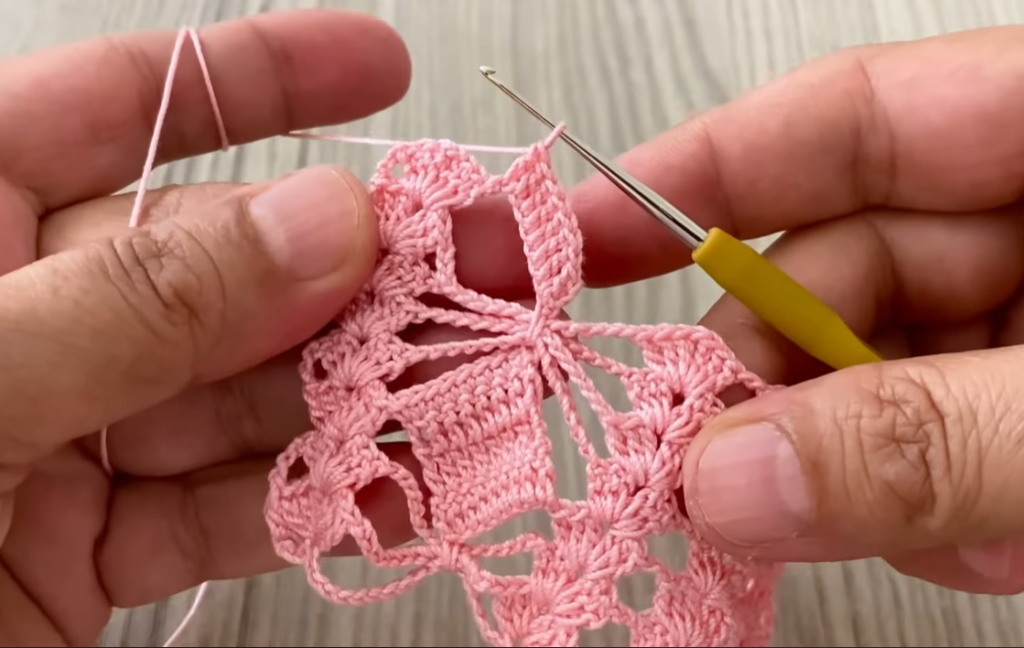
Video Tutorial:
✂️ Finishing: Edging and Blocking
Edging
To frame the beautiful pattern, a simple final border can be added.
- Side Edges: Work a neat, even row of sc stitches down the raw edges of your piece. Work 3 sc into the side of each dc/tr column to maintain a straight edge.
- Top/Bottom Edges: Work a final row of (sc, ch 3, sc) into the peaks of the triangles and sc into the valleys to enhance the natural scallop.
Blocking: Sharpening the Diamonds
Blocking is highly recommended to flatten the work, open the lattice, and sharply define the diamond geometry.
- Dampen: Wet the fabric completely or use steam.
- Pin: Lay the piece on a blocking mat. Gently stretch the fabric diagonally, pinning the four outer corners. Crucially, pin out the peaks created by the tr stitches in Row 3 to sharpen the diamond shape.
- Dry: Allow the piece to dry completely before unpinning.
Your beautiful Diamond Trellis Lace Fabric is now complete! What stunning project will you turn this into?


