
💎 Introduction: The Power of Modular Crochet
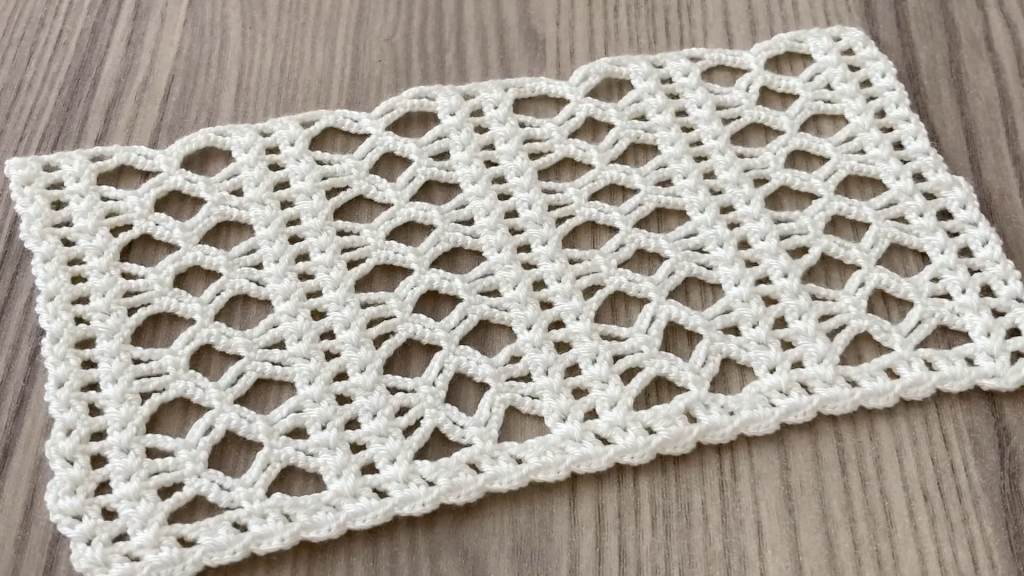
Welcome, fellow fiber artists! Today’s project is a stunning quadrant centerpiece made by flawlessly joining four individual Floral Medallion Motifs. This modular technique allows you to tackle large, complex pieces one manageable unit at a time, resulting in a breathtaking final doily or table accent that looks much harder than it actually is.
The finished piece features a delicate, eight-petaled flower at its core, surrounded by lace, and connected to its neighbors by a beautiful lattice. We will detail the pattern for one motif, then provide the critical instructions for the “join-as-you-go” technique. We’ll be using standard US crochet terms.
Skill Level: Intermediate to Advanced
Requires familiarity with working in the round, shells, picots, and joining motifs with precision.
🛍️ Materials: What You Will Need
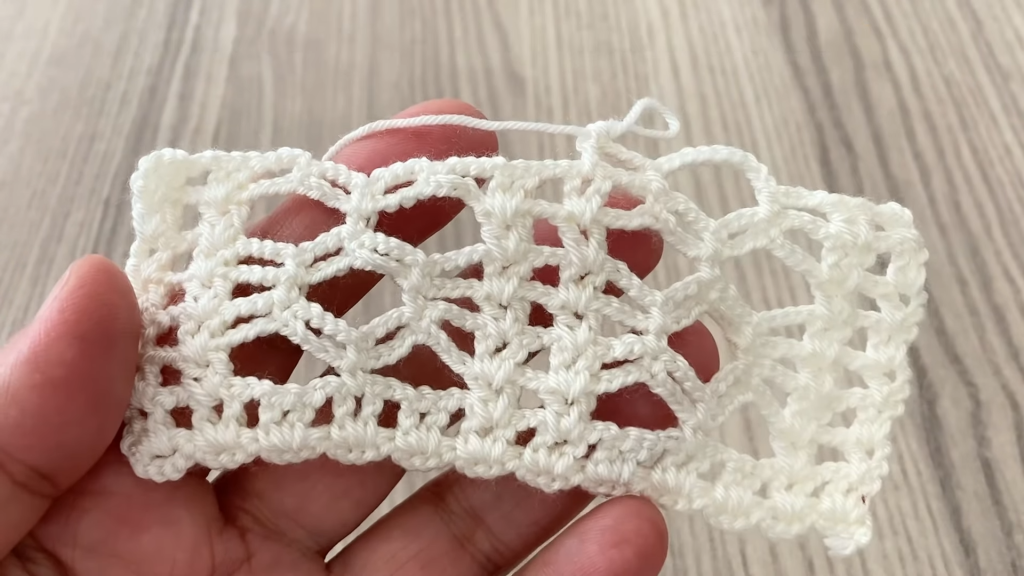
To achieve the fine, crisp detail shown in the image, your choice of material is essential.
- Yarn: Lace Weight or Thread Weight Cotton (Size 10 is standard for this type of doily, but Size 20 or 30 will yield a finer, more antique-looking result). The example is a classic, crisp white.
- Hook: A steel crochet hook sized appropriately for your thread. For Size 10 thread, a 1.5mm to 1.75mm hook (US 7 or 8 steel) is recommended.
- Tapestry Needle: For weaving in ends.
- Scissors
- Blocking Supplies: Pins and a blocking mat are absolutely essential to open up the lace and square the final piece.
📋 Abbreviations (US Terms)
- ch: chain
- sl st: slip stitch
- sc: single crochet
- dc: double crochet
- tr: treble crochet (or triple crochet)
- sk: skip
- sp: space
- ch-sp: chain space
- Picot: ch 3, sl st into the first ch
- Shell: 5 dc in the same stitch or space
- ( ): Instructions in parentheses are worked into the same stitch or space.
- **: Instructions between asterisks are repeated.
- [ ]: Total number of stitches/spaces at the end of the round.
- JOIN: See specific instructions in the joining section.
🌹 Part 1: The Floral Medallion Motif (Make 4)
We’ll start with the central flower that forms the heart of each quadrant.
Round 1: Center Flower Base
- Ch 4, sl st into the first ch to form a ring. (Or use a Magic Ring).
- Ch 3 (counts as first dc), work 15 dc into the ring.
- Sl st to the top of the beginning ch 3 to join. [16 dc]
Round 2: Petal Foundations
- Ch 1 (does not count as a stitch), sc in the same stitch.
- *Ch 3, sk 1 dc, sc in the next dc.*
- Repeat from * to * around. You will have 8 ch-3 loops.
- Sl st to the beginning sc to join. [8 sc, 8 ch-3 sps]
Round 3: Forming the Petals
- Sl st into the first ch-3 sp.
- Ch 3 (counts as 1 dc), work 4 dc into the same ch-3 sp. This forms the first petal.
- *Sk 1 sc. 5 dc in the next ch-3 sp.*
- Repeat from * to * around.
- Sl st to the top of the beginning ch 3 to join. [8 Petals of 5 dc]
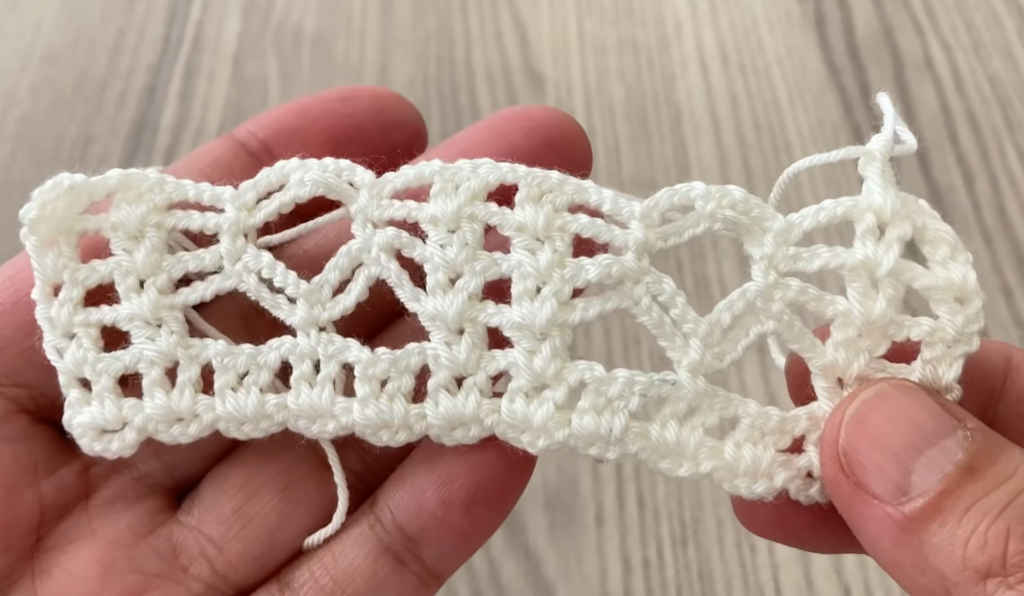
Round 4: Lattice Foundation
- Ch 1 (does not count as a stitch), sc in the same stitch.
- *Ch 5. Sc into the 3rd dc of the next 5-dc petal. Ch 5. Sc in the first dc of the next petal.*
- Repeat from * to * around.
- Sl st to the beginning sc to join. [16 sc, 16 ch-5 sps]
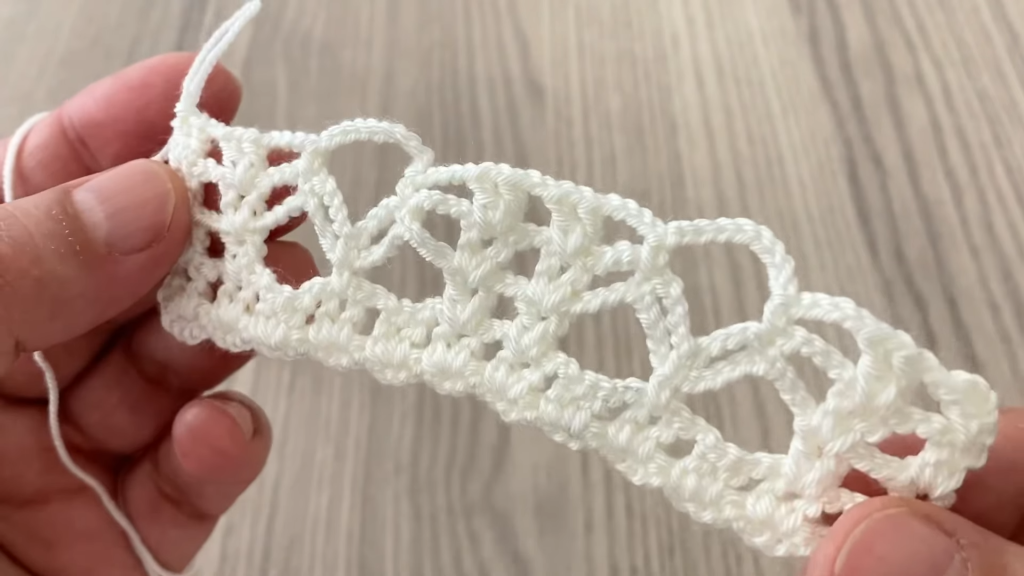
Round 5: Final Motif Shaping
This round adds the final scalloped edge and prepares the motif for joining.
- Sl st into the first ch-5 sp.
- Ch 3 (counts as 1 dc), work (2 dc, Picot, 3 dc) into the same ch-5 sp.
- *3 dc, Picot, 3 dc in the next ch-5 sp.*
- Repeat from * to * around. [16 scalloped points]
- Sl st to the top of the beginning ch 3 to join.
For the first three motifs, Fasten off and weave in ends. DO NOT fasten off the final motif, as you will need to join it in the next step.
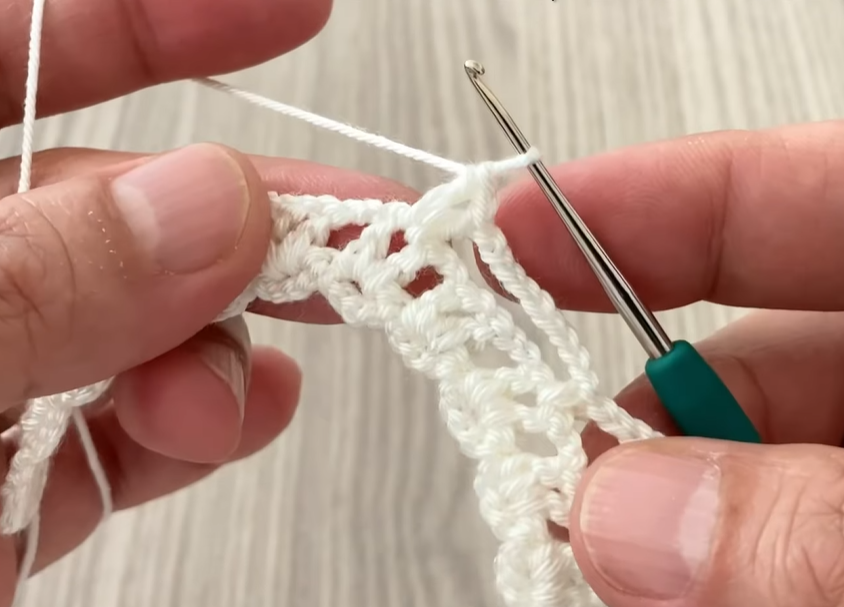
⛓️ Part 2: The Join-As-You-Go Round (For Motifs 2, 3, & 4)
You will execute Round 5 on the new motif, but substitute certain Picots and chains with slip stitches into the finished motif(s).
Joining Points on Finished Motif:
The joining happens at the Picots of the scallops and into the ch-5 spaces between the scallops.
Chain Join (CJ):
- Work ch 1, sl st into the corresponding Picot or ch-5 space on the adjacent motif, ch 1. Then, complete the Picot/chain as if you hadn’t joined.
Joining Instructions for Motif 2 (Joining to Motif 1):
- Work Round 5 as written until you reach the 5th scallop (this will be the corner where the motifs align).
- Scallop 5 (Corner Join): Work 3 dc into the ch-5 sp. CJ (join to the Picot of the 5th scallop on Motif 1). Work 3 dc into the same ch-5 sp.
- Lattice Join: Sc into the next ch-5 sp. Ch 2, sl st into the center of the corresponding ch-5 sp on Motif 1. Ch 2. Sc into the same ch-5 sp on the new motif.
- Scallop 6 (Center Join): Work 3 dc into the next ch-5 sp. CJ (join to the Picot of the 6th scallop on Motif 1). Work 3 dc into the same ch-5 sp.
- Complete the round as written (Picot, 3 dc) for the remaining scallops. Sl st to join. Fasten off.
Joining Instructions for Motif 4 (Joining to Motifs 1, 2, & 3):
The 4th motif connects to three separate points simultaneously: the side of Motif 1, the side of Motif 3, and the center where all four motifs meet (Motif 2 is the top left).
- Work Round 5 as written until you reach the 4th scallop.
- Scallop 4 (Side Join to M1): Work 3 dc, CJ (join to Picot of 4th scallop on M1), 3 dc.
- Lattice Join to M1: Sc into ch-5 sp. Ch 2, sl st into ch-5 sp on M1. Ch 2, sc into ch-5 sp on M4.
- Scallop 5 (Side Join to M1): Work 3 dc, CJ (join to Picot of 5th scallop on M1), 3 dc.
- The Quadrant Center Join (The Critical Point!):
- Sc into the next ch-5 sp on M4.
- Ch 2, sl st into the center joining point where M1, M2, and M3 already meet. Ch 2.
- Sc into the next ch-5 sp on M4.
- Scallop 6 (Side Join to M3): Work 3 dc, CJ (join to Picot of 6th scallop on M3), 3 dc.
- Lattice Join to M3: Sc into ch-5 sp. Ch 2, sl st into ch-5 sp on M3. Ch 2, sc into ch-5 sp on M4.
- Scallop 7 (Side Join to M3): Work 3 dc, CJ (join to Picot of 7th scallop on M3), 3 dc.
- Complete the round as written for the remaining scallops. Sl st to join. Fasten off.
Video Tutorial:
📐 Finishing and Blocking: Your Doily’s Transformation
Blocking is non-negotiable for this project! It pulls the joins tight, opens the lace, and transforms the round motifs into a perfect square centerpiece.
- Preparation: Wet or steam your entire piece thoroughly.
- Pinning: Place the damp doily onto your blocking mat. Gently pull the work into a perfect square, focusing on making the outside edges straight. Pin out all 16 outer scallop points.
- The Center: Use pins to stretch the tiny lace connections around the center of the piece to open up the internal lattice.
- Drying: Allow the piece to dry completely before unpinning. This sets the shape of the lace permanently.
Enjoy your stunning, professionally finished Quadrant Bloom Centerpiece!


