
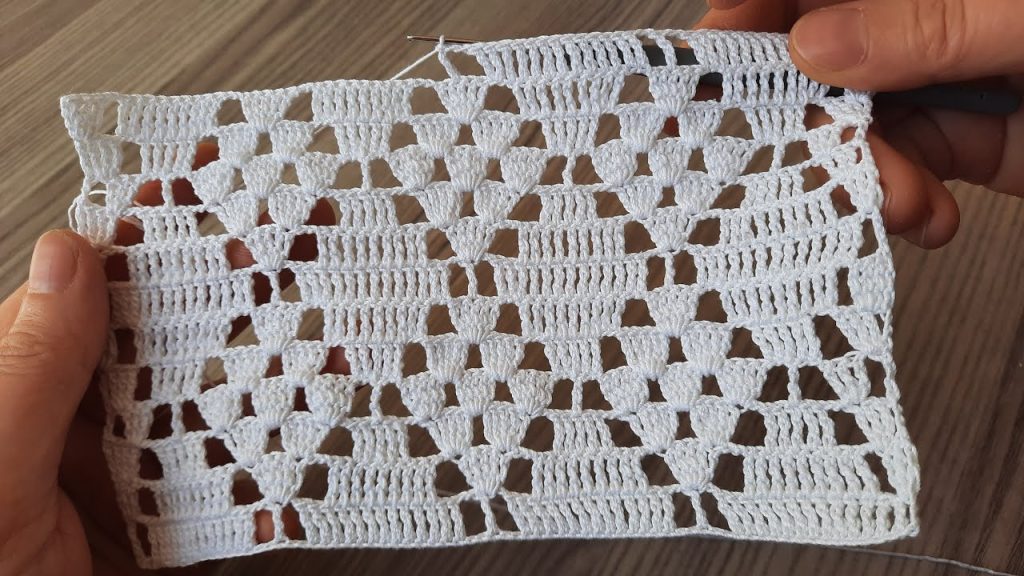
Welcome back to the blog, fellow crocheters! Today, we’re diving into a beautiful, dense, yet lacy pattern I call the “Whitecaps Lace.” Inspired by the foamy crests of ocean waves, this design features repeating fan or shell stitches nestled between rows of filet and solid double crochet. It’s a versatile fabric—strong enough for a market bag, yet delicate enough for a summer shawl.
You asked for long and detailed, and that’s exactly what you’ll get! We’ll cover everything from materials to stitch repeats, ensuring you can master this stunning texture with confidence.
🛍️ Materials & Tools: Your Crochet Checklist 🛍️
The quality of your finished piece starts with the right supplies. For a crisp, defined stitch like the one in the photo, a yarn with good stitch definition is key.
- Yarn: A DK (Double Knitting/Weight 3) or Worsted Weight (Weight 4) cotton or cotton blend yarn is ideal for the drape and look of the sample. Cotton is excellent for showing off the texture.
- Crochet Hook: A 4.0 mm (G/6) or 4.5 mm (7) hook is a great starting point for DK/Worsted weight. Always check your yarn label and swatch to find the best fit!
- Scissors: Sharp ones, for neat finishing.
- Tapestry Needle: For weaving in your ends cleanly.
- Stitch Markers (Highly Recommended): Useful for marking the start/end of repeats or pattern rows when you are just starting out.
🧵 Crochet Terminology & Abbreviations 🧵
This pattern uses common US crochet terms. If you’re new to any of these, a quick online video search can help!
- ch: chain
- st(s): stitch(es)
- sl st: slip stitch
- sc: single crochet
- dc: double crochet
- sk: skip
- Shell: A group of 5 dc stitches worked into the same stitch or chain space.
- ch-sp: chain space
- Rep: repeat
- RS: Right Side (the side that faces you when you are finishing an odd-numbered row)
- WS: Wrong Side (the side that faces you when you are finishing an even-numbered row)
📏 Pattern Notes & Gauge Swatch 📏
A small swatch helps ensure your project will be the correct size and allows you to practice the pattern’s rhythm.

Gauge (Approximate):
Using a 4.0 mm hook and DK weight yarn:
- Approximately 18 dc and 9 rows per 4 inches (10 cm).
- One full pattern repeat (Rows 1-4) should measure about 1.75 inches (4.5 cm) tall.
Pattern Repeat:
The pattern is worked over a multiple of 10 + 2 chains for the starting foundation.
- To make a practice swatch similar to the image, chain a multiple of 10 until you reach your desired width (e.g., 40 chains), then add 2. For our detailed swatch, we will start with Ch 42.
- The turning chain of ch 3 at the start of rows counts as the first dc unless otherwise noted.
🌊 The “Whitecaps Lace” Pattern: Row by Row 🌊
This pattern consists of a 4-row repeat that creates the beautiful shell and lattice effect.
▶️ Foundation Row:
- Ch a multiple of 10+2. (For swatch, Ch 42).
Row 1 (RS – Solid Base):
- Dc in the 4th ch from the hook (the skipped 3 ch counts as the first dc).
- Dc in every ch across.
- Turn. (Total stitches: 40 dc).
This row provides a solid base for the shell stitches to sit on.
Row 2 (WS – Filet and Scallop Setup):
- Ch 3 (counts as 1 dc). Dc in the next 3 sts.
- *Ch 1, sk 1 st, dc in the next 3 sts.*
- Rep from * to * across the row until you have 4 sts remaining.
- Ch 1, sk 1 st, dc in the last 3 sts.
- Turn. (You should have 28 dc and 12 ch-1 sps).
This row introduces the small filet gaps that will define the top of the ‘cap’ shape.
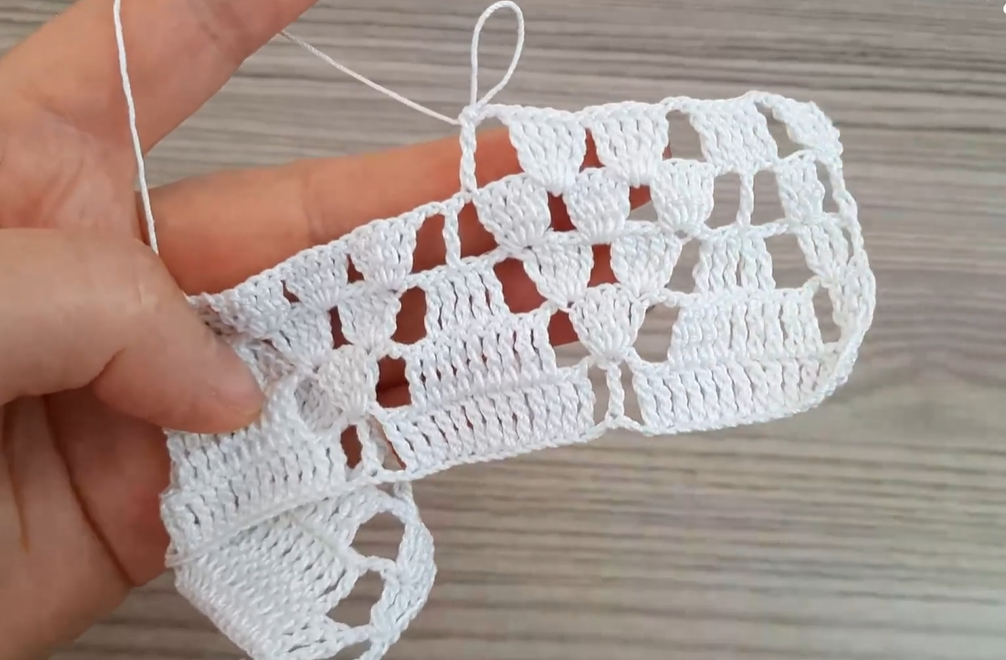
Row 3 (RS – Shells and V-Stitches):
- Ch 3 (counts as 1 dc). Dc in the next dc.
- Ch 1, sk 1 dc, dc in the next ch-1 sp.
- *Ch 1, sk 1 dc, Shell (5 dc) in the next ch-1 sp. Ch 1, sk 1 dc, dc in the next ch-1 sp.*
- Rep from * to * across the row until you reach the final 4 sts.
- Ch 1, sk 1 dc, dc in the next dc. Dc in the top of the starting ch-3.
- Turn.
This row creates the prominent shell/fan motifs and the alternating dc column.
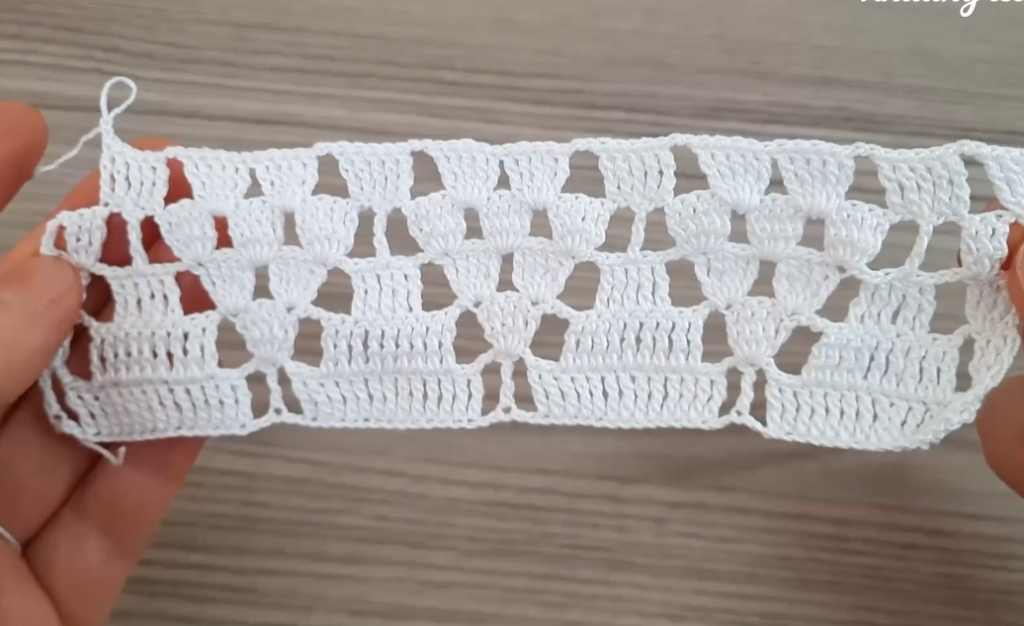
Row 4 (WS – Closing the Shells):
- Ch 3 (counts as 1 dc). Dc in the next ch-1 sp.
- Dc in the next dc.
- *Dc in the ch-1 sp. Dc in the next 5 dc (the Shell). Dc in the next ch-1 sp. Dc in the next dc.*
- Rep from * to * across the row, ending the last repeat with dc in the top of the starting ch-3.
- Turn. (Total stitches: 40 dc).
This row closes off the fan motif with solid dc stitches, completing the base of the ‘cap’ and preparing for the next repeat.
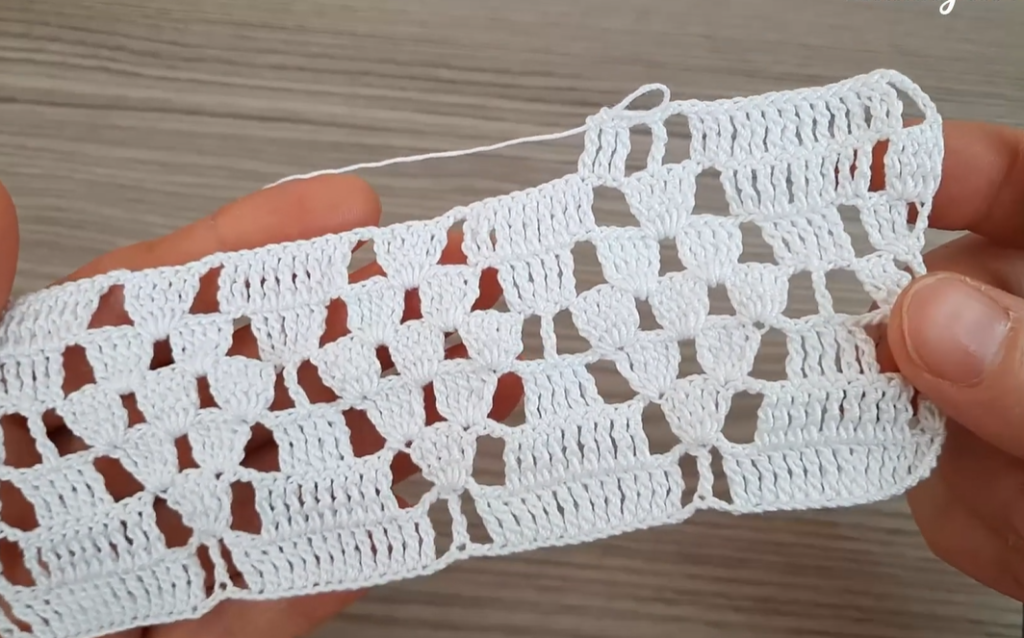
🔁 Repeating the Pattern: Building the Fabric 🔁
The pattern is now established! To continue, you will simply repeat Rows 1-4 until your project reaches your desired size.
- The next row you work will be a Row 1 (solid dc) worked into the stitches of the previous Row 4.
- A critical tip: When repeating, ensure your shell stitches in the new Row 3 are aligned exactly over the center of the shell stitches from two repeats prior. This creates the neat, repeating vertical pattern seen in the image.
Next Repeat Example:
- Row 5 (New Row 1): Ch 3, dc in every dc across. Turn. (40 dc)
- Row 6 (New Row 2): Ch 3, dc in next 3 sts. *Ch 1, sk 1 st, dc in next 3 sts.* Rep across. Turn.
- Row 7 (New Row 3): Ch 3, dc in the next dc. Ch 1, sk 1 dc, dc in the next ch-1 sp. *Ch 1, sk 1 dc, Shell (5 dc) in the next ch-1 sp. Ch 1, sk 1 dc, dc in the next ch-1 sp.* Rep across. Turn.
- Row 8 (New Row 4): Ch 3, dc in the next ch-1 sp. Dc in the next dc. *Dc in the ch-1 sp. Dc in the next 5 dc. Dc in the ch-1 sp. Dc in the next dc.* Rep across. Turn.
Video Tutorial:
💖 Finishing Your Project & Edging Ideas 💖
Securing the Ends:
Once you have completed your final row, finish the piece with a final Row 1 (solid dc) to create a strong, straight top edge. Fasten off your yarn, leaving a tail long enough to weave in, and use your tapestry needle to hide all yarn tails securely.
Blocking is Key!
As with all lace and textured crochet, blocking is essential. The process of wetting or steaming your finished fabric and pinning it into shape will relax the fibers, open up the shell stitches, and beautifully define the overall pattern.
Edging Suggestions:
Depending on your project, you might want a decorative border:
- Simple Border: A few rounds of sc or dc around the entire piece for a clean, sturdy finish.
- Picot Edge: A classic crochet edging using small picots (sc, ch 3, sl st in the first ch) to create a delicate scallop along the final row.
- Shell Edging: Use a larger shell stitch (e.g., 7 dc in one st, sk 2 st, sc in next st) around the border to complement the main fabric’s motif.
💡 Project Inspiration: What to Make with “Whitecaps Lace” 💡
This versatile pattern is perfect for so many projects:
- Summer Cardigan or Vest: The open-yet-dense structure is breathable and lovely for garments.
- Kitchen or Bath Towels: Use sturdy cotton for a beautiful, absorbent hand towel.
- Stunning Shawl or Wrap: The texture provides wonderful drape for a statement accessory.
- Throw Blanket: A timeless texture that works well in any room.
Now grab your hook and yarn and get started on your own “Whitecaps Lace” creation! Happy crocheting!


