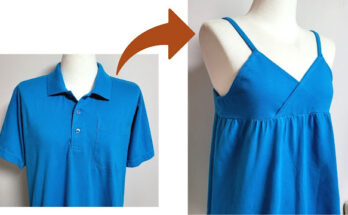
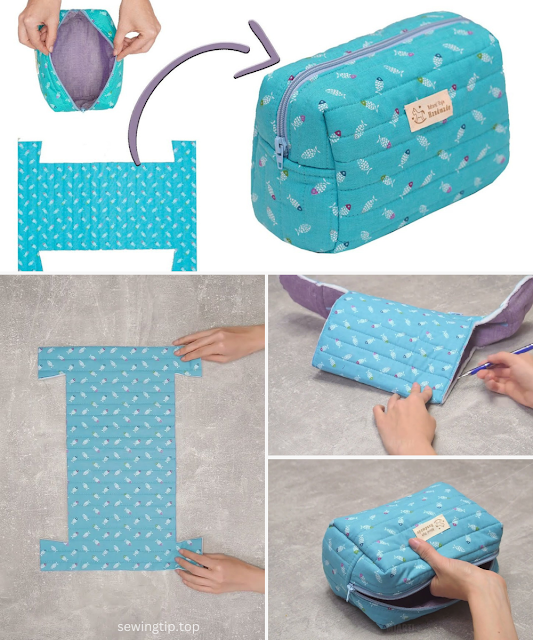
Create your own beautiful and practical makeup bag with this easy-to-follow sewing pattern! Inspired by a detailed tutorial, this design guides you through crafting a custom, quilted bag that’s perfect for carrying your cosmetics, toiletries, or other small items. This is a fantastic project for a sewist of any skill level who wants to create a personalized and stylish accessory.
Skill Level: Beginner
Finished Size (Approximate):
-
Dimensions: Varies based on the size of your pattern pieces.
-
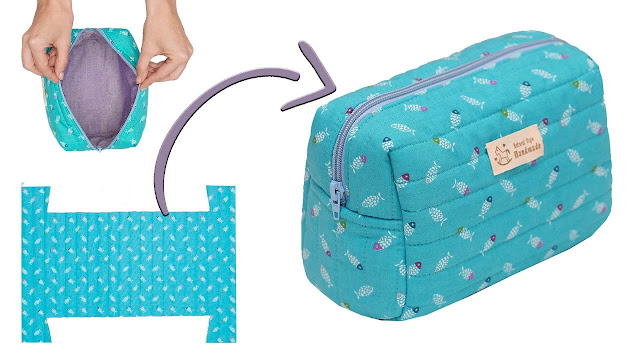
The finished bag is shown to be a compact, box-shaped bag with a wide opening.
Materials You’ll Need:
-
Main Fabric:
-
A sturdy cotton fabric for the exterior and lining.
-
-
Wadding (Polyester):
-
A piece of polyester wadding to give the bag a quilted texture and structure.
-
-
Zipper:
-
A zipper that is long enough to fit across the top opening of your bag.
-
-
Bias Inlay (or Bias Tape):
-
A strip of fabric to finish the inside seams of the bag.
-
-
“Handmade” Label (Optional):
-
A small label to sew onto the outside of the bag.
-
-
Thread: A thread color that matches your fabrics.
-
Sewing Machine
-
Scissors
-
Pins or Clips
-
Rotary Cutter & Mat (Optional)
Cutting Your Fabric Pieces:
-
From Main Fabric:
-
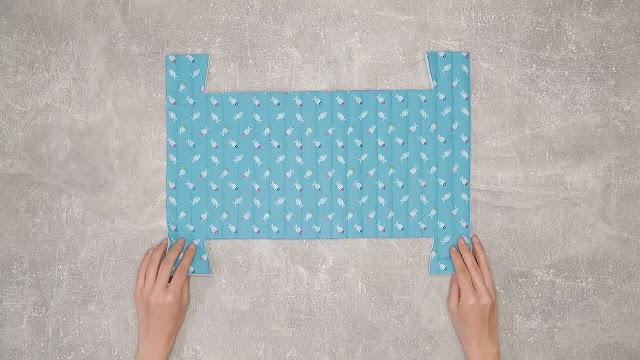
Bag Body: Cut a rectangular piece. The video shows a pattern piece with a curved top.
-
Side Pieces: Cut two small rectangular pieces for the sides of the bag.
-
-
From Wadding:
-
Wadding: Cut a piece to match the size of your bag body.
-
-
From Bias Inlay Fabric:
-
Bias Inlay: Cut a long strip, wide enough to fold and cover your seams.
-
Step-by-Step Sewing Instructions:
Part 1: Preparing the Fabric & Quilted Panel
-
Place your main fabric on a flat surface, right side down.
-
Lay the polyester wadding on top of the fabric.
-
Place the second piece of main fabric on top of the wadding, right side up.
-
Pin the three layers together.
-
Sew straight lines across the fabric to quilt the three layers together. You can sew in a grid pattern or any pattern you like.
Part 2: Attaching the Zipper
-
Take your quilted panel and your zipper.
-
Place the zipper along the top edge of the quilted panel, with the zipper teeth facing down. The zipper should extend past the fabric on both ends.
-
Pin the zipper in place and sew it to the fabric using a zipper foot.
-
Repeat this process for the other side of the zipper, attaching it to the other long edge of the quilted panel.
-
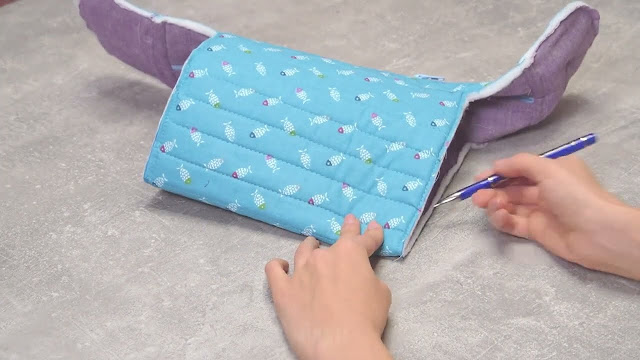
Now, the quilted panel should be attached to the zipper, forming a tube-like shape.
Part 3: Sewing the Side Pieces
-
Take one of your side pieces.
-
With the bag inside out, align the side piece with one of the open ends of the bag’s main body.
-
Pin the side piece into place, making sure to align all the raw edges.
-
Sew the side piece to the main body, going all the way around the curve.
-
Repeat this process for the other side of the bag, attaching the second side piece.
Part 4: Finishing the Seams
-
Take your bias inlay strip.
-
Fold it in half and press.
-
Pin the bias inlay around the raw seam edges on the inside of the bag.
-
Sew the bias inlay in place, enclosing the raw edges of the seams to create a clean, professional finish.
-
Repeat for the other seam.
Part 5: Final Touches
-
Open the zipper.
-
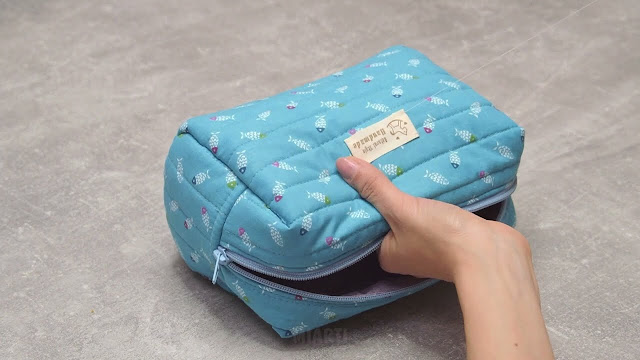
Turn the entire bag right side out through the zipper opening.
-
Use a point turner to gently push out the seams and corners to give the bag its shape.
-
If you have a “handmade” label, sew it onto the outside of the bag in your desired location.
Versatile Uses for Your Quilted Bag:
-
Makeup Bag: A cute and stylish way to carry your cosmetics.
-
Pencil Case: Keep all your pens and pencils organized.
-
Travel Pouch: Perfect for carrying toiletries, headphones, or other small items.
-
Gift: A thoughtful and impressive handmade gift.
Customization & Tips:
-
Fabric Choice: Experiment with different fabric prints and textures for a unique look.
-
Size Adjustment: Adjust the size of your pattern pieces to create a larger or smaller bag.
-
Quilting Pattern: You can sew in a grid, a diamond pattern, or any other pattern you like.
-
Zipper Pull: Add a decorative zipper pull, like a tassel or a charm, for a personal touch.
Enjoy sewing your own beautiful, practical, and unique quilted bag! It’s a fantastic way to create a personalized accessory that’s sure to become a favorite.