
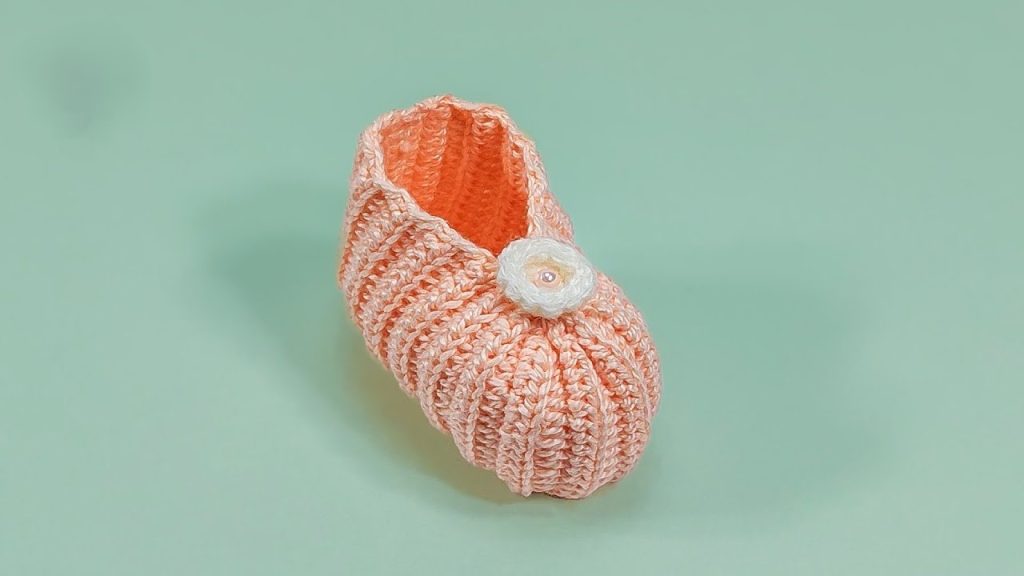
Hello, makers! Today, we’re crafting a beautiful pair of crocheted ballet flats perfect for keeping your feet cozy and stylish. The slipper in the photo has a gorgeous, elegant look, thanks to the vertical ribbing that wraps around the foot. This texture is achieved through the simple technique of working in the Back Loop Only (BLO).
This pattern is written for Adult Small/Medium (Women’s US size 6-8 / EU 36-39). It’s worked flat, then seamed, with the flower attached at the end. Grab your hook, and let’s create these pretty slippers!
🛠️ Materials Needed
- Yarn: Approximately 100 – 120 yards (90 – 110 meters) of a soft Worsted weight (Aran/10-ply) yarn in your main color (Peach/Pink).
- Accent Yarn: A small amount of white/cream DK or Worsted weight yarn for the flower.
- Hook: US size H/8 (5.0 mm) crochet hook.
- Notions:
- Yarn needle for seaming and weaving in ends.
- Sharp Scissors.
- A small pearl bead or button for the flower center (optional).
📏 Gauge (Important for Fit)
- Gauge: 13 Half Double Crochet (HDC) stitches and 10 rows equals 4 inches (10 cm) in HDC not worked in BLO.
- Note: Achieving a solid gauge ensures your flat piece transforms into the correct size slipper when seamed.
ℹ️ Key Techniques & Abbreviations
This slipper is worked as a flat rectangle with integrated shaping for the sole, transitioning to rows for the cuff.
- ch = Chain
- st(s) = Stitch(es)
- sl st = Slip Stitch
- sc = Single Crochet
- hdc = Half Double Crochet
- dc = Double Crochet
- hdc2tog = Half Double Crochet two stitches together (a decrease).
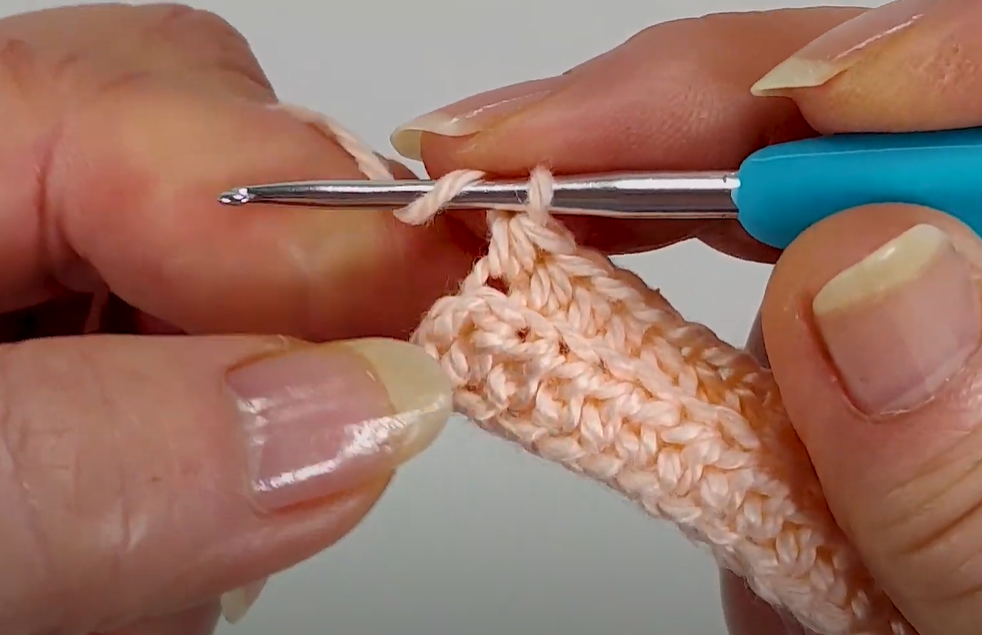
- BLO = Back Loop Only (the stitch is worked into the loop furthest from you).
- RS = Right Side
- WS = Wrong Side
- FO = Fasten Off
🩰 The Pattern: Peach Blossom Ballet Flats (Adult S/M)
The slipper is worked side-to-side, which allows the ribbing to run horizontally around the foot when finished.
1️⃣ The Body (Ribbed Section)
We start by creating a large ribbed rectangle that will form the sides, sole, and top of the slipper.
| Row | Instructions | Stitch Count |
| Foundation | Ch 31. | 31 chs |
| Row 1 (RS) | Hdc in 2nd ch from hook and in each ch across. Ch 1, turn. | 30 sts |
| Row 2 (WS) | Hdc in the BLO of each st across. Ch 1, turn. | 30 sts |
| Row 3 (RS) | Hdc in the BLO of each st across. Ch 1, turn. | 30 sts |
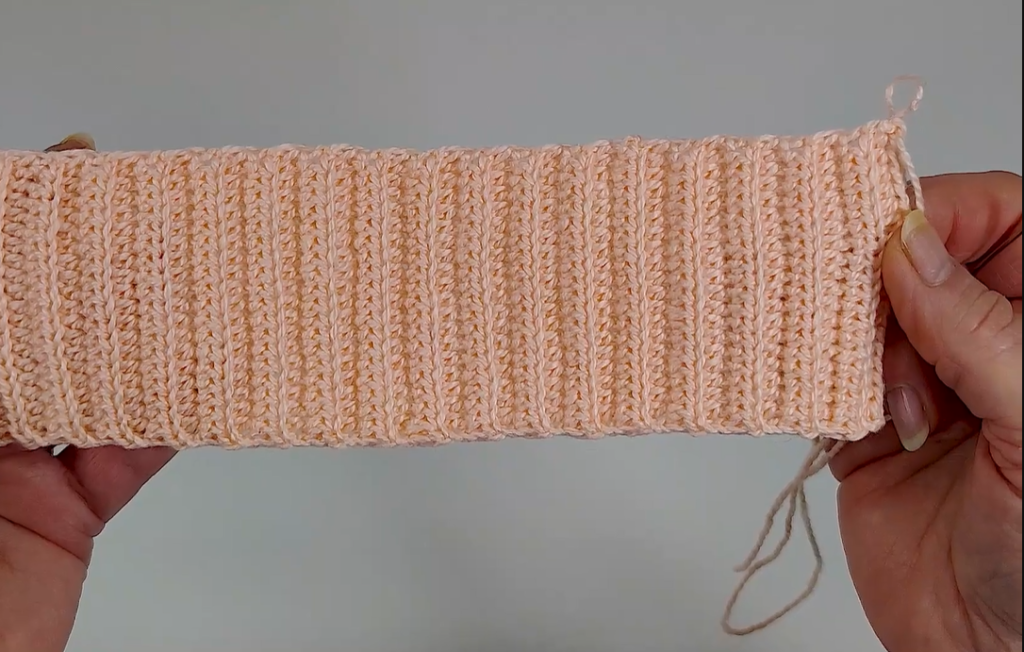
| Rows 4–46 | Repeat Row 2 (working in BLO) for a total of 46 rows, or until the piece measures approximately 10 inches (25.5 cm) when slightly stretched lengthwise. This length determines the circumference of the slipper. | 30 sts |
| Last Row | Do not chain 1. FO the main color, leaving a very long tail (40 inches / 1 meter) for seaming. | 30 sts |
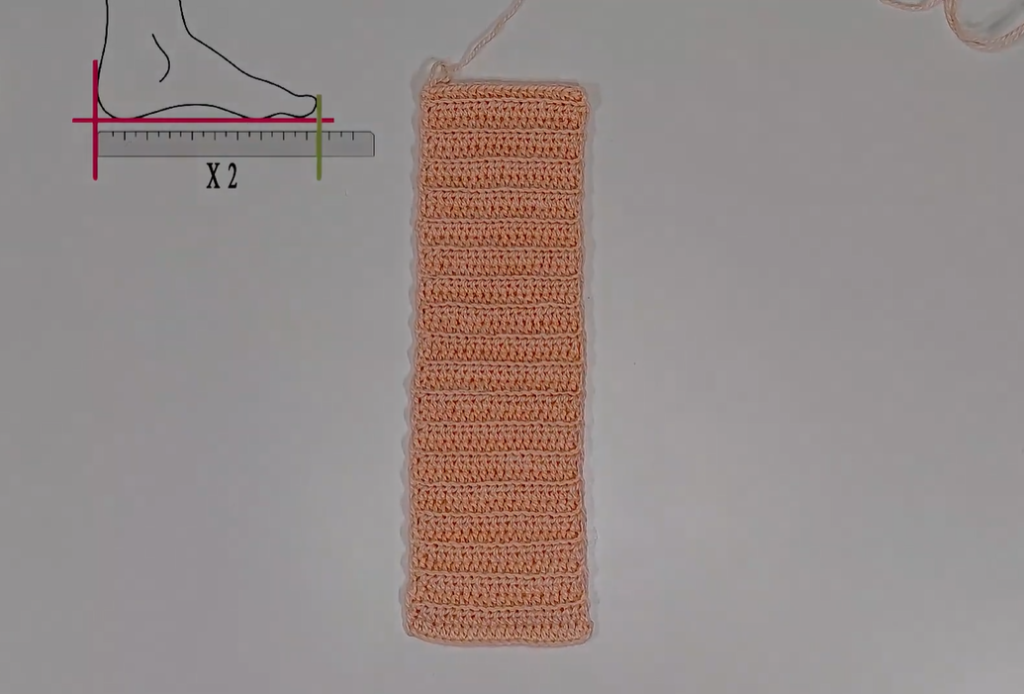
- Finished Piece: You should have a long, flexible, ribbed rectangle measuring approximately 10″ wide (the ribbed rows) by 10″ long (the stitch height).
2️⃣ Shaping the V-Neck Opening
Now we work a simple seam to shape the toe and heel.
| Step | Instructions | Result |
| Fold | Fold the ribbed rectangle in half lengthwise (where your rows start/end meet). This creates the shape of the foot. | |
| Seam the Heel | Using the long yarn tail, seam the back 10 rows (approx. 4 inches / 10 cm) of the edge, starting from the back heel fold, using the mattress stitch or a simple whipstitch. This forms the heel. | |
| Seam the Toe | Starting from the opposite fold (the toe end), seam the front 10 rows of the edge. This forms the toe. | |
| Sole Seam | Continue the seam along the bottom edge (the sole) until you reach the heel seam. The remaining open space is the ankle opening. | |
| Ankle Opening | Do NOT seam the center 26 rows (approx. 5 inches / 13 cm). This open section forms the V-neck and top opening of the slipper. | V-Neck Opening |
- Final Check: The slipper should now be a 3D shoe shape. The ribbing runs vertically around the foot.
3️⃣ Simple Flower Embellishment (Optional)
The delicate flower is key to the ballet flat style. Use Accent Color (White/Cream).
| Step | Instructions | Stitch Count |
| Round 1 | Ch 2. 6 sc in 2nd ch from hook. Join with sl st to first sc. | 6 sts |
| Round 2 | Ch 3 (counts as dc). *Work 2 dc in the same st, ch 1, sl st in the next st (petals begin)*. Repeat from * to * 5 times. You should have 5 petals. | 5 Petals |
| Round 3 | Sl st back to the center of the flower (the sl st from Round 1). *Ch 3, sl st in the sl st space between the petals of the previous row*. Repeat from * to * 5 times. Sl st to join. | 5 Chain Spaces |
| Round 4 | Sl st into the first ch-3 space. Ch 3 (counts as dc). Work 4 dc into the same ch-3 space. Sl st into the next ch-3 space. *Ch 3, work 4 dc into the same ch-3 space, sl st into the next ch-3 space*. Repeat from * to * 4 times. | 5 Larger Petals |
| Finish | FO, leaving a long tail for attaching. Sew a pearl bead or small button into the center. |
Export to Sheets
4️⃣ Assembly
- Flower Attachment: Center the flower at the front tip of the V-neck opening, just above the toe seam. Sew it securely using the yarn tail.
- Final Weaving: Weave in all remaining yarn tails on the inside of the slipper.
- The Second Slipper: Repeat all steps for a matching pair!
Video Tutorial:
💡 Pro-Tips and Sizing Notes
Adjusting Size
The critical measurement here is the length of the initial ribbed strip (Row 4–46), which determines the foot circumference.
- For Size M/L (US 9-11): Work the ribbed strip for approximately 52–56 rows, or until the piece measures 11–12 inches (28–30.5 cm) when slightly stretched.
- Foot Depth: If the slipper feels too shallow or too deep, adjust the starting chain (Foundation Row). Increase the chain by 2–4 stitches for a deeper foot, or decrease by 2–4 stitches for a shallower foot.
Improving Wear and Durability
- Inner Sole: For extra padding and warmth, you can crochet a separate felt or foam sole and insert it into the finished slipper.
- Non-Slip Soles: To prevent slipping on hard floors, apply liquid latex or non-slip fabric paint to the bottom of the slipper in a thin layer or dotted pattern once the project is complete.
- Edging: If you find the ankle opening too loose, use a smaller hook (e.g., 4.0 mm) and work one round of Reverse Single Crochet (Crab Stitch) around the V-neck opening. This creates a neat, non-stretching border.


