
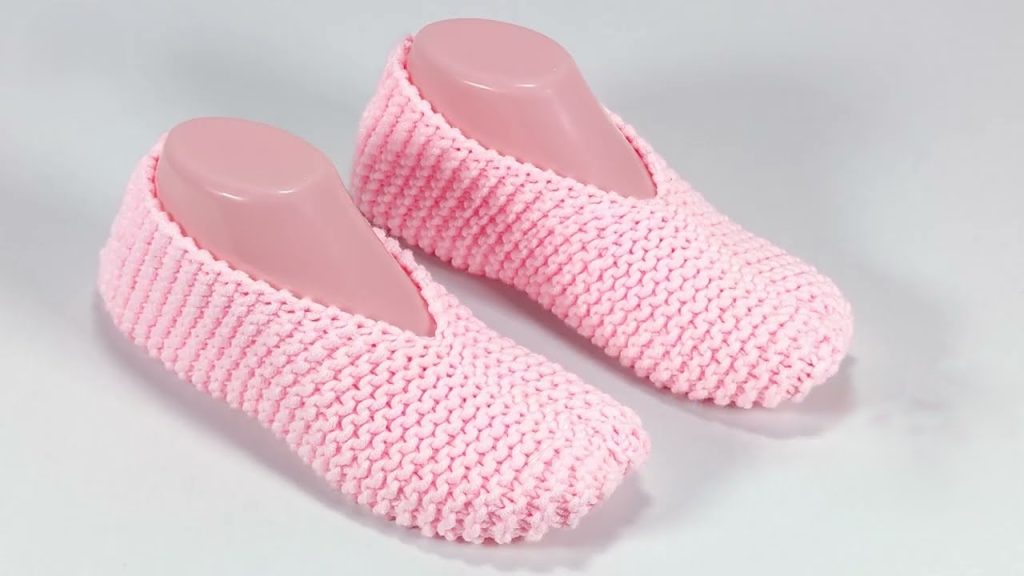
Welcome, cozy creator! Have you ever wished for a handcrafted slipper that delivers maximum warmth and charm without the frustration of complex shaping, tricky heel turns, or constant pattern checking? You’ve found the ultimate project!
This pattern, known for its ingenious simplicity, transforms a single flat rectangle of luxurious Garter Stitch fabric into a beautifully formed, snug slipper with just two quick seams. It’s the perfect project for absolute beginners to gain confidence, and a fast, satisfying make for seasoned knitters looking for instant gratification.
We’re diving deep into every step, from selecting the perfect yarn to perfecting the final seam. Forget complicated math—we’ll focus on the magic of the cinched toe and the clean lines of the simple folded construction.
🧦 Choosing Your Cozy Arsenal: Materials & Tools
Selecting the right materials is the first step to creating the perfect slipper.
Yarn Selection: The Comfort Factor
We recommend a yarn that is soft, resilient, and provides excellent insulation.
- Weight: Bulky or Chunky Weight (Category 5 or 6). This weight works up quickly and creates a dense, cushioned sole.
- Fiber:
- Wool/Wool Blends: Excellent warmth, moisture-wicking, and durability.
- Acrylic/Acrylic Blends: Budget-friendly, machine-washable, and soft for sensitive skin.
- Tip: Look for a high-twist yarn for better stitch definition and resilience on the sole.
Needles & Notions: The Right Tools
- Needles: 5.0 mm or 5.5 mm (US size 8 or 9) straight or circular knitting needles.
- Needle Material Tip: If you are a loose knitter, use bamboo or wooden needles for better grip. If you are a tight knitter, metal needles will speed up your work.
- Tapestry Needle: Essential for weaving in ends and, most importantly, for the final seaming and cinching. Choose one with a large, blunt eye.
- Row Counter: Highly recommended. Accuracy in reaching the 30-row length is key to the slipper’s structure.
- Scissors and Measuring Tape.
📏 Achieving the Perfect Fit: Sizing, Gauge, and Adjustments
The original pattern is designed for a medium adult foot, but it is easy to customize.
Standard Size (EU 36-37 / US Women’s 5.5-6.5)
| Metric | Imperial | Component | Stitch Count/Rows |
| 28 sts | 28 sts | Initial Cast On (Width/Circumference) | 28 stitches |
| 30 rows | 30 rows | Finished Length (Heel-to-Toe) | 30 rows |
| 18.5 cm | 7.3 inches | Finished Width (Side-to-Side) | N/A |
| 20.5 cm | 8.1 inches | Finished Length | N/A |
Export to Sheets
🛠️ Troubleshooting Sizing and Fit
| Issue | Solution |
| Foot is Longer | Add 2 rows for every additional size you go up. Always measure the foot length first and aim for the rectangle length to match that measurement. |
| Foot is Wider | Cast on more stitches. You must cast on a number divisible by 3 (the total cast-on count minus the 2 edge stitches must be divisible by 3) to maintain the pattern’s decrease sequence. |
| Too Floppy/Loose | Use a smaller needle size (e.g., 4.5 mm) or switch to a slightly smaller yarn weight. A firm fabric is best for slippers. |
Export to Sheets
Gauge (Approximate)
In Garter Stitch, aim for approximately 15 stitches and 30 rows (15 garter ridges) per 10 cm (4 inches). This ensures your slipper has the necessary density.
📘 The Knitter’s Toolkit: Abbreviations & Essential Techniques
| Abbreviation | Stitch Name | Description |
| CO | Cast On | Placing stitches on the needle to begin the work. |
| K | Knit | The basic knit stitch. |
| P | Purl | The basic purl stitch. |
| K2tog | Knit two stitches together | A simple decrease, reducing the stitch count by one. |
| SL1P | Slip one stitch purl-wise | Slip the stitch as if to purl, but do not work it. |
| BO | Bind Off | Finishing the stitches to secure them. |
Export to Sheets
Essential Technique: The Clean Edge (For Perfect Seaming)
A clean edge is crucial for a beautiful, invisible seam. We will incorporate this technique into every single row of the pattern:
- First St: Always SL1P (slip one stitch purl-wise). This creates a neat chain of loops along the edge.
- Last St: Always P1 (purl one stitch). This ensures the last stitch remains loose enough for easy seaming.

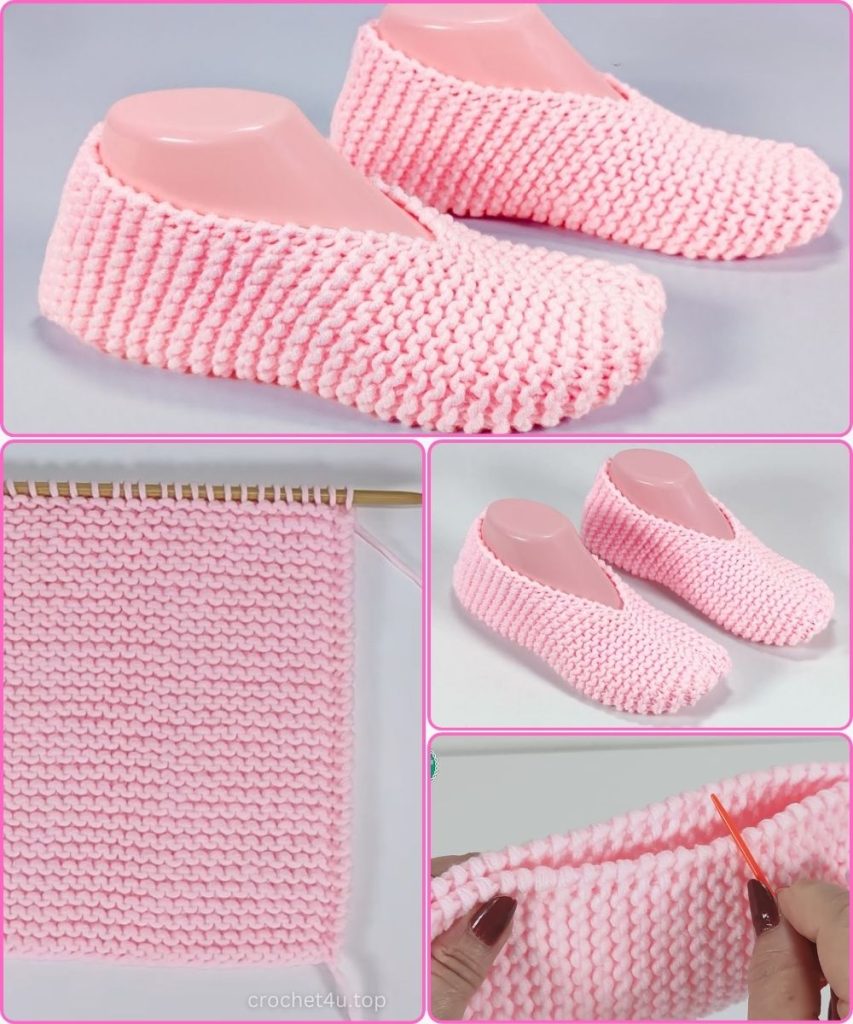
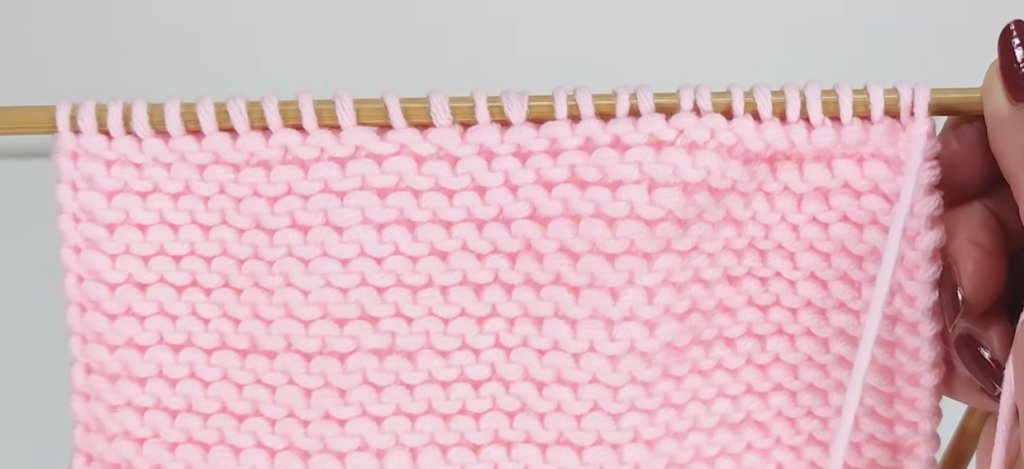
🧶 Step-by-Step Pattern: Knitting the Flat Rectangle
The entire slipper body is worked flat in Garter Stitch (knitting every row). Ensure you are consistent with the special edge technique!
Preparation: CO 28 stitches onto your needles.
The Body Rows (Rows 1–30):
Row 1 (Right Side):
- SL1P (Slip the first stitch purl-wise).
- Knit across all stitches until you reach the last stitch.
- P1 (Purl the last stitch).
Row 2 (Wrong Side):
- SL1P.
- Knit across all stitches until you reach the last stitch.
- P1.
Repeat Row 1 and Row 2 alternately until you have completed a total of 30 rows (or your measured length).
Take a moment to admire your work! You should have a perfect Garter Stitch rectangle measuring approximately 18.5 cm by 20.5 cm.
⬇️ The Art of the Cinch: Shaping the Toe
Once your length is achieved, we must rapidly decrease the width to create the tapered toe.
Decrease Row (Row 31 – Right Side): This row will reduce 28 stitches down to 14 stitches.
- SL1P (1 st).
- Work the
(K2tog, K1)sequence across the next 24 stitches. Repeat this sequence 8 times. - K2tog (The last two knit stitches).
- P1 (The last stitch).
You should now have 14 stitches remaining on your needle.
Final Preparation for Seam:
- Cut the working yarn, leaving an extremely generous tail (at least 60 cm / 24 inches) for seaming the toe and the entire top edge.
- Thread the tapestry needle onto the tail.
- Carefully slip the remaining 14 stitches off the knitting needle and onto the yarn tail.
- Cinch: Pull the yarn tail tightly to gather the stitches closed, forming the neat tip of the toe. Secure the cinched toe tip with several extra stitches, passing the needle back and forth to ensure it will never open.
✂️ From Rectangle to Slipper: Detailed Assembly & Finishing
This is where the magic happens! We will turn the flat rectangle into a 3D slipper using just two main seams.
1. Prepare for Seaming:
- Turn the work to the wrong side (the side facing you when you are about to seam).
- Fold the rectangle in half lengthwise so the two long side edges (the row edges) are aligned. The cinched toe is at one end, and the Cast On edge is at the other.
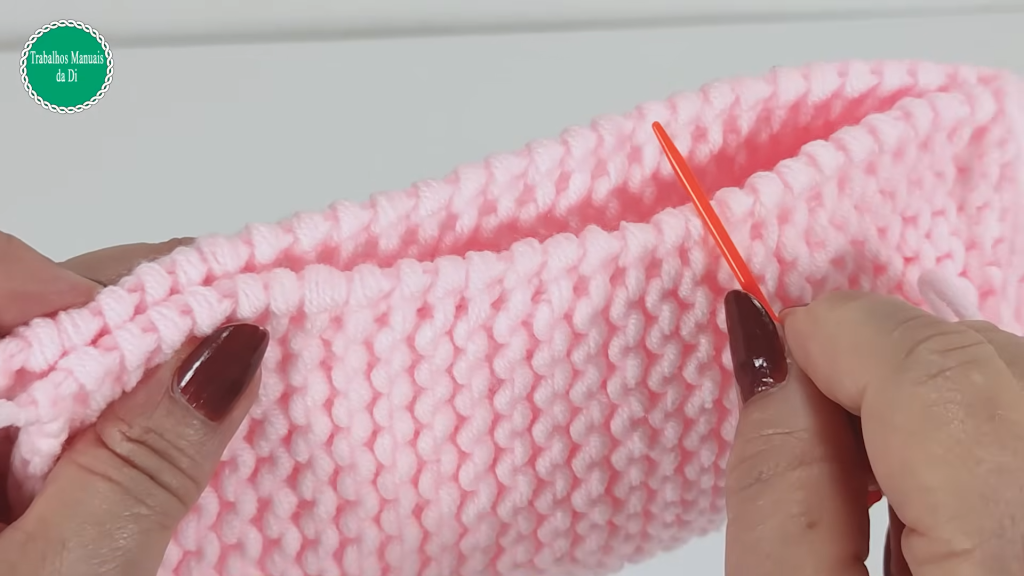
2. Seam A: The Top/Ankle
- Starting at the cinched toe tip, use your tapestry needle and the long yarn tail to seam the two long edges together.
- Seaming Choice: Use the Mattress Stitch for an invisible, sturdy seam. If you prefer, a simple Backstitch works well in Garter Stitch.
- Continue seaming until the seam measures approximately 7.5 cm (3 inches) from the toe tip.
- Stop Seaming! This creates the slipper’s front and leaves the remaining edge open for the foot entry (the remaining opening should be about 13 cm / 5 inches).
3. Seam B: The Heel and Sole
- The remaining unseamed edges form the bottom (sole) and the back (heel).
- Beginning at the Cast On edge (the back of the heel), seam the remaining raw edges together. This seam will meet the ankle opening you just created.
- Heel Technique: For the squared-off heel corner, pick up two stitches from the Cast On edge, then two stitches from the side edge, and repeat until the corner is rounded and sealed. This creates a clean bottom shape.
- Continue the sole seam until you meet the end of Seam A. Secure your yarn tail with a strong knot.
4. Final Touches & Non-Slip Option:
- Turn the slipper right side out.
- Gently smooth and shape the slipper.
🌟 Non-Slip Sole Enhancement: For added safety, especially on hard floors, you can apply a non-slip treatment:
- Use a product like Liquid Latex or Fabric Puffy Paint on the exterior bottom of the sole.
- Apply small dots, stripes, or a pattern (like a simple waffle grid) to the sole.
- Allow it to dry completely (usually 24-48 hours) before wearing.
Weave in any remaining starting tails. Repeat all steps for the second slipper! You have now created a masterpiece of cozy comfort!


