
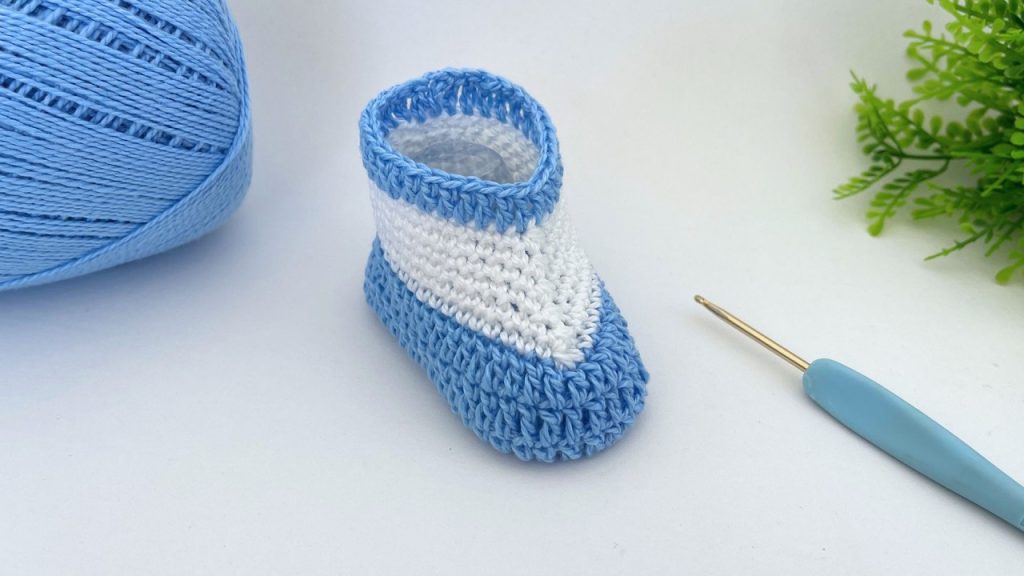
Welcome to the ultimate guide for creating the Beloved Heart-Shaped Bootie! This unique crochet pattern stands out with its distinct front decrease section, which forms a beautiful, curved opening reminiscent of a heart or a gentle wave. The bootie is constructed from a tubular beginning, with the sole cleverly seamed at the end, eliminating the need for complex oval base rounds.
This pattern is a wonderful choice for creating a unique, comfortable fit for a baby’s foot. It’s easily adjustable for different sizes and colors, making it perfect for gifting!
🧶 Materials & Tools
Gather your supplies! We will be using two colors to achieve the lovely layered effect, but this pattern is equally charming in a single color.
- Yarn: Approximately 50 grams total of Light Worsted or DK Weight yarn (Category 3). Choose a soft, acrylic, or cotton blend suitable for babies.
- Color A (Sole/Cuff): The color used for the initial DC rounds and the final cuff round.
- Color B (Body/Shaping): The color used for the main body/decrease section.
- Hook: 3.5 mm or 4.0 mm crochet hook (or size needed to meet your desired fabric density).
- Notions:
- Tapestry needle (essential for seaming).
- Scissors.
- Stitch marker (optional, but helpful for the beginning of the round).
📏 Sizing & Customization
The size provided below is for a standard newborn bootie.
Standard Size: Newborn (0-3 Months)
- Initial Chain: 43 chains (resulting in 43 stitches per round).
- Requirement: The initial chain count must be an odd number for the decrease section to work correctly.
- Foot Length (Approximate): The starting chain measures approximately 18 cm (7 inches) in circumference.
Adjusting the Size
The length of the starting chain determines the circumference of the foot.
- Rule of Thumb: Measure the length of the baby’s foot from heel to toe, then chain a length equal to double that measurement.
- Stitch Count: Always ensure your final chain count is an odd number (e.g., 41, 43, 45, etc.).
📘 Abbreviations & Special Stitches (US Terms)
Familiarize yourself with the decrease used to create the shaped front.
| Abbreviation | Stitch Name |
| ch | Chain |
| st(s) | Stitch(es) |
| sl st | Slip Stitch |
| sc | Single Crochet |
| dc | Double Crochet |
| SC3tog | Single Crochet Three Together (Special Stitch) |
Special Stitch Instruction: SC3tog (Single Crochet Three Together)
This creates two simultaneous decreases, reducing three stitches down to one.
- Insert hook into the specified stitch, yarn over, pull up a loop (2 loops on hook).
- Insert hook into the next stitch, yarn over, pull up a loop (3 loops on hook).
- Insert hook into the next stitch, yarn over, pull up a loop (4 loops on hook).
- Yarn over, pull through all 4 loops on the hook.
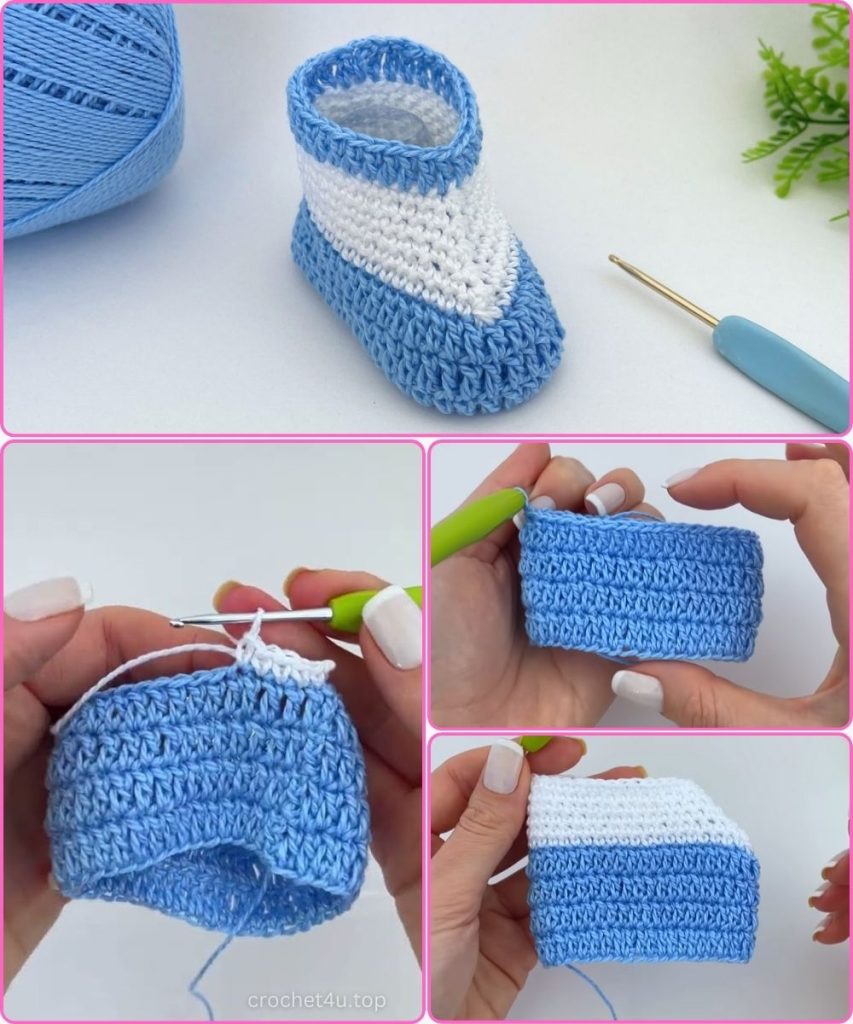
👣 Part 1: The Base Cuff (Color A)
This section creates the foundation for the bootie, including the part that will form the sole. Ensure you leave a long tail (at least 30 cm / 12 in) at the beginning for the sole seam!
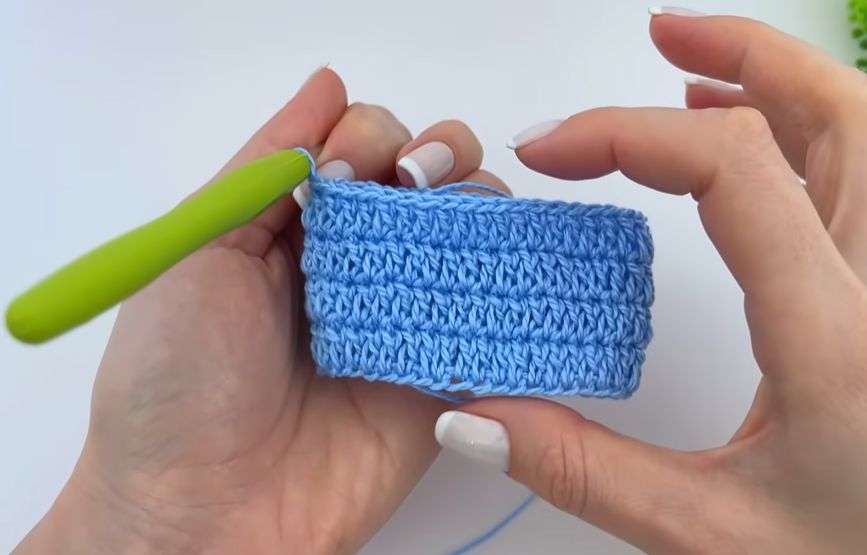
Preparation: With Color A, chain 43.
Round 1 (DC Foundation):
- Join the last ch to the first ch with a sl st to form a ring (be careful not to twist the chain).
- Ch 1, SC in the same st, Ch 2. (This SC + Ch 2 combination counts as the first DC).
- DC in the next st and in every chain around.
- Join with a sl st to the starting Ch 2.(43 sts)
Rounds 2 – 4 (DC Repeat):
- Ch 1, SC in the same st, Ch 2. (Counts as first DC).
- DC in the next st and in every st around.
- Join with a sl st to the starting Ch 2.(43 sts)
The height of this section should be approximately 4 cm (1.6 inches).
Finishing Color A:
- At the end of Round 4, cut the yarn and fasten off. Weave the end into the interior of the work for now.
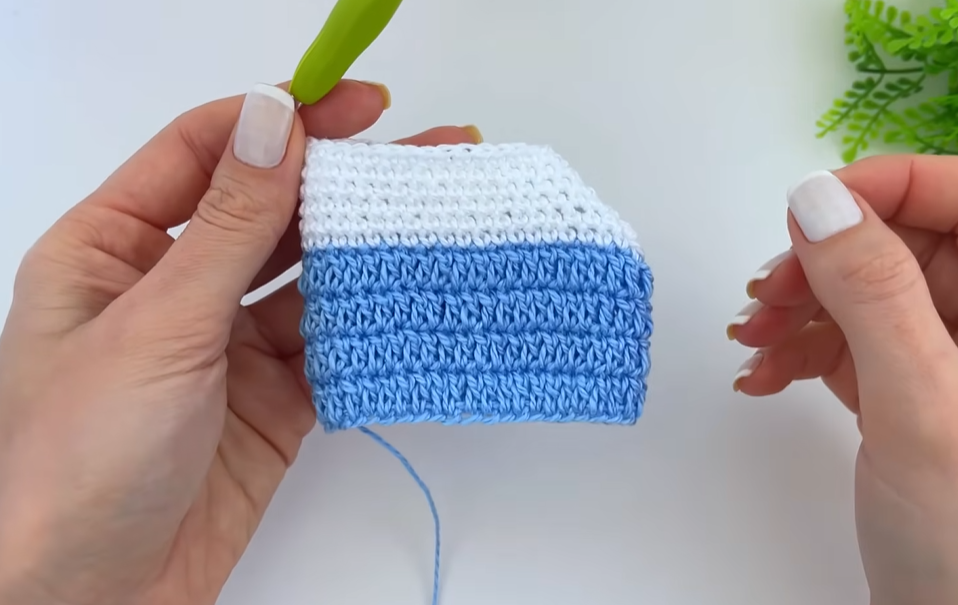
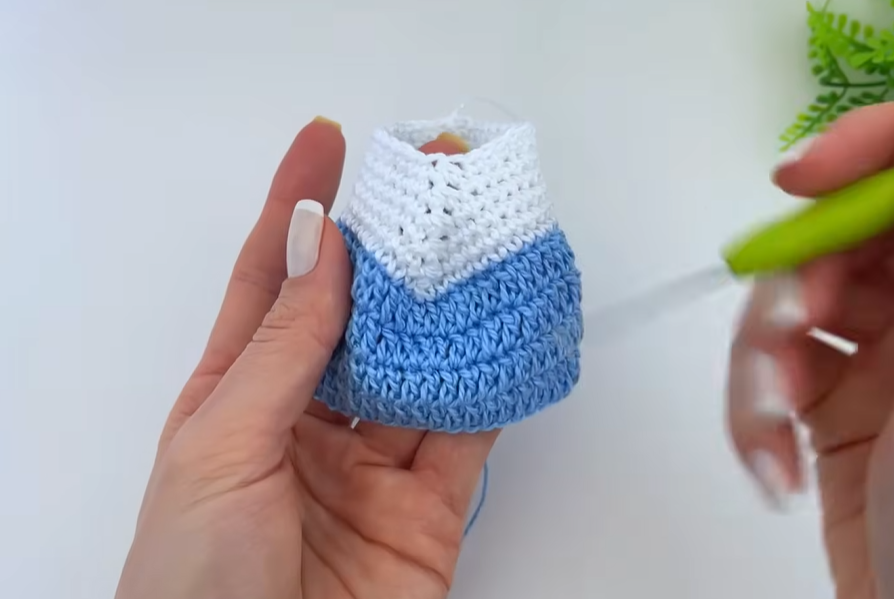
🌈 Part 2: Shaping the Toe and Body (Color B)
We now switch to Color B and begin the decrease section that forms the front of the bootie. The body is worked entirely in Single Crochet (SC).

Round 5 (SC Setup & First Decrease):
- Join Color B with a sl st into any stitch.
- Ch 1. SC in the same st.
- SC in the next 19 stitches. (Total 20 SCs worked for the back/side).
- Decrease Section: Work SC3tog over the next 3 stitches (this is the center of the front).
- SC in the next 20 stitches to complete the round.
- Join with a sl st to the first SC.(41 sts remaining)
Round 6 (Second Decrease):
- Ch 1. SC in the same st.
- SC in the next 18 stitches. (Total 19 SCs worked for the back/side).
- Decrease Section: Work SC3tog over the next 3 stitches (the center of the decrease will be over the previous SC3tog).
- SC in the next 19 stitches to complete the round.
- Join with a sl st to the first SC.(39 sts remaining)
Round 7 (Third Decrease):
- Ch 1. SC in the same st.
- SC in the next 17 stitches. (Total 18 SCs worked for the back/side).
- Decrease Section: Work SC3tog over the next 3 stitches.
- SC in the next 18 stitches to complete the round.
- Join with a sl st to the first SC.(37 sts remaining)
Continuing Decreases
Continue this pattern of decreasing 1 stitch on each side of the central SC3tog on every round:
| Round | SCs on each side | Center Decrease | Total Stitches |
| 8 | 17 | SC3tog | 35 |
| 9 | 16 | SC3tog | 33 |
| 10 | 15 | SC3tog | 31 |
Stop here. You should have worked 6 rounds of decreases in Color B. The height of the bootie (both colors) should be approximately 6.5 cm (2.6 inches).
Finishing Color B:
- At the end of Round 10, cut the yarn and fasten off. Weave the end into the interior of the work for now.
🎀 Part 3: The Final Cuff (Color A)
To complete the top edge, we switch back to Color A for a clean, finishing DC round.
Round 11 (Final DC Round):
- Join Color A with a sl st into any stitch in the back.
- Ch 3 (counts as first DC).
- DC in the next st and in every st around.
- Invisible Join: Cut the yarn, leaving a long tail. Pull the tail through the last loop. Thread onto a tapestry needle. Skip the first ch-3, insert the needle under the top two loops of the second DC, pull through. Now, insert the needle down into the center of the last DC made. This creates a neat, chain-like stitch to seamlessly join the round.
- Weave the tail securely into the inside of the work.
🧵 Part 4: Seaming the Sole and Finishing
The final step is to sew the sole closed using the long tail left at the very beginning of the project.
1. Prepare for Seaming:
- Turn the bootie inside out (wrong side facing).
- Thread the long Color A starting tail onto your tapestry needle.
2. Cinch the Heel:
- The bootie should be perfectly flat when folded.
- Starting at the back corner (where the final seam of Round 1 meets the bottom edge), work a running stitch (or zig-zag) through the edge stitches for approximately 1 cm (4-5 stitches).
- Pull the tail tightly to cinch the heel corner closed, creating a rounded curve. Knot securely.
3. Seam the Sole:
- Continue sewing the two raw edges of the sole together using a mattress stitch or whipstitch. Work from the cinched heel towards the front/toe area.
4. Cinch the Toe Tip:
- When you reach the final center point of the front (directly under the front decrease area), stop seaming about 2 cm (8-10 stitches) from the end.
- Work a running stitch through the loops along the entire remaining raw edge.
- Pull the tail very tightly to fully cinch and close the toe tip, forming the curved shoe shape. Knot securely and weave in the remaining tail along the seam.
5. Final Presentation:
- Turn the bootie right side out.
- Gently shape the foot and toe.
- Embellish: Attach a ribbon, a small crocheted flower, or a few pearl beads to the top of the curved front opening for a final flourish.
Repeat all steps to create the second matching bootie! Your uniquely shaped, cozy booties are ready!


