
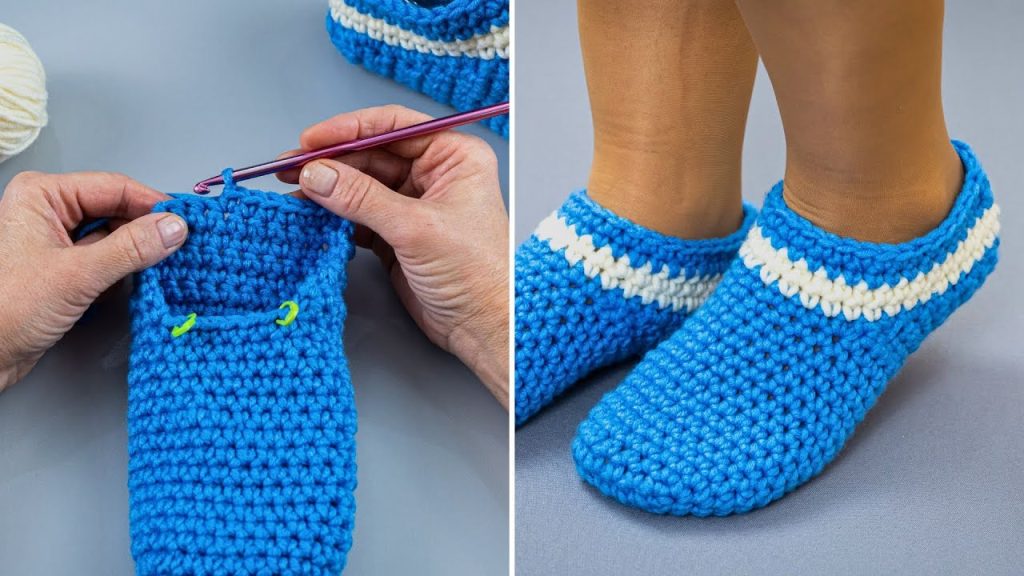
There’s nothing quite like a pair of handmade slippers to bring comfort and warmth to your feet. And when they look as neat and charming as these blue and white striped beauties, they become an instant favorite! Today, I’m thrilled to share an original pattern for what I’m calling the “Classic Striped Comfort Slippers,” inspired by the delightful pair you saw.
This design is wonderfully straightforward, made primarily in single crochet, which creates a dense and durable fabric perfect for slippers. The magic of this pattern lies in its construction—we’ll create a single piece, starting from the toe, working towards the heel, and then adding those iconic stripes around the ankle. It’s a satisfying project for crocheters of all skill levels, offering a smooth, comfortable fit.
Let’s gather our yarn and hooks and get ready to crochet some serious comfort!
Materials You’ll Need:
Choosing the right yarn is key for cozy, long-lasting slippers.
- Yarn: Approximately 150-180 yards of a Worsted Weight (Aran/10 ply) yarn. A wool or acrylic blend will be warm and durable.
- Color A (CA): Approximately 120-140 yards (e.g., the bright blue in the image).
- Color B (CB): Approximately 30-40 yards (e.g., the white in the image).
- Crochet Hook: 5.0 mm (H/8) or size needed to obtain gauge. A slightly smaller hook than usual for worsted weight yarn helps create a dense fabric for slippers.
- Stitch Marker: Essential for working in continuous rounds.
- Yarn Needle: For weaving in ends and seaming.
- Scissors
Gauge:
Getting the correct gauge is crucial for sizing, especially for footwear!
- Using single crochet with your chosen yarn and hook: 14 single crochet (sc) stitches and 16 rounds = 4 inches (10 cm).
Please take a moment to make a small swatch in single crochet. If your swatch is too large, try a smaller hook. If it’s too small, try a larger hook.
Abbreviations:
- ch: chain
- st(s): stitch(es)
- sc: single crochet
- sl st: slip stitch
- inc: increase (2 single crochet in the same stitch)
- sc2tog: single crochet 2 stitches together (a decrease)
- PM: place marker
- CA: Color A
- CB: Color B
Pattern Notes:
- These slippers are worked in continuous rounds from the toe upwards. Do not join rounds unless specified. Use a stitch marker to keep track of the beginning of your rounds.
- Ch 1 at the beginning of a round does not count as a stitch.
- This pattern is written for a standard women’s US size 7-8. Instructions for adjusting the size are included.
- When changing colors, complete the last yarn over of the previous stitch with the new color.
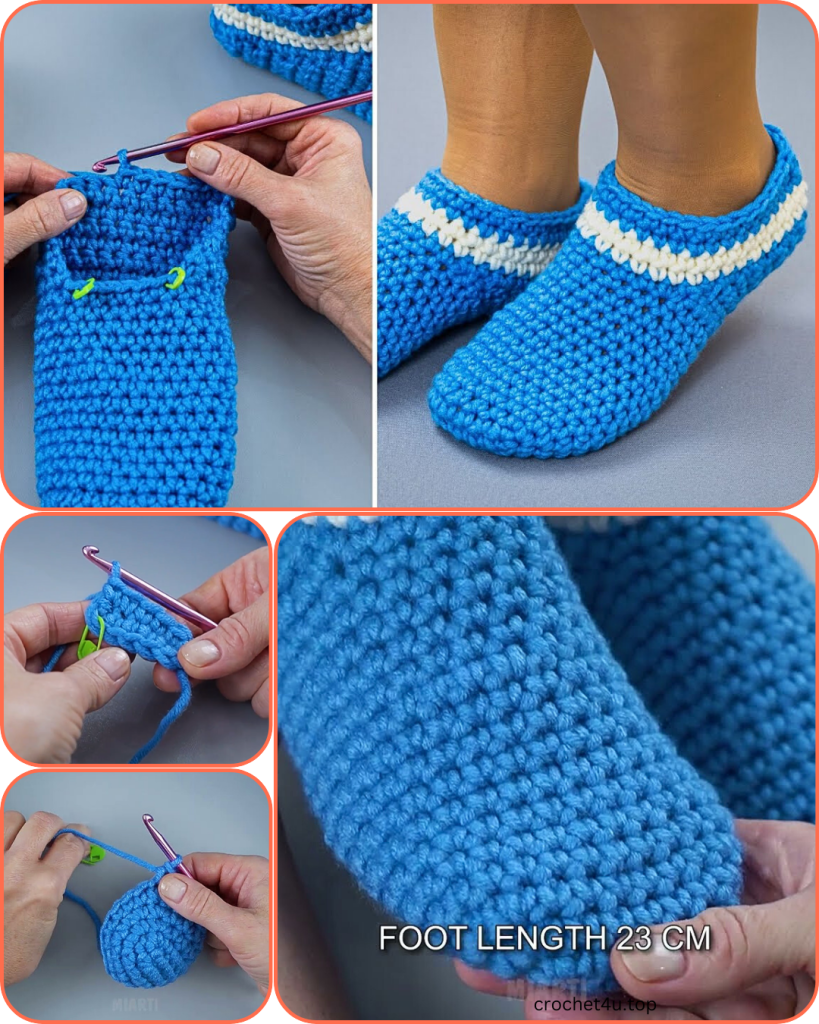
Part 1: The Toe and Foot (Sole and Upper)
We’ll start by building the toe and sole of the slipper, then work up around the foot.
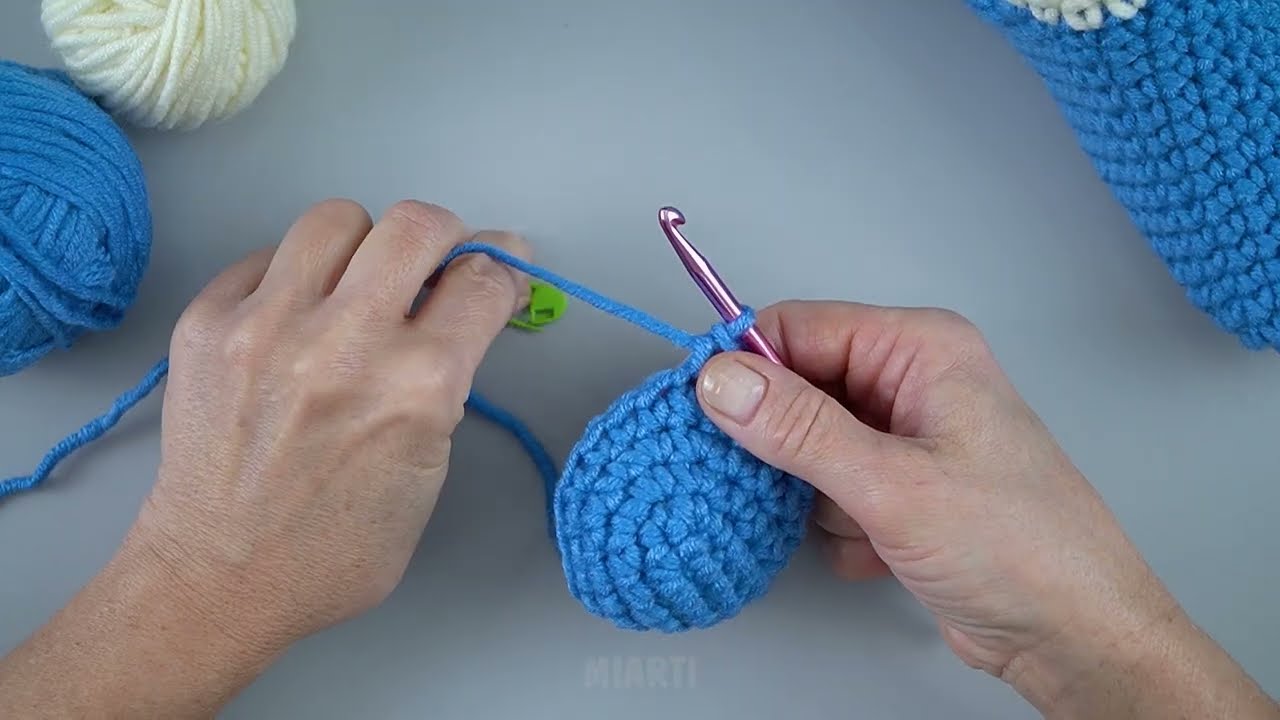
With Color A (CA):
Round 1: Make a magic ring (or ch 2, and work all sc into the 2nd ch from hook). Sc 6 into the ring. Do not join. PM in the first sc. (6 sc)
Round 2: Inc in each st around. (12 sc)
Round 3: (Sc in the next st, inc in the next st) 6 times. (18 sc)
Round 4: (Sc in the next 2 sts, inc in the next st) 6 times. (24 sc)
Round 5: (Sc in the next 3 sts, inc in the next st) 6 times. (30 sc)
Round 6: (Sc in the next 4 sts, inc in the next st) 6 times. (36 sc)
Round 7: (Sc in the next 5 sts, inc in the next st) 6 times. (42 sc)
- To adjust toe size: For a smaller size, stop increasing earlier (e.g., after Round 6 for 36 sts). For a larger size, add more increase rounds, increasing by 6 stitches each round (e.g., Round 8: (Sc in the next 6 sts, inc in the next st) 6 times. (48 sc)).
Rounds 8-20 (or desired length): Sc in each st around.
- Work in continuous rounds, moving your stitch marker up with each round.
- For a women’s US size 7-8, approximately 13 rounds of plain single crochet after the increases (Rounds 8-20) should give you a good length, ensuring the slipper covers most of your foot.
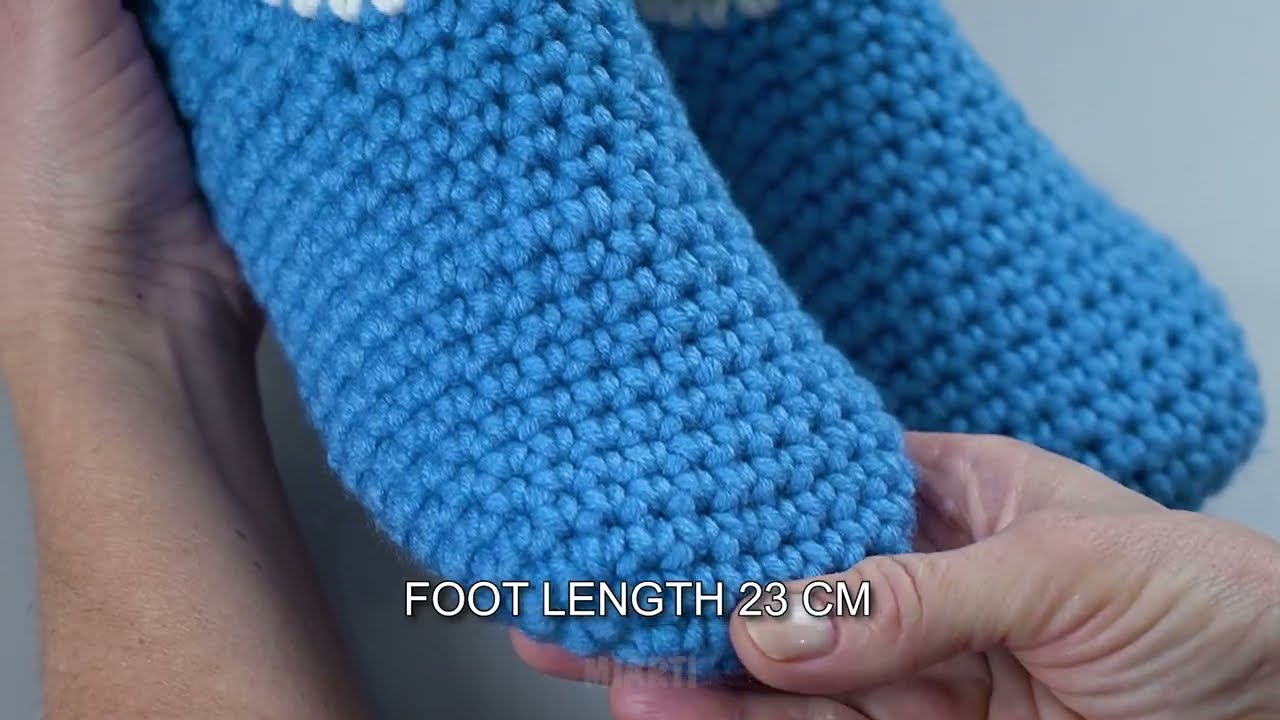
- To adjust foot length: Continue working plain single crochet rounds until the piece reaches just past your arch, ending roughly where your heel begins. Try on the slipper as you go (it helps to make the first one, then adjust the pattern for the second).
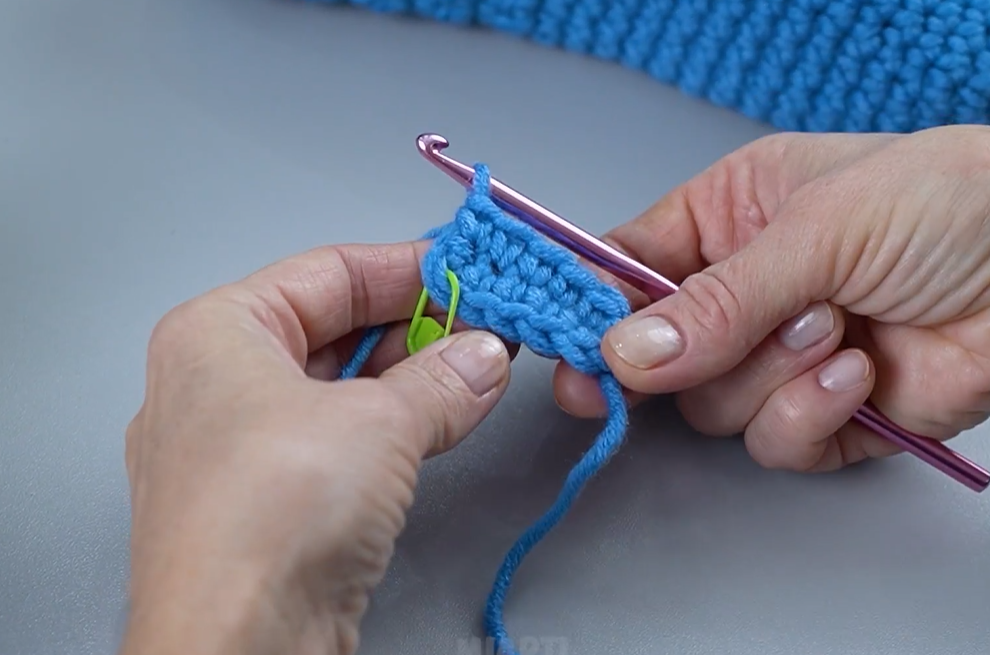
Part 2: Shaping the Heel
Now we’ll work back and forth in rows to create the heel flap.
Row 1: Sc in the first 21 sts (or half of your total stitches from the last round). Turn your work. Leave the remaining 21 stitches unworked for now. (21 sc)
- Note: You are now working back and forth, not in the round. Ch 1 at the beginning of each row.
Row 2: Ch 1, sc in each of the 21 sts across. Turn. (21 sc)
Rows 3-8 (or desired heel height): Repeat Row 2.
- For a women’s US size 7-8, 8 rows (including Row 1) should be sufficient for the heel flap.
- To adjust heel height: Work more or fewer rows here.
After your last row, do NOT cut yarn.
Part 3: Seaming the Heel
Now we’ll close up the heel to give the slipper its final shape.
- Fold your heel flap in half, right sides facing each other. The last row you worked should now be at the very top of the heel.
- Align the stitches of the last row. Insert your hook through both loops of a stitch on the front and both loops of the corresponding stitch on the back.
- Sl st across to join the heel seam. (21 sl sts)
- FO, leaving a long tail for weaving in.
You should now have a fully formed slipper shape, ready for the ankle cuff.
Part 4: The Ankle Cuff and Stripes
Now for those lovely stripes around the ankle opening! We’ll reattach the yarn and work in the round.
- Attach Color A (CA) with a sl st to any stitch at the heel seam opening. Ch 1.
- Round 1: Sc evenly around the entire ankle opening. You’ll be working into the ends of rows of your heel flap, and into the unworked stitches from Part 1. Aim for a stitch count that is a multiple of 2 or 3 for neatness, usually around 36-42 stitches for the size 7-8. Sl st to the first sc to join. (Approx. 38-40 sc)
- Round 2 (CA): Ch 1, sc in each st around. Sl st to the first sc.
- Round 3 (CA): Ch 1, sc in each st around. Sl st to the first sc.
- Round 4 (CB): Change to Color B (CB). Ch 1, sc in each st around. Sl st to the first sc.
- Round 5 (CB): Ch 1, sc in each st around. Sl st to the first sc.
- Round 6 (CA): Change to Color A (CA). Ch 1, sc in each st around. Sl st to the first sc.
- Round 7 (CA): Ch 1, sc in each st around. Sl st to the first sc.
FO, weave in all ends securely.
Repeat all steps to create the second slipper.
Video Tutorial:
You Did It!
Congratulations! You’ve successfully crocheted a pair of incredibly cozy and stylish “Classic Striped Comfort Slippers.” This pattern is a testament to how simple stitches and clever construction can create a wonderfully fitted and durable piece of footwear. You’ll love slipping your feet into these handmade beauties!
Enjoy your new slippers and happy crocheting!


