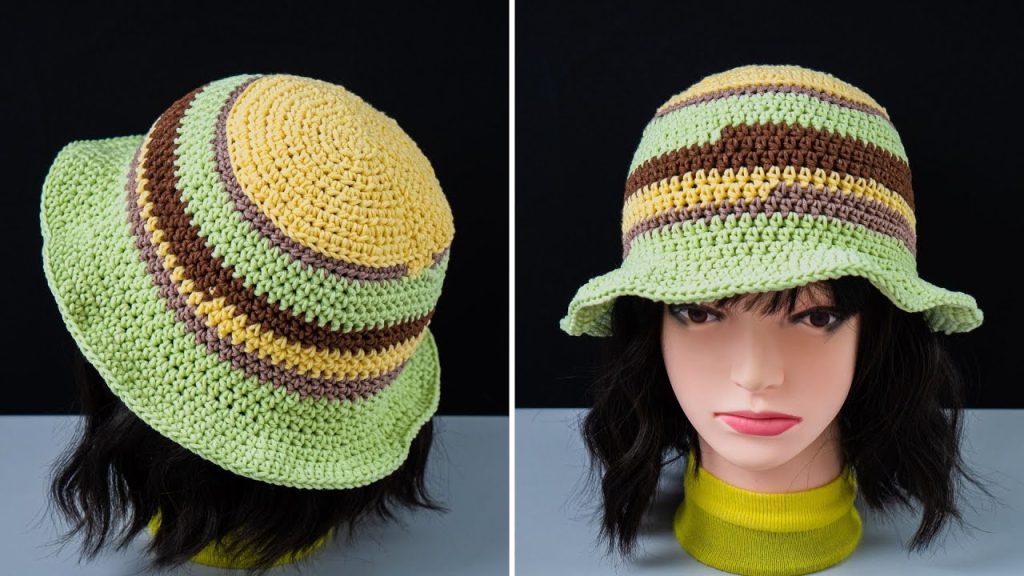
Nothing says summer style quite like a handmade bucket hat, especially one with bold, fun stripes! Inspired by the fantastic hat you saw, this pattern is designed to be a quick, satisfying project that uses simple stitches to create a structured and stylish accessory.
This hat is perfect for crocheters of all levels. It’s worked in single crochet, which creates a dense, sturdy fabric that will hold its shape beautifully. The magic of this pattern lies in its simplicity—just a basic increasing crown, a straight body, and a slightly flared brim, all brought to life with cheerful color changes.
Let’s grab our hooks and yarn and get ready to add a fun, bohemian touch to your wardrobe!
Materials You’ll Need:
- Yarn: Approximately 150-200 yards (137-183 meters) total of a Worsted Weight (Aran/10 ply) yarn. A sturdy cotton or acrylic blend is best for a hat that holds its shape.
- Main Color (MC): Approx. 70-100 yards (e.g., the light green in the image).
- Contrasting Color 1 (CC1): Approx. 30-50 yards (e.g., the yellow in the image).
- Contrasting Color 2 (CC2): Approx. 20-30 yards (e.g., the brown in the image).
- Crochet Hook: 4.0 mm (G/6) or size needed to obtain gauge. A slightly smaller hook than usual for worsted weight yarn helps create a dense, firm fabric.
- Stitch Marker: Essential for working in continuous rounds.
- Yarn Needle: For weaving in ends.
- Scissors
Gauge:
Gauge is crucial for a well-fitting hat!
- Using single crochet with your chosen yarn and hook: 18 stitches and 20 rounds = 4 inches (10 cm).
Please make a small swatch in single crochet to check your gauge. If your swatch is too large, try a smaller hook. If it’s too small, try a larger hook.
Abbreviations:
- ch: chain
- st(s): stitch(es)
- sl st: slip stitch
- sc: single crochet
- inc: increase (2 single crochet in the same stitch)
- PM: place marker
- MC: Main Color
- CC1: Contrasting Color 1
- CC2: Contrasting Color 2
Pattern Notes:
- This hat is worked in continuous rounds from the top down. Do not join rounds unless specified. Use a stitch marker to keep track of the first stitch of each round.
- Ch 1 at the beginning of a round does not count as a stitch.
- The pattern is written for an average adult head size (approx. 22-23 inches circumference). Adjustments for size are noted.
- When changing colors, complete the last yarn over of the previous stitch with the new color.
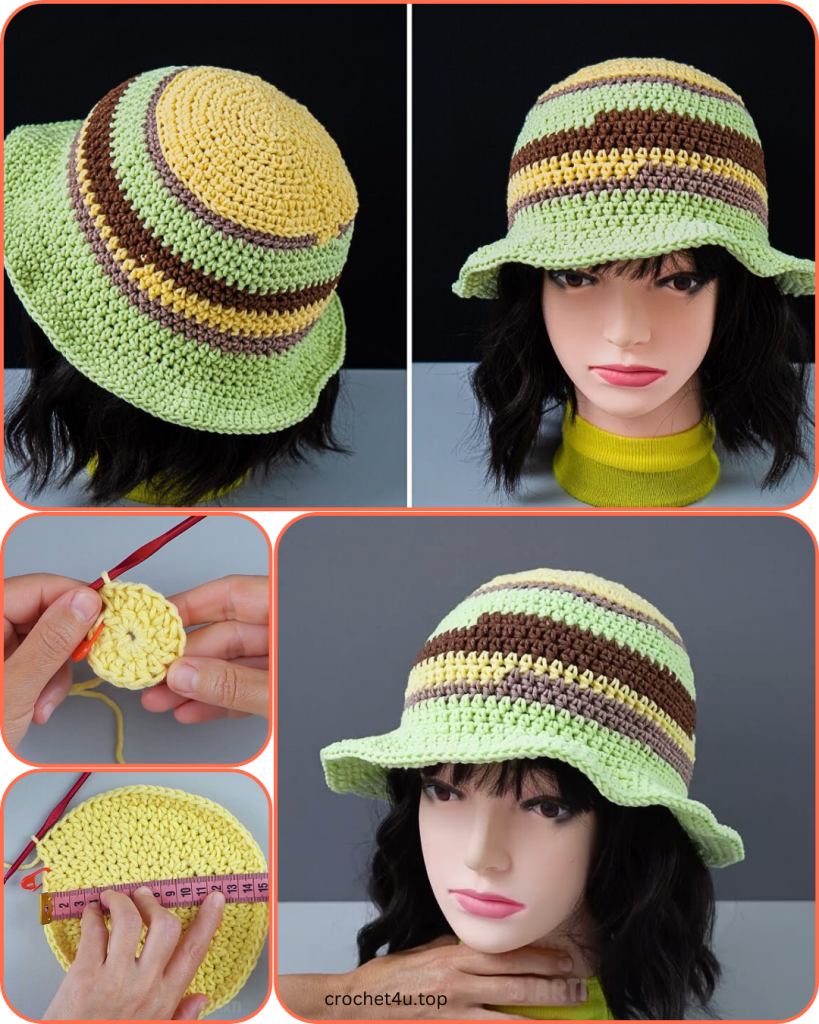
Part 1: The Crown of the Hat
We’ll start with a solid, flat circle that will form the top of your hat.
With Main Color (MC):
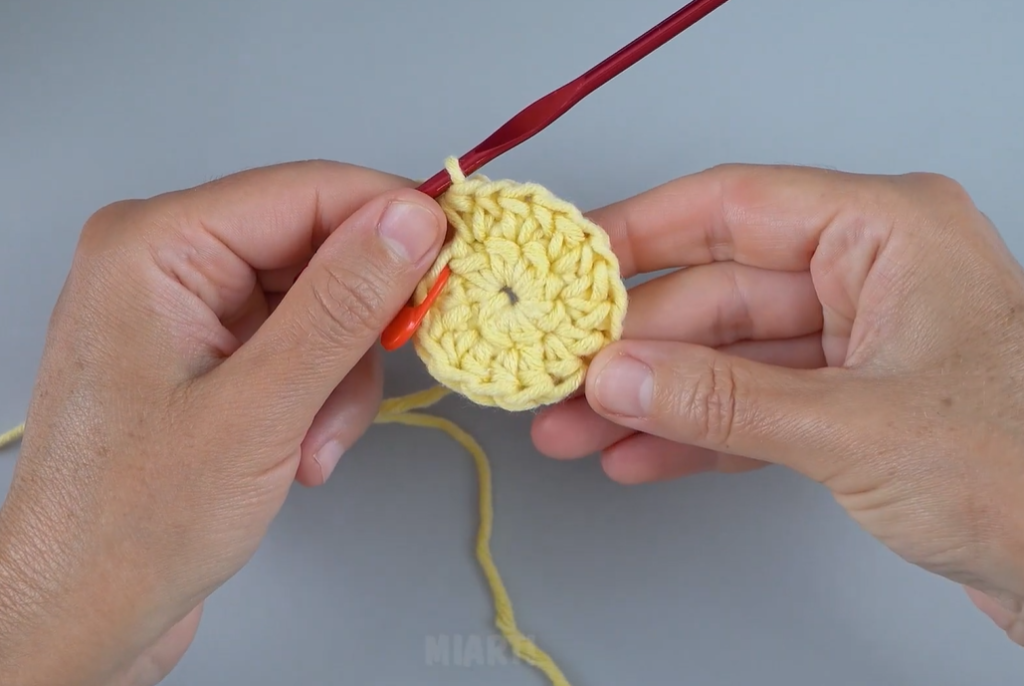
Round 1: Make a magic ring (or ch 2, and work all sc into the 2nd ch from hook). Sc 6 into the ring. Do not join. PM in the first sc. (6 sc)
Round 2: Inc in each st around. (12 sc)
Round 3: (Sc in the next st, inc in the next st) 6 times. (18 sc)
Round 4: (Sc in the next 2 sts, inc in the next st) 6 times. (24 sc)
Round 5: (Sc in the next 3 sts, inc in the next st) 6 times. (30 sc)
Round 6: (Sc in the next 4 sts, inc in the next st) 6 times. (36 sc)
Round 7: (Sc in the next 5 sts, inc in the next st) 6 times. (42 sc)
Round 8: (Sc in the next 6 sts, inc in the next st) 6 times. (48 sc)
Round 9: (Sc in the next 7 sts, inc in the next st) 6 times. (54 sc)
Round 10: (Sc in the next 8 sts, inc in the next st) 6 times. (60 sc)
Round 11: (Sc in the next 9 sts, inc in the next st) 6 times. (66 sc)
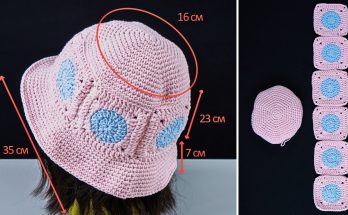
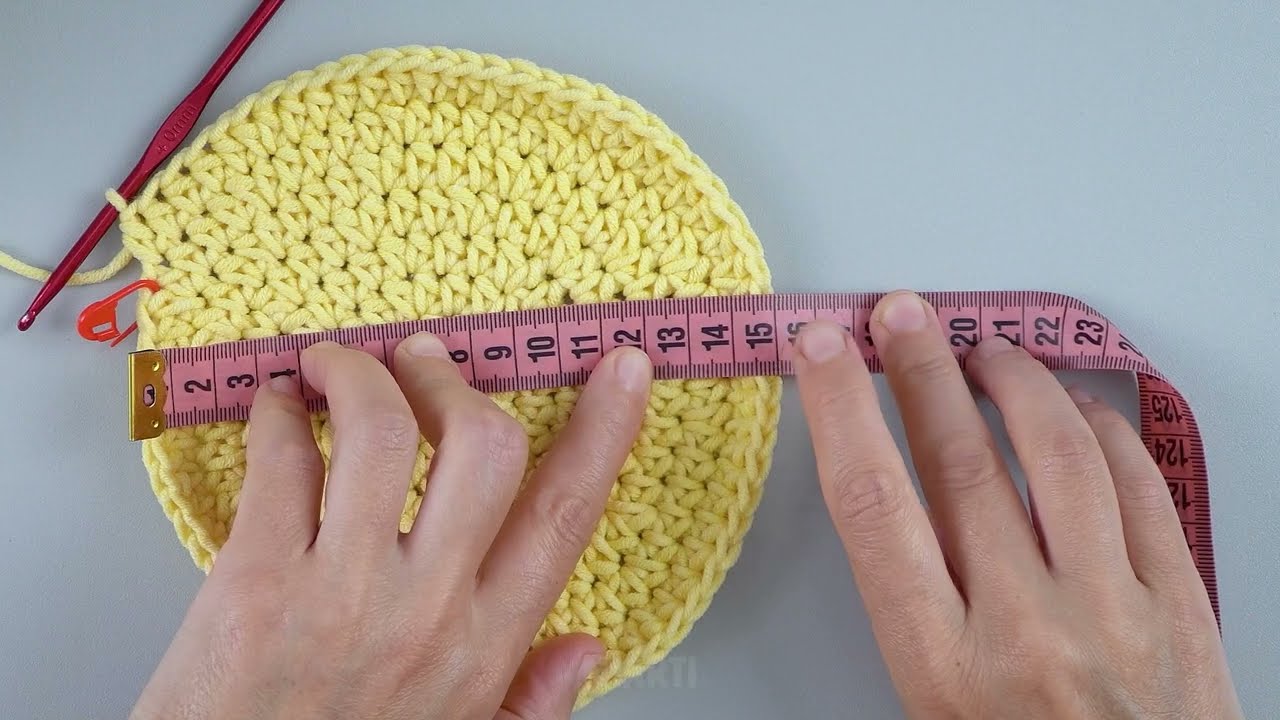
- Crown Diameter Check: Your crown should now measure approximately 6.5 – 7 inches (16.5 – 18 cm) in diameter, which usually fits an average adult head. Lay it on a flat surface; it should lie flat. If it ripples, you have too many stitches; if it cups, you don’t have enough. Adjust your last increase round as needed.
Part 2: The Side Stripes (Body)
Now we will work straight rounds to form the body of the hat, with no more increases. We will change colors to create the stripes.
Round 12 (CC1): Sc in each st around. (66 sc)
Round 13 (CC1): Sc in each st around. (66 sc)
Round 14 (CC2): Sc in each st around. (66 sc)
Round 15 (CC2): Sc in each st around. (66 sc)
Round 16 (MC): Sc in each st around. (66 sc)
Round 17 (MC): Sc in each st around. (66 sc)
Round 18 (MC): Sc in each st around. (66 sc)
Round 19 (CC1): Sc in each st around. (66 sc)
Round 20 (CC1): Sc in each st around. (66 sc)
Round 21 (CC2): Sc in each st around. (66 sc)
Round 22 (CC2): Sc in each st around. (66 sc)
Round 23 (MC): Sc in each st around. (66 sc)
Round 24 (MC): Sc in each st around. (66 sc)
- To adjust height: Try on the hat as you go. You are done with this section when the sides of the hat reach just above your ears. You can add or subtract rounds as needed.
Part 3: The Brim
Now we’ll start increasing again to create the classic bucket hat brim.

Round 25 (MC): (Sc in the next 10 sts, inc in the next st) 6 times. (72 sc)
Round 26 (MC): Sc in each st around. (72 sc)
Round 27 (MC): (Sc in the next 11 sts, inc in the next st) 6 times. (78 sc)
Round 28 (MC): Sc in each st around. (78 sc)
Round 29 (MC): (Sc in the next 12 sts, inc in the next st) 6 times. (84 sc)
Round 30 (MC): Sc in each st around. (84 sc)
Round 31 (Last Round of Brim – creating a clean edge): Sl st into the first st of the previous round. Ch 1. Sc in each st around. Join with a sl st to the first sc.
- This final round of single crochet creates a neat, sturdy edge for the brim and helps it maintain its shape.
FO, weave in all ends securely.
Video Tutorial:
Congratulations!
You’ve just crocheted your very own “Striped Boho Bucket Hat”! This project is a wonderful way to add a pop of color to your style. It’s a fantastic, quick project that results in a durable and stylish accessory. Enjoy your new, beautifully crafted hat!