
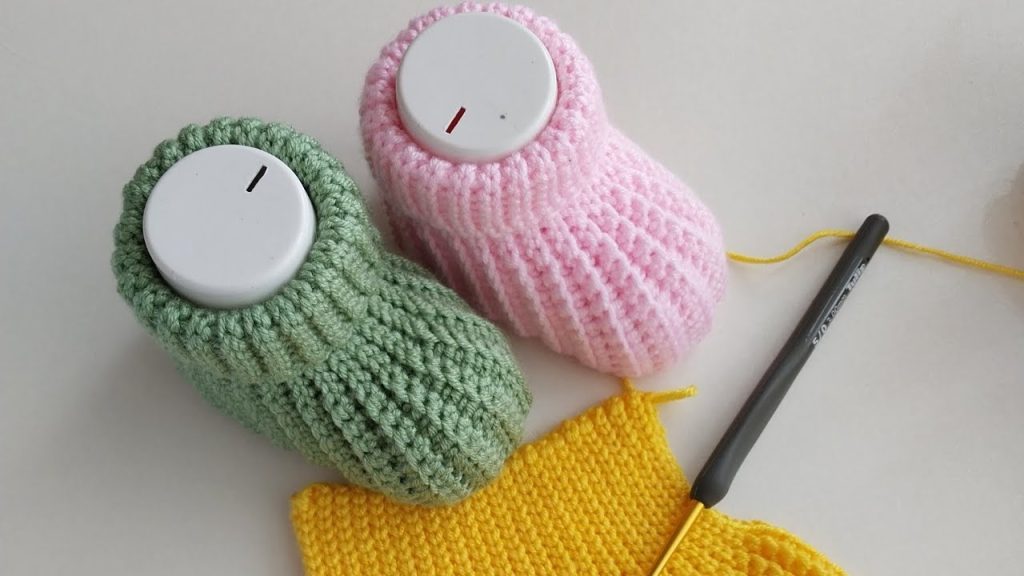
Is there anything sweeter than tiny baby feet? I think not! As a crocheter, the only thing that comes close to the joy of a newborn is the satisfaction of making something warm and cozy for them with your own two hands. I designed these Little Snuggles Baby Booties to be the perfect quick, thoughtful gift for a baby shower or a welcome-home present.
What I love about this pattern is its simplicity and classic charm. The bootie is worked in one piece from the sole up, so there’s minimal seaming, and the wrap-around cuff with a button closure is both adorable and functional. It’s a design that’s timeless and looks wonderful in any yarn color. So grab your yarn, and let’s make some magic for those tiny toes!
Pattern Details
- Skill Level: Advanced Beginner
- Sizes: 0-3 Months (3.5 inches / 9 cm sole length)
- Gauge: 5 hdc stitches and 4 rounds = 1 inch (2.5 cm) in half double crochet. Gauge is important for getting the right size, so be sure to check yours!
Materials
- Yarn: Approximately 50 yards of DK (weight 3) yarn. I used a soft, acrylic baby yarn, but any soft cotton or wool blend would work beautifully.
- Hook: Size E/4 (3.5 mm) crochet hook.
- Notions:
- Yarn needle for weaving in ends
- Scissors
- Stitch marker
- Two 0.5-inch (1.25 cm) buttons
Abbreviations (US Terms)
- ch: chain
- st(s): stitch(es)
- sl st: slip stitch
- sc: single crochet
- hdc: half double crochet
- dc: double crochet
- hdc2tog: half double crochet two together (decrease)
- […]: Repeat instructions within brackets as specified
- (..): The number of stitches at the end of the round
Special Pattern Notes
- This pattern is worked in continuous rounds. Use a stitch marker to mark the first stitch of each round and move it up as you go.
- The ch 1 at the beginning of the round does not count as a stitch unless otherwise specified.
- The pattern is for a right bootie. To create a left bootie, you will work the buttonhole on the opposite side of the cuff. (Details provided in the pattern.)
The Pattern
Make 2 booties.
The Sole
Foundation Chain: Ch 12
Round 1: Hdc in the 3rd ch from the hook (the 2 skipped chains count as your first st). Hdc in the next 8 ch. In the last ch, work 5 hdc. Now, working along the other side of the foundation chain, hdc in the next 8 ch. In the last ch, work 3 hdc. Sl st to the top of the first hdc to join. (25 sts)
Round 2: Ch 1. 2 hdc in the same st. Hdc in the next 8 sts. [2 hdc in the next st] 5 times. Hdc in the next 8 sts. [2 hdc in the next st] 3 times. Sl st to the first hdc to join. (34 sts)
Round 3: Ch 1. 2 hdc in the same st. Hdc in the next 10 sts. [2 hdc in the next st] 6 times. Hdc in the next 11 sts. 2 hdc in the next st. Hdc in the last st. Sl st to the first hdc to join. (42 sts)
At this point, you should have a small, flat oval shape for the sole. It should measure about 3.5 inches long. If it is significantly different, you may need to adjust your hook size.
The Bootie Body
Round 4: Ch 1. Working in the back loop only for this round, sc in each stitch around. Sl st to the first sc to join. (42 sts)
Round 5: Ch 1. Sc in each st around. Sl st to the first sc to join. (42 sts)
Round 6: Ch 1. Hdc in each st around. Sl st to the first hdc to join. (42 sts)
Shaping the Toe
Round 7: Ch 1. Hdc in the first 14 sts. [Hdc2tog] 7 times. Hdc in the remaining 14 sts. Sl st to the first hdc to join. (35 sts)
Round 8: Ch 1. Hdc in the first 11 sts. [Hdc2tog] 6 times. Hdc in the remaining 12 sts. Sl st to the first hdc to join. (29 sts)
Round 9: Ch 1. Hdc in the first 9 sts. [Hdc2tog] 4 times. Hdc in the remaining 12 sts. Sl st to the first hdc to join. (25 sts)
Your bootie is taking shape! It should now have a distinct toe and heel.
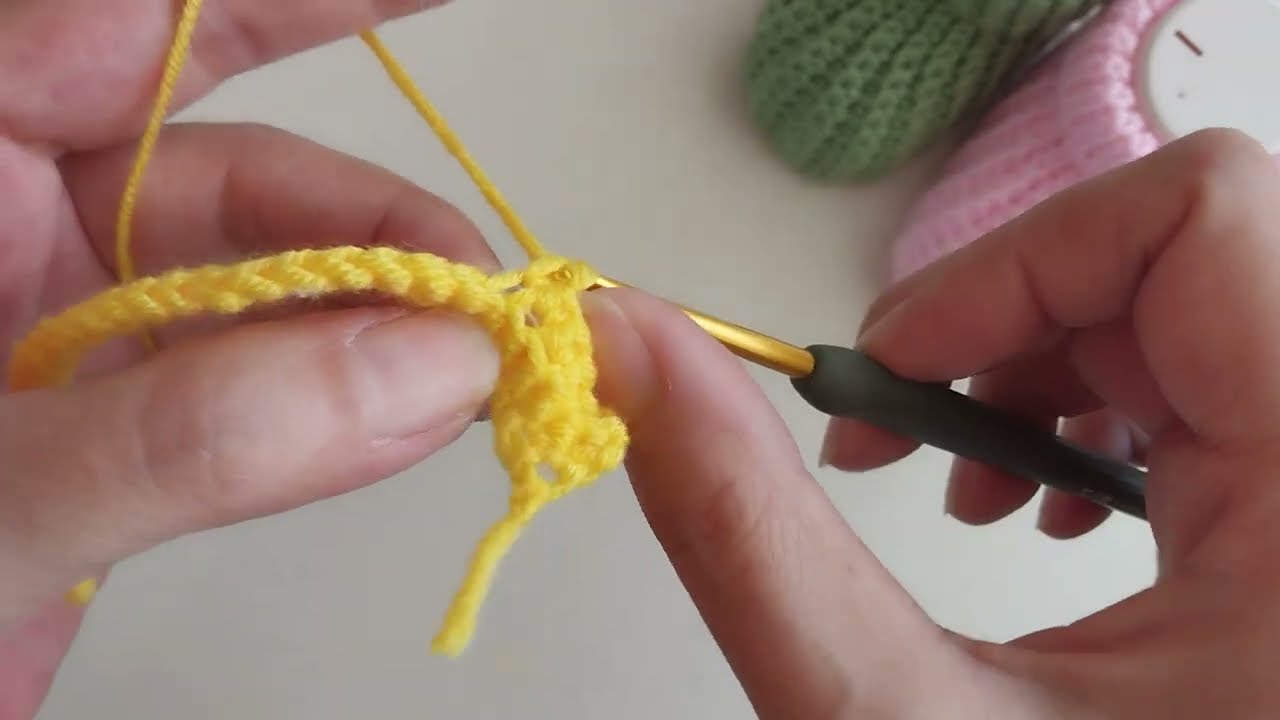
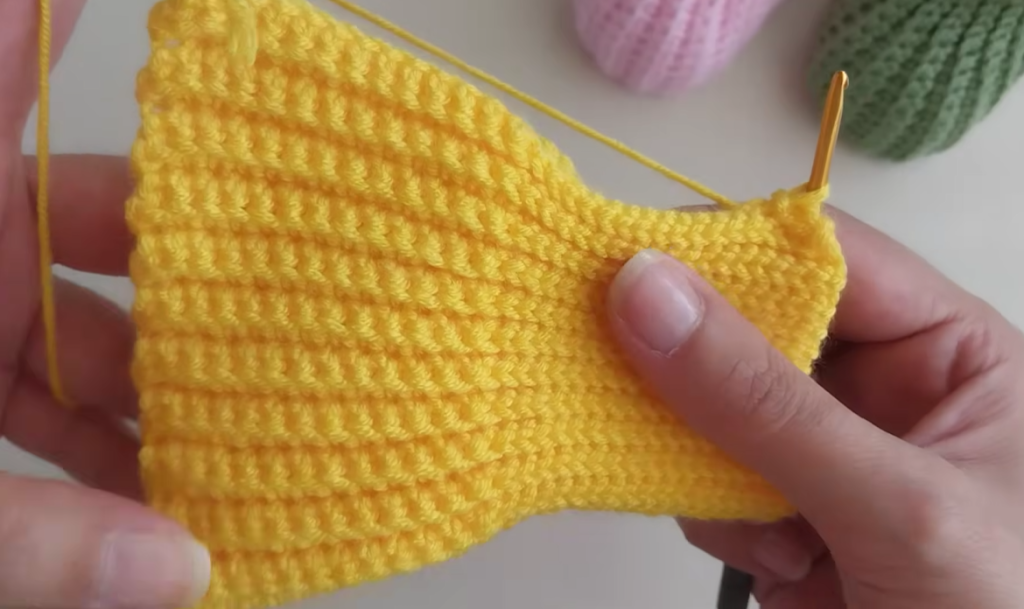
The Cuff
This part is worked in rows, not rounds.
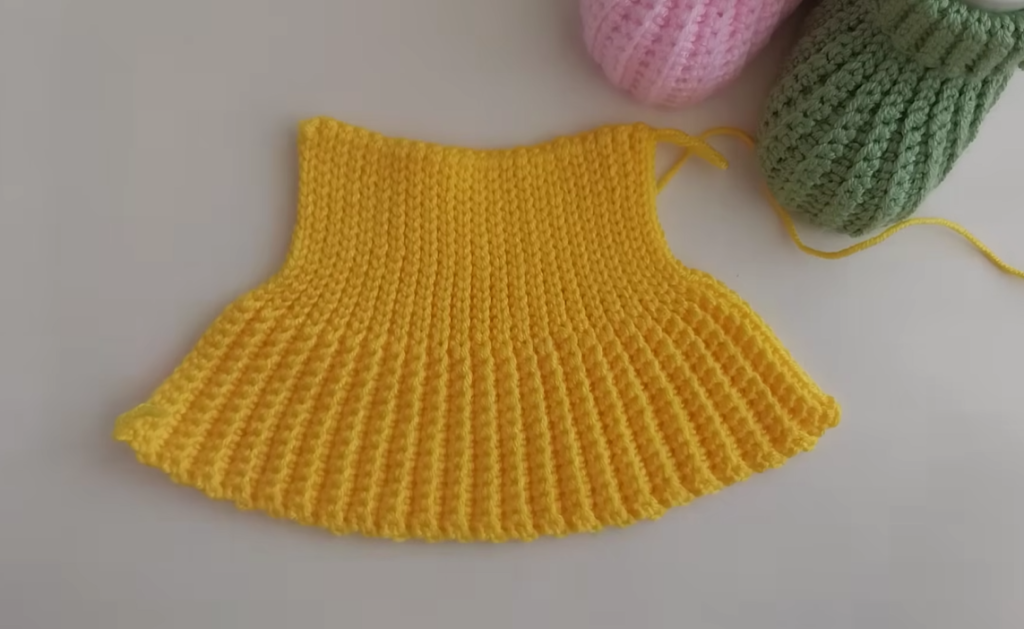
Row 1: Ch 10. Turn. Sc in the 2nd ch from the hook and in each remaining ch (9 sc). Sc into the first st of the bootie opening. Continue to sc in the next 12 sts along the bootie opening. (This is the start of your cuff. 22 sts)
Row 2: Ch 1. Turn. Sc in the next 13 sts. Sc in the next 9 sts (on the cuff piece). (22 sts)
Row 3: Ch 1. Turn. Sc in the next 9 sts (on the cuff piece). Sc in the next 13 sts (along the bootie opening). (22 sts)
Row 4 (Buttonhole Row):
- Right Bootie: Ch 1. Turn. Sc in the first 7 sts. Ch 2, skip 2 sts. Sc in the remaining 13 sts. (22 sts)
- Left Bootie: Ch 1. Turn. Sc in the first 13 sts. Ch 2, skip 2 sts. Sc in the remaining 7 sts. (22 sts)
Row 5: Ch 1. Turn. Sc in the first 13 sts. Sc in the ch-2 space. Sc in the last 7 sts. (22 sts)
Row 6: Ch 1. Turn. Sc in each st across. Fasten off, leaving a long tail for sewing. (22 sts)
Video Tutorial:
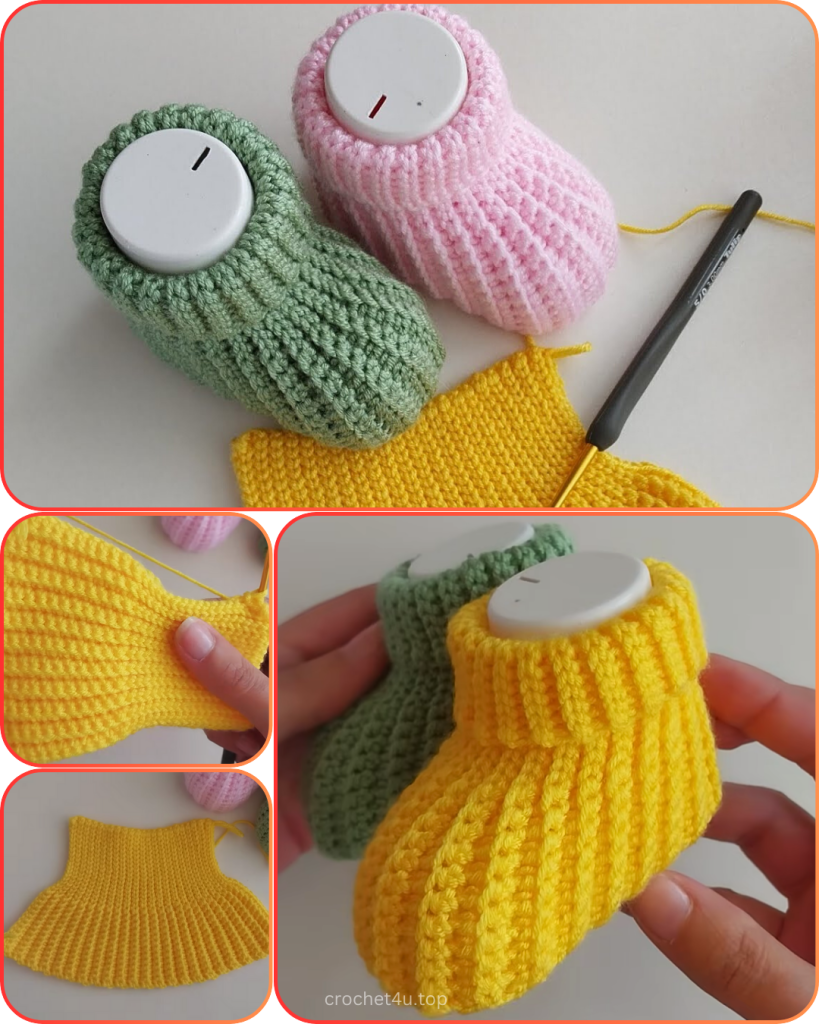
Finishing
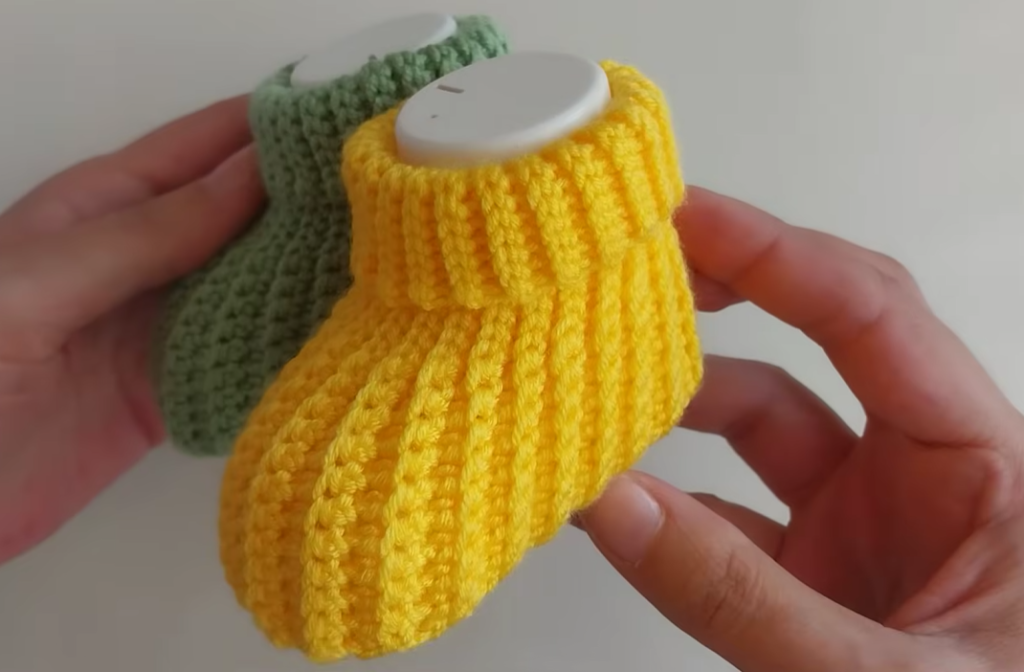
- Sewing the cuff: Fold the cuff over, with the buttonhole side on top. Use the long tail to sew the edge of the cuff to the side of the bootie, securing it neatly.
- Weave in ends: Use your yarn needle to neatly weave in all remaining loose ends.
- Attach the button: Sew the button onto the bootie on the opposite side of the cuff, so it lines up with the buttonhole.
- Make the second bootie: Follow the same instructions, paying special attention to the buttonhole row to create a mirror image of the first bootie.
Congratulations, you’ve just made a pair of the sweetest baby booties! They’re ready to keep a little one’s feet warm and looking impossibly cute.
I’d love to see your finished booties! Share a picture on social media and tag me or use the hashtag #LittleSnugglesBooties so I can find it. Happy crocheting!


