
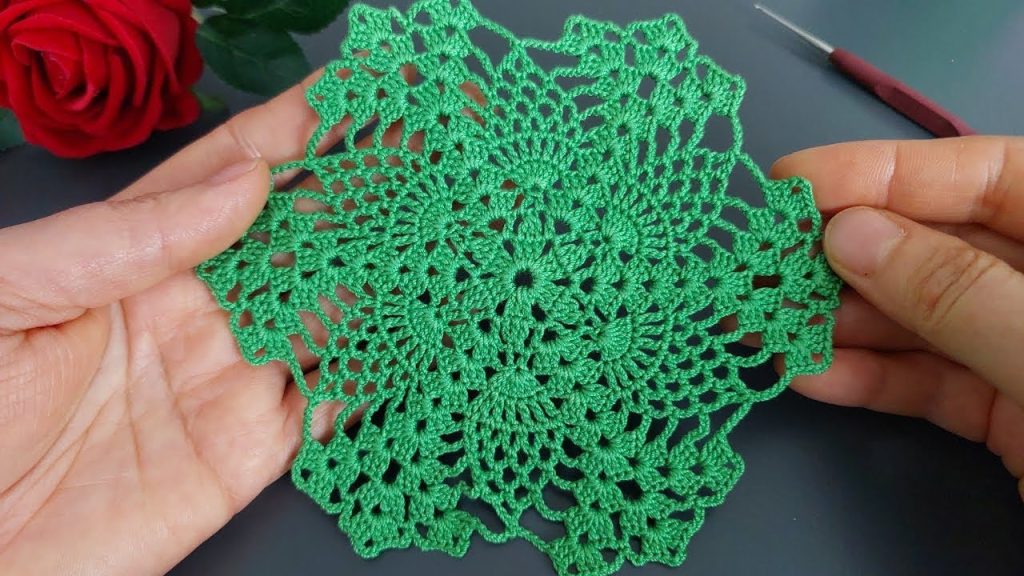
This guide will teach you how to create a stunning hexagonal doily. Its symmetrical design and intricate lacework make it a fantastic project for an intermediate crocheter. You can use this piece as a decorative coaster or as a foundation for a larger project.
Getting Started: The Right Materials
Choosing the right materials is the first step to creating a beautiful finished product that matches the delicate look in the photo.
- Yarn: For the best result, use a fine thread like size 10 crochet cotton. The color in the image is a vibrant green, which really makes the lace pop.
- Crochet Hook: You’ll need a small steel crochet hook, typically 1.5mm to 1.75mm, to work with this fine thread.
- Scissors
- Tapestry Needle: This is essential for weaving in your yarn ends neatly.
- Blocking Supplies: A blocking mat, rust-proof pins, and a spray bottle of water. Blocking is a crucial step for giving the doily its final, crisp shape.
Abbreviations (US Crochet Terms)
- ch: chain
- sl st: slip stitch
- sc: single crochet
- dc: double crochet
- tr: treble crochet
- ch-sp: chain space
- st(s): stitch(es)
- yo: yarn over
- [ ]: repeat instructions in brackets as directed
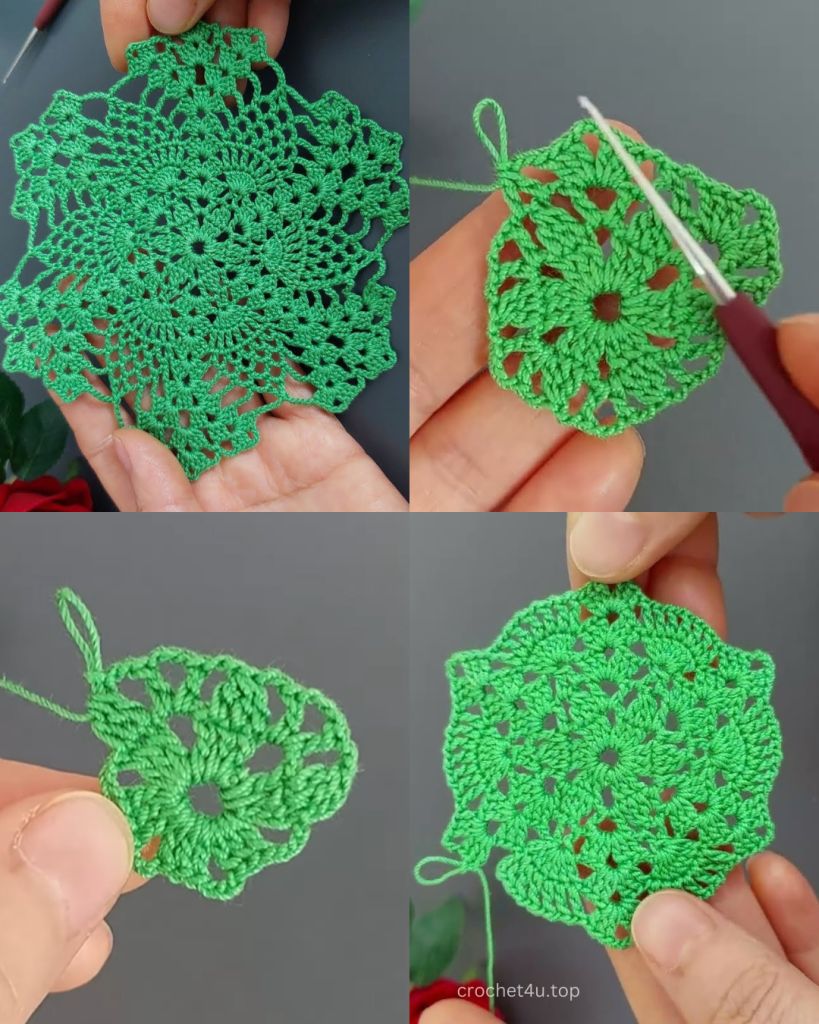
The Doily Pattern
We will work in the round, starting from the center. Count your stitches at the end of each round to make sure your hexagon stays symmetrical.
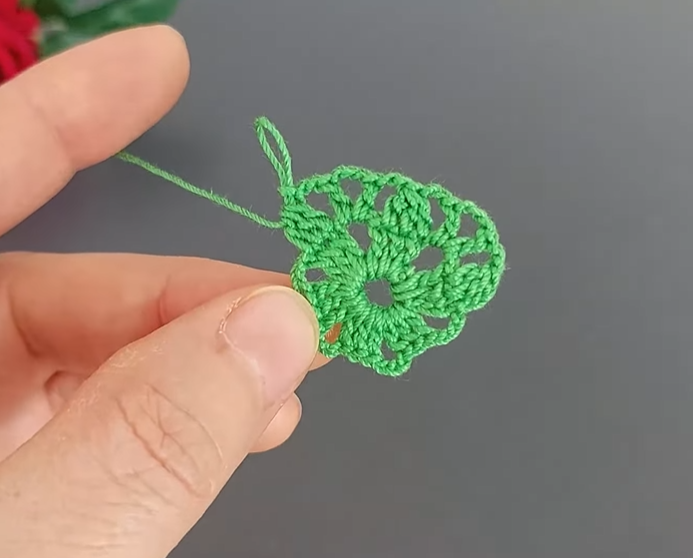
Round 1: The Center Ring Begin with a magic ring or chain 6 and join with a sl st. Ch 3 (counts as 1 dc), work 17 dc into the ring. Join with a sl st to the top of the beginning ch-3. (18 dc total)
Round 2: Creating the Foundation Ch 1, sc in the same st. Ch 3, skip 2 dc, sc in the next dc. Repeat from * to * 4 more times. Ch 3, skip 2 dc, sl st to the first sc to join. (6 ch-3 loops)
Round 3: The First Petals Sl st into the first ch-3 sp. Ch 3 (counts as 1 dc), 2 dc, ch 3, 3 dc in the same ch-3 sp. Ch 2, [3 dc, ch 3, 3 dc] in the next ch-3 sp. Repeat from * to * 4 more times. Ch 2, sl st to the top of the beginning ch-3. (6 petals)
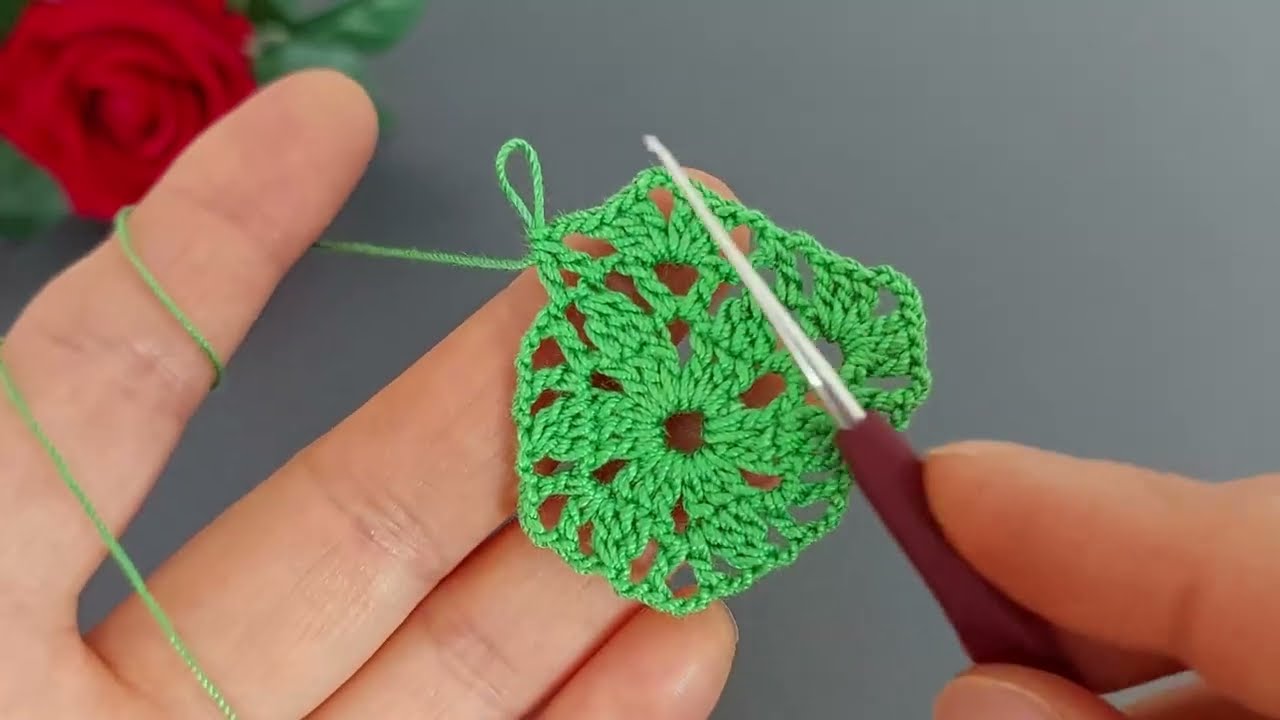
Round 4: The Connecting Stitches Sl st into the next 2 dc and into the ch-3 sp of the first petal. Ch 3 (counts as 1 dc), 2 dc, ch 3, 3 dc in the same ch-3 sp. Ch 3, sc in the ch-2 sp between the petals, ch 3, [3 dc, ch 3, 3 dc] in the next ch-3 sp of the next petal. Repeat from * to * 4 more times. Ch 3, sc in the last ch-2 sp, ch 3, sl st to the top of the beginning ch-3.
Round 5: Building the Lattice Sl st into the next 2 dc and into the ch-3 sp of the first petal. Ch 3 (counts as 1 dc), 2 dc, ch 3, 3 dc in the same ch-3 sp. Ch 4, skip the ch-3 sp, sc in the sc, ch 4, skip the ch-3 sp, [3 dc, ch 3, 3 dc] in the next ch-3 sp of the next petal. Repeat from * to * 4 more times. Ch 4, sc in the last sc, ch 4, sl st to the top of the beginning ch-3.

Round 6: More Lace Sl st into the next 2 dc and into the ch-3 sp of the first petal. Ch 3 (counts as 1 dc), 2 dc, ch 3, 3 dc in the same ch-3 sp. Ch 5, sc in the next ch-4 sp, ch 5, sc in the next ch-4 sp, ch 5, [3 dc, ch 3, 3 dc] in the next ch-3 sp of the next petal. Repeat from * to * 4 more times. Ch 5, sc in the next ch-4 sp, ch 5, sc in the last ch-4 sp, ch 5, sl st to the top of the beginning ch-3.
Round 7: The Final Scalloped Edge Sl st into the next 2 dc and into the ch-3 sp of the first petal. Ch 1 (does not count as a st), [sc, hdc, 5 dc, hdc, sc] in the same ch-3 sp. sc in the next ch-5 sp, 2 dc in the next ch-5 sp, sc in the next ch-5 sp. [sc, hdc, 5 dc, hdc, sc] in the next ch-3 sp. Repeat from * to * around the doily. After the final scallop, sl st to the first sc to join.
Fasten off and weave in all loose ends.
Video Tutorial:
The Final and Most Important Step: Blocking
Blocking is the process that will take your crocheted piece from a wavy, slightly wrinkled disc to a perfectly flat, beautifully shaped doily.
- Dampen: Gently soak your doily in lukewarm water for about 15 minutes.
- Squeeze: Gently press out the excess water. Do not wring or twist the doily.
- Pin: Lay the damp doily on a foam blocking mat. Using rust-proof pins, carefully pin each of the six points of the doily. Stretch the fabric slightly as you pin to open up the lacework.
- Dry: Leave the doily pinned until it is completely dry. This can take up to a full day or longer.
- Unpin: Once dry, carefully unpin the doily. It will hold its new, crisp hexagonal shape.
Enjoy your beautiful new handmade doily!


