
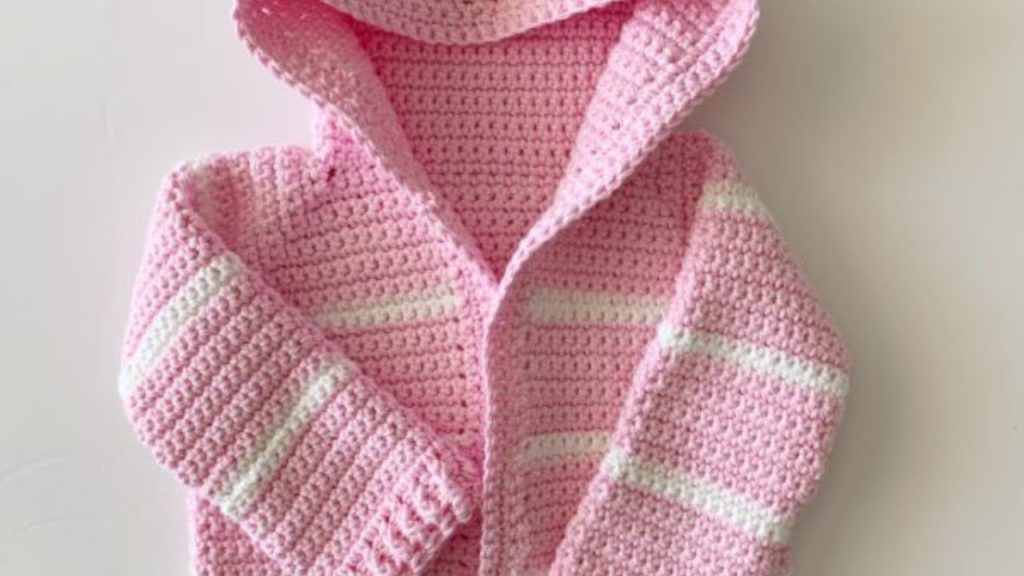
Keep your little one cozy and stylish with The Sweet Stripes Hooded Jacket! This practical garment is worked in simple Half Double Crochet (HDC) rows, giving it a dense, warm texture perfect for layering. The design uses classic top-down raglan construction, features fun contrasting stripes on the body and sleeves, and is topped with a perfectly shaped hood.
This detailed pattern is written for the 12-18 Month size and is best suited for the Intermediate crocheter who is comfortable with top-down raglan shaping and managing color changes.
Materials Needed 🧶
- Yarn: Approximately 450-500 yards of Worsted Weight (Aran / #4) yarn. A soft acrylic or blend is recommended for easy washing and durability.
- Main Color (MC): Soft Pink (Approx. 400 yds)
- Contrast Color (CC): White (Approx. 100 yds)
- Crochet Hook: 5.0 mm (US H-8), or the size needed to obtain gauge.
- Tapestry Needle: For weaving in ends and seaming the hood.
- Stitch Markers: 4 markers for the raglan corners.
- Buttons (Optional): 3 small (1/2 inch) buttons for front closure.
Skill Level & Notes 💡
- Skill Level: Intermediate. Requires consistent raglan shaping, working flat and in the round, and carrying/changing yarn colors accurately.
- Construction: The jacket is worked flat in rows from the top-down to create the front opening. The hood is added later, and the sleeves are worked in the round.
- Chains: Ch 2 at the beginning of HDC rows always counts as the first HDC unless noted otherwise. Carry the MC loosely up the side when working in the body to minimize weaving.
Gauge 📏
In Half Double Crochet (HDC) (Yoke section) using a 5.0 mm hook: 13 HDC stitches and 9 rows = 4 inches (10 cm) square.
Abbreviations 📚
| Abbreviation | Description |
| ch | chain |
| sl st | slip stitch |
| sc | single crochet |
| hdc | half double crochet |
| st(s) | stitch(es) |
| rep | repeat |
| MC | Main Color |
| CC | Contrast Color |
Export to Sheets
Stripe Sequence ✨
Repeat this sequence throughout the Body and Sleeves:
- MC: 8 Rows
- CC: 2 Rows
- MC: 8 Rows
- CC: 2 Rows (Continue pattern until piece measures 8 inches from underarm.)
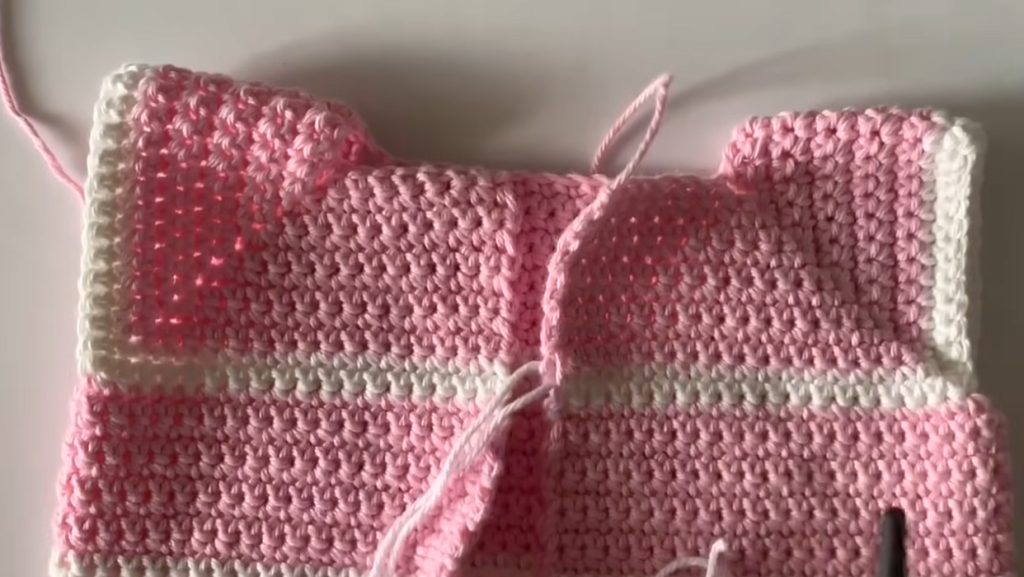
Part 1: The Yoke (MC – Soft Pink) ⬆️
The yoke is worked flat in rows with a front opening.
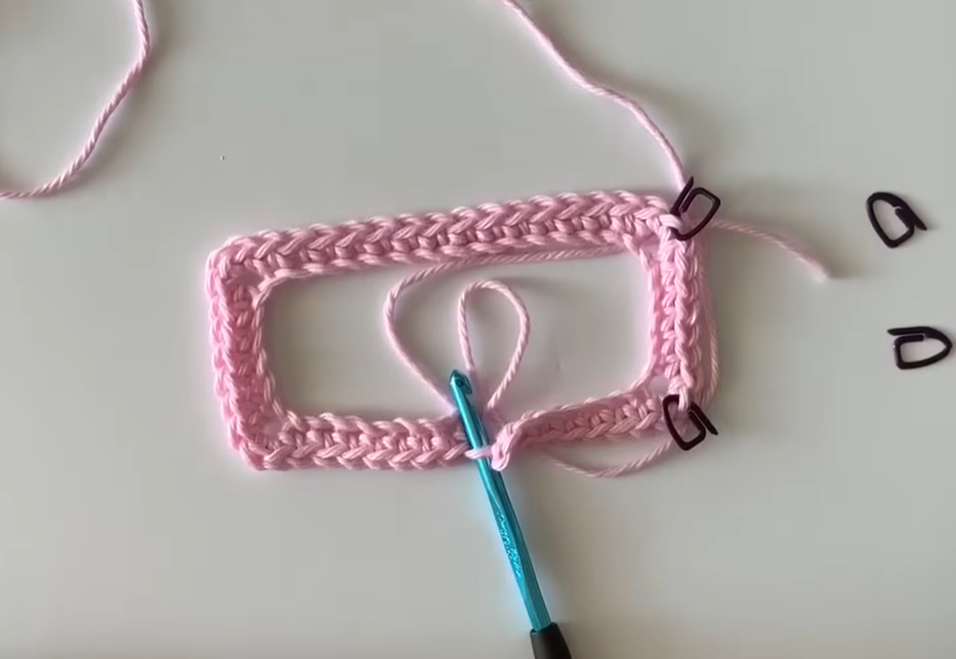
Row 1 (Foundation): Ch 76. Hdc in the 3rd ch from hook (counts as 2 hdc). Hdc in the next 10 ch. [Hdc, ch 2, hdc] in the next ch (PM in ch-2 sp). Hdc in the next 12 ch (Shoulder). [Hdc, ch 2, hdc] in the next ch (PM). Hdc in the next 18 ch (Back). [Hdc, ch 2, hdc] in the next ch (PM). Hdc in the next 12 ch (Shoulder). [Hdc, ch 2, hdc] in the next ch (PM). Hdc in the last 6 ch. (80 hdc, 4 ch-2 sps)
Rows 2-12 (Increase Rows): Ch 2, turn. Hdc in each st until the first ch-2 sp. [Hdc, ch 2, hdc] in the ch-2 sp. Rep the increase sequence 3 more times. Hdc in each remaining st. (Increases by 8 hdc each row.)
- End of Row 12 Stitch Count: 176 hdc, 4 ch-2 sps.
Part 2: Body Separation & Body 🧥
Row 13 (Separation): Ch 2, turn. Hdc in each st until the first ch-2 sp. Hdc in the ch-2 sp. Ch 2 (skips the sleeve stitches/PMs). Hdc in the second ch-2 sp. Hdc in each st across the back to the third ch-2 sp. Hdc in the ch-2 sp. Ch 2 (skips the second sleeve stitches). Hdc in the fourth ch-2 sp. Hdc in each remaining st. (128 hdc)

Row 14-21 (MC): Ch 2, turn. Hdc in each st and 2 hdc into each ch-2 underarm sp. (132 hdc).
- Row 21: Change to CC on the last stitch.
Rows 22-23 (CC): Ch 2, turn. Hdc in each st across. Change to MC on the last st of Row 23.
Rows 24-31 (MC): Ch 2, turn. Hdc in each st across. Change to CC on the last st of Row 31.
Rows 32-45: Continue the Stripe Sequence until the jacket measures approximately 8 inches from the underarm, ending with a MC row.
Bottom Edging: Ch 1, turn. Sc evenly across the bottom edge. Fasten off.
Part 3: The Sleeves 👚
Make 2 sleeves, worked in the round.
Round 1 (Setup): Attach MC at the center of the underarm ch-2 space. Ch 2. Work 42 hdc evenly around the armhole opening (2 hdc in the ch-2 sp, 1 hdc per st on the sleeve side). Sl st to join. (42 hdc)
Rounds 2-9 (MC): Ch 2. Hdc in each st around. Sl st to join.
- Round 9: Change to CC on the last st.
Rounds 10-11 (CC): Ch 2. Hdc in each st around. Sl st to join.
- Round 11: Change to MC on the last st.
Rounds 12-29: Continue the Stripe Sequence (8 MC, 2 CC) until the sleeve reaches the desired length, ending with a MC round.
Cuff Edging (MC): Ch 1. Work 2 rounds of SC in the BLO for a fitted cuff. Sl st to join. Fasten off.
Part 4: The Hood (MC) 🧢
The hood is worked flat, then folded and seamed.
Row 1: Attach MC to the right front corner of the neckline. Ch 2. Hdc evenly across the entire neckline edge (working into the row ends and foundation chain). (Approx. 52 hdc).
Rows 2-18: Ch 2, turn. Hdc in each st across.
Rows 19-25 (Top Shaping): Decrease 1 hdc at the beginning and end of each row (Hdc2tog) for 7 rows. (38 hdc)
Seaming: Fold the hood in half, aligning the two short top edges. Sl st or sc through both layers to seam the hood top shut. Fasten off.
Video Tutorial:
Finishing and Final Touches 🫧
- Front Edging: Attach MC to the bottom right front corner. Work 2 rows of SC evenly up the entire front opening, around the hood edge, and back down the other side. Fasten off.
- Buttons/Button Loops (Optional): If adding buttons, create 3 evenly spaced button loops (Ch 3, sk 2 sc) on the final SC edging row of the desired placket side, and sew the buttons onto the opposite placket side.
- Weave in all yarn tails securely, including those from color changes.
- Blocking: Gently steam block the jacket, focusing on laying the yoke and stripes flat and setting the shape of the hood.
Your adorable Sweet Stripes Hooded Jacket is ready for its little owner!


