
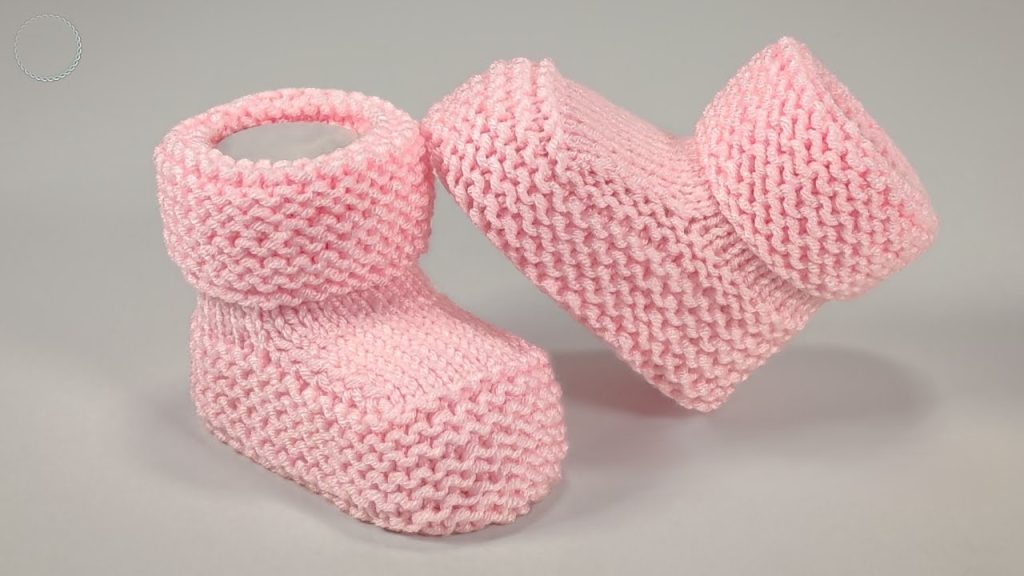
Welcome to the blog! There’s nothing quite as heartwarming as knitting tiny treasures for a baby, and this bootie pattern is pure affection in yarn form. Designed for ease and elegance, these little shoes start with a classic garter stitch cuff, move into a beautifully shaped toe using simple short-row decreases, and finish with a lovely roll-down collar.
This pattern is ideal for beginners eager to tackle shaping techniques. Grab your needles and let’s start stitching some love!
👶 Sizing & Fit Information
This pattern is written for the standard newborn size shown in the video.
| Size | Age Group | Initial Cast On | Foot Circumference |
| Newborn | 0 to 3 Months | 44 Stitches | Approx. 18 cm (7 in) |
For a Larger Size (3-6 Months):
- Cast On: 46 stitches.
- Divide: 17 sts (side) – 12 sts (center/toe) – 17 sts (side).
- Follow the rest of the pattern as written.
🧶 Materials & Tools
To create these delicate booties, ensure your yarn and needles are appropriately sized for baby garments.
- Yarn: Approximately 50 grams of Light Worsted or DK Weight yarn (Category 3). Choose a soft, machine-washable blend like acrylic, cotton, or a gentle wool.
- Needles: 3.5 mm (US size 4) or 4.0 mm (US size 6) knitting needles (straight or short circulars).
- Notions:
- Stitch marker (optional, but helpful for the toe section).
- Tapestry needle (essential for seaming).
- Scissors.
- Row counter (highly recommended for accuracy).
📚 Abbreviations & Essential Techniques
This pattern uses standard US knitting terms.
| Abbreviation | Stitch Name | Description |
| CO | Cast On | Placing stitches on the needle to begin the work. |
| K | Knit | The basic knit stitch. |
| P | Purl | The basic purl stitch. |
| K2tog | Knit two stitches together | A simple decrease, joining the center toe stitch to a side stitch. |
| P2tog | Purl two stitches together | A simple decrease, joining the center toe stitch to a side stitch. |
| SL1P | Slip one stitch purl-wise | Used at the start of every row to create a clean, non-curling edge. |
Essential Technique: The Clean Edge
To ensure your seams are neat and the fabric lays flat, we will use a consistent technique on the first and last stitch of every row:
- First St: Always SL1P (slip one stitch purl-wise).
- Last St: Always P1 (purl one stitch).
The SL1P stitch is always considered the first stitch in the count for all rows.
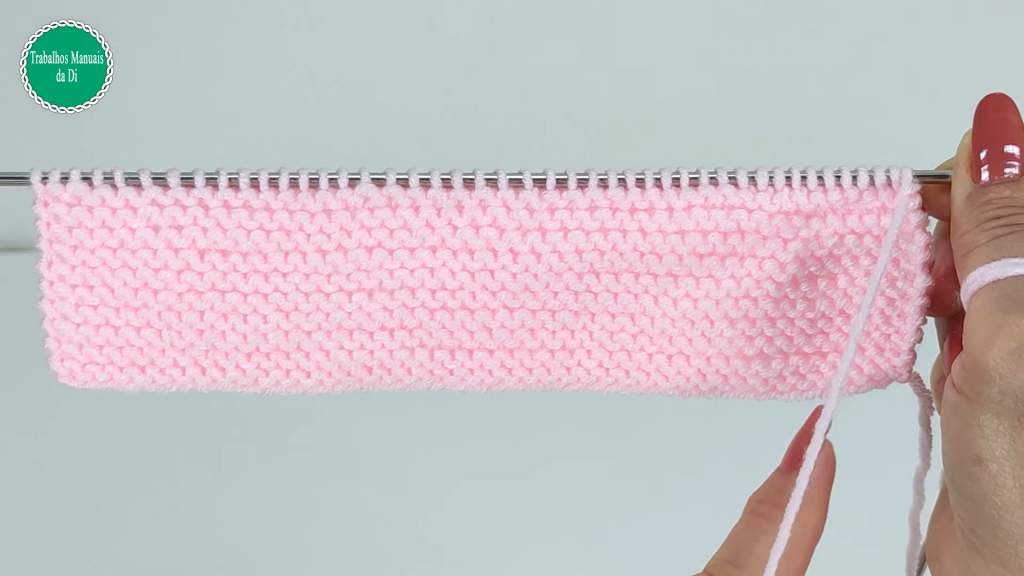
👣 Part 1: The Initial Cuff Band (Garter Stitch)
The bootie is worked flat, starting at the ankle and working down towards the toe. The first section establishes the cuff that will eventually fold down.
Preparation: CO 44 stitches onto your needles.
Rows 1 – 10 (Garter Stitch):
- Row 1 (RS): SL1P, K to the last st, P1.
- Row 2 (WS): SL1P, K to the last st, P1.
- Repeat these two rows 4 more times until you have 10 rows total (5 Garter Ridges).
This section should measure approximately 4.5 cm (1.8 inches) in height.
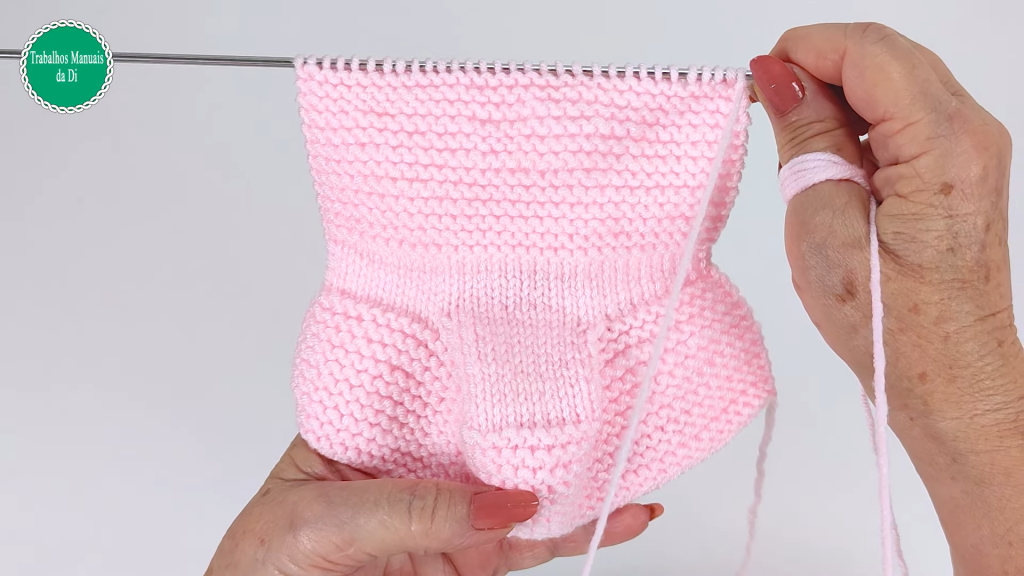
📐 Part 2: Shaping the Toe (Short Rows)
We will now divide the stitches into three sections to create the curve of the toe using short rows: 16 side stitches – 12 center stitches – 16 side stitches.
Setup Row (Right Side):
- SL1P, K 15 sts. (You have now worked the first 16 side stitches).
- K 11 sts (The first 11 stitches of the center section).
- K2tog (Knit the 12th center stitch together with the first side stitch from the remaining 16).
- Turn the work. (Do not work the remaining stitches on the left needle yet).
Decrease Rows (Working Back and Forth on the Center 12 Stitches)
- You will be decreasing by one stitch on every row until only 10 side stitches remain on each side (total 6 rows of decreases).
Row 1 (WS):
- SL1P (The stitch you just worked the K2tog with—remember, this is counted as the first stitch).
- P 10 sts (Total 11 stitches worked).
- P2tog (Purl the 12th center stitch together with the next stitch from the unworked side stitches).
- Turn the work.
Row 2 (RS):
- SL1P (The stitch you just worked the P2tog with).
- K 10 sts (Total 11 stitches worked).
- K2tog (Knit the 12th center stitch together with the next stitch from the unworked side stitches).
- Turn the work.
Repeat Row 1 and Row 2 until you have picked up 6 stitches from the left side and 6 stitches from the right side.
- You will know you are finished when you have 10 stitches remaining on the needles on each side of the center section.*
👟 Part 3: The Foot Bridge (Stockinette Stitch)
Now that the toe is shaped, we knit across all remaining stitches to form the bridge and base of the foot.
Bridge Setup Row (Right Side):
- SL1P, K 9 sts (The remaining 10 side stitches).
- K 12 sts (The center toe stitches).
- K 9 sts (The remaining 10 side stitches).
- P1 (The final edge stitch).(32 stitches total)
Foot Bridge Rows (Stockinette Section – 8 Rows):
- This section uses Stockinette Stitch (K on RS, P on WS) to create a flat, smooth section.
- RS Rows (Knit): SL1P, K to the last st, P1.
- WS Rows (Purl): SL1P, P to the last st, P1.
Repeat the RS and WS rows until you have completed 8 rows total (4 knit rows on the Right Side).
- Fixing Gaps: When transitioning from the toe shaping to knitting across the full row, you may notice small gaps where the decreases occurred. On the first full knit row, you can K2tog over the space (joining the last stitch of the side section with the first stitch of the center section) to close any holes, if necessary. The pattern writer in the video demonstrated closing one such gap.
🎀 Part 4: The Fold-Down Collar (Garter Stitch)
The final section is knit in Garter Stitch to provide a matching texture to the initial cuff and create a soft, flexible edge that folds down neatly.
Collar Rows (Garter Stitch – 12 Rows):
- Row 1 (RS): SL1P, K to the last st, P1.
- Row 2 (WS): SL1P, K to the last st, P1.
Repeat these two rows until you have completed 12 rows total (6 Garter Ridges).
This section should measure approximately 5 cm (2 inches) in height.
Binding Off:
- Work one final Garter Row (RS): SL1P, K to the last st, P1.
- Bind Off Row (WS): Bind off all stitches in Purl. Work P2tog, transfer the resulting stitch back to the left needle, and repeat until all stitches are bound off.
- Important: Bind off loosely so the edge is flexible for folding.
- Cut the yarn, leaving a long tail (at least 50 cm / 20 inches) for seaming. Pull the tail through the final loop.
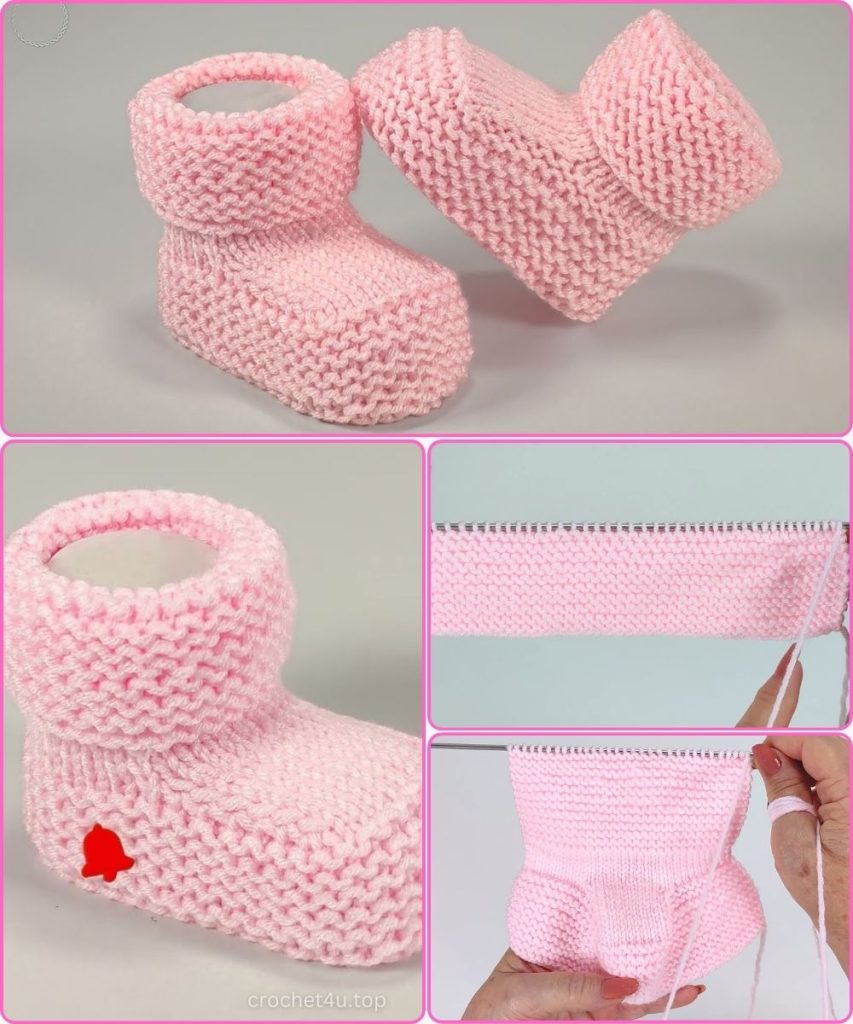
🧵 Part 5: Assembly and Finishing
Your piece is now ready to be transformed from a flat shape into a cute bootie!

1. Prepare for Seaming:
- Thread the long yarn tail onto your tapestry needle.
- Fold the piece in half lengthwise, with the right sides together (the smooth Stockinette side should be facing in, and the Purl side facing out).
2. Seam the Back (Heel/Cuff):
- Starting from the Bind-Off edge (the top of the collar), sew the two edges of the cuff together.
- Use a tidy seaming method like the Mattress Stitch or a close Backstitch. Ensure the seam is neat and aligned, especially through the Garter Ridges.
- Continue seaming down the cuff and the entire back of the foot until you reach the base of the sole.
3. Seam the Sole (Base of the Foot):
- Rotate the bootie. You will now seam the bottom edges together.
- The video suggests a technique of picking up two stitches from one side, then two stitches from the other side and repeating down the entire length of the sole. This creates a strong, defined bottom seam.
- Continue the sole seam until you reach the shaped toe tip. Secure the seam firmly.
4. Final Touches:
- Weave in all remaining yarn ends securely on the inside of the bootie.
- Turn the bootie right side out.
- Fold the Garter Stitch collar down over the Stockinette section for the finished look.
Repeat all steps to create the second matching bootie! Your adorable, delicate baby booties are now ready to keep little feet warm!


