
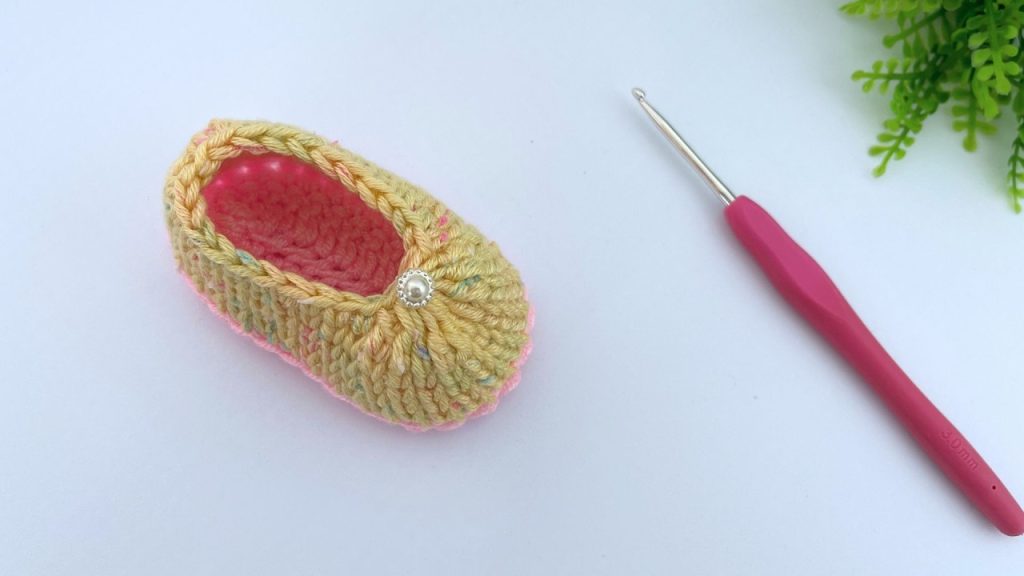
Welcome, crochet enthusiast! Prepare your heart for a pattern that is pure comfort and genius in design. This bootie uses a unique construction method—starting with a tubular band and strategically seaming the bottom—to achieve a professional, rounded sole without complex shaping rounds. The body features a simple yet beautiful textured stitch that gives the fabric a lovely woven or knit-like look.
This is an excellent pattern for those looking to expand beyond basic stitches and achieve a sophisticated finish with minimal fuss.
🧶 Materials & Tools
We recommend using two contrasting colors to make the textured stitch pattern pop, but feel free to choose just one for a monochrome look.
- Yarn: Approximately 50 grams total of Light Worsted or DK Weight yarn (Category 3). Use a soft, baby-safe fiber.
- Color A (Sole/Cuff): The color used for the initial two rounds and the sole seam.
- Color B (Body/Texture): The color used for the main body rounds.
- Hook: 3.5 mm or 4.0 mm crochet hook (or size needed to meet your desired density).
- Notions:
- Tapestry needle (essential for seaming).
- Scissors.
- Stitch marker (helpful for tracking rounds).
- Embellishment (optional: small pearls or a decorative bow).
📏 Sizing & Customization
The size provided below is for a standard newborn bootie.
Standard Size: Newborn (0-3 Months)
- Initial Chain: 32 chains (resulting in 32 stitches per round).
- Foot Length (Approximate): The starting chain measures approximately 18 cm (7 inches) in circumference.
Adjusting the Size
This pattern is highly customizable by adjusting the initial chain length.
- Rule of Thumb: Measure the length of the baby’s foot from heel to toe, then chain a length equal to double that measurement.
- Stitch Count: Ensure your chain count is appropriate for the final decrease section (see Part 3). A smaller chain count will require fewer SC stitches before and after the large decrease fan.
📘 Abbreviations & Special Techniques (US Terms)
Familiarize yourself with the special stitches used for the texture and the decrease.
| Abbreviation | Stitch Name |
| ch | Chain |
| st(s) | Stitch(es) |
| sl st | Slip Stitch |
| sc | Single Crochet |
| dc | Double Crochet |
| LDC | Large Decrease Cluster (Special Stitch) |
| TVS | True V-Stitch (Special Technique) |
Special Technique: TVS (True V-Stitch) Single Crochet
Instead of inserting the hook under the two top loops of the stitch, you insert the hook directly into the center of the ‘V’ of the single crochet stitch below. This forces the top loops forward, creating the distinct woven/braided texture.
Special Stitch: LDC (Large Decrease Cluster)
This complex decrease is worked over 10 stitches to rapidly shape the toe.
- Yarn over (YO).
- (Insert hook into the center of the ‘V’ of the next stitch, YO, pull up a loop, YO, pull through 2 loops) 10 times. You will have 11 loops on your hook.
- YO, pull through all 11 loops on the hook.
👣 Part 1: The Base Cuff (Color A)
This section creates the foundation and the front half of the sole. Ensure you leave a long tail (at least 30 cm / 12 in) at the beginning for the sole seam!
Preparation: With Color A, chain 32.
Round 1 (DC Foundation):
- Join the last ch to the first ch with a sl st to form a ring (be careful not to twist the chain).
- Ch 1, SC in the same st, Ch 1. (This SC + Ch 1 combination counts as the first DC).
- DC in the next st and in every ch around.
- Join with a sl st to the starting Ch 1.(32 sts)
Round 2 (DC Repeat):
- Ch 1, SC in the same st, Ch 1. (Counts as first DC).
- DC in the next st and in every st around.
- Finishing the Seam: At the end of the round, insert the hook from the back to the front into the top of the beginning Ch 1. Yarn over and pull the loop through to the back of the work. This creates a neat, nearly invisible join.
- Ch 1 (or 2) to secure. Fasten off Color A.
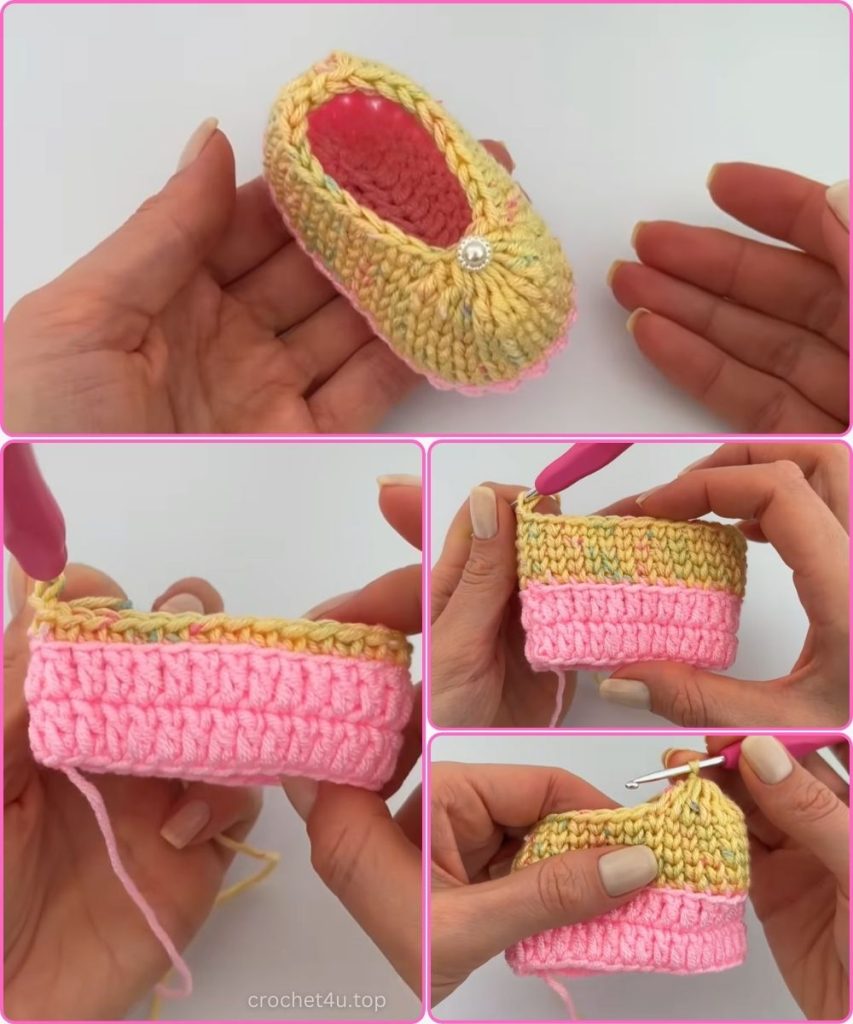
🌈 Part 2: The Textured Body (Color B)
The body is created using the True V-Stitch Single Crochet (TVS) technique for a woven look.

Round 3 (Setup Row):
- Join Color B with a sl st into the back loop only of the stitch directly next to where you finished the seam in Round 2.
- Ch 1. SC in the same back loop.
- SC in the back loop of every st around.
- Join with a sl st to the first SC.(32 sts)
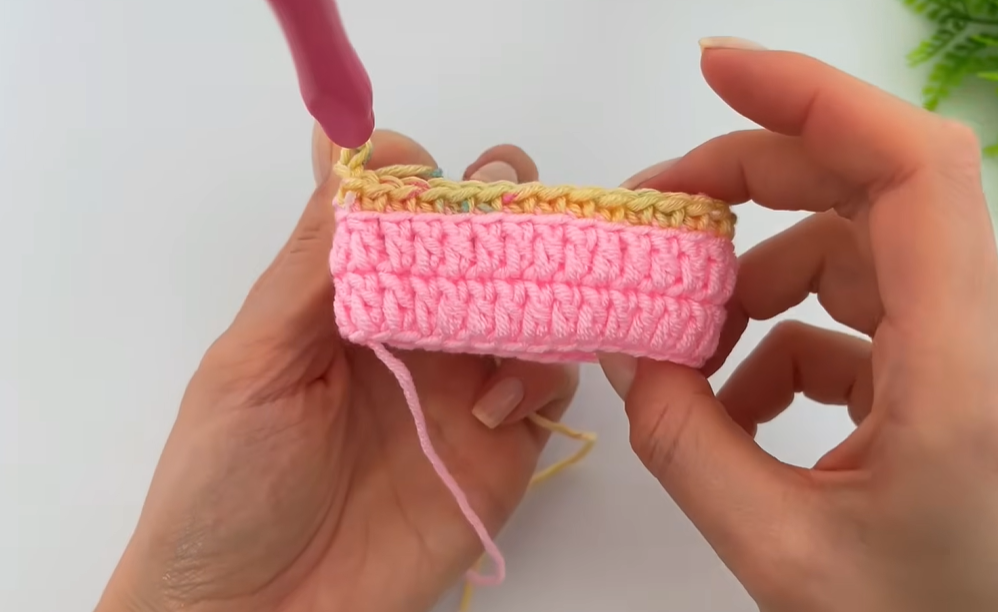
Round 4 (TVS Texture Row 1):
- Ch 1.
- SC using the TVS Technique (insert hook into the center of the ‘V’) in the same stitch and in every st around.
- Join with a sl st to the first SC.(32 sts)
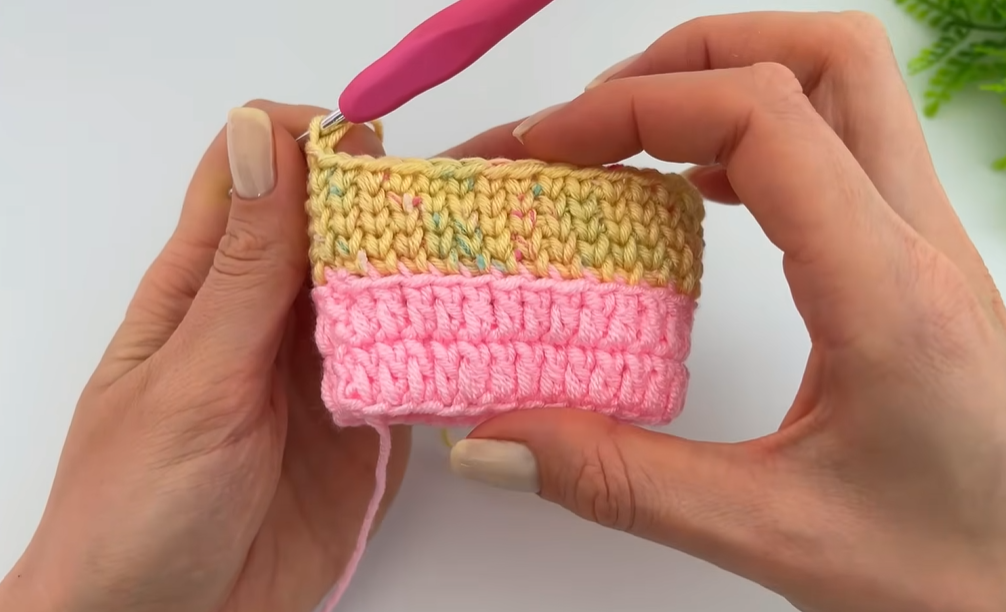
Rounds 5 – 7 (TVS Texture Repeat):
- Repeat Round 4 three more times for a total of 5 rounds in Color B.
The total height (Color A + Color B) should be approximately 5.5 cm (2.2 inches) now.
⬇️ Part 3: The Dramatic Toe Decrease
This round uses the specialized LDC stitch to cinch the toe dramatically, creating the signature boat shape.
Decrease Round (Round 8):
- Ch 1.
- Work SC (TVS technique) in the same stitch and in the next 10 stitches. (Total 11 SCs worked for the back/side).
- Work the LDC (Large Decrease Cluster) over the next 10 stitches (refer to the Special Stitches instructions above).
- Tip: Take your time on this cluster; it will be tight!
- To secure the LDC, sl st into the large post of the LDC stitch you just created.
- Work SC (TVS technique) in the center of the ‘V’ of the next stitch and in every st around to the end of the round.
- Secure the final seam by pulling the loop through the back of the first SC of the round (as you did in Round 2).
- Ch 1 to secure. Fasten off Color B.
🧵 Part 4: Seaming the Sole and Finishing
The final step is to sew the bootie closed using the long tail left at the very beginning of the project.
1. Prepare for Seaming:
- Turn the bootie inside out (wrong side facing).
- Thread the long Color A starting tail onto your tapestry needle.
2. Cinch the Heel:
- Starting at the point where the back seam (from the initial rounds) meets the bottom edge, work a running stitch (or zig-zag) through the edge stitches for approximately 1 cm (4-5 stitches).
- Pull the tail tightly to cinch the heel corner closed, creating a rounded curve. Knot securely.
3. Seam the Sole:
- Continue sewing the two raw edges of the sole together using a mattress stitch or whipstitch. Work from the cinched heel towards the front/toe area.
4. Cinch the Toe Tip:
- When you reach the front tip (the area directly under the LDC), stop seaming about 1 cm (4-5 stitches) from the end.
- Work a running stitch through the loops along the entire remaining raw edge.
- Pull the tail very tightly to fully cinch and close the toe, forming the boat-like shoe shape. Knot securely and weave in the remaining tail along the seam.
5. Final Presentation:
- Turn the bootie right side out.
- Gently shape the toe and heel.
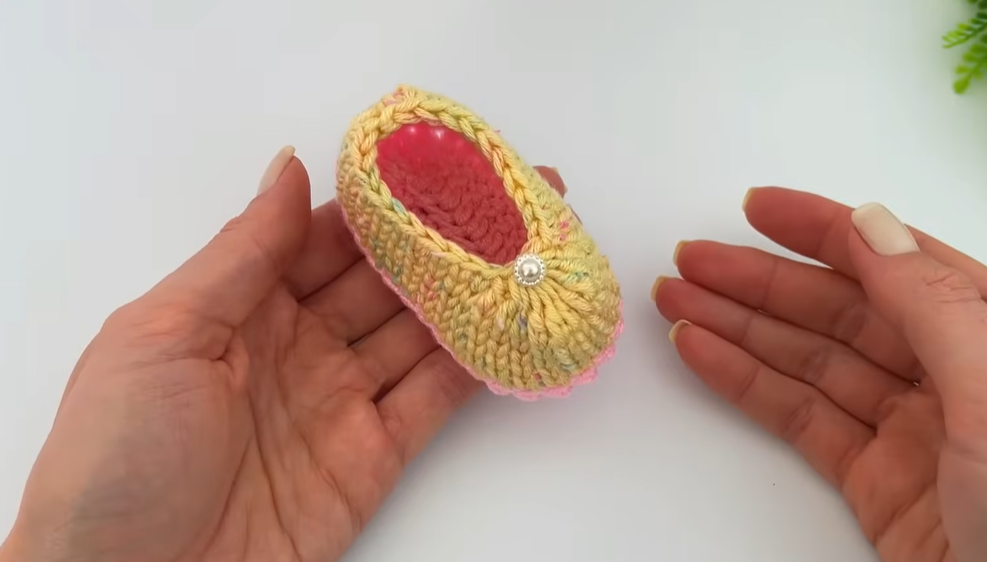
- Embellish: Attach a small pearl, button, or a miniature crocheted bow to the top center of the LDC section for a delicate finish.
Repeat all steps to create the second matching bootie! Enjoy the warmth and beauty of your perfectly shaped, handcrafted creation!


