
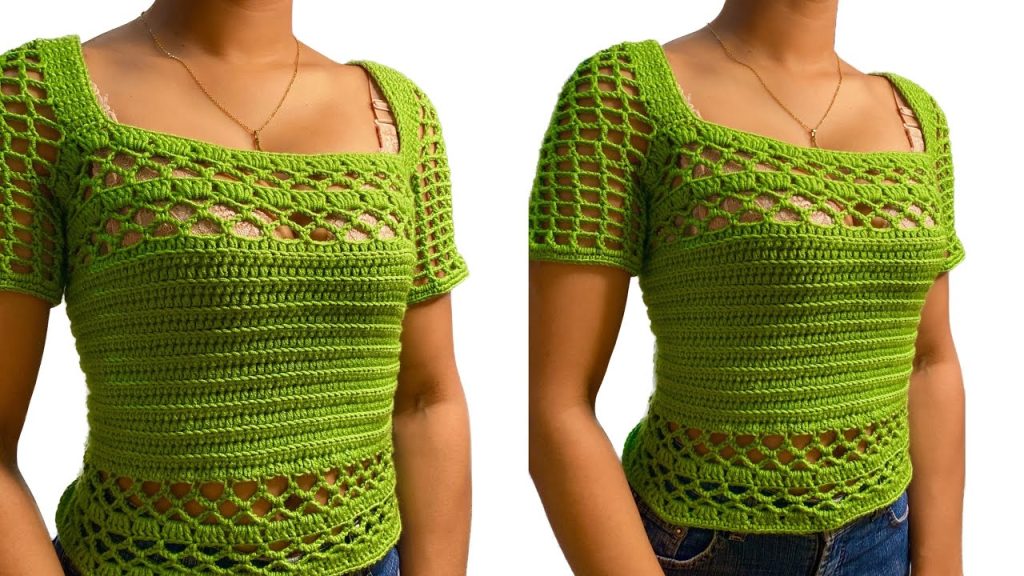
Welcome, crocheters, to the pattern for the gorgeous “Sunset Rib & Shell” Top! This is a chic, cropped design that combines a fitted, stretchy ribbed band with a stunning, open shell stitch for the bodice, making it the perfect quick-project top for warm weather.
The construction is ingenious, starting with the ribbed bust band worked sideways (for maximum stretch) and then transitioning directly into the main bodice fabric. The final touch is a beautiful, airy sleeve finished with shell stitch fans.
Let’s dive into this pattern and make your new favorite summer piece!
💖 Materials & Sizing Guide
This pattern is designed to be highly customizable, especially in the bust band. Please take your measurements carefully!
- The Yarn:Lightweight or DK Weight (Weight 3).
- Recommendation: Use a cotton or cotton blend. The natural stretch and great stitch definition of cotton are ideal for the ribbed band and open shell pattern.
- The Hook: A size appropriate for your chosen yarn, typically 3.5mm or 4.0mm. (The video suggests changing hooks if you feel more comfortable, demonstrating that gauge is flexible).
- Tools:
- Measuring Tape (Essential!).
- Stitch Markers.
- Tapestry Needle for seaming.
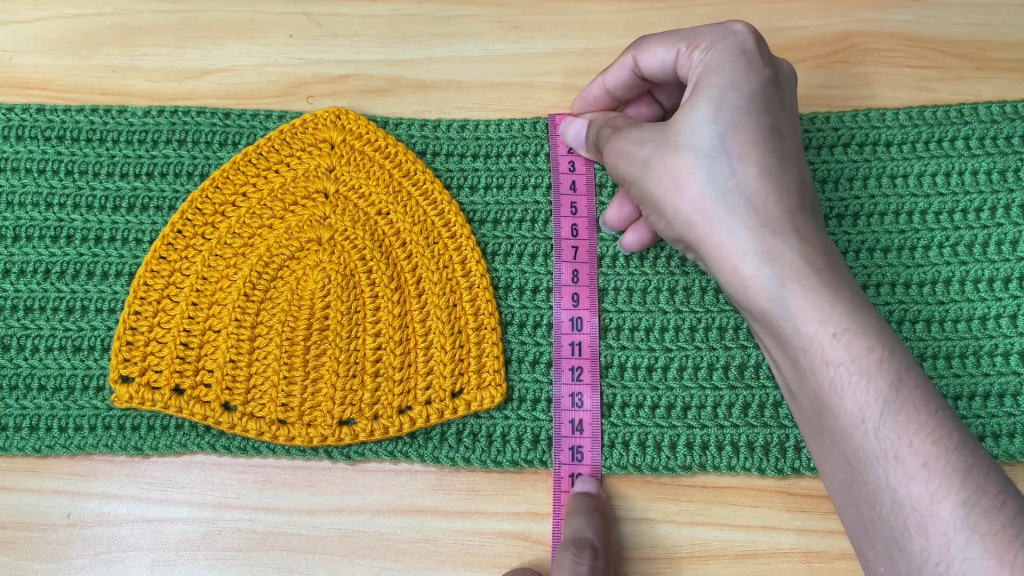
- Elasticity Note: The video suggests calculating your initial chain length for the bust band by measuring your full bust circumference and subtracting 13–15 cm (about 5–6 inches). This negative ease ensures the band fits snugly and stretches comfortably.
Key Measurement Notes:
- Bust Band Height: The height of your initial ribbed piece (e.g., 15 cm in the video) should cover the area from below your bust to the top of the bust line, or as desired.
- Final Bust Band Width (First Piece): This measurement, worked in rows, should equal half of your final, stretched bust band circumference.
📚 Abbreviations & Key Techniques (US Terminology)
- Ch: Chain
- St(s): Stitch(es)
- Sl St: Slip Stitch
- SC: Single Crochet
- HDC: Half Double Crochet
- DC: Double Crochet
- Sk: Skip
- BLO: Back Loop Only (Crucial for the ribbed band texture).
The Band Stitch: Vertical Ribbing (BLO HDC)
This technique creates a very stretchy, fitted fabric by working all stitches into the back loop only.
- Row 1 (Foundation): Work a row of HDC, starting in the second chain from the hook.
- Subsequent Rows: Ch 1, Turn. HDC into the BLO of every stitch across the row.
👙 Section 1: The Ribbed Bust Band
This piece provides the structure and fit for the entire top. You will work two identical panels (Front and Back).
- Starting Chain: Chain a length equal to your desired Bust Band Height (e.g., 15 cm). Add Ch 1 for the turning chain.
- Foundation Row: HDC into the second chain from the hook and in every chain across. (The number of stitches must be a multiple of 4, as indicated for the next section).
- Ribbed Rows: Ch 1, Turn. HDC into the BLO of the first stitch and in the BLO of every stitch across the row.
- Repeat: Continue repeating the BLO HDC row until the piece measures half of your final desired bust circumference (remembering the negative ease calculation from the sizing guide).
- Fasten Off. (Repeat steps 1-4 for the second identical panel).
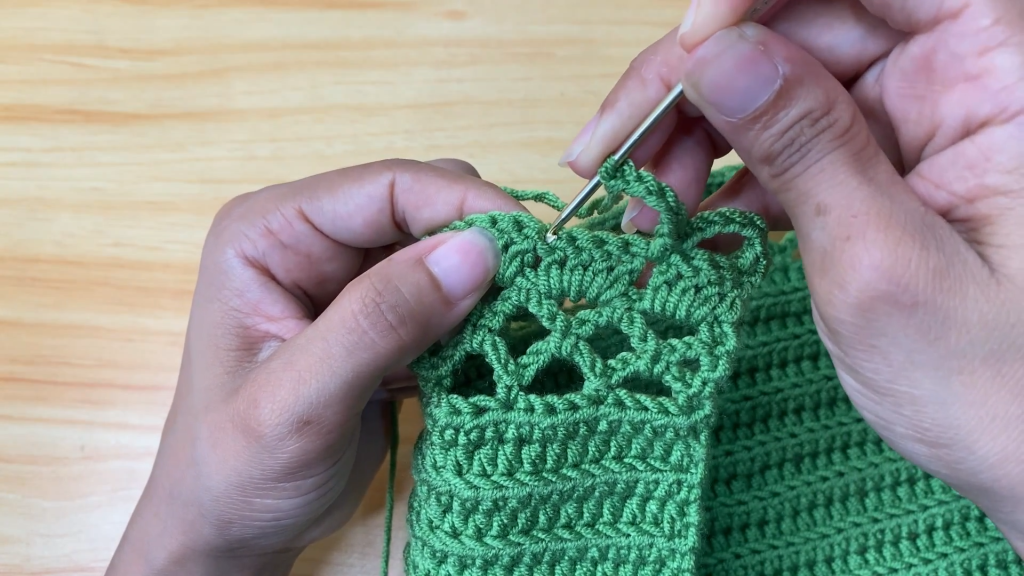
🎀 Section 2: The Bodice – Full Stitch Pattern
The ribbed band is now used as the starting edge for the bodice, which is worked in a series of texture changes.
Row 1 (Lace Foundation – Ch 5 Arches):
- Attach yarn to the edge of the ribbed band (top edge). Ch 1. SC in the first row-end space.
- Ch 5. Sk 3 row-end spaces. SC into the next row-end space.
- Repeat: [Ch 5, Sk 3 row-end spaces, SC in the next row-end space] across the top long edge of the ribbed band.
- End: The last SC should land on the final row-end space.
Row 2 (Ch 5 Arch Repeat):
- Ch 5, Turn. SC into the first Ch-5 loop.
- Repeat: [Ch 5, SC into the next Ch-5 loop] across the row.
- End: Ch 2. DC into the last SC of the previous row. (This creates a stable edge for the next row).
Row 3 (Ch 3 Arch Reduction):
- Ch 1, Turn. SC on top of the last DC.
- Repeat: [Ch 3, SC into the next Ch-5 loop] across the row.
- End: Ch 3. SC into the top of the starting Ch 5 loop from the previous row.
Row 4 (DC Infill – The Solid Block):
- Ch 3, Turn (counts as first DC). 3 DC into the first Ch-3 loop. (Total 4 DCs).
- Repeat: [4 DC into the next Ch-3 loop] across the row.
- End: Work the last DC into the top of the ending SC from the previous row.
Row 5 (Ch 5 Arch Start):
- Ch 1, Turn. SC into the first DC.
- Repeat: [Ch 5, Sk 3 DC, SC into the next DC] across the row.
- End: The last SC should land on the top of the turning chain/last stitch.
Pattern Repeat:
- The bodice pattern is a 4-Row Repeat:
- Repeat Row 2 (Ch 5 Arch Repeat)
- Repeat Row 3 (Ch 3 Arch Reduction)
- Repeat Row 4 (DC Infill)
- Repeat Row 5 (Ch 5 Arch Start)
Continue this repeat until the bodice reaches the desired length for your top. Fasten off.
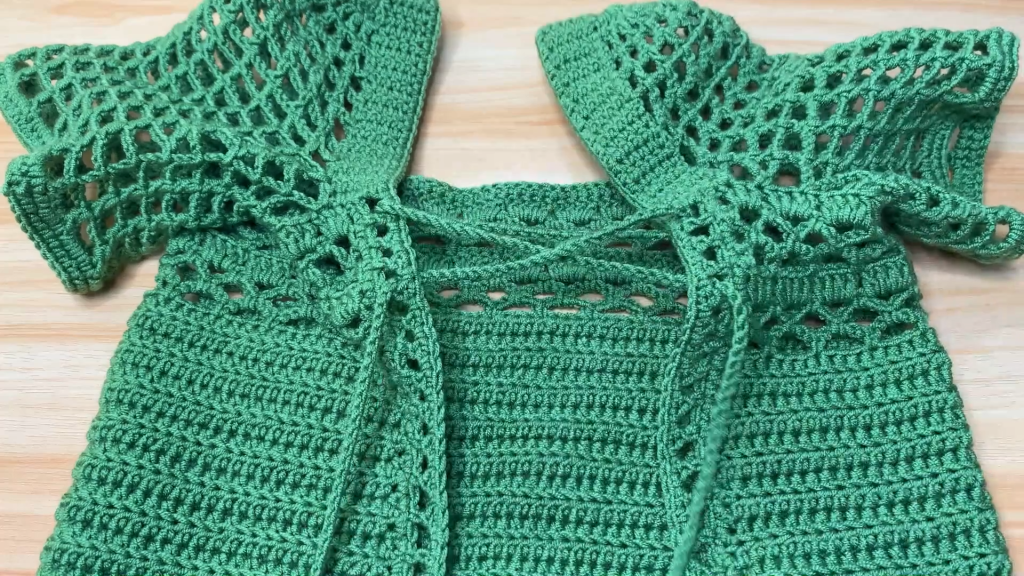
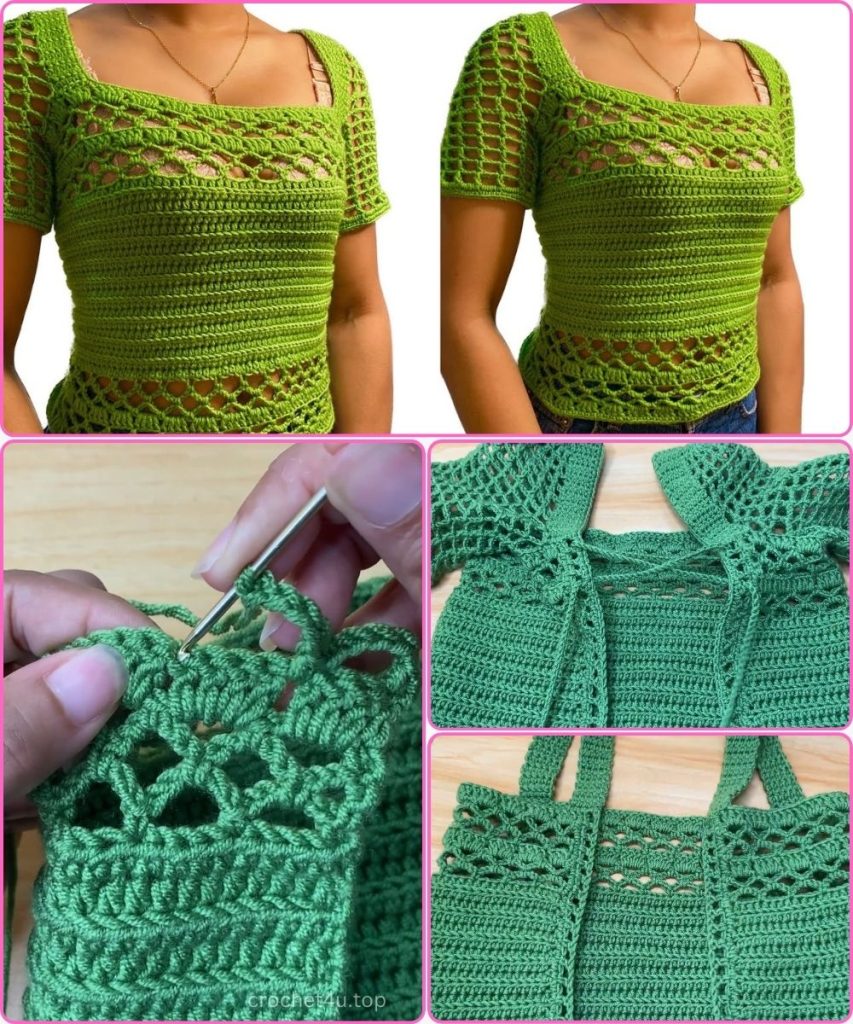
🪡 Section 3: Assembly & Final Edging
You now have two complete pieces—Front and Back—each featuring the ribbed band and the bodice lace.
- Side Seams: Align the two pieces. Using a tapestry needle and yarn, seam the sides together, joining the corresponding row edges of both the ribbed band and the bodice. Leave an opening at the top for the armholes/sleeves.
- Shoulder/Strap Seams: Seam the top, short edges of the ribbed bands together, leaving the central unworked section (the neckline) open.
- Neckline and Hem Edging (Optional): The video uses a round of SC on the finished sleeve, but you may add a round of SC to the neckline and bottom hem for a clean finish if desired.
💖 Section 4: The Lacy Shell Sleeves
The final step is to add the decorative shell fan edging around the armholes.
- Sleeve Placement: Find the approximate center of the shoulder/sleeve opening where you want the sleeve fans to begin.
- Round 1 (Foundation): Join yarn with an SC in the marked starting spot.
- Ch 5. Sk the space of 2 rows. SC into the next row-end space.
- Repeat the [Ch 5, Sk 2 rows, SC] sequence around the entire armhole opening until you reach the start.
- Round 2 (Shell Fans):
- Sl St into the first SC from the previous round. Ch 3 (counts as DC). Work 9 DC into the first Ch-5 loop. (Total 10 DC shell).
- Sl St into the next SC space.
- Repeat: [10 DC Shell into the next Ch-5 loop, Sl St into the next SC] around the armhole.
- Sl St into the top of the starting Ch 3.
- Round 3 (Mesh Spacing):
- Ch 1, Sl St up to the first DC of the shell. Ch 1 (does not count as st). SC into the same DC.
- Repeat: [Ch 1, DC in the next DC] 9 times. (Total 10 DCs separated by Ch 1).
- Sl St into the Sl St space between the shells.
- Repeat the bracketed sequence for all shells around the armhole.
- Sl St to the first SC to join.
- Round 4 (Large Mesh Spacing):
- Sl St up to the first DC of the shell. Ch 3 (counts as DC). Ch 2. DC in the next DC.
- Repeat: [Ch 2, DC in the next DC] across the shell (10 DCs separated by Ch 2).
- Sl St into the Sl St space between the shells.
- Repeat the bracketed sequence for all shells around the armhole.
- Sl St to the top of the starting Ch 3 to join.
- Round 5 (Final Mesh Spacing):
- Sl St up to the first DC of the shell. Ch 3 (counts as DC). Ch 3. DC in the next DC.
- Repeat: [Ch 3, DC in the next DC] across the shell (10 DCs separated by Ch 3).
- Sl St into the Sl St space between the shells.
- Repeat the bracketed sequence for all shells around the armhole.
- Sl St to the top of the starting Ch 3 to join.
- Final Edging: Ch 1. Work an even round of SC around the entire sleeve opening, placing 1 SC in each DC and 2-3 SCs in each Ch-3 space for a flat edge. Sl St to join.
- Fasten Off. Repeat this process for the second sleeve.
Once all ends are woven in, your beautiful Sunset Rib & Shell Top is ready to wear! Enjoy the flattering fit and open, lacy texture.


